In this article, I am going to demonstrate how to use vagrant to spin up a virtual machine in few minutes on CentOS 7. But first a little introduction to vagrant.
Vagrant is an open source project for creating and provisioning portable virtual machines. With vagrant, you can spin up several virtual machines within an unbelievably short time. Vagrant enables you to try several operating systems or distributions without bothering yourself about downloading ISO files.
Requirements
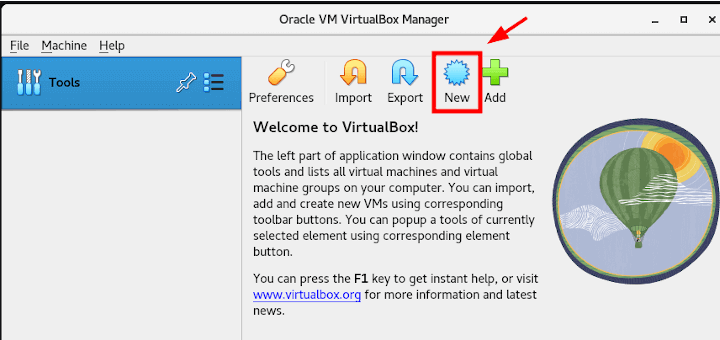
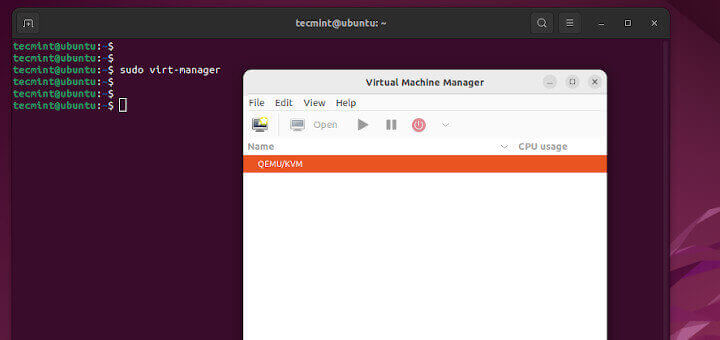
We need to download virtualBox. Vagrant runs on AWS, Docker and VMware too. But I am going to use VirtualBox in this tutorial.
Now you might want to ask: why VirtualBox? Like I pointed out above it doesn’t really matter which virtualization software you go for. Any will work out well for you because any Linux machines have the same command base. The point is: you need to have a virtualization environment like virtualbox in order to run provisioning software like vagrant.<
Step 1: Installing VirtualBox 5.1 on CentOS 7
Although there are several tutorials on installation of virtualBox on www.tecmint.com (for example Install VirtualBox on CentOS 7), nevertheless, I will quickly run through virtualbox 5.1 installation.
First install VirtualBox dependencies.
# yum -y install gcc dkms make qt libgomp patch
# yum -y install kernel-headers kernel-devel binutils glibc-headers glibc-devel font-forge
Next add VirtualBox repository.
# cd /etc/yum.repo.d/
# wget http://download.virtualbox.org/virtualbox/rpm/rhel/virtualbox.repo
Now install and build kernel module.
# yum install -y VirtualBox-5.1
# /sbin/rcvboxdrv setup
Step 2: Installing Vagrant on CentOS 7
Here, we will download and install latest version of Vagrant (i.e 1.9.6 at the time of writing) using yum command.
----------- For 64-bit machine -----------
# yum -y install https://releases.hashicorp.com/vagrant/1.9.6/vagrant_1.9.6_x86_64.rpm

----------- For 32-bit machine -----------
# yum -y install https://releases.hashicorp.com/vagrant/1.9.6/vagrant_1.9.6_i686.rpm
Create a directory where you will be going to install your favorite Linux distribution or operating system.
# mkdir ~/vagrant-home
# cd ~/vagrant-home
Install your favorite distro or operating system.
----------- Installing Ubuntu -----------
# vagrant init ubuntu/xenial64

----------- Installing CentOS -----------
# vagrant init centos/7
A file called Vagrantfile will be created in your current directory. This file contains configuration settings for your virtual machines.

Boot up your Ubuntu server.
# vagrant up
Wait for the download to finish. It doesn’t really take much time. Your internet speed also count.
For list of available pre-configured boxes, check out https://app.vagrantup.com/boxes/search
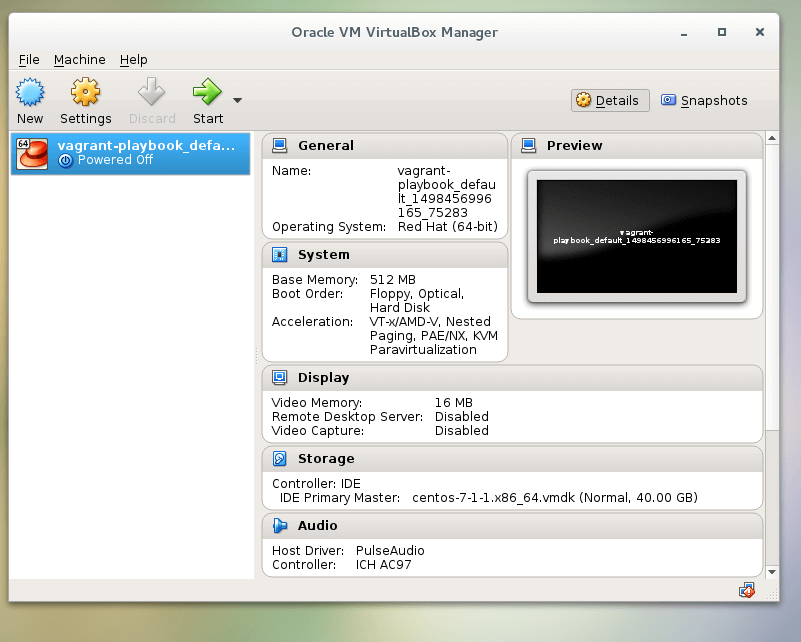
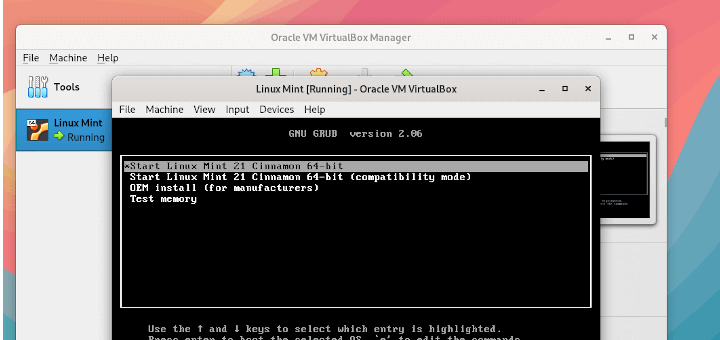
Step 3: Manage Vagrant Boxes with Virtualbox
Launch Virtualbox to see a pre-built 64-bit Ubuntu virtual machine loaded into virtualbox with configuration defined in Vagrantfile. This is just like any other VM: No difference.
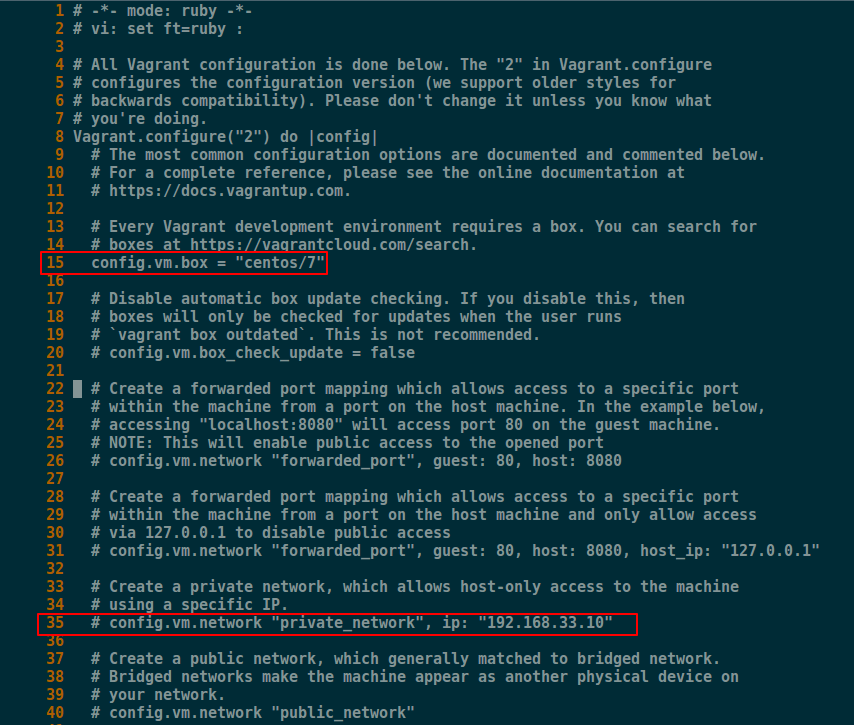
If you want to setup another box (say CentOS7), modify your Vagrantfile file in your current directory (if that is where your Vagrantfile is located) with your favorite editor. I use vi editor for my work. Immediately below line 15, type:
config.vm.box = “centos/7”
You can also setup the IP address as well as hostnames for the yet-to-be downloaded box within the Vagrantfile. You can do this for as many boxes that you want to provision as possible.
To set up static IP address, uncomment line 35 and change the IP address to your choice.
config.vm.network "private_network", ip: "192.168.33.10"
After you are done with this modification, enter the command below to up the machine.
# vagrant up
Managing this virtual server is extremely easy.
# vagrant halt     [shutdown server]
# vagrant up       [start server]
# vagrant destroy  [delete server]
Conclusion
In this tutorial, we have been to use vagrant to quickly build a server without much hassle. Remember we didn’t have to worry about downloading ISO file. Enjoy your new server!

Turns out that I forgot to include the link.
Hi Seun,
Unluckily, I got stuck when generating ssh private key, I tried researching but it’s unlucky, have you ever seen it before?
Thanks so much.
default: SSH username: vagrant
default: SSH auth method: private key
You say that vagrant runs on AWS. What about VirtualBox? When I installed it I received the following:
Hi Andrew,
What really were you trying to achieve here? What is your environment like?
Thanks for the article.
You say to “cd /etc/yum.repo.d/”
On my box it is cd /etc/yum.repos.d/
Notice the
son the end of repo.Thank you Andrew for pointing that out. It was a typo. It will be corrected.
Hi Phi,
If you don’ t mind, can you share with us?
I’ve got some Ansible code that will automatically gpg verify and install any particular vagrant version for you.
Hope this helps someone.