KVM virtualization technology supports various disk image formats. Two of the most popular and widely used disk formats are qcow2 and raw disk images.
The former, qcow2, is considered the most versatile and feature-rich virtual disk format providing a useful set of features such as 128-bit AES encryption, support for multiple snapshots, and zlib compression to mention a few.
Sometimes, you may want to extend or resize the disk space of a KVM virtual machine to accommodate more data or create other partitions.
In this article, we are going to see how you can extend or increase KVM Virtual Machine disk size using the qcow2 disk format.
[ez-toc]
Step 1: Shutdown KVM Virtual Machine
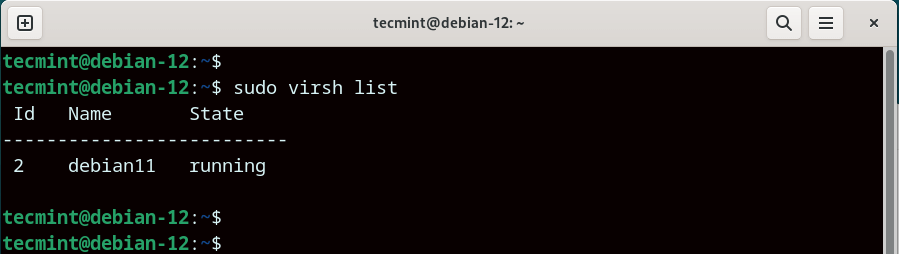
The first step is to ensure that the VM whose disk size you want to expand is powered off. To list all the running virtual machines, run the command:
$ sudo virsh list
In our setup, we have a single virtual machine that runs on Debian 11 with the domain name debian11.
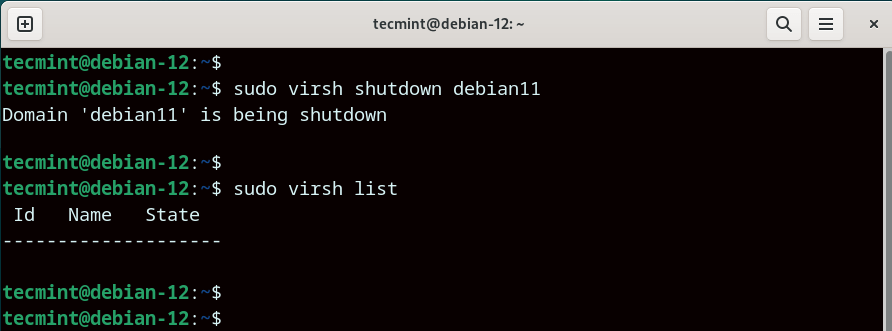
To shut down the VM, use the following syntax:
$ sudo virsh shutdown domain_name
In this case, the command will be:
$ sudo virsh shutdown debian11
Now, to confirm that the VM has been powered off, once again, list running VMs. This time around, the VM domain name will not be listed.
$ sudo virsh list
Step 2: Find KVM Virtual Machine Disk Image File Path
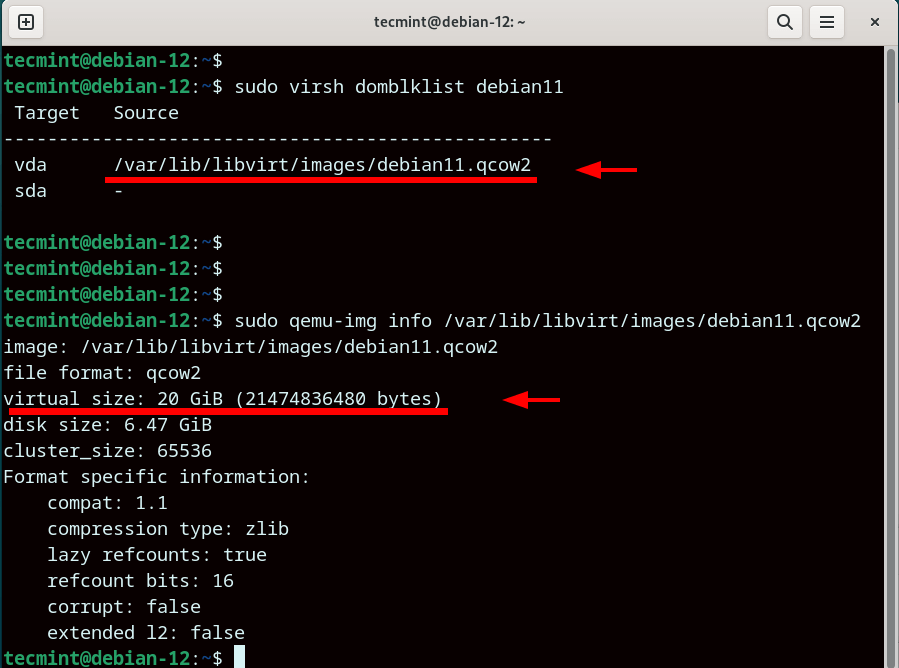
The next step is to determine the path of the virtual machine disk path.
$ sudo virsh domblklist debian11
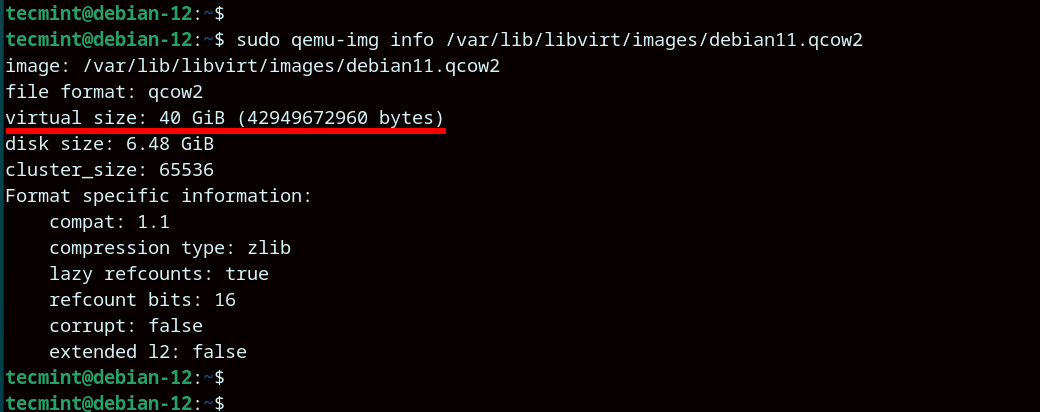
From the output, we see that the virtual disk path is /var/lib/libvirt/images/debian11.qcow2. Using the disk path, you can retrieve more information about the virtual disk image such as the virtual size as shown.
$ sudo qemu-img info /var/lib/libvirt/images/debian11.qcow2
From the output, you can see that we are starting out with an initial virtual disk size of 20G. We will later expand this to 40G.
Step 3: Extend KVM Virtual Machine Disk Size
The next step is to extend the virtual machine disk size. In our case, we will expand the size two-fold by adding another 20G using the command shown below.
$ sudo qemu-img resize /var/lib/libvirt/images/debian11.qcow2 +20G

Note: You need to delete any snapshots related to the virtual machine before proceeding further. You can list the snapshots associated with the domain name as shown:
$ sudo virsh snapshot-list debian11
Suppose we have a snapshot called mysnapshot. To delete the snapshot, we will run the command:
$ sudo virsh snapshot-delete --domain debian11 --snapshotname mysnapshot
Step 4: Start KVM Virtual Machine
Once you have extended the virtual machine, proceed and start the virtual machine as shown.
$ sudo virsh start debian11
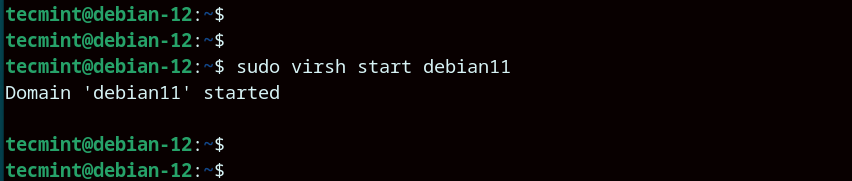
To confirm that your disk size has now been extended, run the command:
$ sudo qemu-img info /var/lib/libvirt/images/debian11.qcow2
From the output, the virtual disk size is now 40GB, an increment of 20G from its original disk size.
Alternatively, you can log in to your VM and check the disk size using the lsblk command.
$ lsblk

Conclusion
In this article, we have demonstrated how to extend the size of a KVM virtual machine disk size. Increasing the size of your VM disk can come in handy when you want to create extra partitions or increase the size of existing disk partitions.


This worked perfectly for me. I had a Windows 10 client, so after I rebooted, I needed to extend the specific drive using Windows partitioning tools.
Thank you for the clear instructions!
Thanks for the guide.
Please also include steps to make the added disk usable. From the lsblk command, note that the disk is 40GB but still usable is 19GB.
Sorry, but I am not sure that you need to shutdown the vm, almost every virtualization platform supports online disk resizing.
@Emmanuel,
Thank you for the information. I’ll look into disk resizing options for the VM. It’s great to know that it might not be necessary to shut it down for disk resizing. I appreciate your input!
Best instructions I’ve found. I was about to give up looking. Thanks!