Brief: In this tutorial, we look at how to install VirtualBox 7.0 in RHEL 9 and RHEL 8 distributions to create guest virtual machines using an ISO image file.
Oracle VM VirtualBox is a popular free and open-source virtualization software that is widely used by desktop lovers and even system administrators and programmers to create virtual machines for various purposes such as testing operating systems.
As a type 2 hypervisor, VirtualBox is installed on top of an operating system such as Windows and Linux. It supports a wide range of guest systems including Windows, Linux, OpenBSD, Solaris, and OpenSolaris.
Currently, VirtualBox 7.0.2 is the most recent version of VirtualBox, which was released on 10 October 2022 and provides the following features.
- Added support for Secure Boot and TPM 1.2/2.0.
- EFI Support for Secure Boot.
- Cloud virtual machines can be added to Virtual Machine Manager and controlled as local VMs.
- Ability to completely encrypt virtual machines.
- Ability to add Cloud virtual machines to Virtual Machine Manager which can be controlled as local VMs.
- Addition of EHCI and XHCI USB controller devices as part of the open-source base package.
- Improved theme support for all platforms.
- An added GUI tool for monitoring performance statistics such as CPU and RAM Usage, Disk I/O, etc.
Let’s get started…
Step 1: Check Virtualization in RHEL
As you get off the ground, the initial step is to confirm if Virtualization is supported by your CPU. This is prudent since VirtualBox like other hypervisors requires virtualization to be enabled on either Intel or AMD CPUs.
To check if Virtualization is supported, run the following lscpu command.
$ lscpu | grep -i virtualization

Virtualization:             VT-x Virtualization type: full
From the output shown, we see that Virtualization is enabled on our CPU with Intel Virtualization technology which is indicated using the VT-x directive.
If there is no output, then you need to enable Virtualization support from the BIOS settings.
Step 2: Enable EPEL Repo in RHEL
A few dependencies are needed for the installation of VirtualBox to go on seamlessly. Before you do so, first, install the EPEL repository.
------------ On RHEL 9 ------------
$ sudo dnf install https://dl.fedoraproject.org/pub/epel/epel-release-latest-9.noarch.rpm -y

------------ On RHEL 8 ------------
$ sudo dnf install https://dl.fedoraproject.org/pub/epel/epel-release-latest-8.noarch.rpm -y
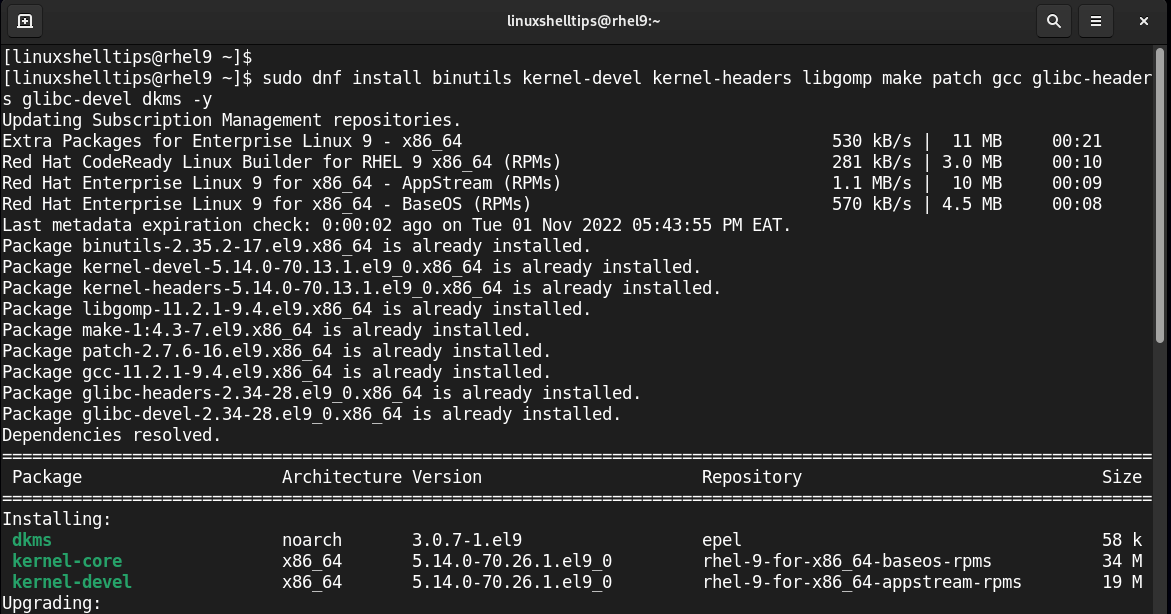
Next, install the dependencies as shown.
$ sudo dnf update -y
$ sudo dnf install binutils kernel-devel kernel-headers libgomp make patch gcc glibc-headers glibc-devel dkms -y
Step 3: Install VirtualBox 7.0 in RHEL
To install the latest version of Oracle VM VirtualBox, we need to install it from the Official VirtualBox repository.
To add the VirtualBox repository, run the command:
$ sudo dnf config-manager --add-repo=https://download.virtualbox.org/virtualbox/rpm/el/virtualbox.repo
Next, import the VirtualBox GPG key as follows.
$ sudo rpm --import https://www.virtualbox.org/download/oracle_vbox.asc
With the VirtualBox repository and GPG key imported, you can now install VirtualBox using the dnf package manager. Before doing so, you can take a moment and search for the availability of VirtualBox as shown:
$ sudo dnf search virtualbox
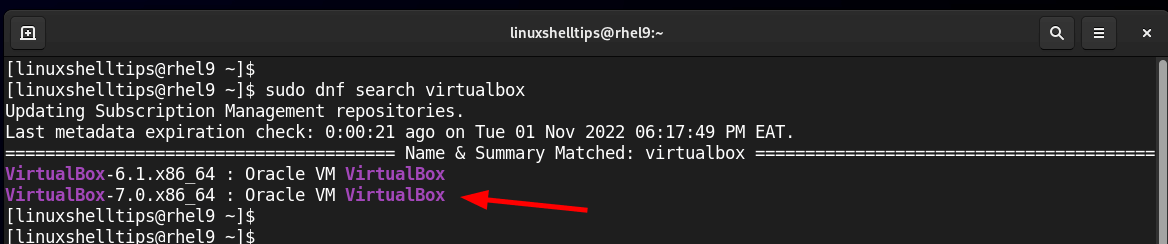
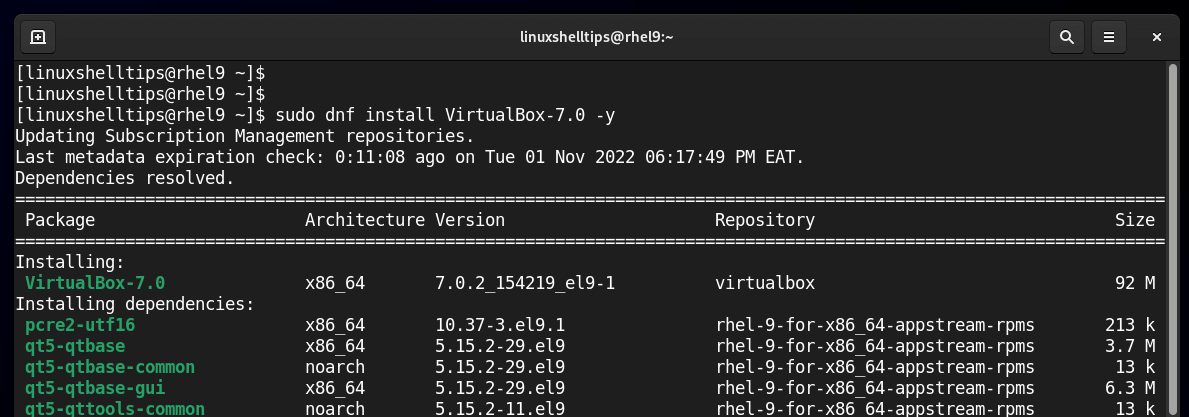
From the above output, you can see that two versions of VirtualBox are provided by the repository. Since our mission is to install the latest version of VirtualBox, run the following command:
$ sudo dnf install VirtualBox-7.0 -y
Be sure to add the logged-in user to the vboxusers group using the following commands.
$ sudo usermod -aG vboxusers $USER
$ newgrp vboxusers
Step 4: Install Virtualbox Extension Pack in RHEL
To extend the functionality of VirtualBox, it’s recommended to install the VirtualBox extension pack, which is a software package that enhances the interaction with your guest or virtual machines.
At a glance, the extension pack provides the following added features.
- USB device usage in your virtual environment (USB 2.0 and USB 3.0).
- Copy and Paste text between the host and the virtual machine.
- Disk Image Encryption.
- Webcam usage on the virtual machine.
- and so much more.
To install the VirtualBox Extension Pack, visit the official Virtualbox downloads page. Similarly, you can download the extension pack using the wget command as shown.
$ wget https://download.virtualbox.org/virtualbox/7.0.2/Oracle_VM_VirtualBox_Extension_Pack-7.0.2.vbox-extpack
Then, build the kernel modules as follows.
$ sudo /sbin/vboxconfig
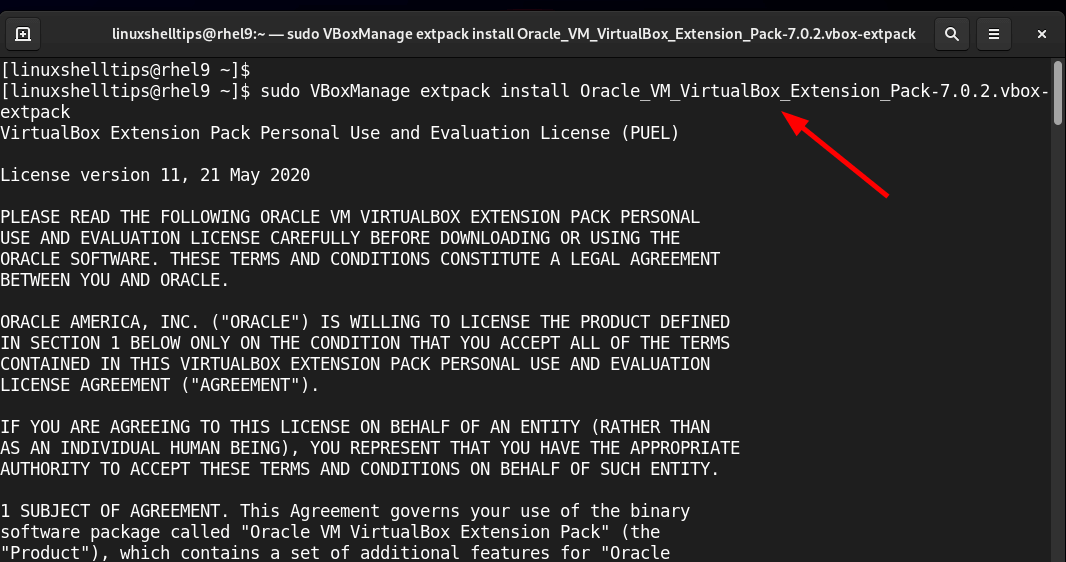
Next, install the VirtualBox extension pack as follows.
$ sudo VBoxManage extpack install Oracle_VM_VirtualBox_Extension_Pack-7.0.2.vbox-extpack
Be sure to read and accept the license terms and conditions and press ‘Y’.
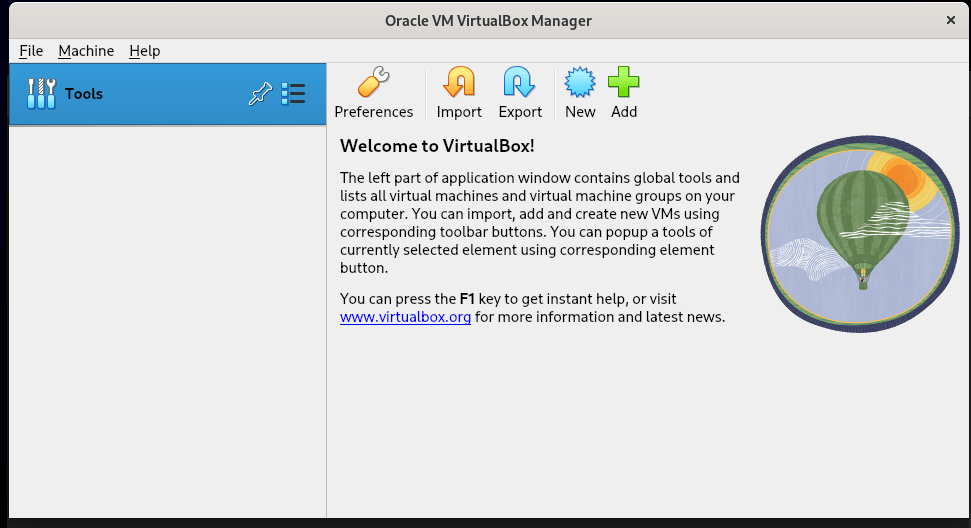
VirtualBox is finally installed. To launch it, use the application Manager to search for it and open it. The Oracle VM VirtualBox Manager will pop open as shown below. From here, you can create and manage virtual machines.
Step 5: Create a Virtual Machine in RHEL
In this section, we will demonstrate how to create a virtual machine using an ISO image file. The ISO image we are going to use is a Ubuntu 20.04 LTS file.
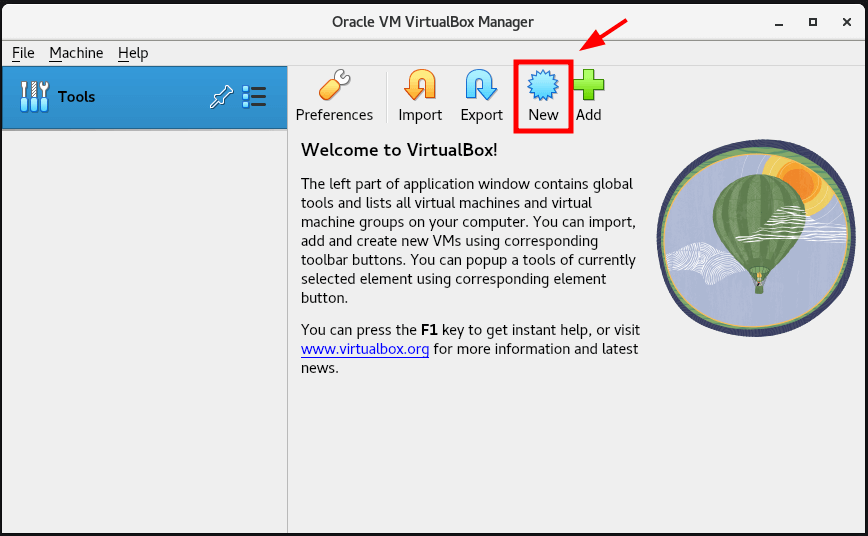
To get started with creating a virtual machine click on ‘New‘ as shown below.
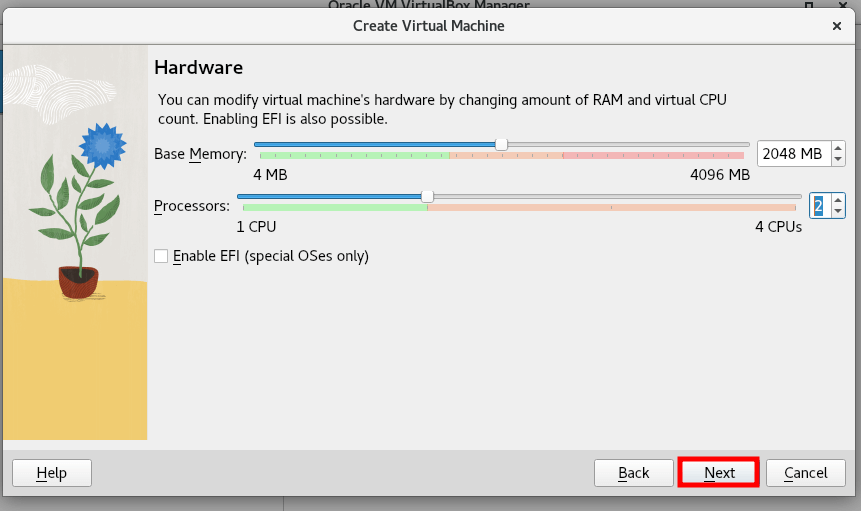
Be sure to provide all the virtual machine details. This includes the name of the VM, the location of the virtual machine, and the ISO image of the OS. Next, specify the memory size and the number of CPUs to allocate to your system and click ‘Next’.
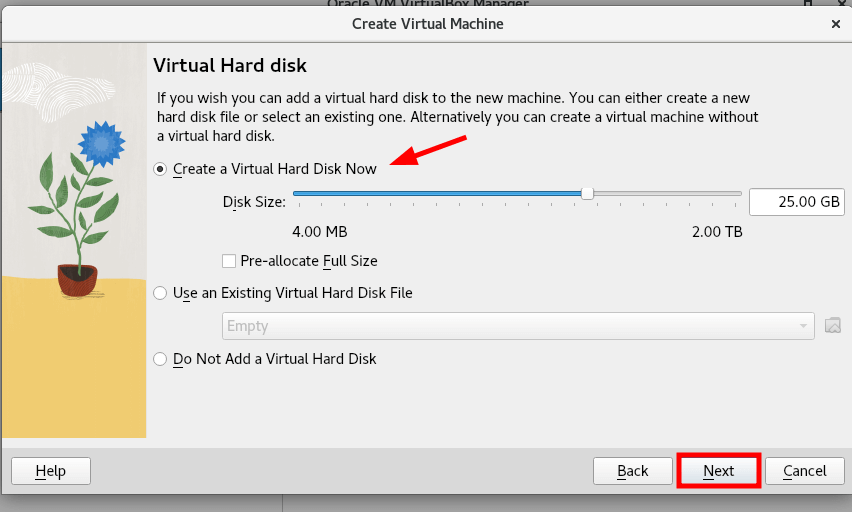
You to create a virtual hard disk from scratch or use a pre-existing virtual hard disk file. Since we are creating a new virtual machine from an ISO image, we will select the first option – ‘Create a Virtual Hard Disk Now’.
Also, feel free to adjust the disk size by sliding the pointer back and forth to reflect your preferred disk size.
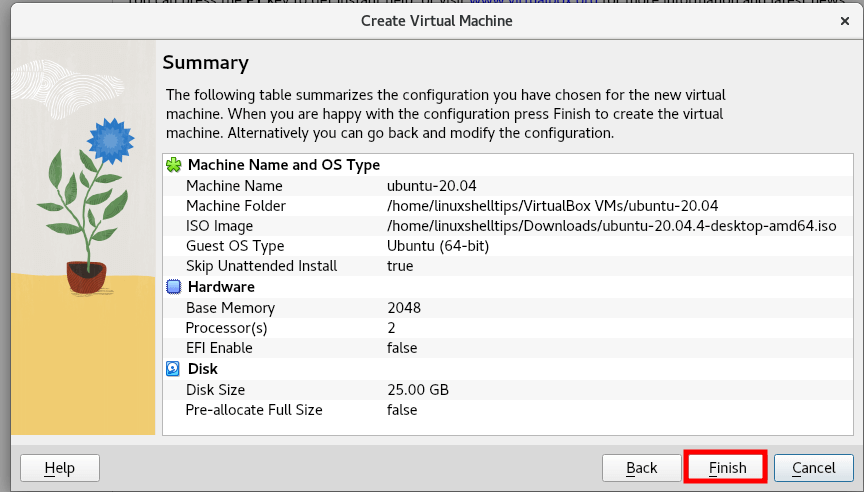
Lastly, you will get a summary of all the settings that you have selected for your virtual machine. If you are satisfied, click ‘Finish’, otherwise, head back and make the required changes.
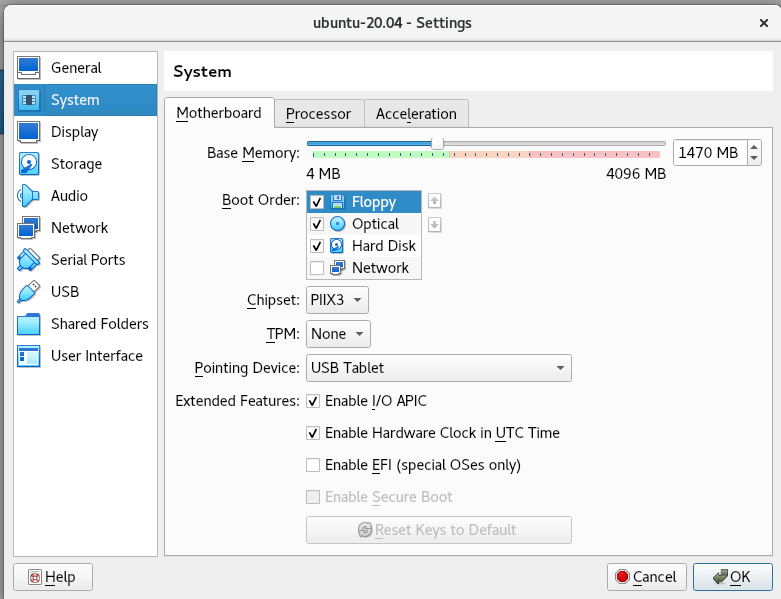
Once created, the VM will appear on the left section as shown. VirtualBox is replete with a myriad of settings that can help you manage your VM efficiently. To access the virtual machine settings, click the ‘Settings’ icon.

The ‘Settings’ section will be displayed as shown with a selection of parameters that can be modified located on the left sidebar.
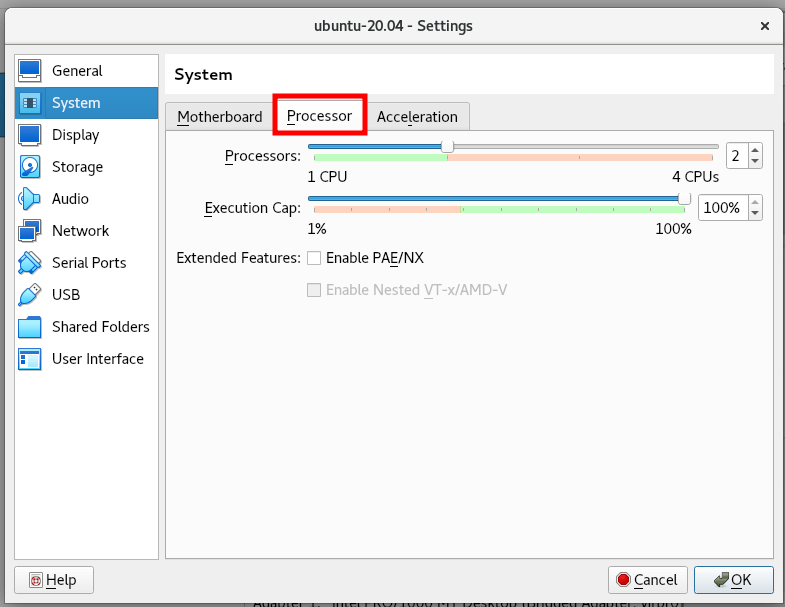
Here, you can choose to tweak a couple of settings. For example, to adjust the number of CPU processors, click ‘System’ > ‘Processor’. Here, you can specify the number of CPUs by dragging the pointer along the slider. You can also click to enable PAE/NIX feature.
Once you are done, click ‘Ok’.
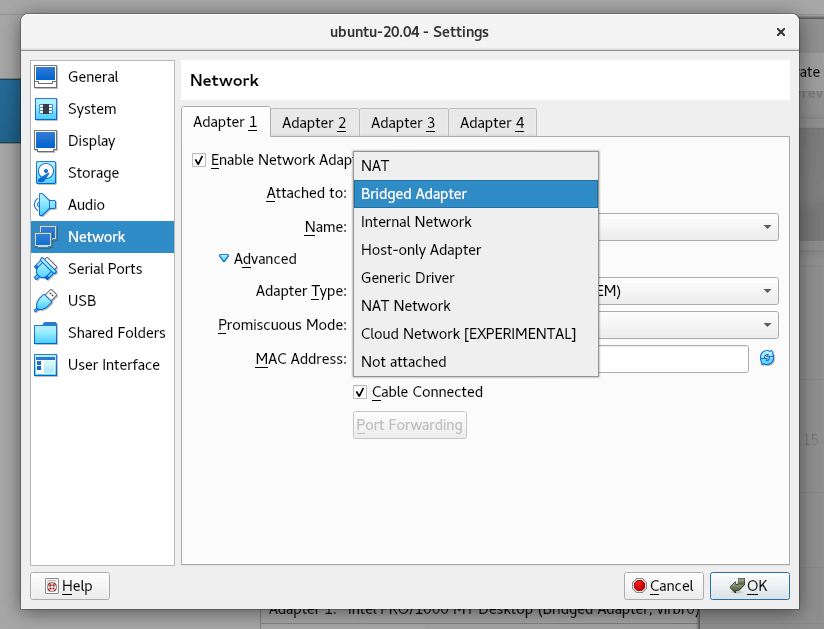
Also, you can make changes to the Network settings. For example, you can change the default network adapter from ‘NAT’ to ‘Bridged Adapter’, ‘Internal’, ‘Host-only adapter’, and so on.
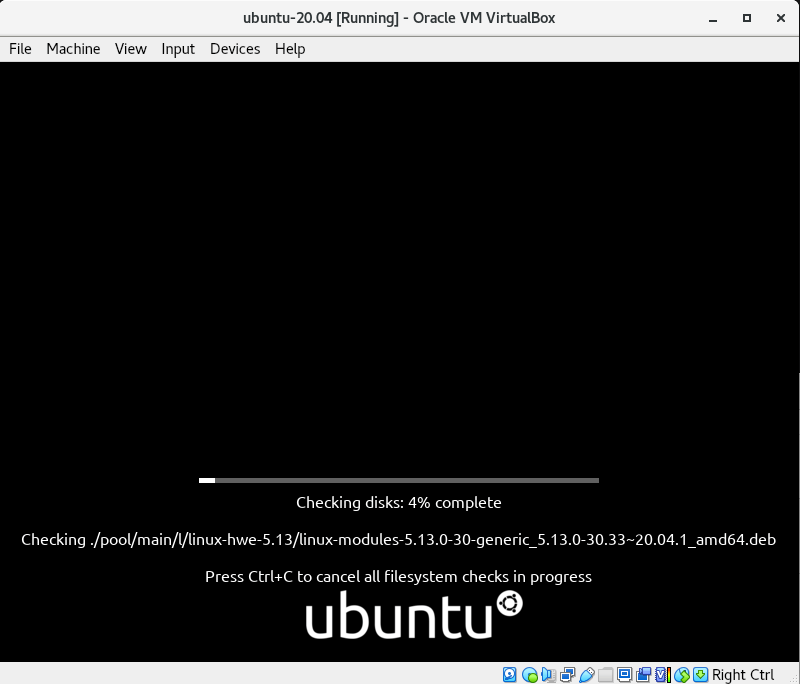
Once you are satisfied with the settings made, power on the virtual machine, by clicking ‘Start’. The virtual machine window will pop open and from this point, you can commence the installation of your operating system.
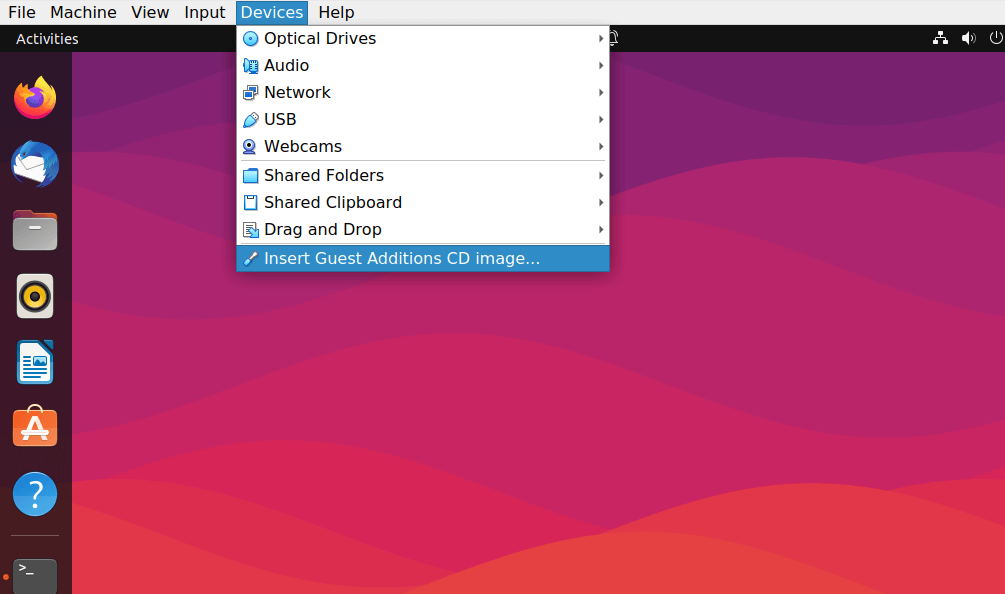
Step 6: Install VirtualBox Guest Additions in RHEL
VirtualBox guest additions are additional pieces of software that come with your copy of VirtualBox. They are made up of device drivers and system applications that enhance the performance of your virtual machine.
To install guest additions, navigate to Devices –> Insert Guest Additions CD image.
That’s it for this guide. We have covered how to install Oracle VirtualBox on RHEL 9/8 and have also demonstrated how to create a virtual machine and provided additional links on how to install VirtualBox guest additions.


I came here to comment on the same error message. The solution is here: [https://stackoverflow.com/questions/61248315/sign-virtual-box-modules-vboxdrv-vboxnetflt-vboxnetadp-vboxpci-centos-8].
However, I do not understand the solution and need to keep running this script on RHEL 9.
Following these instructions for Oracle Linux 9.1, I am receiving the following message:
If your system has EFI Secure Boot enabled you may also need to sign the kernel modules (vboxdrv, vboxnetflt, vboxnetadp, vboxpci) before you can load them. Please see your Linux system’s documentation for more information.
where: suplibOsInit what: 3 VERR_VM_DRIVER_NOT_INSTALLED (-1908) – The support driver is not installed. On linux, open returned ENOENT.