Brief: In this guide, we will explore how to install VirtualBox 7.0 in AlmaLinux 9 and AlmaLinux 8 distributions to create guest virtual machines using an ISO image file.
Currently owned and maintained by Oracle, Oracle VM VirtualBox is one of the world’s most popular open-source virtualization platforms that enables users to create virtual machines from the underlying computer hardware.
VirtualBox is a type 2 hypervisor, which implies that it is installed on top of an existing OS such as Windows or Linux in order to create an abstraction layer that emulates hardware components such as CPU, RAM, and storage, By so doing, it allows users to create virtual components known as a guest or virtual machines.
VirtualBox supports a wide range of guest systems including Windows, Linux, OpenBSD, Solaris, and OpenSolaris.
At the time of writing this guide, VirtualBox 7.0.2 is the most recent version, which was released on 10 October 2022 and comes with the following major improvements.
VirtualBox Features
- A new VM installation wizard with the ‘Unattended guest OS installation‘ option to facilitate a more streamlined workflow.
- Added 3D support based on DirectX 11 (and DXVK on non-Windows systems).
- EFI Support for Secure Boot.
- Secure Boot and TPM 1.2/2.0 support.
- Complete disk encryption for guest virtual machines.
- Inclusion of EHCI and XHCI USB controller devices as part of the open source base package.
- Added GUI utility for monitoring performance statistics such as RAM and CPU Usage, Disk I/O, etc.
- Cloud virtual machines can be added to Virtual Machine Manager and controlled as local VMs.
For a more comprehensive list of all the features provided, Check out the Virtualbox release notes.
Step 1: Check Virtualization in AlmaLinux
As a prerequisite for installing any hypervisor, you need to have an Intel or AMD CPU with virtualization enabled. Therefore, before anything else, verify if virtualization is enabled.
To do so, run the following lscpu command:
$ lscpu | grep -i virtualization
The following output confirms that our system is equipped with Intel Virtualization technology denoted by the VT-x directive.
Virtualization:             VT-x
Virtualization type:        full
Having confirmed that your system supports virtualization, proceed to the next step.
If the output does not show any virtualization support, then you need to enable it from the BIOS settings to turn on virtualization.
Step 2: Enable EPEL Repo in AlmaLinux
Some essential dependencies are required for the installation to go on smoothly. But first, be sure to install the EPEL repository as follows.
$ sudo dnf install epel-release -y
Once the installation is complete, install the dependencies as follows.
$ sudo dnf install dkms kernel-devel kernel-headers gcc perl bzip2 wget curl make -y
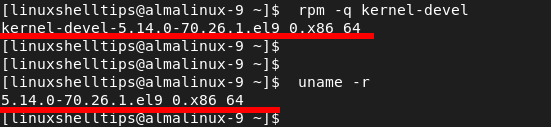
The kernel-devel is a development package for building kernel modules to match the kernel. It provides kernel headers and makefiles for building modules against the kernel.
The kernel-devel version installed will be different from the version of the kernel on your system.
You can verify this by running the following commands:
$ rpm -q kernel-devel
$ uname -r
To resolve the inconsistency between the two versions, update the system.
$ sudo dnf update -y
Then reboot the system
$ sudo reboot
Once again, confirm that the kernel-devel version matches the Linux kernel.
Step 3: Install VirtualBox 7.0 in AlmaLinux
To install the latest version of VirtualBox, we need to add the official VirtualBox repository as follows.
$ sudo dnf config-manager --add-repo=https://download.virtualbox.org/virtualbox/rpm/el/virtualbox.repo
You can list all the versions of VirtualBox that are provided by the repository as follows.
$ dnf search virtualbox

From the output, you can see that VirtualBox 7.0 is provided for by the repository.
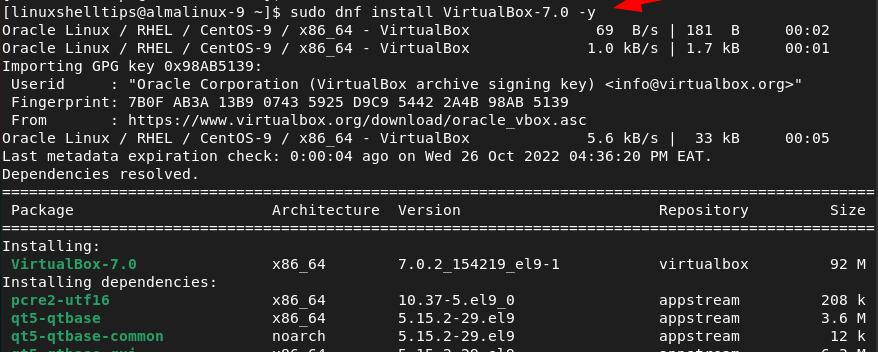
To install VirtualBox 7.0, run the following command:
$ sudo dnf install virtualBox-7.0 -y
The command installs VirtualBox 7.0 alongside other dependencies.
Step 4: Install Virtualbox Extension Pack in AlmaLinux
VirtualBox Extension Pack is a package that extends the basic functionality of VirtualBox and provides additional functionalities such as:
- Copying and pasting text to and from the host.
- USB device usage in your virtual environment (USB 2.0 and USB 3.0).
- Usage of the webcam on the guest system.
- Disk image encryption.
- and so much more.
To install the VirtualBox Extension Pack, head over to the official Virtualbox downloads page. Similarly, you can download the extension pack using the wget command as shown.
$ wget https://download.virtualbox.org/virtualbox/7.0.2/Oracle_VM_VirtualBox_Extension_Pack-7.0.2.vbox-extpack
Next, build the kernel modules as follows.
$ sudo /sbin/vboxconfig
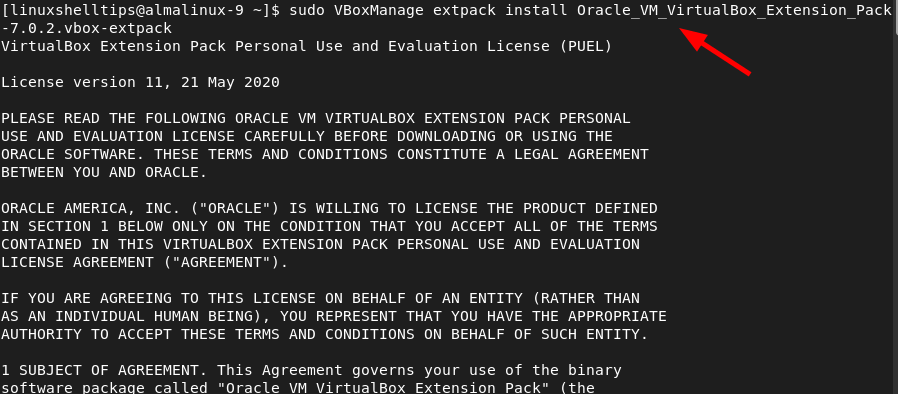
Next, install the VirtualBox extension pack as follows.
$ sudo VBoxManage extpack install Oracle_VM_VirtualBox_Extension_Pack-7.0.2.vbox-extpack
Go through the User License and agree to the license terms and conditions by typing 'y' and pressing ENTER.
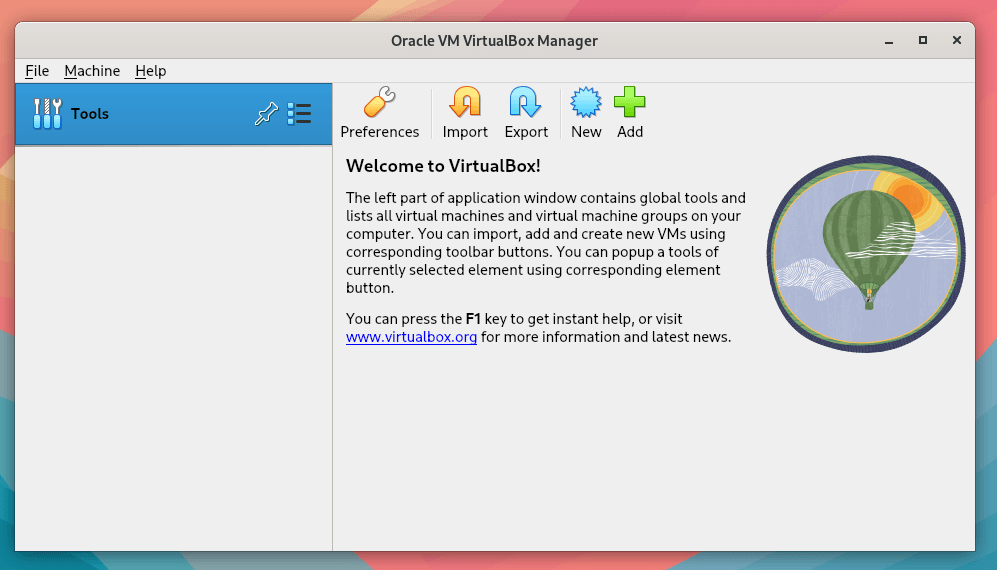
At this point, VirtualBox is installed. To start using it, use the Application Manager to search for it and click the Oracle VM Virtualbox to launch the Oracle VM Virtualbox Manager as shown.
Step 5: Create a Virtual Machine in AlamLinux
In this section, we will demonstrate how to create a virtual machine using an ISO image file. We have a Linux Mint ISO file saved locally on our AlmaLinux system.
To get started with creating a virtual machine click on ‘New‘ as shown below.

This launches the virtual machine installation wizard. Be sure to fill in all the details including the virtual machine name, a path to the VM, and ISO image, and click ‘Next‘.

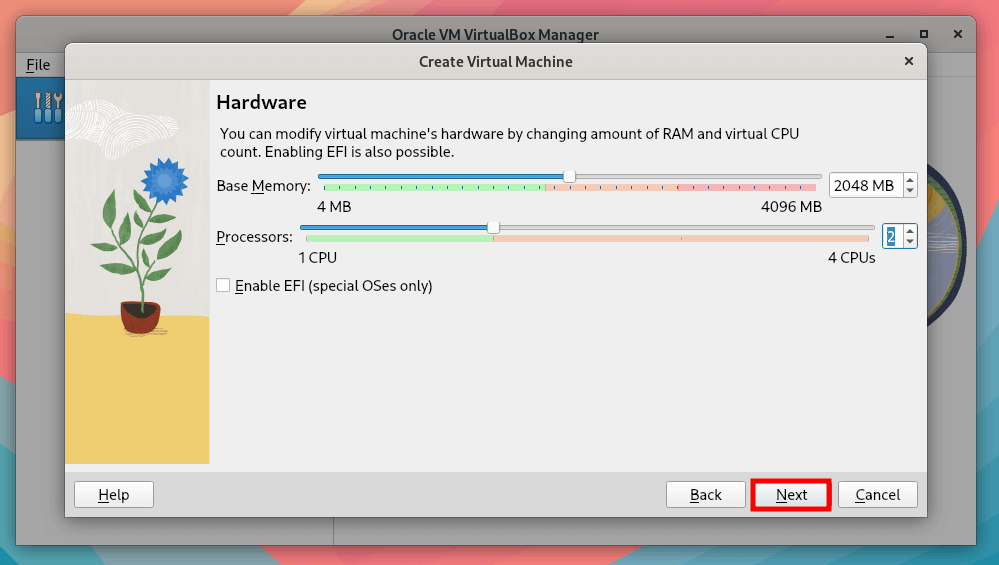
Drag the sliders to select the preferred memory size and number of CPUs. Then click ‘Next‘.
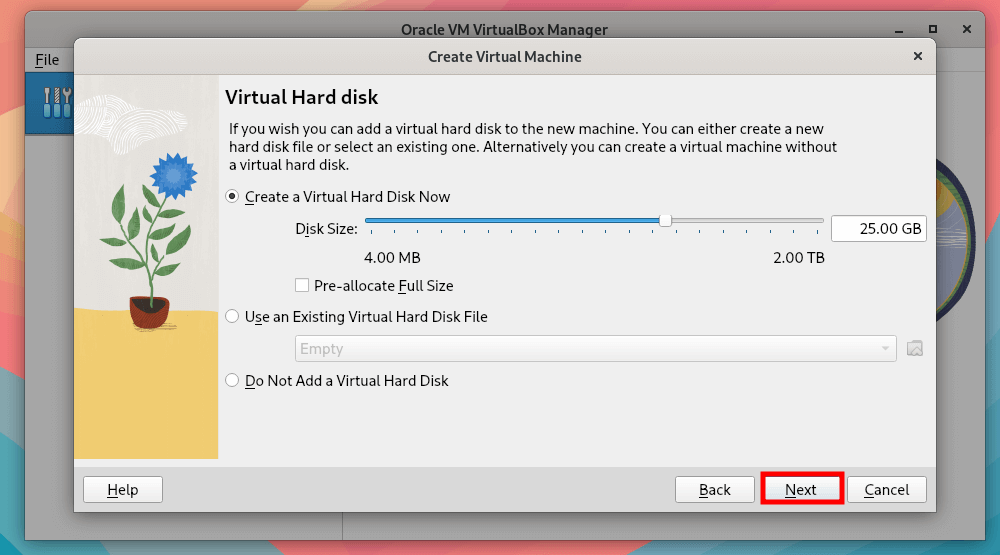
Next, specify the virtual hard disk capacity and click ‘Next‘.
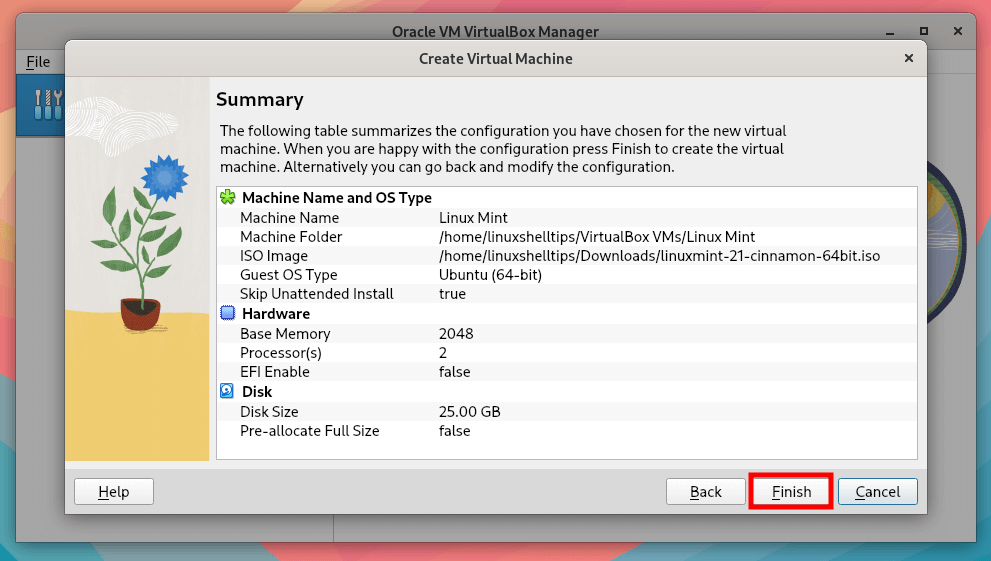
A summary of all the settings you chose will be provided for you. If all looks good, click ‘Finish‘, otherwise, click ‘Back‘ and make the necessary changes.
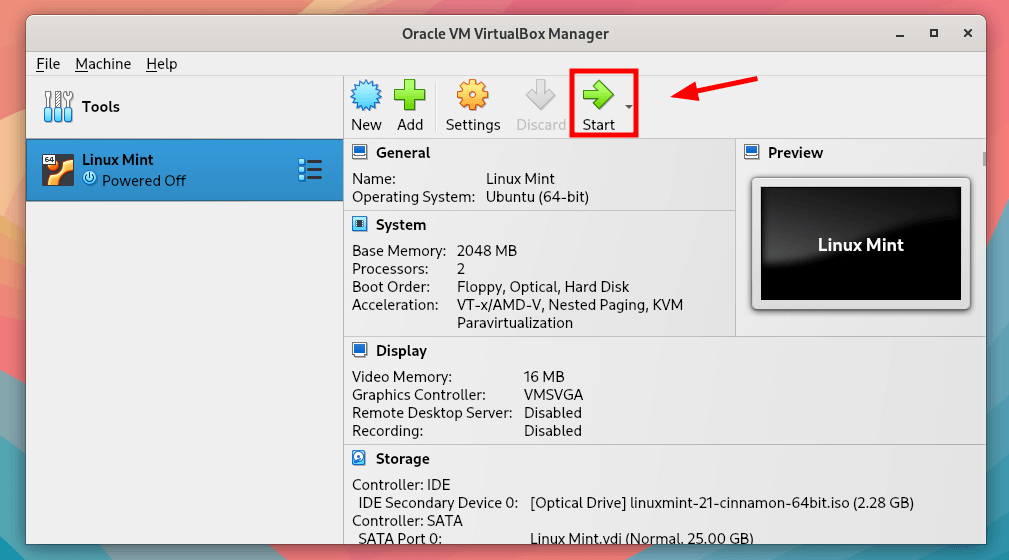
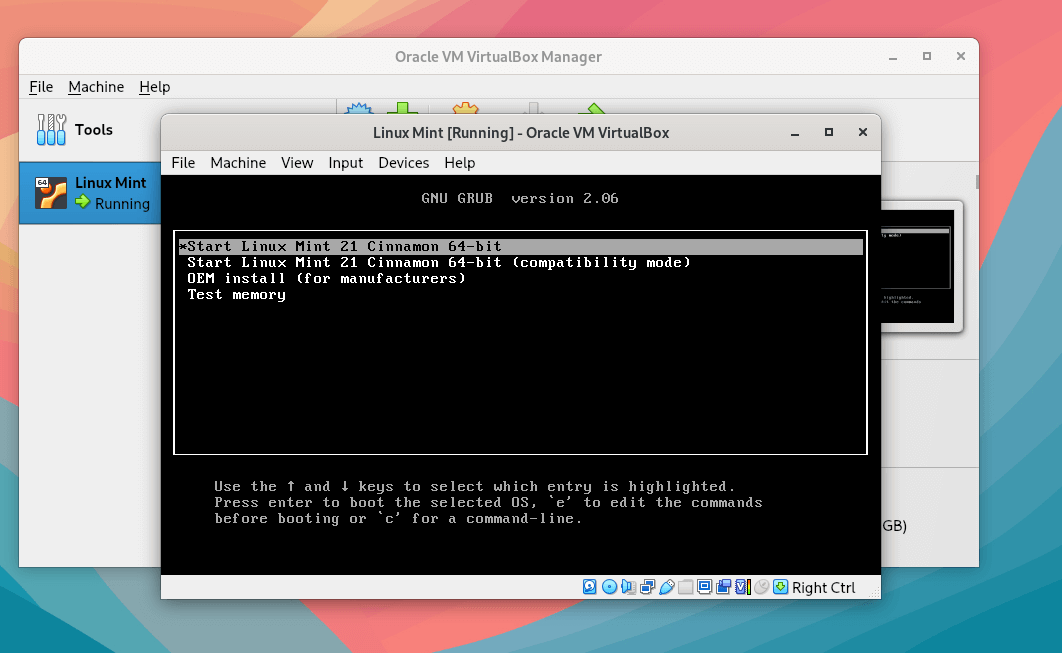
Once you click ‘Finish‘ the virtual machine will be displayed at the left sidebar as shown. To start the virtual machine, click the ‘Start‘ button.
A few seconds later, the virtual machine will pop open and the GRUB menu for your OS will be displayed. From there, you can proceed with the installation of your OS.
Step 6: Virtual Machine Settings
VirtualBox provides a wide array of options to help you make a number of tweaks that will help you better manage and get the most out of your virtual machine.
To have a glance at the settings provided, click the ‘Settings’ button.

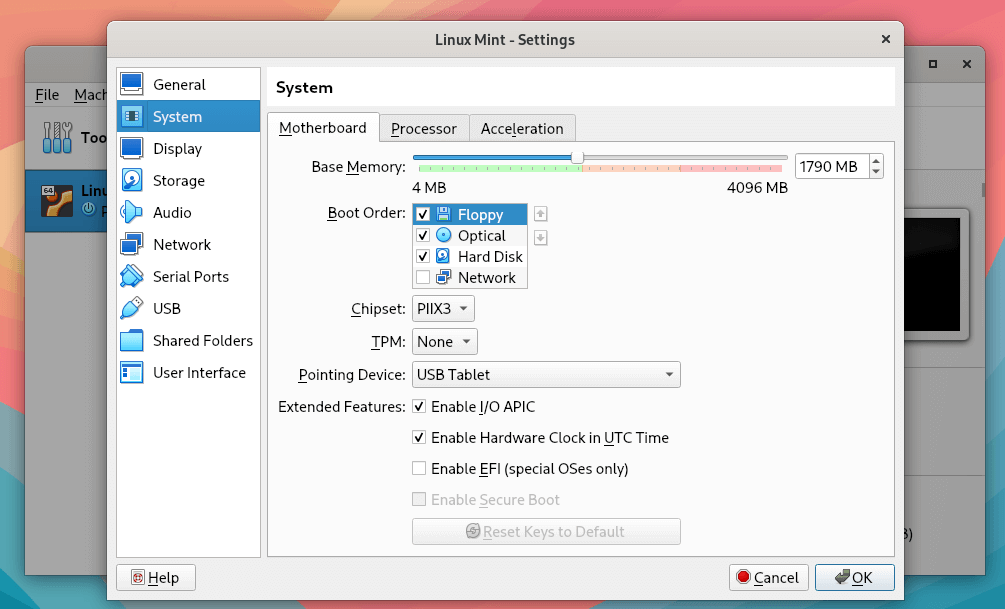
At the left sidebar, you will see a list of options that you can tweak. For example, the ‘System’ option allows you to adjust various system parameters such as memory, number of CPUs, boot order, extended features, and acceleration.
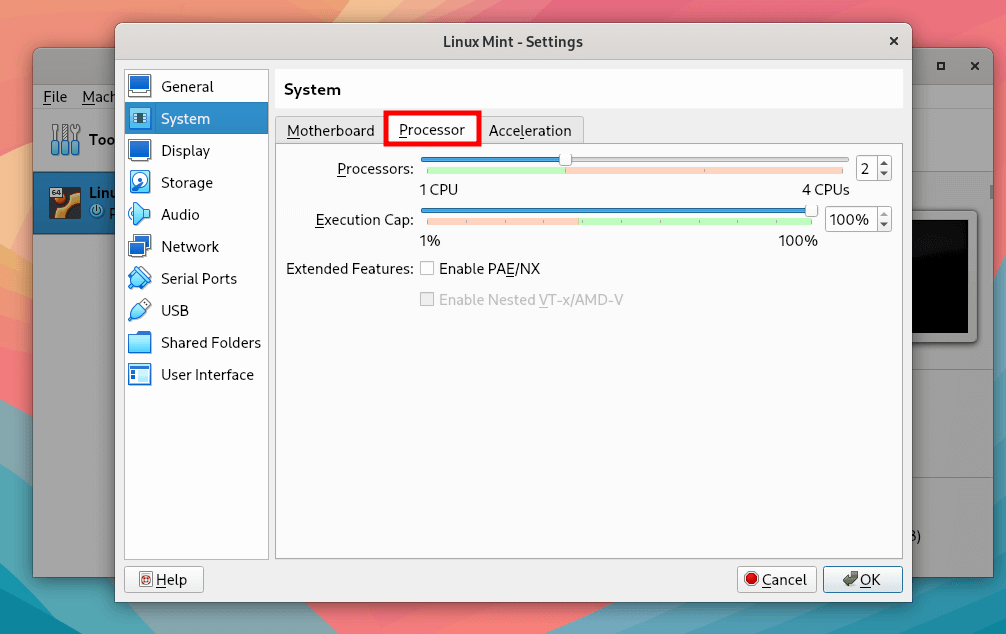
Click the ‘Processor‘ tab to change the number of processors.
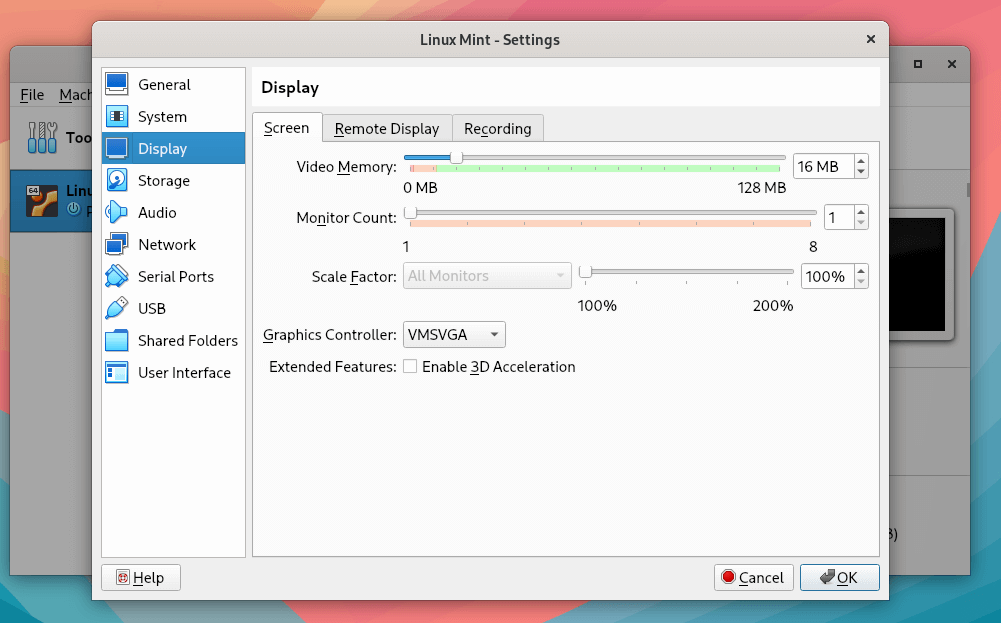
The ‘Display’ option allows you to tweak the Video memory and other graphical options.
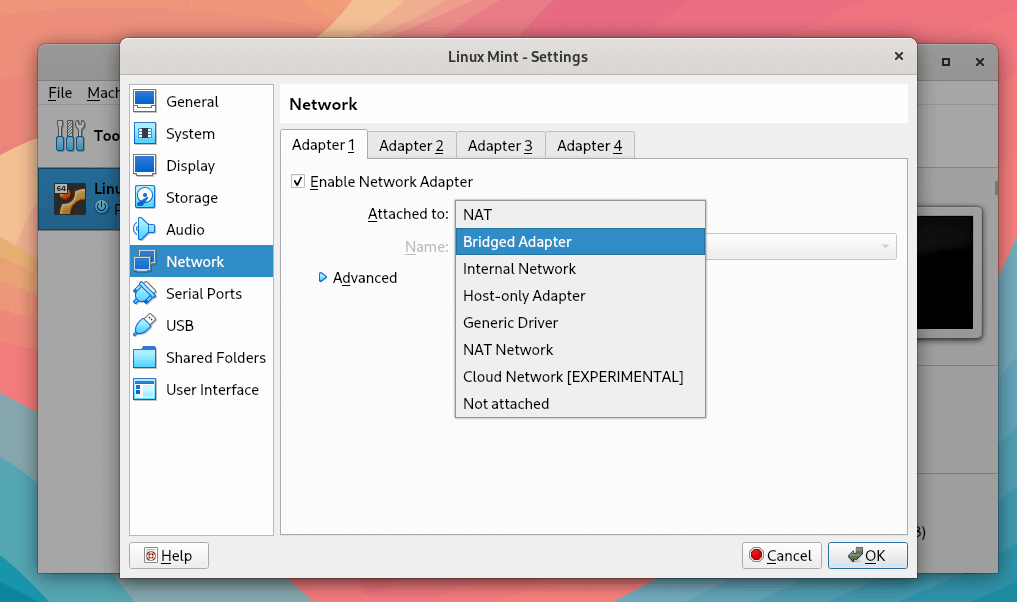
In the ‘Network’ section, you can add or remove virtual adapters as well as change the type of Adapter to use.
Step 7: Install VirtualBox Guest Additions in AlmaLinux
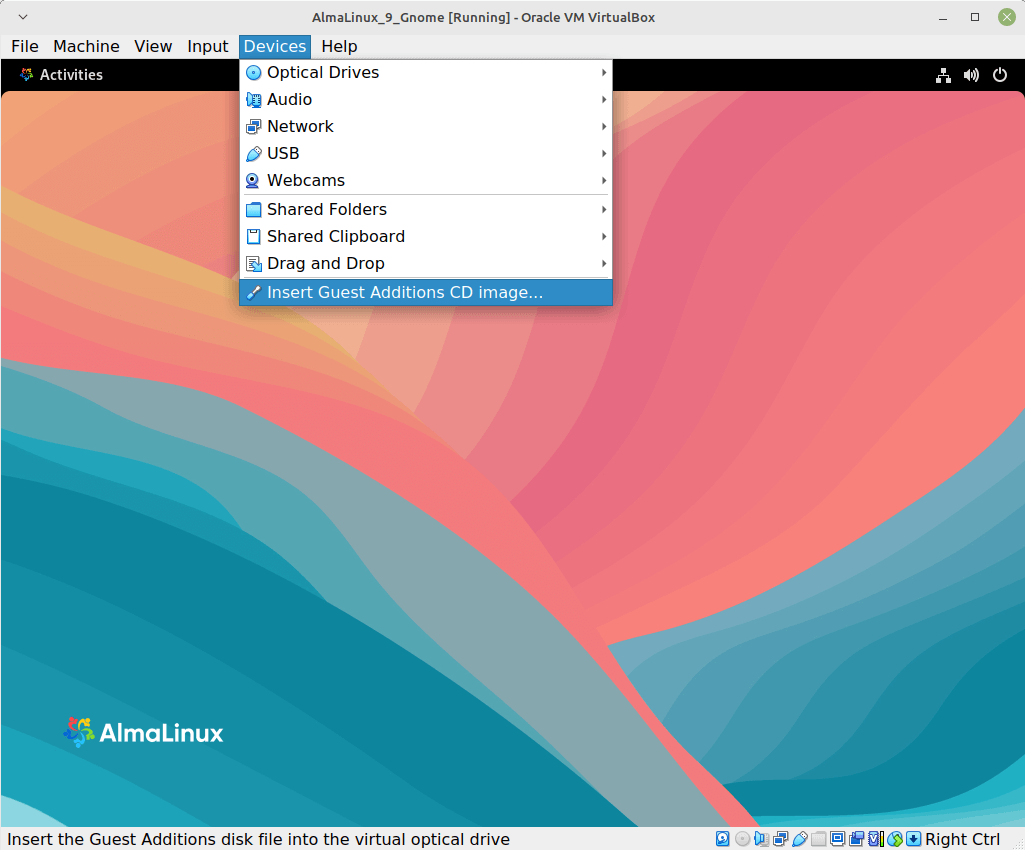
VirtualBox guest additions are additional pieces of software that come bundled with your copy of VirtualBox. They provide extra features that enhance the functionality & performance of your virtual machine.
To install guest additions, navigate to Devices –> Insert Guest Additions CD image.

In this tutorial, we have demonstrated how to install VirtualBox 7.0 on AlmaLinux 8/9. In addition, we examined how to create a virtual machine, tweak various settings, and finally how to get the most out of your guest machine by installing VirtualBox guest additions.


