LAMP stack is the combination of the most frequently used software packages to build dynamic websites. LAMP is an abbreviation that uses the first letter of each of the packages included in it: Linux, Apache, MariaDB, and PHP.
You can use LAMP to build awesome websites with platforms such as WordPress or Joomla for example.
Additionally, by default, MySQL/MariaDB databases are managed from the command-line interface, via the MySQL shell. If you prefer to manage your databases and perform other useful database server operations from a graphical interface, you need to install PhpMyAdmin, a popular PHP-based web application.
If you looking for a LAMP setup for your Ubuntu 20.04, then you should read our LEMP setup guide on Ubuntu 20.04.
In this article, you will learn how to install and configure LAMP with PhpMyAdmin in Ubuntu 20.04 server. The guide assumes that you have already installed Ubuntu 20.04. If you have not installed already, you can refer to our guides here:
Prerequisites:
Step 1: Installing Apache on Ubuntu 20.04
1. Apache2 is an open-source popular, powerful, reliable, and high extensible web/HTTP server software used by numerous websites on the internet.
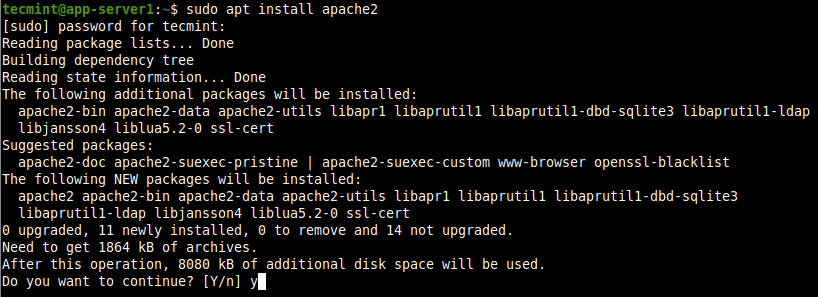
To install the Apache2 package, use the default package manager as follows:
$ sudo apt install apache2
The configuration files for Apache2 are located in /etc/apache2 directory and the main configuration file is /etc//etc/apache2/apache2.conf. And the default document root for storing your web files is /var/www/html/.
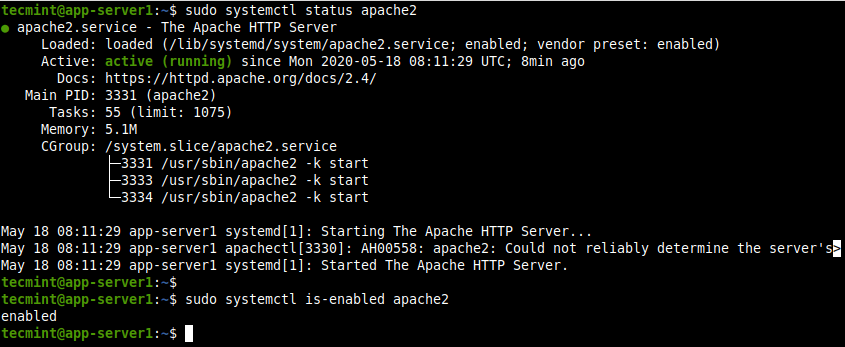
2. On Ubuntu unlike on other major Linux distributions, systemd services are automatically started and enabled to start at system boot, when a package (intended to run as a service) installation is complete.
You can confirm that the Apache2 service is up and enabled on boot using the following systemctl commands.
$ sudo systemctl status apache2
$ sudo systemctl is-enabled apache2
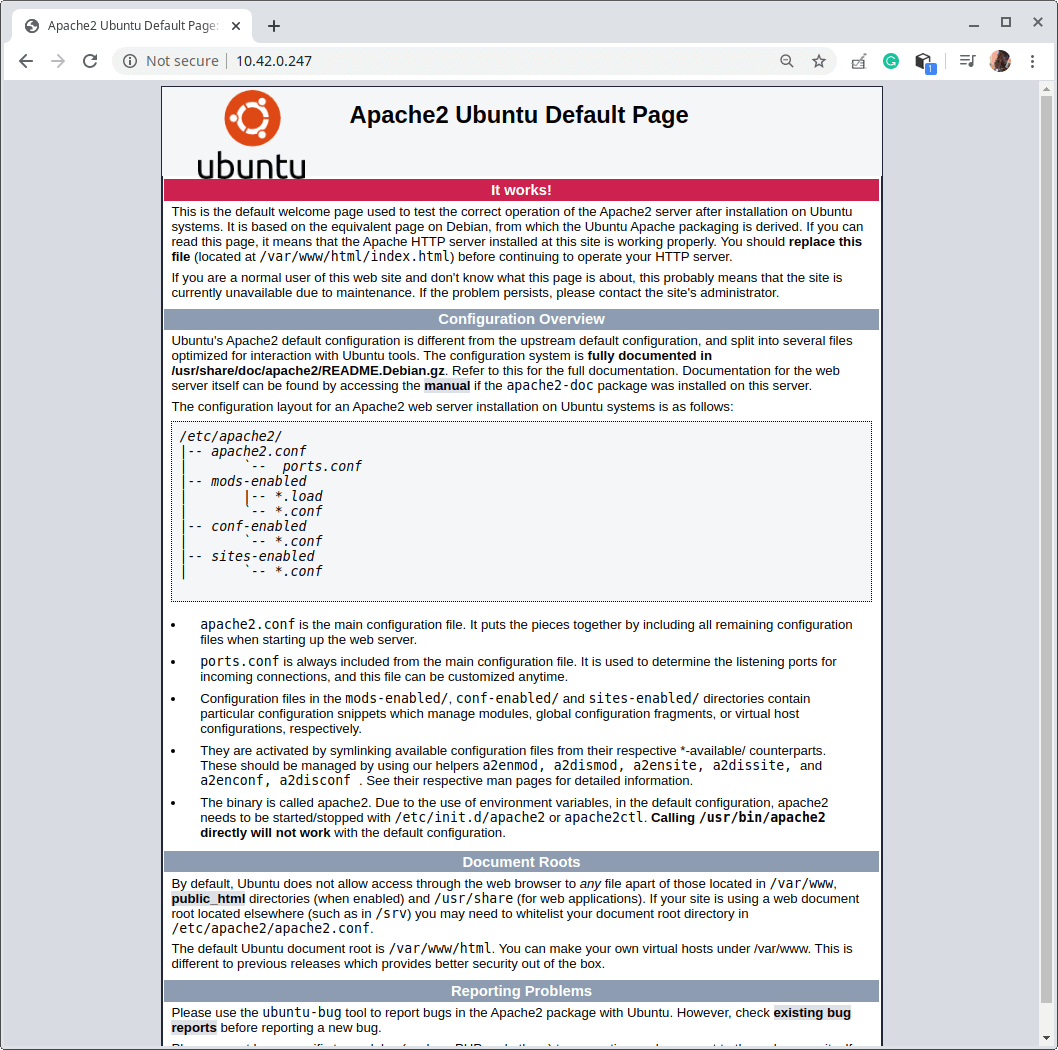
4. Next, you need to test the correct operation of the Apache2 server installation. Open a web browser and use the following address to navigate.
http://YOUR_SERVER_IP
You should see the Apache Ubuntu default page shown in the screenshot.
Step 2: Installing MariaDB Database on Ubuntu 20.04
5. MariaDB is a fork of the popular MySQL database. It is now popular too and is the default in most Linux distributions including Ubuntu and is also part of most cloud offerings.
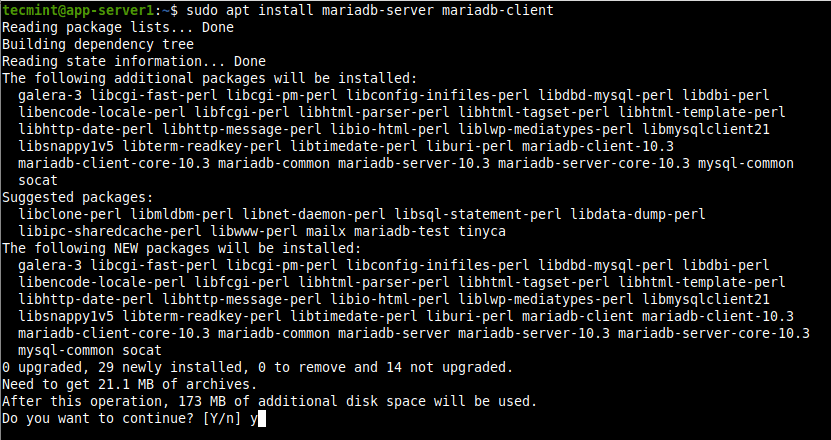
To install the MariaDB database server and client, run the following command.
$ sudo apt install mariadb-server mariadb-client
The MariaDB configuration files are stored under the /etc/mysql/ directory. There are so many configuration files in there, you can read the MariaDB documentation for more information.
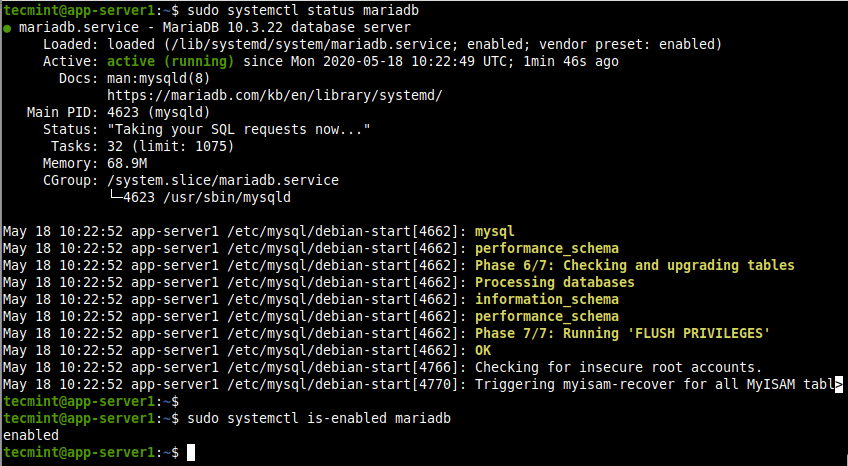
6. Next, confirm that the MariaDB database service is running and is enabled to automatically start when your system is restarted.
$ sudo systemctl status mariadb
$ sudo systemctl is-enabled mariadb
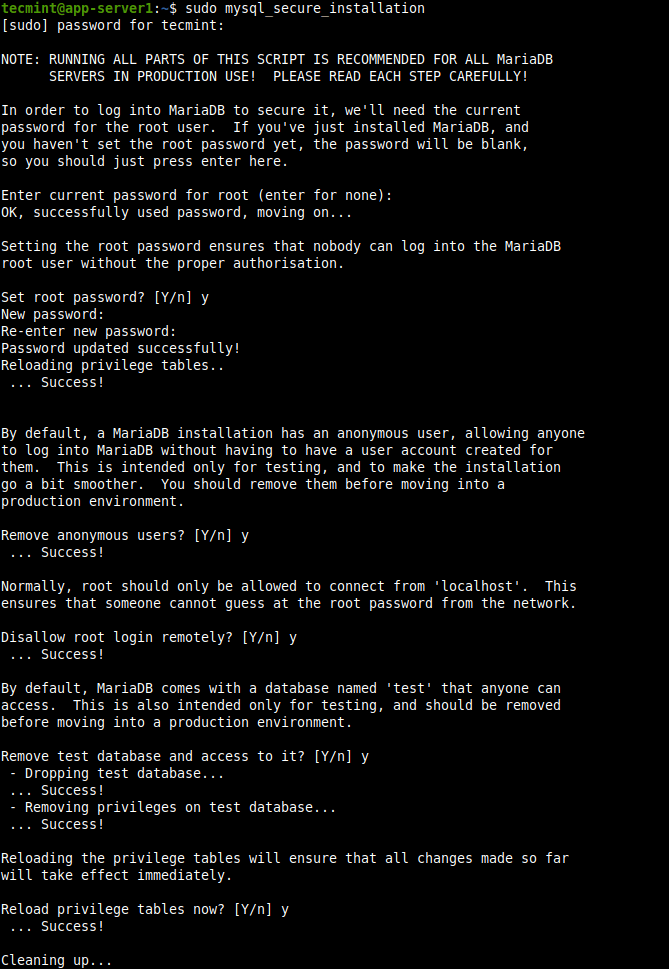
7. On production servers, you need to enable some basic security measures for the MariaDB database installation, by running the mysql_secure_installation script which ships with the MariaDB package.
$ sudo mysql_secure_installation
After running the script, it will take you through a series of questions where you can answer yes(y) or no(n) to enable some security options. Because the database system has just been installed, there is no database root (or administrator) user password.
So you need to create one as shown in the following screenshot.
- Enter current password for root (enter for none): Enter
- Set a root password? [Y/n]
y - Remove anonymous users? [Y/n]
y - Disallow root login remotely? [Y/n]
y - Remove test database and access to it? [Y/n]
y - Reload privilege tables now? [Y/n]
y
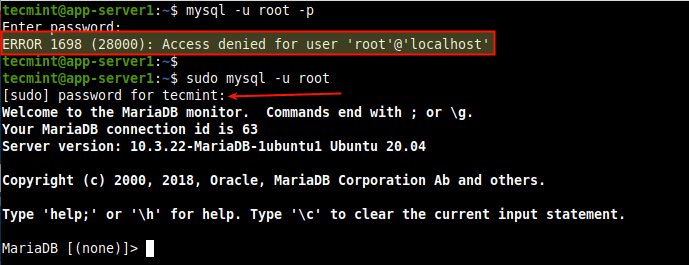
8. To access the MariaDB shell, run the mysql command with the -u option with sudo. If you do not use the sudo command, you are bound to encounter the error indicated in the following screenshot.
$ mysql -u root -p
$ sudo mysql -u root
Step 3: Installing PHP in Ubuntu 20.04
9. A general-purpose open-source scripting language, PHP is one of the most popular programming languages for web development. It powers some of the most popular websites and web applications in the world.
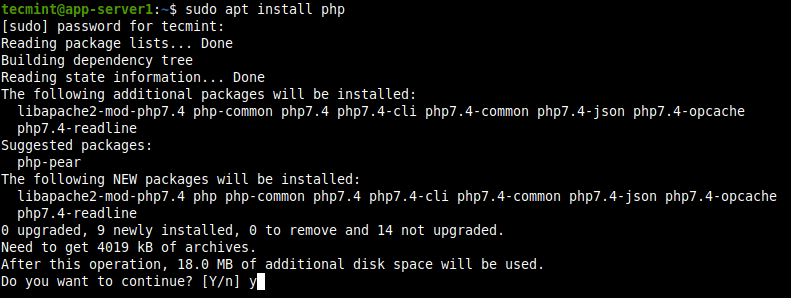
To install PHP, run the following command.
$ sudo apt install php libapache2-mod-php php-mysql
The PHP configuration file will be located in /etc/php/7.2/.
Also, depending on your project, you may want to install some PHP extensions required by your application. You can search a PHP extension as shown.
$ sudo apt-cache search php | grep php- #show all php packages
10. After finding the extension, you can install it. For example, I am installing PHP modules for Redis in-memory cache and Zip compression tool.
$ sudo apt install php-redis php-zip
11. After installing PHP extension, you need to restart apache to apply recent changes.
$ sudo systemctl restart apache2
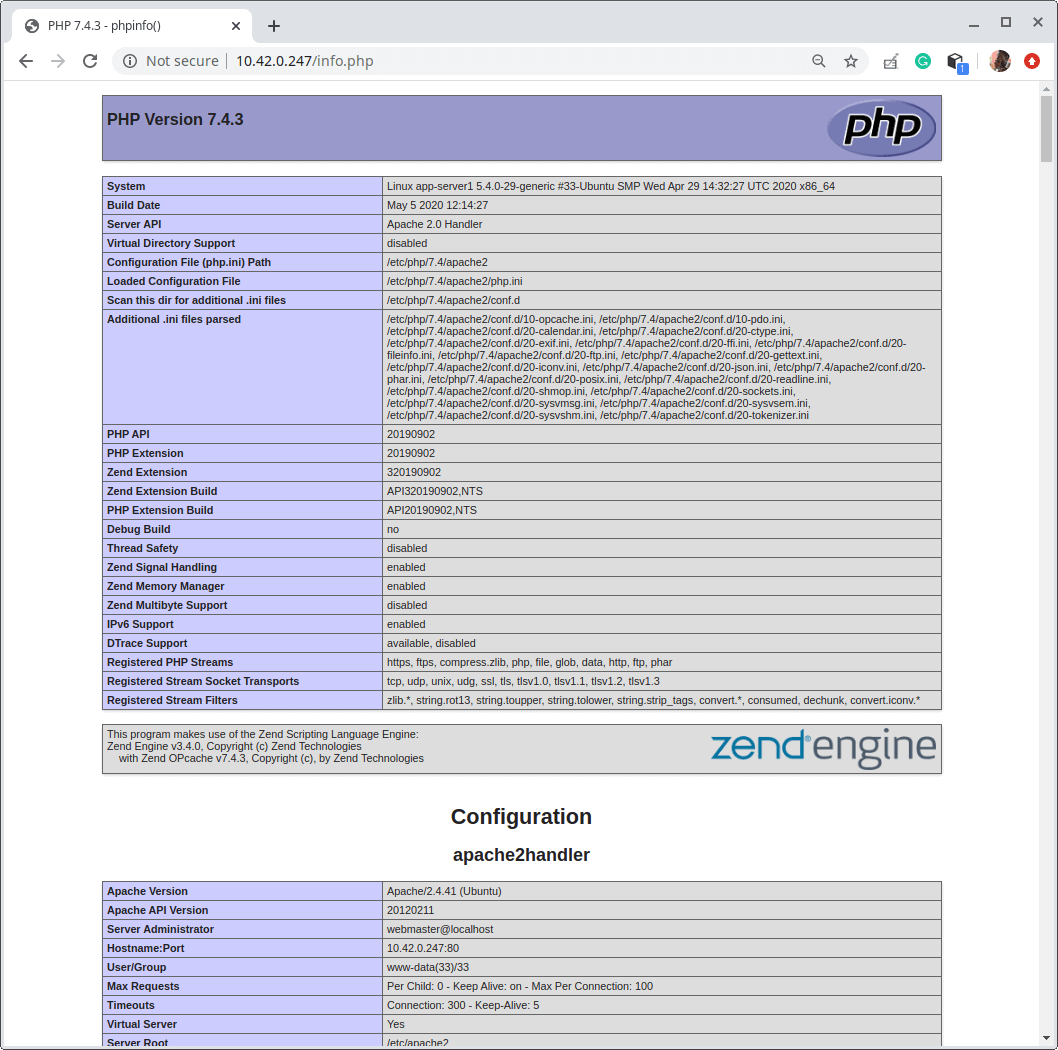
12. Next, test if Apache is working in conjunction with PHP. Create an info.php page under the web document root /var/www/html/ directory as shown.
$ sudo vi /var/www/html/info.php
Copy and paste the following code in the file, then save the file and exit it.
<?php
        phpinfo();
?>
13. Next, open a web browser and navigate using the following address.
http://YOUR_SERVER_IP/info.php
If Apache and PHP are working well together, you should see the PHP information (configuration settings and available predefined variables, installed modules, and more on your system) shown in the following screenshot.
Step 4: Installing PhpMyAdmin in Ubuntu 20.04
14. Intended to handle the administration of MySQL/MariaDB databases, PhpMyAdmin is a free widely-used web-based graphical tool with an intuitive web interface, that supports a wide range of operations on MySQL and MariaDB.
To install PhpMyAdmin, run the following command.
$ sudo apt install phpmyadmin

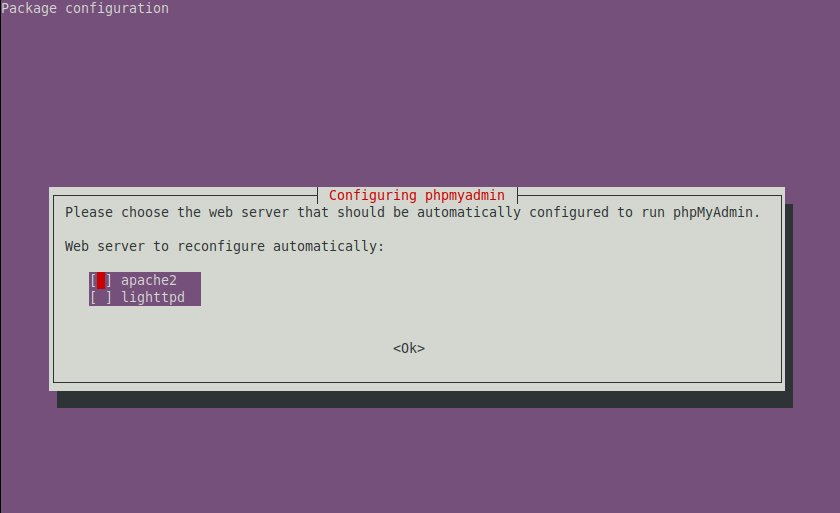
15. During the package installation, you will be prompted to choose the web server that should be automatically configured to run PhpMyAdmin. Click enter to use Apache, the default option.
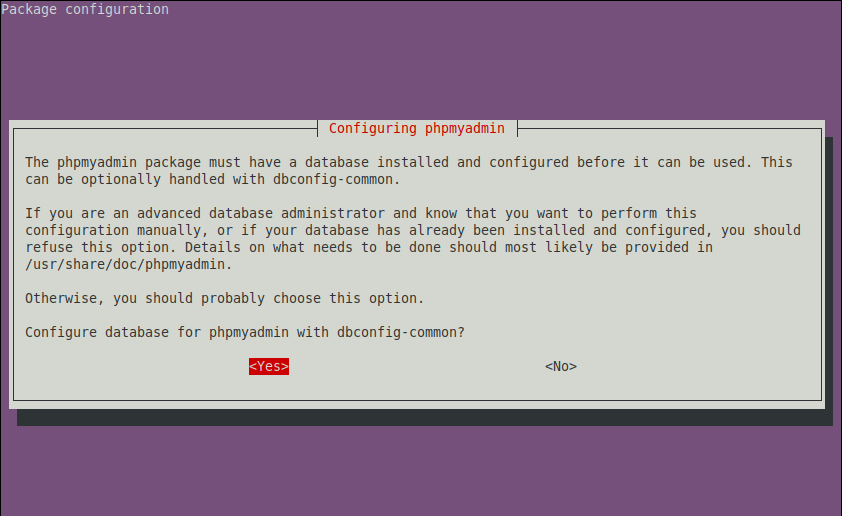
16. Also, PhpMyAdmin must have a database installed and configured before you can start using it. To configure a database for PhpMyAdmin with the dbconfig-common package, select yes in the next prompt.
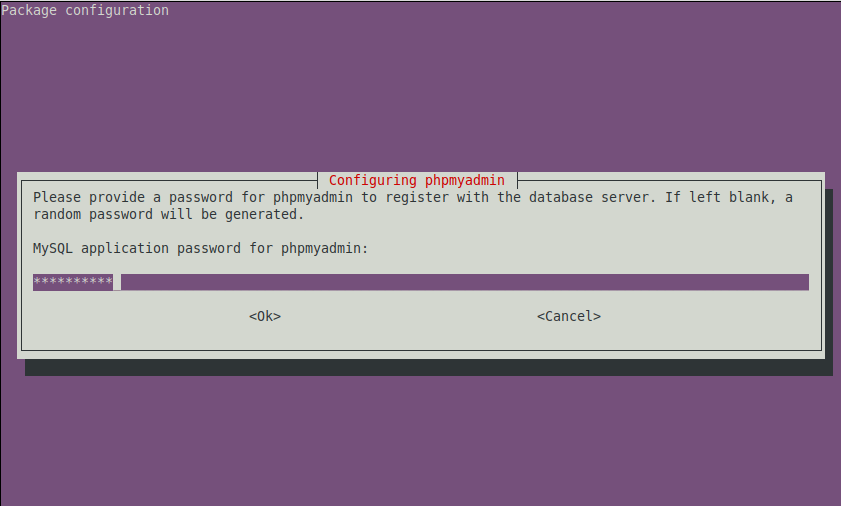
17. Next, create a password for PhpMyAdmin to register with the MariaDB database server.
Once the installation process is complete, the configuration files for phpMyAdmin are located in /etc/phpmyadmin and its main configuration file is /etc/phpmyadmin/config.inc.php. Another important configuration file is /etc/phpmyadmin/apache.conf, used to configure Apache2 to work with PhpMyAdmin.
18. Next, you need to configure Apache2 to serve the phpMyAdmin site. Run the following command to symlink the file /etc/phpmyadmin/apache.conf to /etc/apache2/conf-available/phpmyadmin.conf. Then enable the phpmyadmin.conf configuration files for Apache2 and restart the Apache2 service to apply the recent changes.
$ sudo ln -s /etc/phpmyadmin/apache.conf /etc/apache2/conf-available/phpmyadmin.conf
$ sudo a2enconf phpmyadmin.conf
$ sudo systemctl reload apache2.service

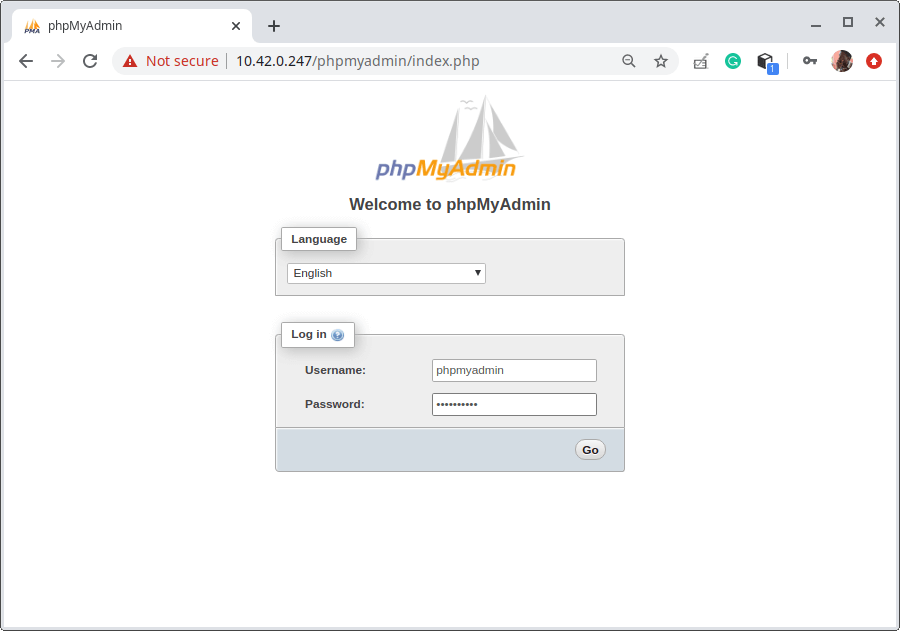
19. In a browser go to http://SERVER_IP/phpmyadmin, replacing SERVER_IP with the server’s actual IP address.
http://SERVER_IP/phpmyadmin
Once the PhpMyAdmin login page loads, enter root for the username and its password, or another MariaDB user, if you have any setup, and enter the user’s password. If you disabled remote root user login, you can use the phpmyadmin user and password to log in.
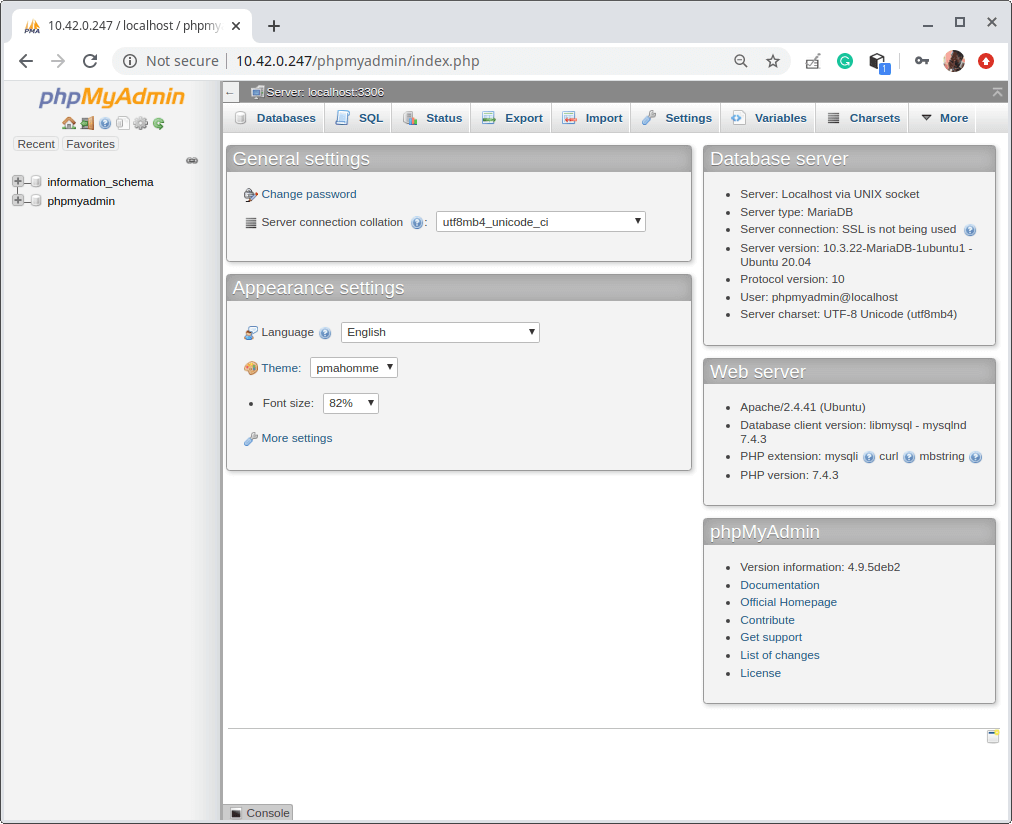
20. After login, you will see the PhpMyAdmin dashboard. Use it for managing databases, tables, columns, relations, indexes, users, permissions, etc.
This brings us to the end of this guide. Use the feedback form to ask any questions about this guide or any other LAMP stack related issues concerning Ubuntu 20.04.


Worked for me!.
Thanks.
Hi Aaron,
Installation went well. However, in phpmyadmin there is a warning “NO RIGHTS”.
Creating a database is impossible. Where could I have gone wrong?
Thank you in advance,
Gerard
Very helpful article Aaron, Thanks!
Thanks, it worked for me.
@masnegoz
Welcome, thanks for the feedback.
Hi! Thanks for the best guide about LAMP stack Installing. But could you please help me to solve some issues? For example, I go to the /var/www/ and I can not create there any new folder or file, no I can, but only using sudo mkdir test_project and password request after.
This way is really not convenient for me. The same with the file for example I created the file (sudo touch index.php) Then I open the new file using Visual Code, made some changes and try to save, and again face the notification: “failed to save insufficient permissions” of cour I can save it as Sudo but it’s really not convenient, maybe for the test but not for the real project work.
@Victor,
If you don’t want to use sudo every time, better login with the root user.
To solve that you can do create a group let’s say “developers” and assign the users “www-data” and your user id then via terminal go to /var and change group to “developers” with 775 access. This way all users in group Developers will have write access to www folder, below is a more detailed process:
This line provides me this error :
Any suggestions?
Morfis it means that you have done that step that’s why it is showing file already exist
I got the same notice. Then I added the next line:
It showed me ‘ERROR: Conf PHPMyAdmin does not exist!’
Any advice? Many thanks for your help!
@Grace.
To fix it:
Thank you very much for your help!
I am so extremely appreciative of everything you folks do. Truly, thank you.
After reading so many articles, I found this very helpful. Thank you very much Aaron for this article.
Hi,
Thank you for the detailed documentation of LAMP and Phpmyadmin. I could successfully install all.
I could not see the full database list in the PHPMyAdmin database option. What must be the reason?
Please clarify.
Thanks
@nagaraju
Are you logged in as a user who has the privileges to access all databases on the system? Try to verify this. Also ensure that there are actually many databases on your system, cross-check via the command-line client.