LibreNMS is an open-source and fully-featured networking monitoring tool that provides a wide range of monitoring features and capabilities for your network devices.
Key features include:
- Automatic discovery of your entire network using ARP, SNMP, BGP, OSPF, LLDP, and FDP protocols.
- An alerting system that is highly customizable and can be tweaked to send alerts via email, Slack, and other channels.
- A simple, and easily customizable dashboard.
- A fully-extensive API for managing and graphing data from your monitoring server.
- Extensive device support – Supports a wide range of hardware vendors such as Cisco, Juniper, HP, and many more.
- Automatic updates and bug fixes.
- Multi-Factor authentication.
- Native support for Android and iOS Apps.
- and many more.
In this guide, we will install the LibreNMS monitoring tool on Debian 11/10.
Step 1: Install Nginx, MariaDB and PHP
To start off, refresh the repositories and install the prerequisite packages as follows:
$ sudo apt update
$ sudo apt install software-properties-common wget apt-transport-https
The next step is to install Nginx and additional packages such as curl, git, SNMP, and python packages which will be required by the LibreNMS monitoring tool.
So, run the command:
$ sudo apt install nginx-full curl acl fping graphviz composer git imagemagick mtr-tiny nmap python3-pip python3-memcache python3-mysqldb python3-dotenv python3-pymysql rrdtool snmp snmpd whois python3-redis python3-systemd python3-setuptools python3-systemd
Next, install the MariaDB database server, PHP, and additional PHP extensions which are needed by the LibreNMS monitoring tool.
$ sudo apt install mariadb-server php php-fpm php-cli php-xml php-common php-gd php-json php-snmp php-pdo php-mysql php-zip php-curl php-mbstring php-pear php-bcmath
Once installed, be sure to enable Nginx, php-fpm, MariaDB, and SNMP services as shown.
$ sudo systemctl enable --now nginx
$ sudo systemctl enable --now php7.4-fpm
$ sudo systemctl enable --now mariadb
$ sudo systemctl enable --now snmpd.service
Step 2: Configure TimeZone for PHP
The next step requires us to configure or set the PHP timezone. This is done in the php.ini file which is the default PHP configuration file.
Access the php.ini configuration files in the following paths using your favorite editor.
$ sudo nano /etc/php/7.4/fpm/php.ini
$ sudo nano /etc/php/7.4/cli/php.ini
Navigate to the date.timezone parameter and set it to your timezone. To get a comprehensive list of all the supported Timezone, head over to the official PHP site.
In this example, we are setting the timezone to UTC.
date.timezone = UTC
Then save the changes and exit the files.
Step 3: Create a Database for LibreNMS
In this step, we will create a database for LibreNMS installation. But first, let us secure the database secure by running the following script:
$ sudo mysql_secure_installation
Follow the detailed prompts that will guide you on how to create the MariaDB root password, remove anonymous users and test the database and finally disallow remote root login.
Next, log into MariaDB:
$ sudo mysql -u root -p
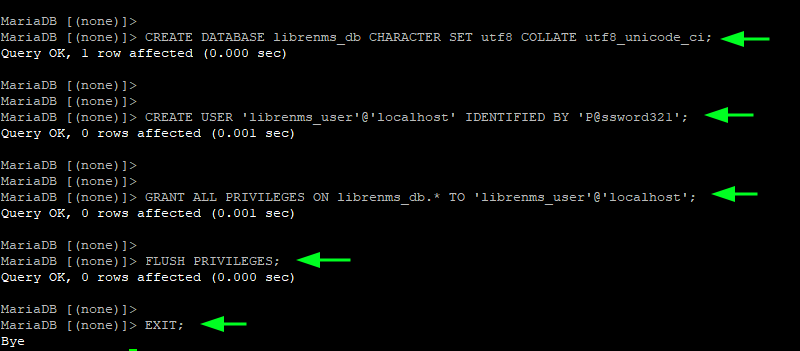
Then run the following commands to create a database and database user and assign all privileges to the database user.
CREATE DATABASE librenms_db CHARACTER SET utf8 COLLATE utf8_unicode_ci;
CREATE USER 'librenms_user'@'localhost' IDENTIFIED BY 'P@ssword321';
GRANT ALL PRIVILEGES ON librenms_db.* TO 'librenms_user'@'localhost';
Then save the changes and exit the MariaDB prompt.
FLUSH PRIVILEGES;
EXIT;
Some database fine-tuning is needed. So open the MariaDB configuration file shown:
$ sudo vim /etc/mysql/mariadb.conf.d/50-server.cnf
Then paste the following lines of code in the ‘mysqld’ section.
innodb_file_per_table=1
lower_case_table_names=0
Save the changes and exit the file. To apply the changes, restart the database server.
$ sudo systemctl restart mariadb
Step 4: Add LibreNMS User
You also need to create a new LibreNMS user. This is the user that LibreNMS will be running under. In this example, we are creating a user called librenms with the following attributes.
$ sudo useradd librenms -d /opt/librenms -M -r -s /bin/bash
$ sudo usermod -aG librenms www-data
- The
-doption sets the home directory for the librenms user to the /opt/librenms directory. - The
-roption configures the librenms user as the system user. - The
-Moption skips creating a home directory for the user since it has already been defined using the-doption. - The
-soption specifies the type of shell, in this case, bash.
Step 5: Clone LibreNMS Git Repository
Shifting gears, we are now going to clone the LibreNMS git repository to begin setting it up.
Run the following commands to clone the Git repository
$ cd /opt
$ sudo git clone https://github.com/librenms/librenms.git
Then switch back to the home directory.
$ cd ~
Next, we need to assign directory ownership and permissions to the Librenms home directory. To achieve this, run the following commands:
$ sudo chown -R librenms:librenms /opt/librenms
$ sudo chmod 771 /opt/librenms
Additionally, modify the access control lists for the Librenms home directory using the setfacl command. This grants the Librenms group permission to read and write on the subdirectories in the home directory.
$ sudo setfacl -d -m g::rwx /opt/librenms/rrd /opt/librenms/logs /opt/librenms/bootstrap/cache/ /opt/librenms/storage/
$ sudo setfacl -R -m g::rwx /opt/librenms/rrd /opt/librenms/logs /opt/librenms/bootstrap/cache/ /opt/librenms/storage/
Step 6: Install PHP Dependencies
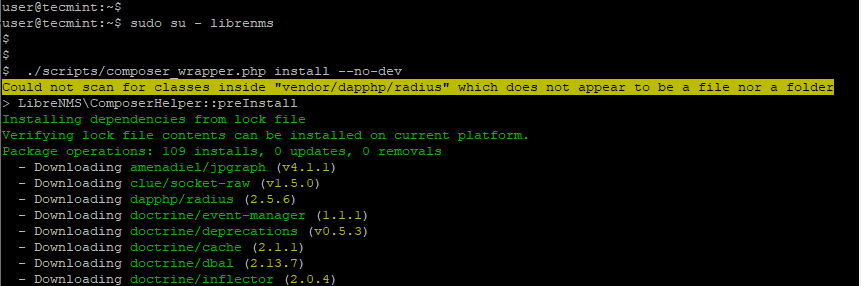
Some dependencies are required by PHP during the setup of the LibreNMS monitoring tool. To do this, you need to be logged in as the librenmsuser.
$ sudo su - librenms
Next, install all the PHP dependencies as follows.
$ ./scripts/composer_wrapper.php install --no-dev
Once the installation of the dependencies is complete, exit the librenms user.
$ exit
Step 7: Configure PHP-FPM for LibreNMS Installation
Moving on, we need to make a few changes to PHP-FPM in order to support LibreNMS.
To accomplish this. Copy the ‘www.conf‘ file which is the default pool configuration file to the ‘librenms.conf‘ file as follows.
$ sudo cp /etc/php/7.4/fpm/pool.d/www.conf /etc/php/7.4/fpm/pool.d/librenms.conf
Next, edit the ‘librenms.conf‘ file.
$ sudo nano /etc/php/7.4/fpm/pool.d/librenms.conf
Change the user and group parameters to librenms as shown
user = librenms
group = librenms
Next, modify the listen attribute to /run/php-fpm-librenms.sock as follows.
listen = /run/php-fpm-librenms.sock
Save the changes and exit the configuration. Be sure to restart the PHP-FPM service to apply the changes.
$ sudo systemctl restart php7.4-fpm
Step 8: Configure the SNMP Daemon
The SNMP protocol is a TCP/IP protocol that collects and organizes metrics or information from managed devices across a network.
Most monitoring tools such as Cacti leverage the SNMP service to collect information from remote hosts. And so does LibreNMS.
To configure the SNMP service, go ahead and copy the snmpd.conf.example file to the /etc/snmp/snmpd.conf file.
$ sudo cp /opt/librenms/snmpd.conf.example /etc/snmp/snmpd.conf
Next, edit the snmpd.conf file.
$ sudo vim /etc/snmp/snmpd.conf
Locate the RANDOMSTRINGGOESHERE string.
com2sec readonly default RANDOMSTRINGGOESHERE
Change it to librenms.
com2sec readonly default librenms
Save the changes and exit.
Next, download the distro file, which is a file that automatically detects the OS of the managed nodes and distinguishes its distribution.
$ sudo curl -o /usr/bin/distro https://raw.githubusercontent.com/librenms/librenms-agent/master/snmp/distro
Make it executable and restart the SNMP service.
$ sudo chmod +x /usr/bin/distro
$ sudo systemctl restart snmpd
Step 9: Configure Nginx for LibreNMS
With Nginx as our preferred web server, we need to go an extra step and configure it in order to server LibreNMS.
First, we will create an Nginx server block as shown.
$ sudo nano /etc/nginx/sites-available/librenms
Paste the following lines of codes. For the server_name attribute, provide your server’s registered domain name or IP address.
server {
  listen      80;
  server_name 23.92.30.144;
  root        /opt/librenms/html;
  index       index.php;
 charset utf-8;
  gzip on;
  gzip_types text/css application/javascript text/javascript application/x-javascript image/svg+xml text/plain text/xsd text/xsl text/xml image/x-icon;
  location / {
   try_files $uri $uri/ /index.php?$query_string;
  }
  location /api/v0 {
   try_files $uri $uri/ /api_v0.php?$query_string;
  }
  location ~ .php {
   include fastcgi.conf;
   fastcgi_split_path_info ^(.+.php)(/.+)$;
   fastcgi_pass unix:/var/run/php/php-fpm.sock;
  }
  location ~ /.ht {
   deny all;
  }
 }
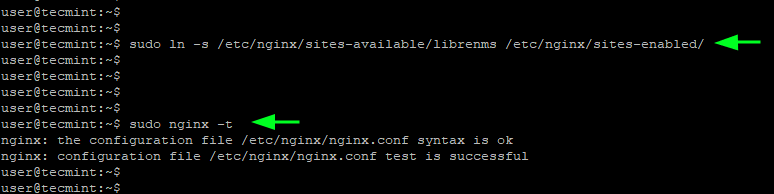
Save the changes and exit the configuration file. Next, enable the Nginx server block by creating a symbolic link as shown.
$ sudo ln -s /etc/nginx/sites-available/librenms /etc/nginx/sites-enabled/
Then restart Nginx to apply the changes made to the configuration.
$ sudo systemctl restart nginx
Additionally, you can confirm that all the Nginx settings are okay by running the command:
$ sudo nginx -t
Step 10: Copy the Logrotate and Cron Configuration
By default, LibreNMS stores its logs in the /opt/librenms/logs directory. Over time, this can easily fill up and present space problems. To prevent this, rotation of old log files is recommended.
Therefore copy the logrotate file in the LibreNMS directory to the /etc/logrotate.d/ directory.
$ sudo cp /opt/librenms/misc/librenms.logrotate /etc/logrotate.d/librenms
Equally important, copy the cron job file as follows to allow automatic polling & discovery of new devices
$ sudo cp /opt/librenms/librenms.nonroot.cron /etc/cron.d/librenms
Step 11: Complete the Setup of LibreNMS from a Browser
To complete the setup from a browser, head over to the following URL:
http://server-ip
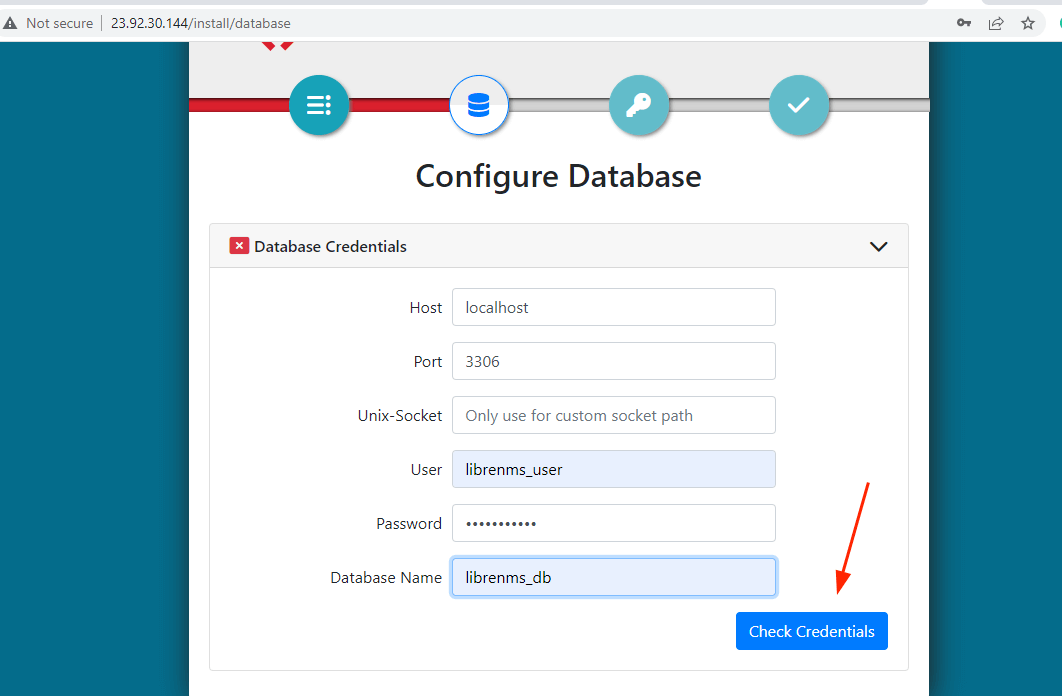
This takes you to the pre-installation checklist shown. If all look good, click on the ‘database’ icon to the right.

Be sure to fill in all the database details and click ‘Check Credentials’.
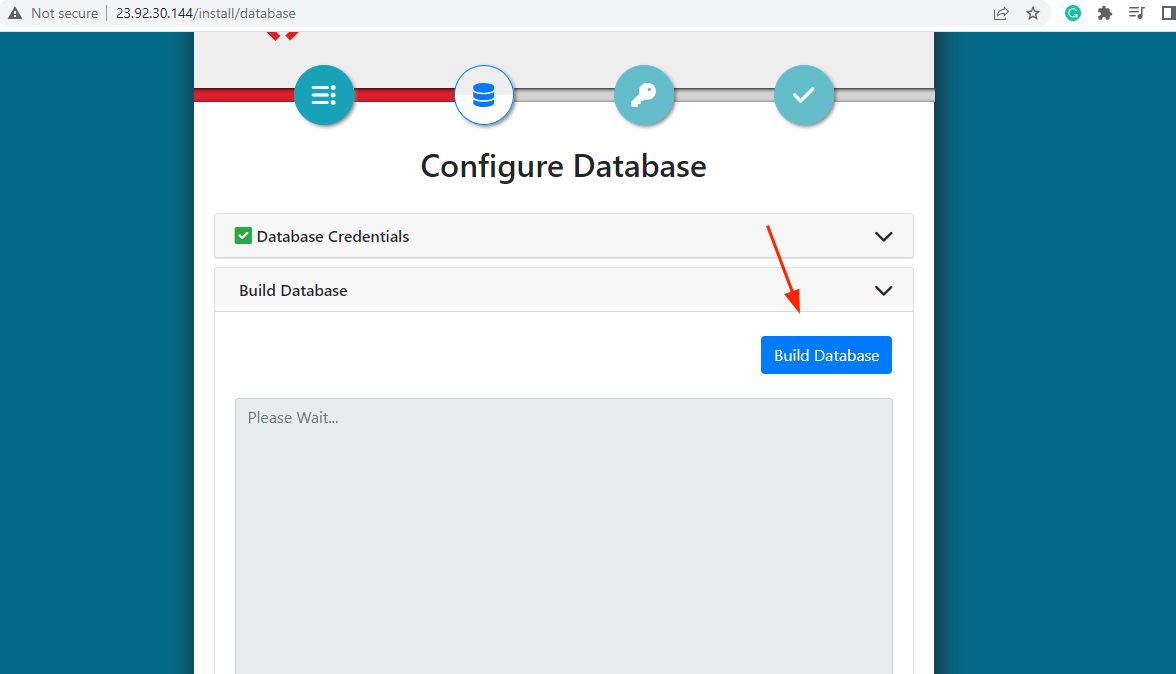
Once the database details have been validated, click on ‘Build Database’.
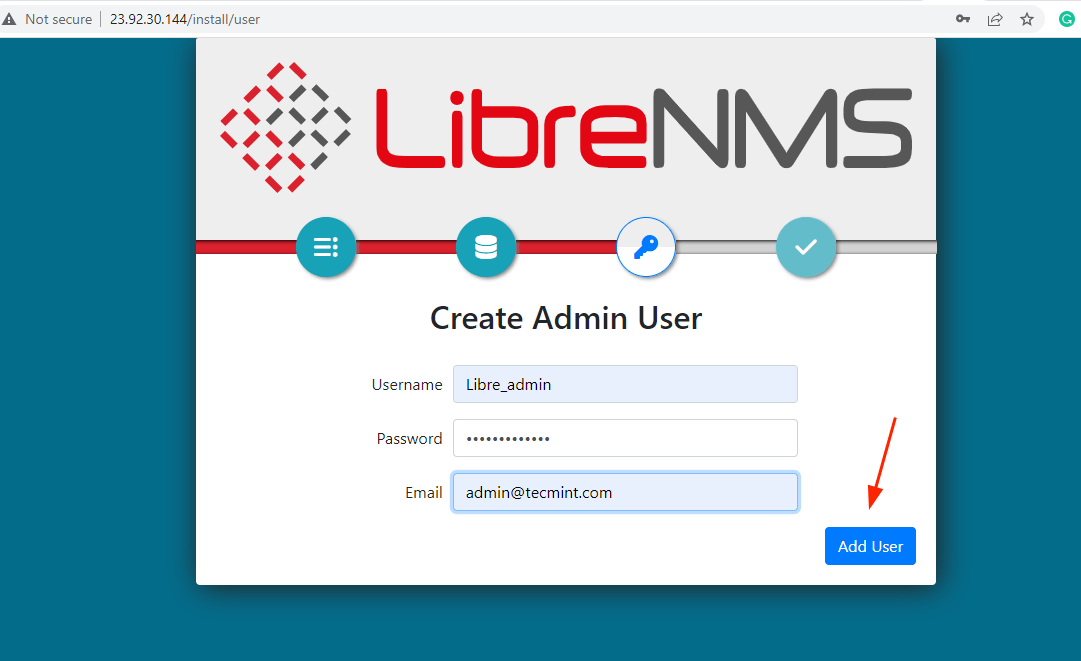
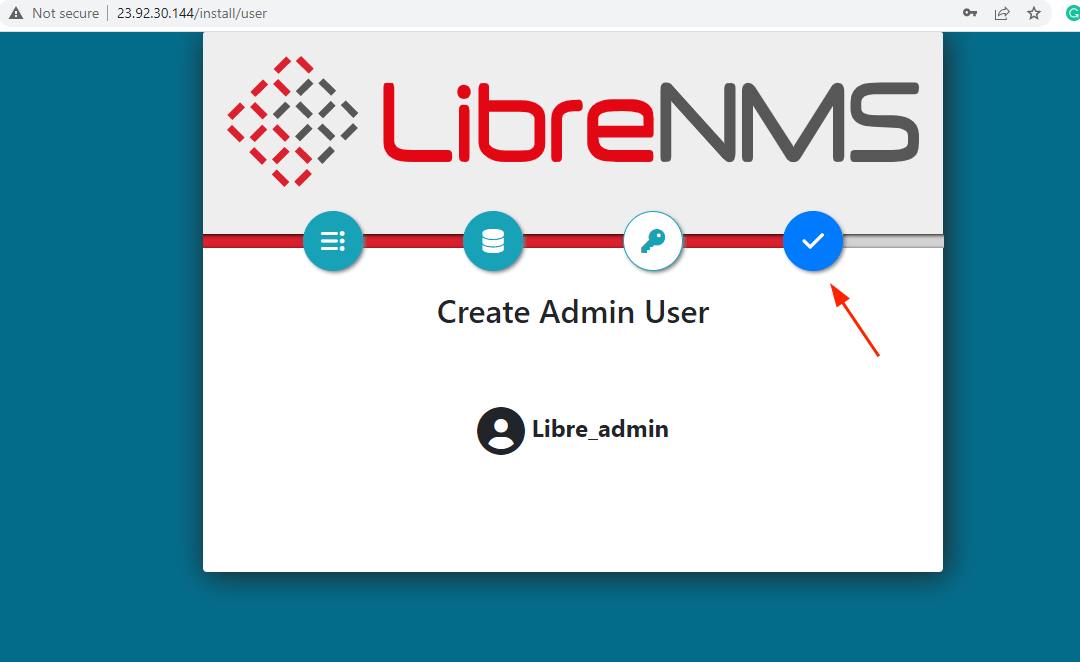
When you get past this step, click the next icon to create an Admin user. Provide the username, password, and the email of the Admin user and click ‘Add user’.
Finally, click on the last button to finish the installation.
You will bump into this error informing you that the installer ‘Failed to write file: /opt/librenms/.env’.
But don’t worry. Simply manually update the /opt/librenms/.env file afresh with the database details provided. These details will vary in your case.
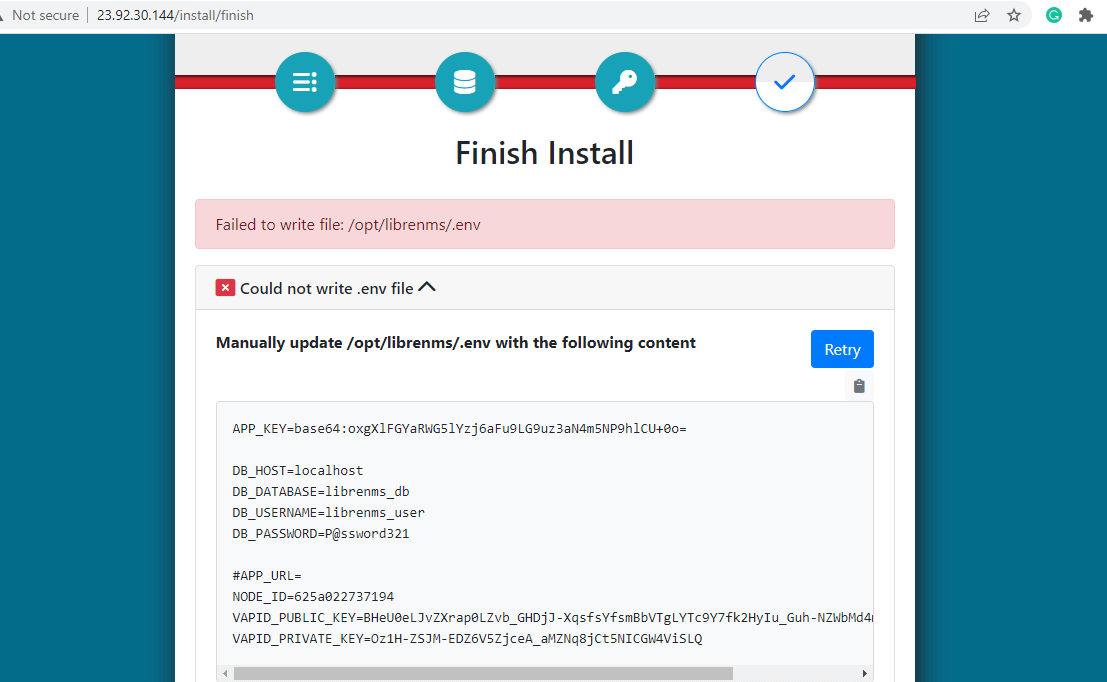
So, access the file.
$ sudo nano /opt/librenms/.env
Delete all the content in the file and paste the details provided above into the file and save the changes.
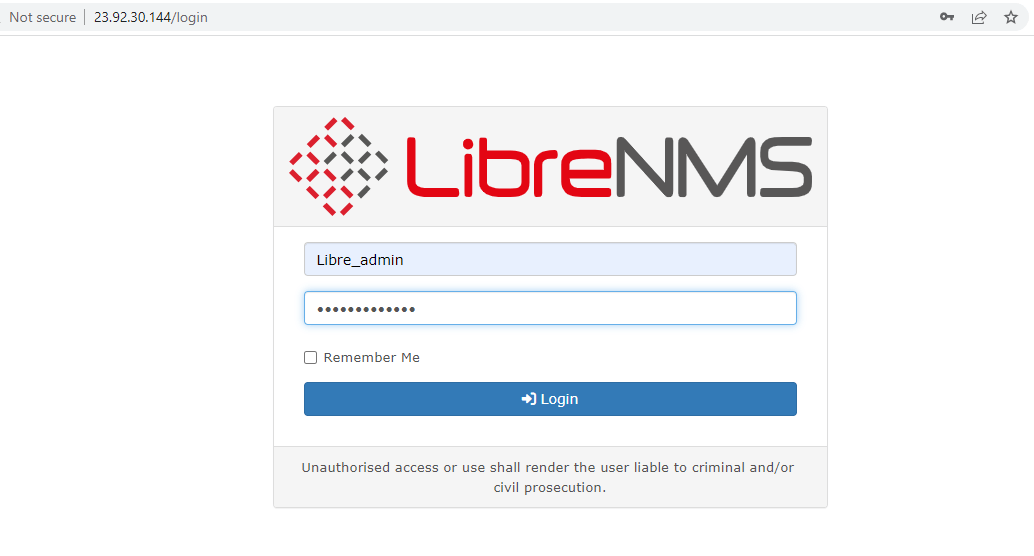
Next head back and click the ‘Retry’ button. This takes you to the LibreNMS login page. Provide the login credentials and click ‘Login’.
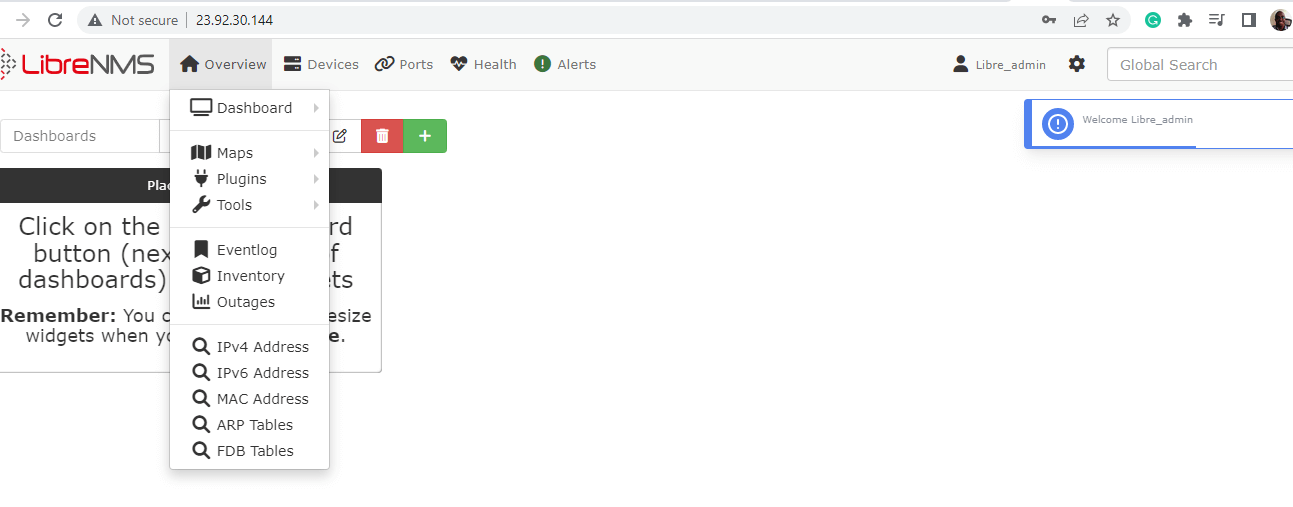
Once logged in you will get such a dashboard. From here, you can begin adding your hosts and monitor various metrics.
And that’s it. In this guide, we have walked you through the installation of the LibreNMS monitoring tool on Debian 11/10.


In step 7 this line is inaccurate:
I don’t see a php-fpm-librenms.sock file anywhere.
Trying to get this installed has truly been a challenge. Every website on how to do this has fatal flaws in their directions that make it so it doesn’t work. It’s like people don’t even check their work. How about starting with a fresh system and following your own instructions?
Following your instructions, I was able to get it to start up and log in. One major problem. I have in my network a Linux web server, Ubuntu 18.04 with Apache2 running.
All my sites work until I start up librenms. Get an error when trying to access one of my sites. The site can’t be found. I shut down the librenms server and everything comes back up.
Librenms is running on Virtual Box Space. Ubuntu 20.04 LTS Focal.
I have tried about 10 different other sites’ installation instructions, but none of them worked.
Any suggestion or troubling shooting tips would be appreciated.