Memcached is a free and opensource in-memory caching system that speeds up web applications by caching large volumes of data in memory that are generated from page load requests or API calls. Memcached is particularly useful in speeding up PHP-based web applications such as WordPress, Joomla, Drupal, and Python applications as well.
In this tutorial, we look at how you can install Memcached on Ubuntu. For demonstration purposes, we will use Ubuntu 20.04 Focal Fossa. Granted, the same guide will apply for Ubuntu 16.04 and later versions.
Prerequisites
As we move along, ensure you have the following in check:
- An instance of Ubuntu 20.04 Server.
- A regular user with Sudo privileges.
Let’s now roll our sleeves and dive in.
Installing Memcached in Ubuntu Server
Before installing Memcached, let’s first update the package list of the packages installed using apt command.
$ sudo apt update
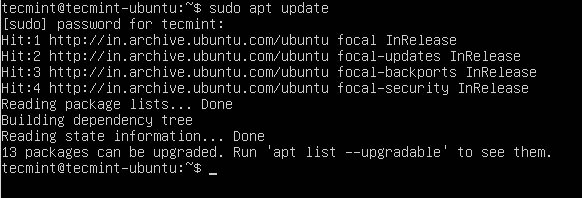
This should take a minute or two depending on the speed of your internet connection. Once the update is complete, install Memcached by running the command below. This will install Memcached alongside other dependencies and packages.
$ sudo apt install memcached libmemcached-tools
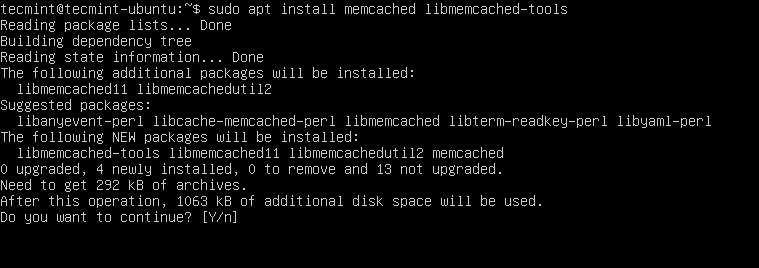
When prompted, press ‘Y’ on the keyboard and hit ENTER to proceed with the installation.
Once installed, the Memcached service should start automatically. This can be verified by checking the status of Memcached as follows.
$ sudo systemctl status memcached
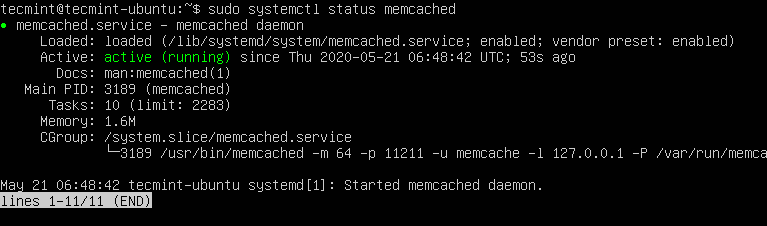
The output confirms that Memcached is up and running.
Configuring Memcached in Ubuntu
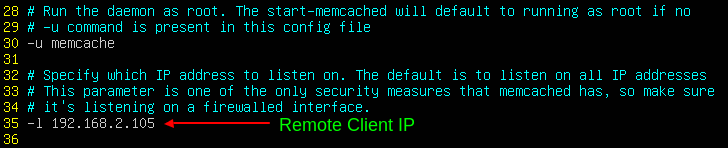
The default configuration file for Memcached is /etc/memcached.conf. It’s also important to mention that by default, Memcached listens on port 11211 and is configured to listen on the localhost system. You can confirm this by checking the configuration file on line 35 as shown.
$ sudo nano /etc/memcached.conf
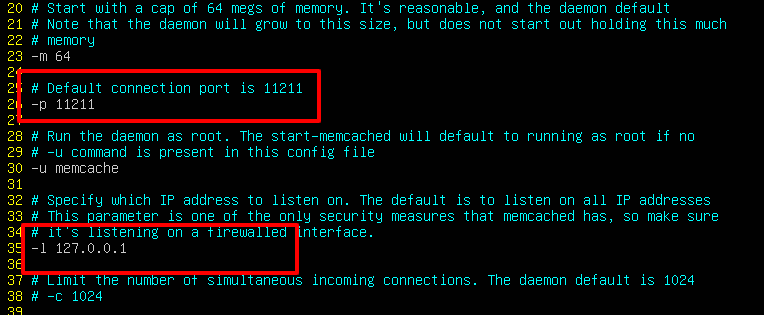
If the application connecting to the Memcached service is sitting on the same server where Memcached is installed, then there’s no need to make changes to this line. However, if you have a remote client that you want to allow access to Memcached caching service, then you need to edit this line & add the remote client’s IP address.
Suppose, you have a remote client with IP 192.168.2.105 running an application that needs to connect to the Memcached service. To allow access, simply delete the localhost IP address (127.0.0.1) and replace it with the remote client’s IP address. The assumption here is that both systems are in the same Local area network.
-l 192.168.2.105
Save and exit the configuration file.
Next, restart the Memcached service to apply the changes.
$ sudo systemctl restart memcached
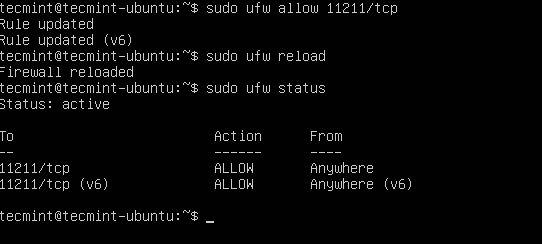
Lastly, to allow remote connections to the Memcached server, we need to open the Memcached default port – port 11211 – on the firewall.
To achieve this run the commands:
$ sudo ufw allow 11211/tcp
Then reload the firewall to apply the changes.
$ sudo ufw reload
To verify that the port is open, execute:
$ sudo ufw status
Enabling Memcached for Applications
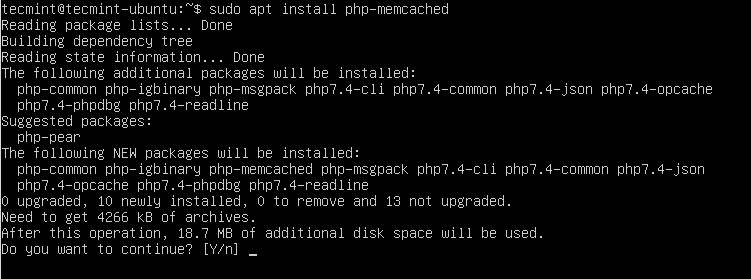
Depending on the application you are running, you need to install a language-specific client to enable Memcached to serve the requests.
For PHP applications such as Joomla or WordPress, execute the command below to install the additional packages:
$ sudo apt install php-memcached
For Python applications, ensure that the following Python libraries are installed using the pip package manager.
$ pip install pymemcache
$ pip install python-memcached
And this wraps up our topic on how to install and configure Memcached on Ubuntu. Your feedback will be much appreciated.


