Having an accurate system time on a Linux server is very important because of several system components such as Cron and Anacron, backup scripts and much more work based on time. Accurate timekeeping can be achieved using the Network Time Protocol (NTP) protocol.
NTP is an old, widely known and cross-platform protocol designed to synchronize the clocks of computers over a network. It commonly synchronizes a computer to Internet time servers or other sources, such as a radio or satellite receiver or telephone modem service. It can also be used as a time source/server for client systems.
In RHEL Linux 8, the ntp package is no longer supported and it is implemented by the chronyd (a daemon that runs in user-space) which is provided in the chrony package.
chrony works both as an NTP server and as an NTP client, which is used to synchronize the system clock with NTP servers, and can be used to synchronize the system clock with a reference clock (e.g a GPS receiver).
It is also used to synchronize the system clock with a manual time input, and as an NTPv4 server or peer to provide a time service to other computers in the network.
Read Also: How to Install and Use Chrony in Linux
In this article, we will show you how to install and configure the NTP server and client using chrony package in RHEL 8 Linux distribution.
Test Environment:
NTP Server - RHEL 8:  192.168.56.110
NTP Client - CentOS 7:  192.168.56.109
How to Install Chrony in RHEL 8
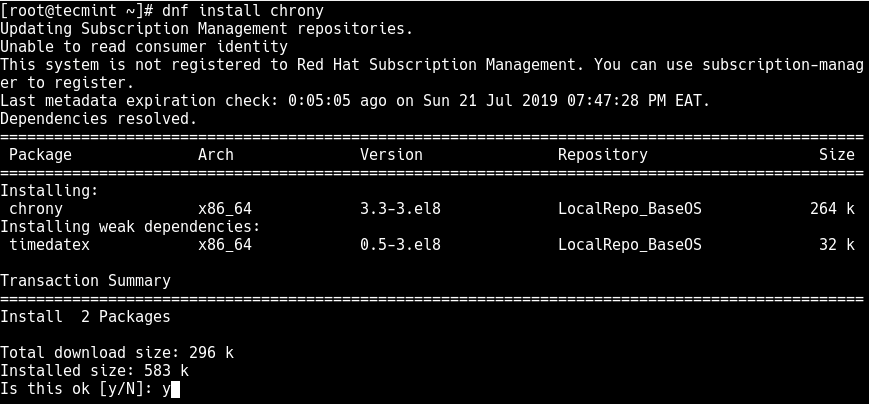
To install the chrony suite, use the following DNF package manager as follows. This command will install a dependency called timedatex.
# dnf install chrony
The chrony suite consists of chronyd, and chronyc, a command line utility which is used to change various operating parameters and to monitor its performance whilst it is running.
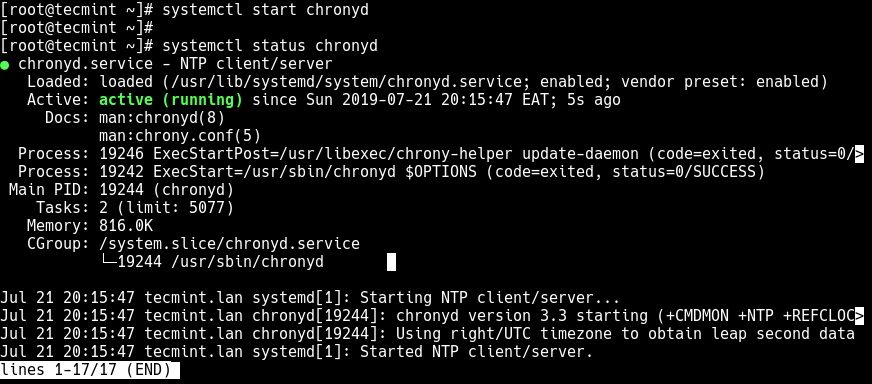
Now start the chronyd service, enable it to auto start at system boot and verify the running status using the following systemctl commands.
# systemctl start chronyd
# systemctl status chronyd
# systemctl enable chronyd
How to Configure NTP Server Using Chrony in RHEL 8
In this section, we will show how to set up your RHEL 8 server a master NTP time server. Open the /etc/chrony.conf configuration file using any of your favorite text-based editor.
# vi /etc/chrony.conf
Then look for the allow configuration directive and uncomment it and set its value to the network or subnet address from which the clients are allowed to connect.
allow 192.168.56.0/24
Save the file and close it. Then restart the chronyd service configuration to apply the recent changes.
# systemctl restart chronyd
Next, open access to the NTP service in firewalld configuration to allows for incoming NTP requests from clients.
# firewall-cmd --permanent --add-service=ntp
# firewall-cmd --reload
How to Configure NTP Client Using Chrony in RHEL 8
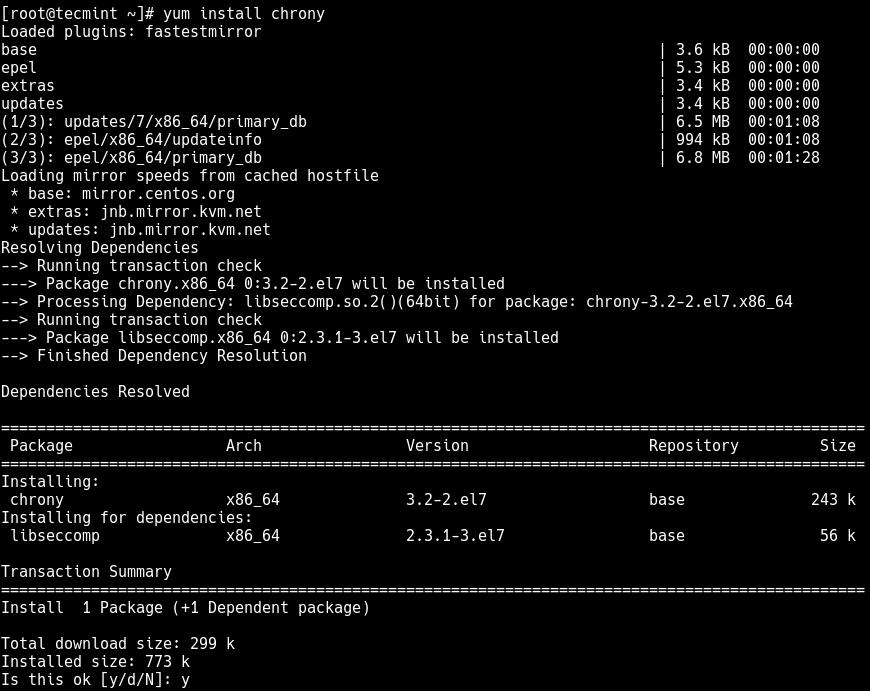
This section shows how to configure chrony as a direct NTP client in our CentOS 7 server. Start by installing the chrony package using the following yum command.
# yum install chrony
Once installed, you can start, enable and verify the chronyd service status using the following systemctl commands.
# systemctl start chronyd
# systemctl enable chronyd
# systemctl status chronyd
Next, you need to configure the system as a direct client of the NTP server. Open the /etc/chrony.conf configuration file with a text-base editor.
# vi /etc/chrony.conf
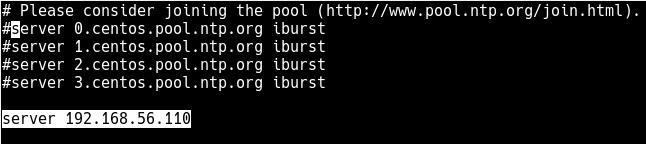
To configure a system as an NTP client, it needs to know which NTP servers it should ask for the current time. You can specify the servers using the server or pool directive.
So comment out the default NTP servers specified as the value of the server directive, and set your RHEL 8 server’s address instead.
server 192.168.56.110
Save the changes in the file and close it. Then restart the chronyd service configurations for the recent changes to take effect.
# systemctl restart chronyd
Now run the following command to show the current time sources (NTP server) that chronyd is accessing, which should be your NTP server address.
# chronyc sources

On the server, run the following command to display information about NTP clients assessing the NTP server.
# chronyc clients

For more information on how to use the chronyc utility, run the following command.
# man chronyc
That’s all! In this article, we have shown how to install and configure an NTP server in RHEL 8 using chrony suite. We also showed how to configure an NTP client on CentOS 7.
If you have any questions about this article, use the comment form below to ask any questions or queries.


Hi,
When I run command:
I get message on the server ntp: 501 Not authorised
All done as per step, but no NTP sync.