In this tutorial we’ll learn how to install and configure OpenMediaVault network attached storage (NAS) solution at your premises.
OpenMediaVault is a NAS a simple and intuitive solution based on Debian Linux distribution best-suited for deploying network storage in small offices. It contains services like SSH, FTP, SMB, media server, RSync, BitTorrent client and many more.
One of the greatest facts about OpenMediaVault is that it can be completely configured and managed via its web admin interface, which makes it an out-of-the-box solution, best-suited for unexperienced or newbies Linux users and a facile system to be managed by system administrators.
Requirements:
- Download OpenMediaVault ISO Installation Image
- Three or more hard disks in order to build a reliable RAID array (one of the hard disks must be reserved for OS installation).
How to Install OpenMediaVault
1. After you’ve downloaded the OpenMediaVault ISO image, use a CD burning software to burn the bootable image to a CD or create a bootable USB flash drive stick.
Place the CD/USB bootable image into your machine drive and reboot the machine and press the appropriate bootable key to boot the machine via the appropriate CD or USB drive.
The first installation screen of OpenMediaVault should appear on your screen. Select Install from the boot menu and press [enter] key to continue.

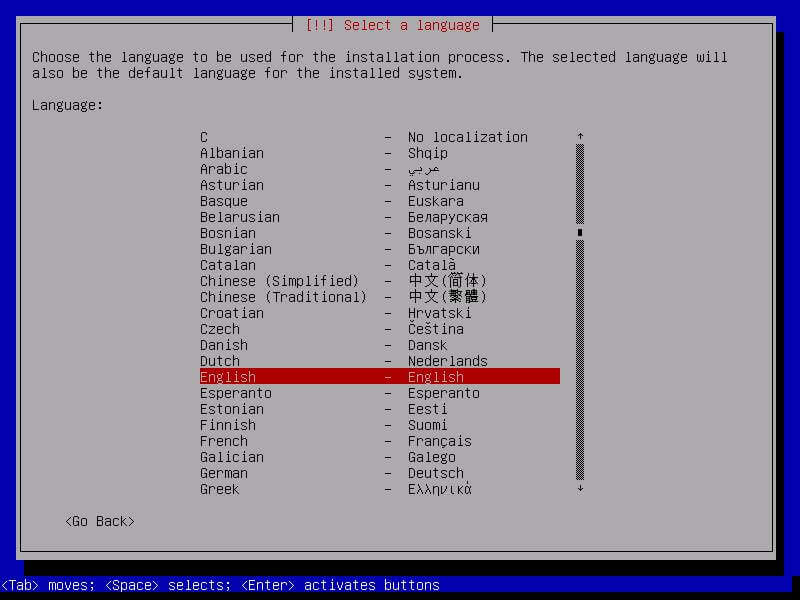
2. In the next screen, select the language that will be used for installation process and as default language for the installed system and press [enter] to continue.
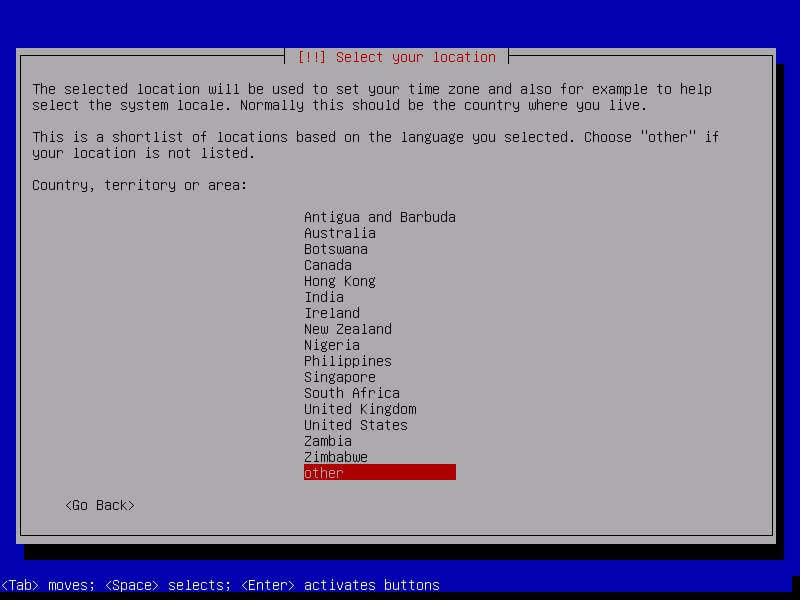
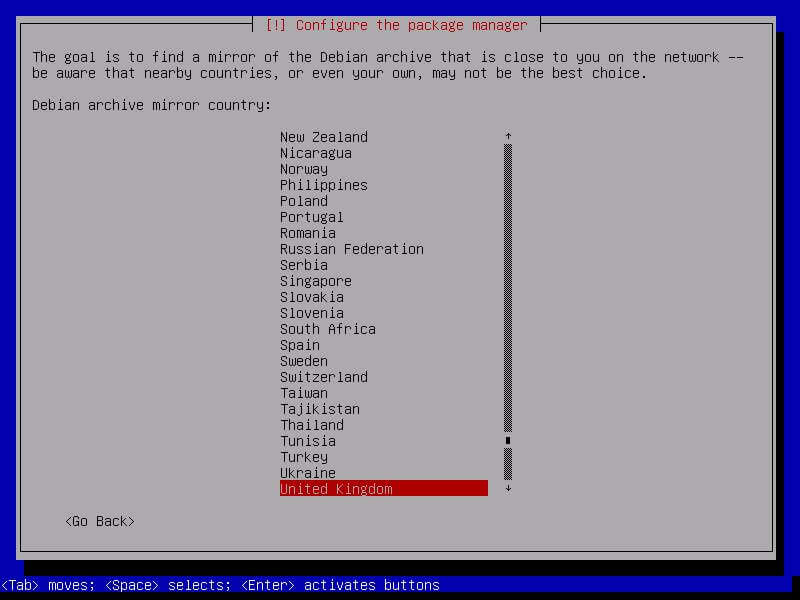
3. In the next series of screen, select your system location from the provided list depending on your geographical location (Continent -> Country) and press [enter] to continue. Use the below screenshots as a guide to complete this step.
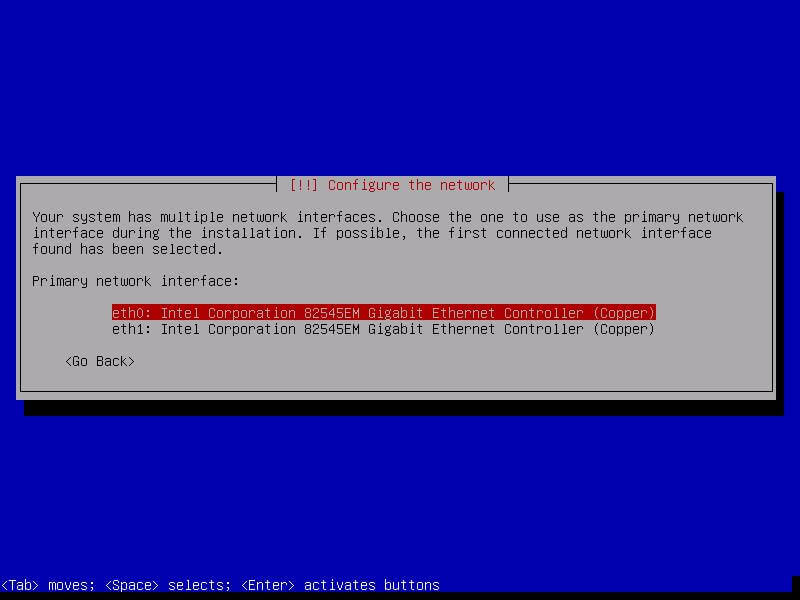
4. After the installer loads some additional components, a new screen will appear that will ask you to configure the network. Select the primary network interface to be configured further and press [enter] key to continue.
The network interface will be automatically configured via DHCP protocol. In case you don’t run a DHCP server at your premises, you must manually setup network interface IP settings.
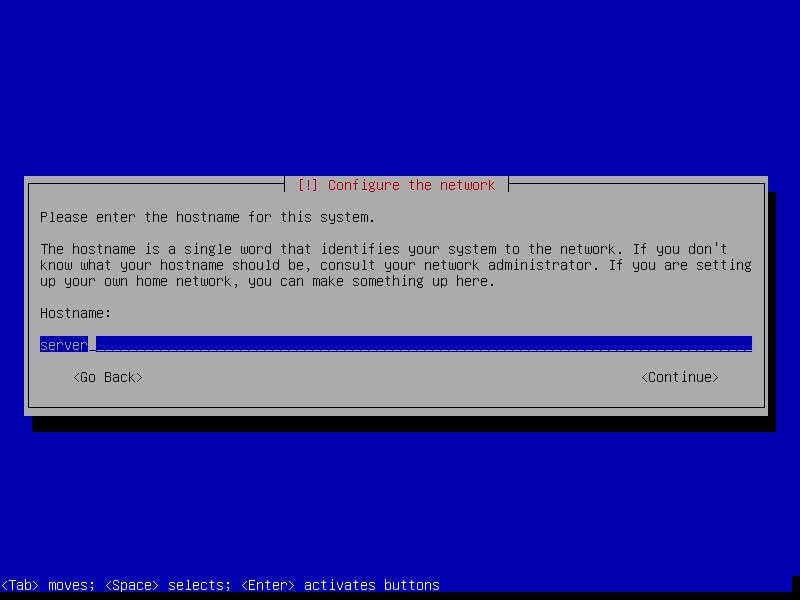
5. After the network has been configured with the proper IP settings, enter your system hostname and press [enter] to move to the next screen.
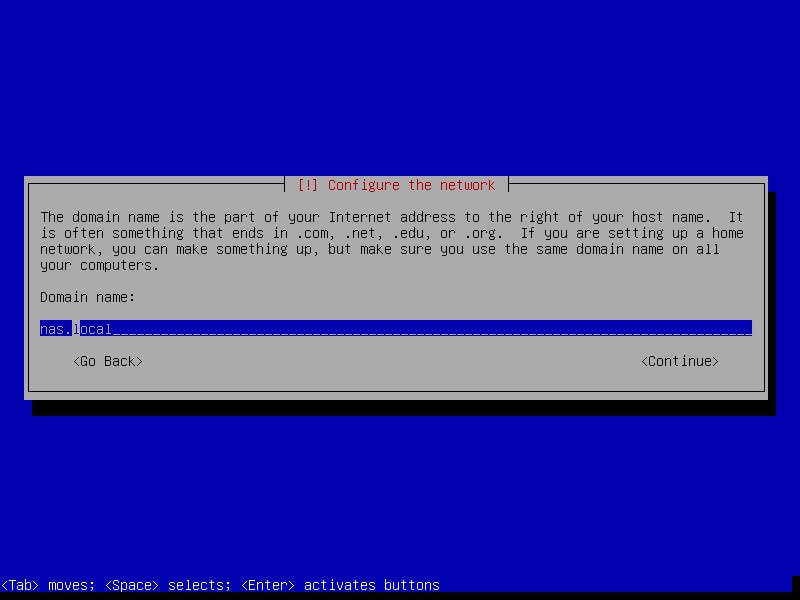
6. Next, enter the domain you’re using at your premises and press [enter] key to continue. If you don’t require the machine to be part of a domain, just leave the domain name field blank and press [enter].
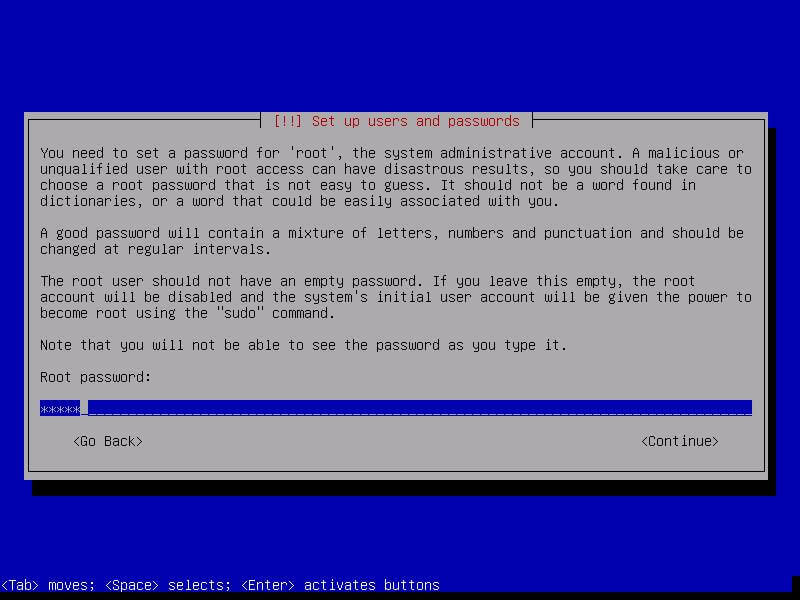
7. On the next screen, setup a strong password for the root administrative account, repeat the same password in the next screen and press [enter] to continue.
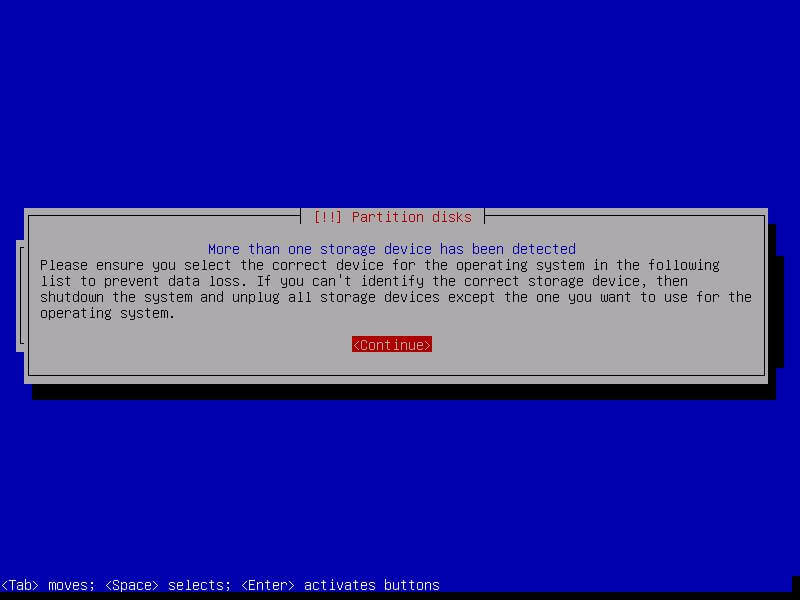
8. Next, the installer will detect your machine hard disk storage. If more than one hard disk are connected to machine motherboard, the installer will prompt you to correctly identify the storage before continuing in order to prevent data loss. If you know on what storage the system should be installed, press [enter] to Continue.
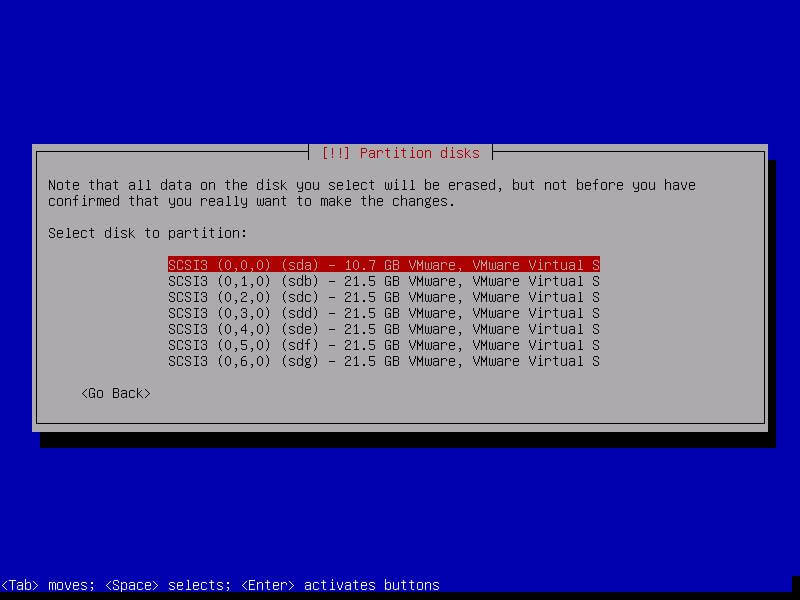
9. In the next screen, select the disk that will be used for partition and installing OpenMediaVault system and press [enter] key to start the installation process.
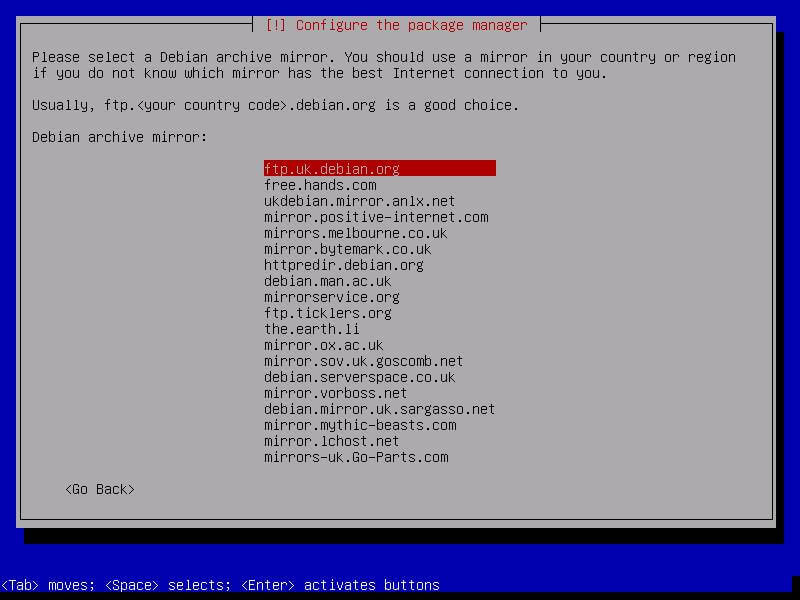
10. After the core parts of the system finish installing, the package manager window will appear on your screen. Here, select a Debian mirror archive close to your physical location, as illustrated in the below screenshots, and press [enter] to continue.
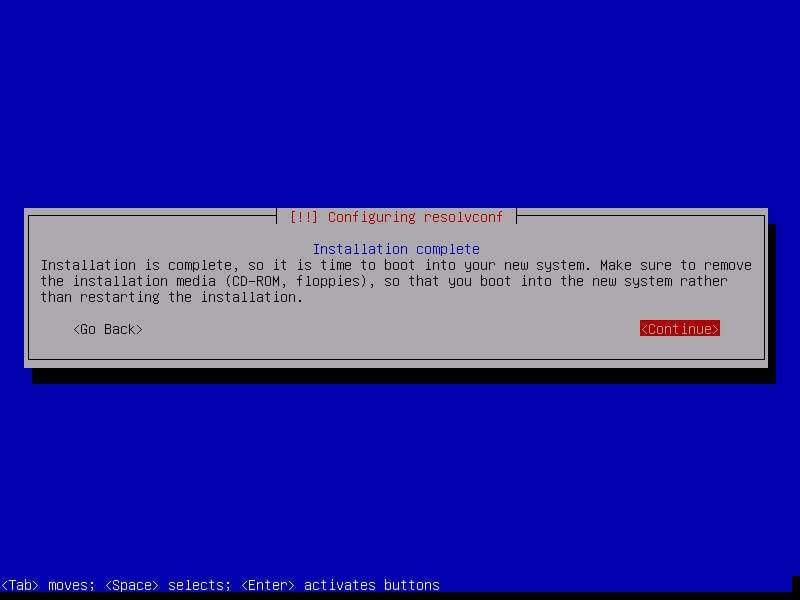
11. In the next proxy windows, leave the proxy field blank, press [enter] to continue and wait for the installation process to complete. After the installation completes, remove the installation CD or USB and press [enter] to finish the installation and reboot the machine into the new operating system.
That’s all! OpenMediaVault NAS storage solution is now installed in your machine.
Configure OpenMediaVault Storage
12. After reboot, log in to OpenMediaVault console with the root account and the password configured for root during the installation process and issue the below commands to update the system.
# apt update
# apt upgrade
13. After the system updates, a new windows will appear on your screen which will inform you how to manage the system via web control panel and the default credentials for accessing the web interface. Also, to complete the installation execute omv-initsystem command.
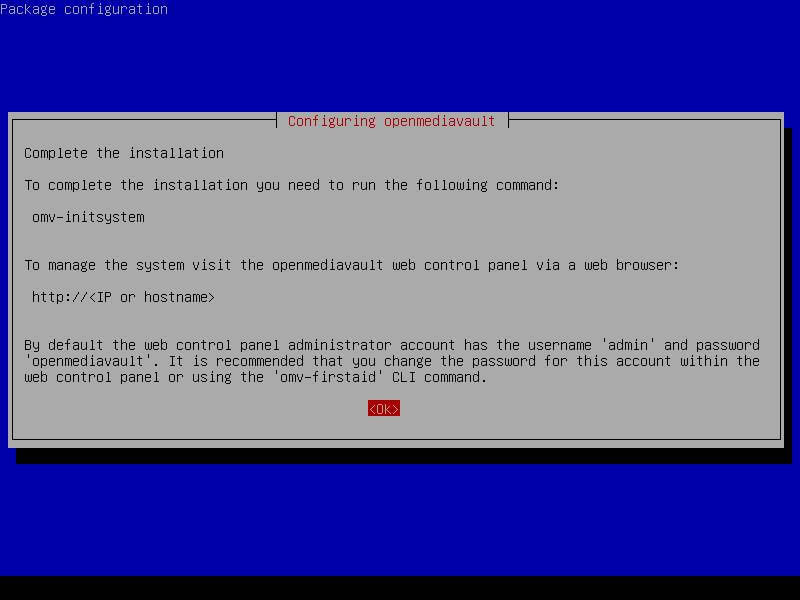
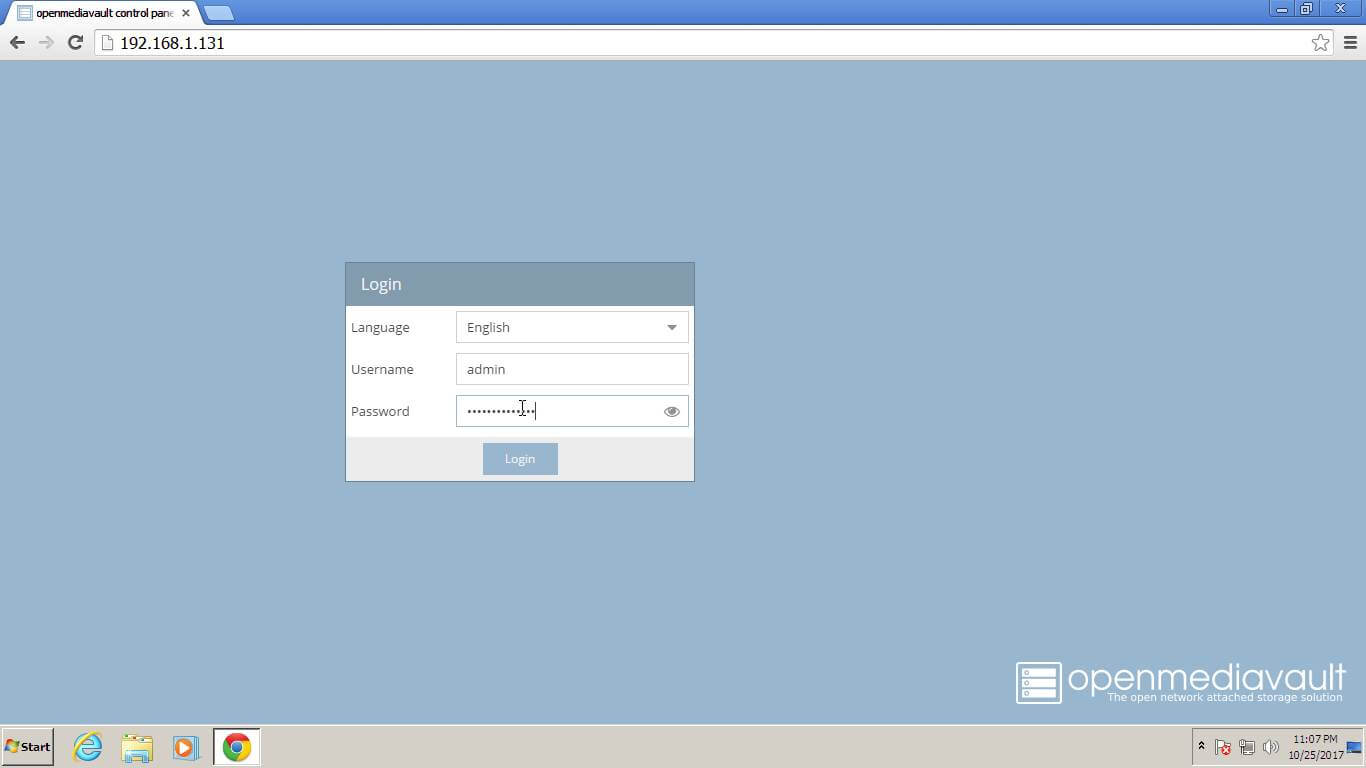
14. In order further manage the system, open a browser and navigate o your OpenMediaVault system IP address via HTTP protocol. Log in to admin web panel with the following default credentials:
Username: admin
Password: openmediavault
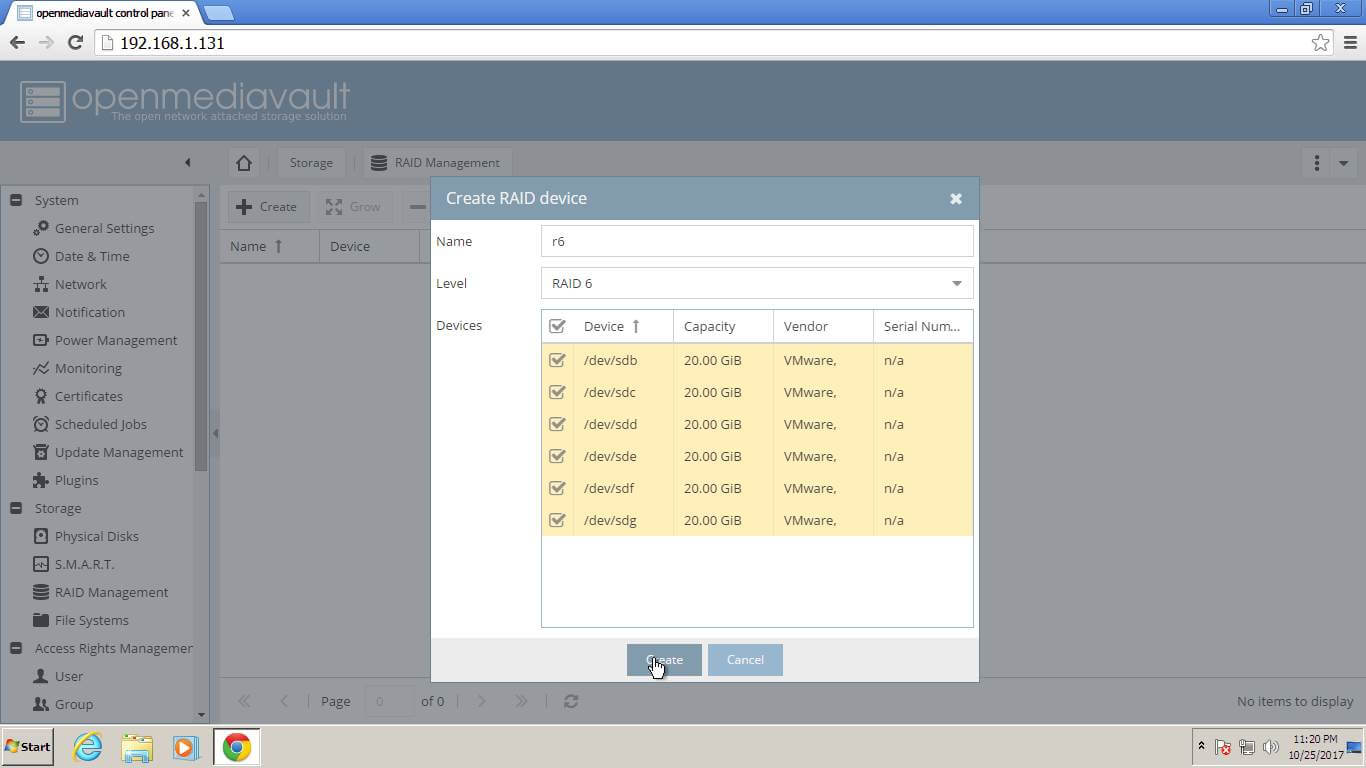
15. After logging in to OpenMediaVault admin panel, navigate to Storage -> RAID Management and hit on Create button to start assemble your system RAID array.
Enter a name for your RAID device, choose RAID level 6, select all disk devices and hit on Create button to create the array, as illustrated in the below screenshot.
Be aware that RAID 6 array, also known as Block-level striping with double distributed parity, needs at least four hard drives to be assembled.
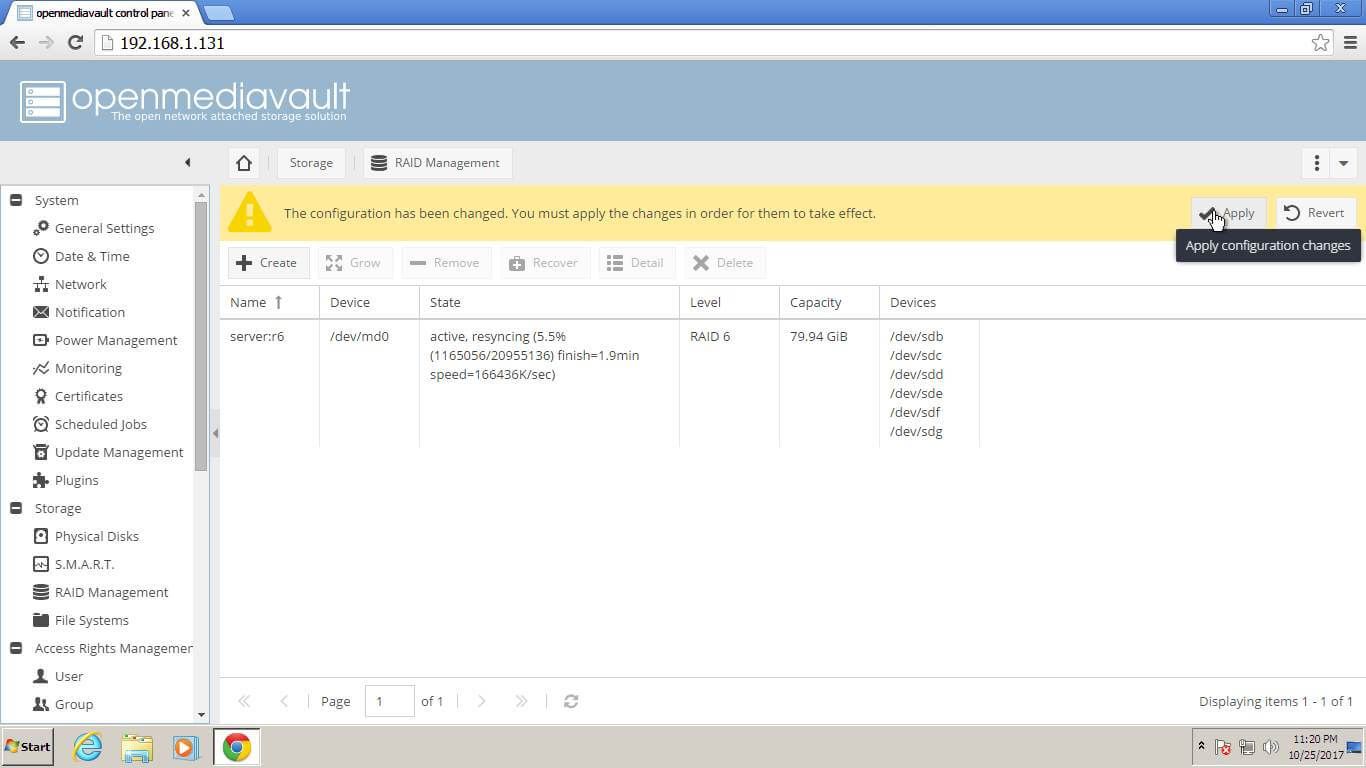
16. After creating the RAID array, you will be prompted to confirm the array creation. Hit on Yes button to confirm, wait for the RAID device to be initialized and finally, hit on top yellow notification Apply button to confirm and save changes.
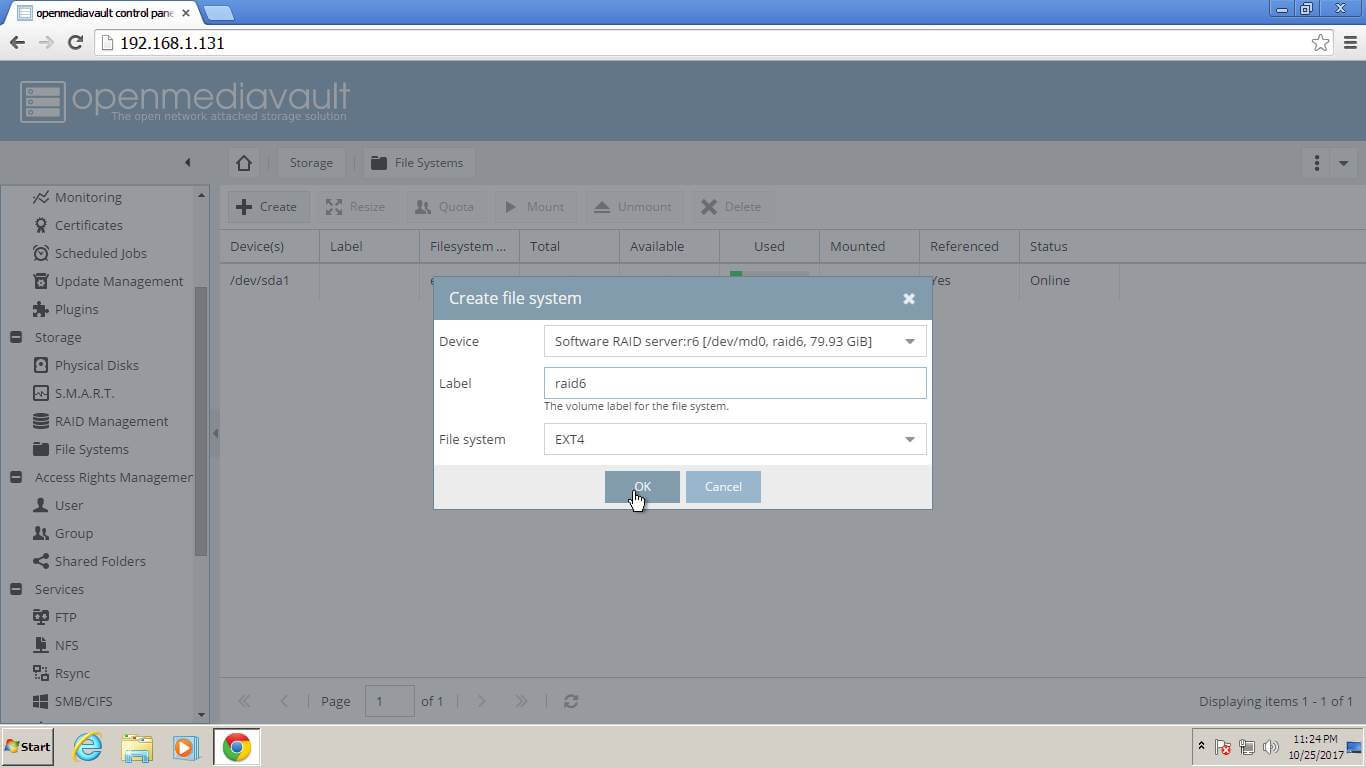
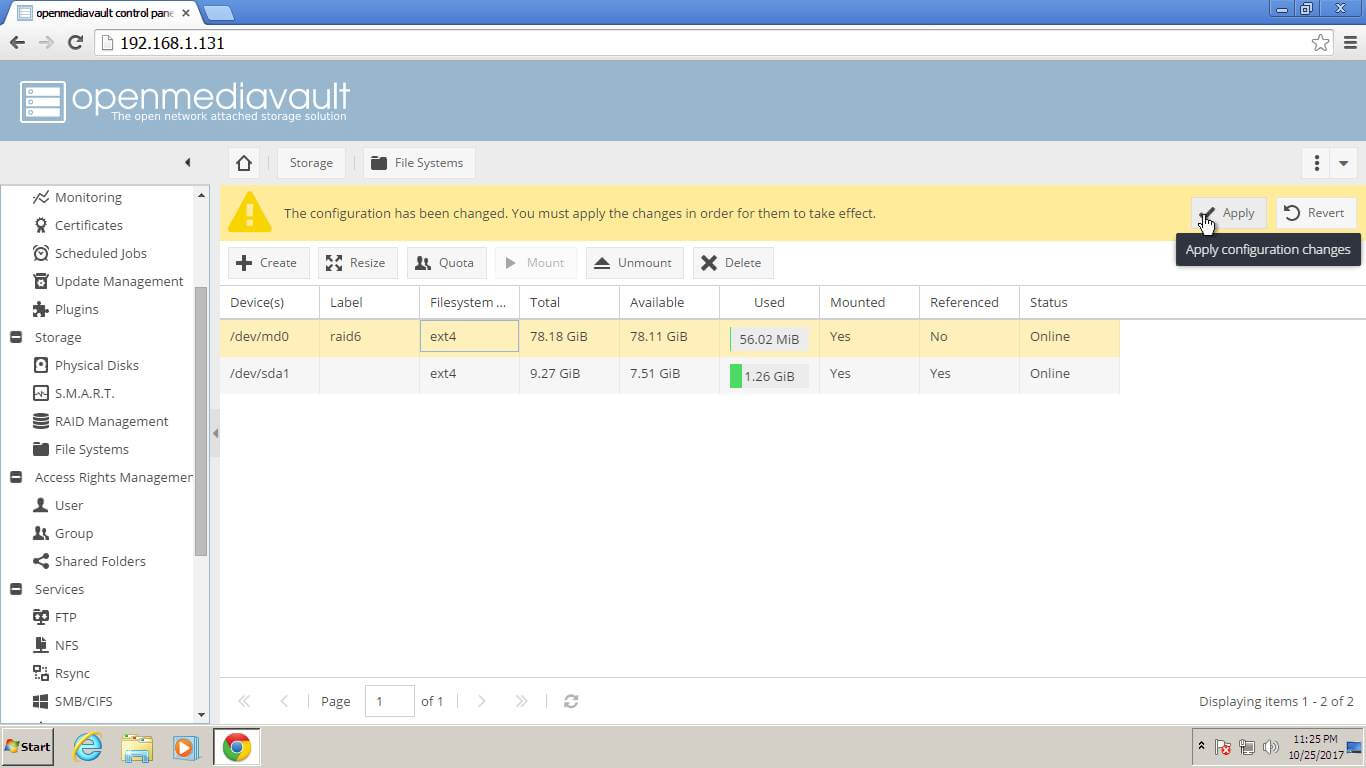
17. After the RAID array becomes active, navigate to Storage -> File Systems, hit on Create button, choose a file system type for the array, such as EXT4, and hit OK button to create the file system.
18. After the file system has been confirmed and created, select the RAID device array from the list and hit on top Mount button to make the storage available to the system. Again, you need to confirm and hit on Apply button to save the changes.
After the RAID array has been mounted in your system, you can start adding a new user account, setup a shared folder and configure ACLs for the shared folder by navigating to Access Rights Management menu.
The process of starting the Samba and FTP services is pretty straightforward. Navigate to Services menu, add your RAID array to Shares and enable SMB/CIFS and FTP services.
Congratulations! You have successfully deployed a free and reliable NAS storage solution at your premises with OpenMediaVault system.


Hello from Canada:
I have been trying to install openmediavault on a dedicated machine I bought for this purpose.
However, when the installation goes to look for repositories, they all show as bad.
As I am doing this at night is there any possibility that these sites might be shut down at night. (I am in the Eastern time zone, greater Montreal area.)