PHP is arguably one of the most widely used server-side programming languages. It’s the language of choice when developing dynamic and responsive websites. In fact, popular CM platforms such as WordPress, Drupal, and Magento are based on PHP.
At the time of penning down this guide, the latest version of PHP is PHP 8.0. It was released on November 26, 2020. It boasts of new features and optimizations such as union types, named arguments, null safe operator, match expression, JIT, and improvements in error handling and consistency.
This tutorial walks you through the installation of PHP 8.0 on Ubuntu 20.04 / 18.04.
On this page
Step 1: Add the Ondřej Surý PPA Repository
PHP 7.4 is the default PHP version in Ubuntu 20.04 repositories at the time of writing this tutorial. To install the latest version of PHP, we are going to use the Ondrej PPA repositories. This repository contains multiple PHP versions and PHP extensions.
But first, let’s update your Ubuntu system packages and install some dependencies as shown.
$ sudo apt update
$ sudo apt upgrade
$ sudo apt install  ca-certificates apt-transport-https software-properties-common
Next, add the Ondrej PPA.
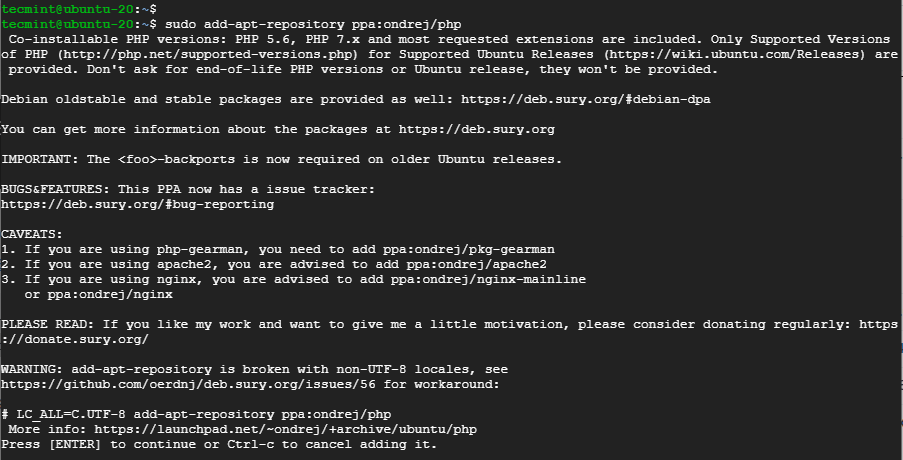
$ sudo add-apt-repository ppa:ondrej/php
When prompted, press ENTER to proceed with adding the repository.
Step 2: Install PHP 8.0 with Apache on Ubuntu
Next, update the system repositories to start using the PPA.
$ sudo apt update
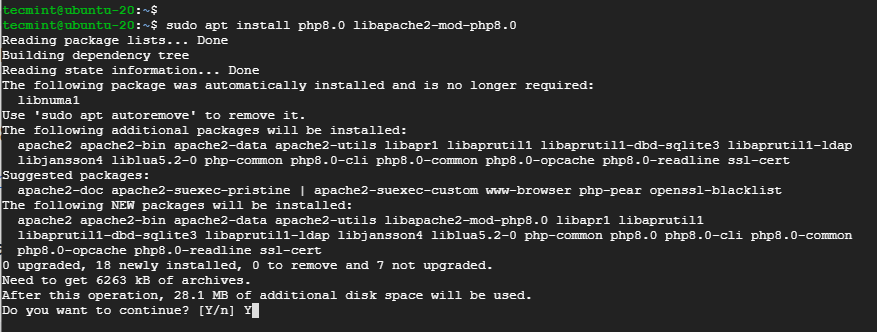
If you are running the Apache web server, install PHP 8.0 with the Apache module as shown.
$ sudo apt install php8.0 libapache2-mod-php8.0
Next, restart the Apache webserver to enable the module.
$ sudo systemctl restart apache2
If you want to use Apache webserver with PHP-FPM, run the command below to install the required packages:
$ sudo apt install php8.0-fpm libapache2-mod-fcgid
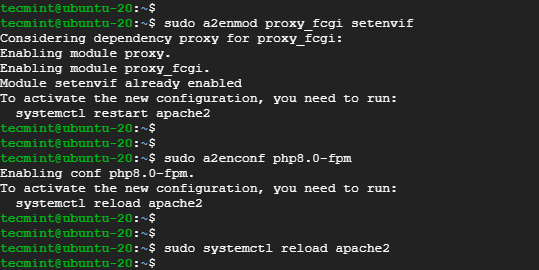
Since PHP-FPM is not enabled by default, enable it by invoking the following commands:
$ sudo a2enmod proxy_fcgi setenvif
$ sudo a2enconf php8.0-fpm
Then restart the Apache webserver for the changes to come into effect.
$ sudo systemctl restart apache2
Step 2: Install PHP 8.0 with Nginx on Ubuntu
If you choose to use PHP 8.0 with Nginx installation, the most recommended step to take is to install PHP-FPM to process PHP files.
Therefore, install PHP and PHP-FPM using the following command:
$ sudo apt install php8.0-fpm
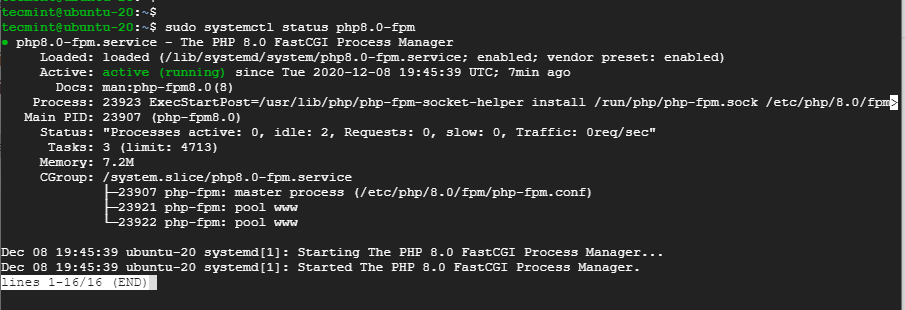
The PHP-FPM service should start automatically. You can verify this as shown:
$ sudo systemctl status php8.0-fpm
For Nginx to process PHP files, configure your Nginx server block by updating the server section as shown:
server {

   # ... some other code

    location ~ \.php$ {
        include snippets/fastcgi-php.conf;
        fastcgi_pass unix:/run/php/php8.0-fpm.sock;
    }
}
Finally, restart the Nginx web server for the changes to come into effect.
$ sudo systemctl restart nginx
Step 4: Install PHP 8 Extensions in Ubuntu
PHP extensions are libraries that extend the functionality of PHP. These extensions exist as packages and can be installed as follows:
$ sudo apt install php8.0-[extension-name]
For instance, the example below installs the SNMP, Memcached, and MySQL extensions.
$ sudo apt install php8.0-snmp php-memcached php8.0-mysql
Step 5: Verify PHP 8 Installation in Ubuntu
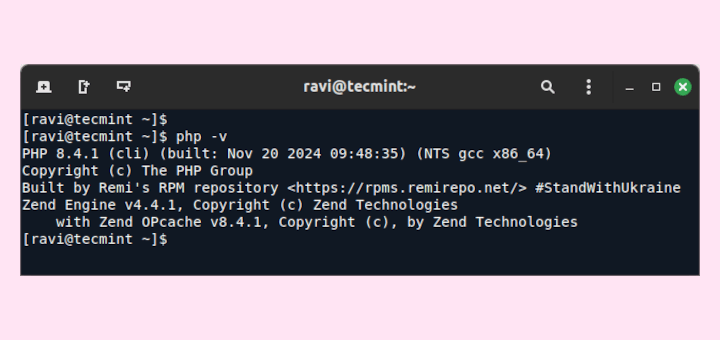
To confirm the version of PHP installed, run the command:
$ php -v

Additionally, you can create a sample php file at /var/www/html as shown:
$ sudo vim /var/www/html/info.php
Paste the following lines and save the file.
<?php

phpinfo();

?>
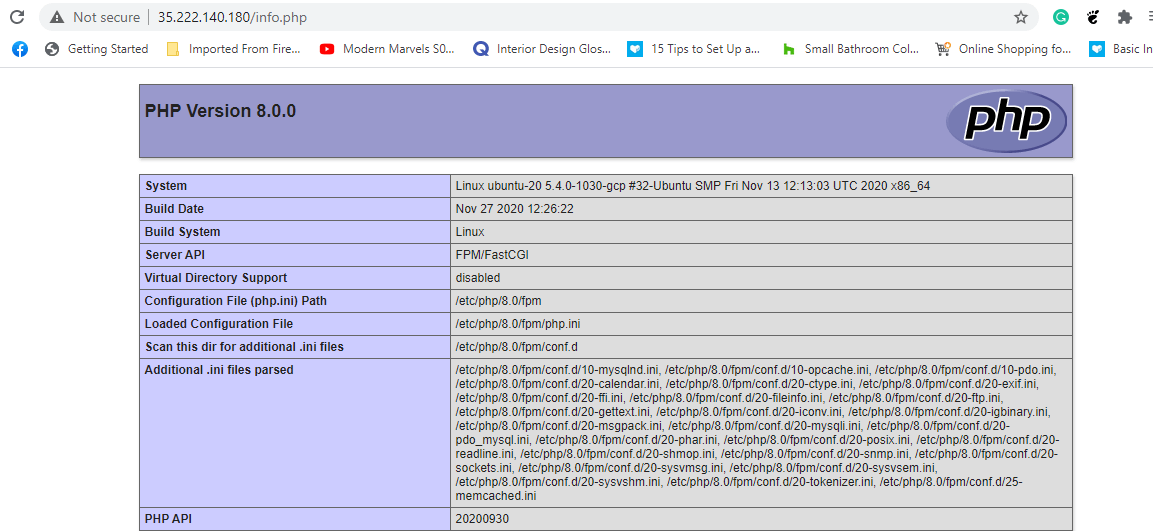
Finally, head over to your browser and browse the server’s IP address as shown.
http://server-ip/info.php
You should get the webpage shown.
Conclusion
It’s our hope that you can now install PHP 8.0 and comfortably integrate it with either Apache or Nginx web servers. Your feedback is most welcome.





I’ve been using these instructions to install PHP8.2 on Ubuntu 18.04 (Bionic Beaver). When I attempt to install PHP it can’t find 8.2 in the repository for Bionic. Has this PHP version been removed for Bionic?
Thanks
@Pete,
To install PHP 8.2 on Ubuntu 18.04 (Bionic Beaver), you’ll need to use a third-party repository called ‘Ondřej Surý PPA‘ since PHP 8.2 is not available in the official Ubuntu repositories.
WordPress complaining that the mysql extension is missing when updated to php8 also says I have version 8.1. Tried installing the module on apache as:
and nothing happens…
@Carl,
Try install PHP 8.0 mysql extension and see…
Hello,
How to upgrade to Php 8.0.1, please?
Thank you
@Zeuf,
Follow the given instructions, you will get 8.0.1 only, as this is a minor version.
cURL is not installed. it should be installed for “WordPress Pinterest To WordPress” to work!
Web Stories plugin could not be initialized.
• The following PHP extension is missing: dom. Please contact your host to finish the installation.
• The following PHP classes are missing: DOMAttr, DOMComment, DOMDocument, DOMElement, DOMNode, DOMNodeList, DOMText, DOMXPath. Please contact your host to finish the installation.
WP Google Maps: This plugin uses the DOMDocument class, which is unavailable on this server. Please contact your host to request they enable this library.
I got this error message after installing PHP 8 on Ubuntu 18.04.5 LTS
Could you please let me know how I can fix these errors?
@Krishan,
Install Curl along with the missing PHP extensions will fix the error.