In our last article, we showed how to install Samba4 on Ubuntu for basic file sharing between Ubuntu systems and Windows machines. Where we looked at configuring anonymous (unsecure) as well as secure file sharing.
Here, we will describe how to install and configure Samba4 on CentOS 7 (also works on RHEL 7) for basic file sharing between other Linux systems and Windows machines.
Important: Starting from version 4.0, Samba can run as an Active Directory (AD) domain controller (DC). We suggest you read through our special series on setting up Samba4 Active Directory Domain Controller, which includes critical topics for Ubuntu, CentOS, and Windows.
Install Samba4 in CentOS 7
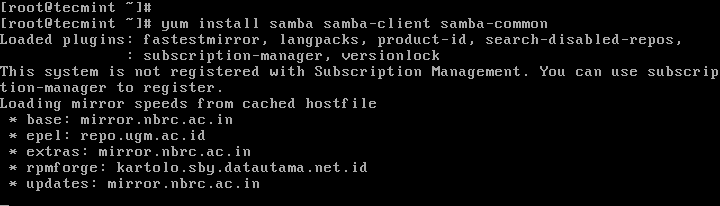
1. First install Samba4 and required packages from the default CentOS repositories using the yum package manager tool as shown.
# yum install samba samba-client samba-common
2. After installing the samba packages, enable samba services to be allowed through system firewall with these commands.
# firewall-cmd --permanent --zone=public --add-service=samba
# firewall-cmd --reload

Check Windows Machine Workgroup Settings
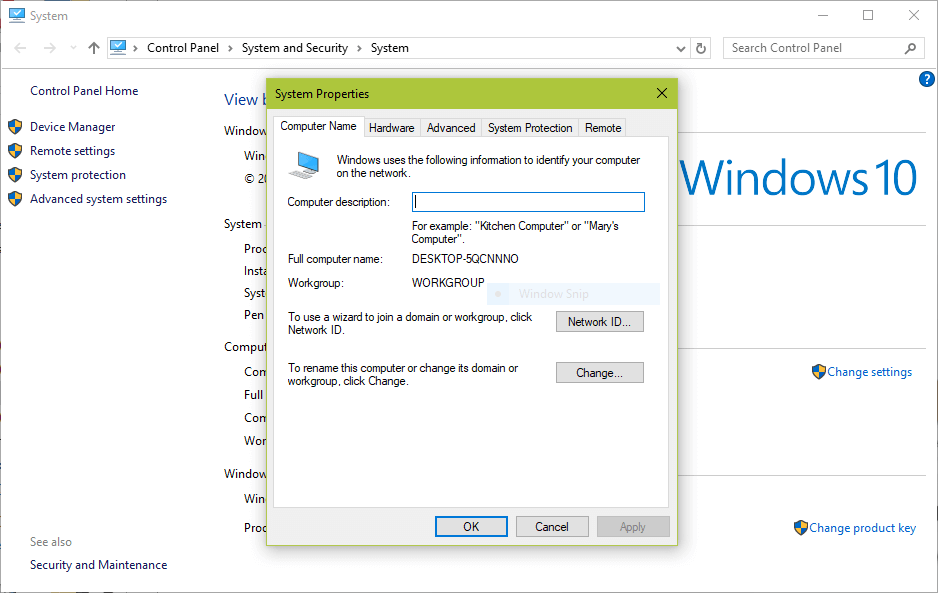
3. Before you proceed to configure samba, make sure the Windows machine is in the same workgroup to be configured on the CentOS server.
There are two possible ways to view the Windows machine workgroup settings:
- Right clicking on “This PC” or “My Computer” → Properties → Advanced system settings → Computer Name.
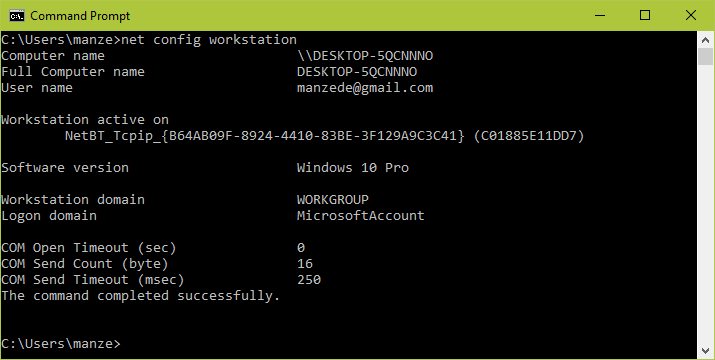
- Alternatively, open the cmd prompt and run the following command, then look for “workstation domain” in the output as shown below.
>net config workstation
Configuring Samba4 on CentOS 7
4. The main samba configuration file is /etc/samba/smb.conf, the original file comes with pre-configuration settings which explain various configuration directives to guide you.
But, before configuring samba, I suggest you to take a backup of the default file like this.
# cp /etc/samba/smb.conf /etc/samba/smb.conf.orig
Then, proceed to configure samba for anonymous and secure file sharing services as explained below.
Samba4 Anonymous File Sharing
5. First create the shared directory where the files will be stored on the server and set the appropriate permissions on the directory.
# mkdir -p /srv/samba/anonymous
# chmod -R 0775 /srv/samba/anonymous
# chown -R nobody:nobody /srv/samba/anonymous
Also, you need to change the SELinux security context for the samba shared directory as follows.
# chcon -t samba_share_t /srv/samba/anonymous

6. Next, open the samba configuration file for editing, where you can modify/add the sections below with the corresponding directives.
# vi /etc/samba/smb.conf
[global]
	workgroup = WORKGROUP
	netbios name = centos
	security = user
[Anonymous]
	comment = Anonymous File Server Share
	path = /srv/samba/anonymous
	browsable =yes
	writable = yes
	guest ok = yes
	read only = no
	force user = nobody
7. Now verify current samba settings by running the command below.
# testparm
Load smb config files from /etc/samba/smb.conf
rlimit_max: increasing rlimit_max (1024) to minimum Windows limit (16384)
Processing section "[homes]"
Processing section "[printers]"
Processing section "[print$]"
Processing section "[Anonymous]"
Loaded services file OK.
Server role: ROLE_STANDALONE

Press enter to see a dump of your service definitions

# Global parameters
[global]
	netbios name = centos
	printcap name = cups
	security = USER
	idmap config * : backend = tdb
	cups options = raw
[homes]
	comment = Home Directories
	browseable = No
	inherit acls = Yes
	read only = No
	valid users = %S %D%w%S
[printers]
	comment = All Printers
	path = /var/tmp
	browseable = No
	printable = Yes
	create mask = 0600
[print$]
	comment = Printer Drivers
	path = /var/lib/samba/drivers
	create mask = 0664
	directory mask = 0775
	write list = root
[Anonymous]
 	comment = Anonymous File Server Share
	path = /srv/samba/anonymous
	force user = nobody
	guest ok = Yes
	read only = No
8. Finally, start and enable samba services to start automatically at next boot and also apply the above changes to take effect.
# systemctl enable smb.service
# systemctl enable nmb.service
# systemctl start smb.service
# systemctl start nmb.service
Testing Anonymous Samba File Sharing
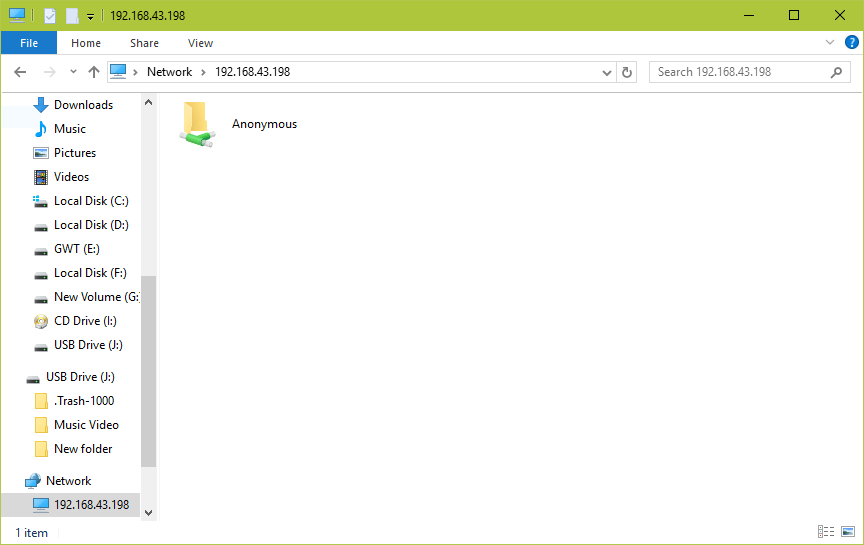
9. Now on the Windows machine, open “Network” from a Windows Explorer window, then click on the CentOS host, or else try to access the server using its IP address (use ifconfig command to get IP address).
e.g. \\192.168.43.168.
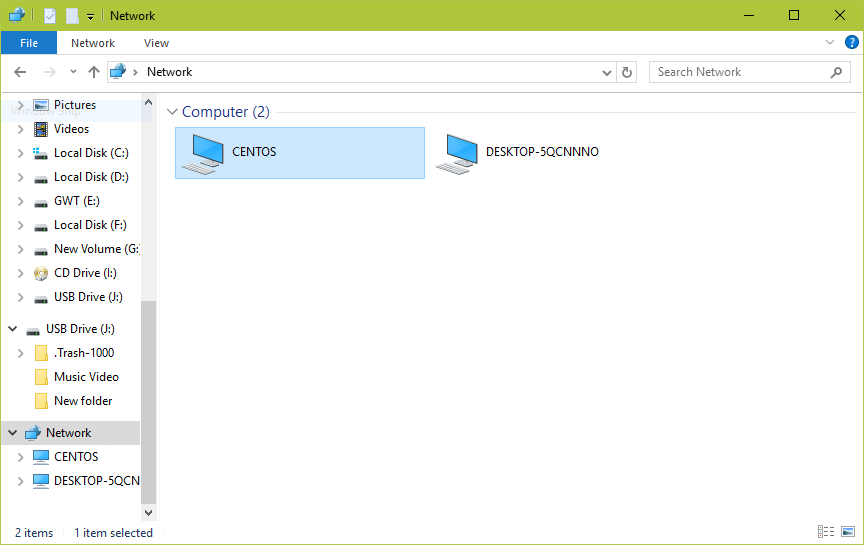
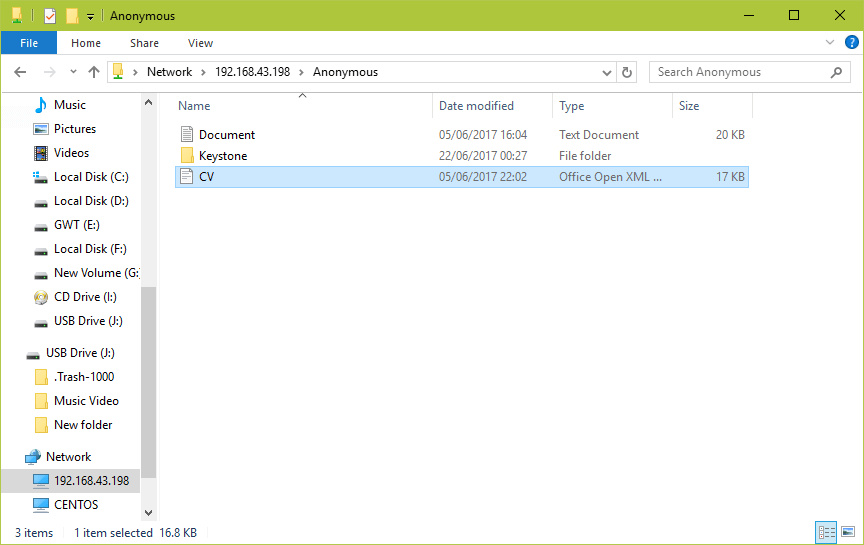
10. Next, open the Anonymous directory and try to add files in there to share with other users.
Setup Samba4 Secure File Sharing
11. First start by creating a samba system group, then add users to the group and set a password for each user like so.
# groupadd smbgrp
# usermod tecmint -aG smbgrp
# smbpasswd -a tecmint
12. Then create a secure directory where the shared files will be kept and set the appropriate permissions on the directory with SELinux security context for the samba.
# mkdir -p /srv/samba/secure
# chmod -R 0770 /srv/samba/secure
# chown -R root:smbgrp /srv/samba/secure
# chcon -t samba_share_t /srv/samba/secure
13. Next open the configuration file for editing and modify/add the section below with the corresponding directives.
# vi /etc/samba/smb.conf
[Secure]
	comment = Secure File Server Share
	path =  /srv/samba/secure
	valid users = @smbgrp
	guest ok = no
	writable = yes
	browsable = yes
14. Again, verify the samba configuration settings by running the following command.
$ testparm
Load smb config files from /etc/samba/smb.conf
rlimit_max: increasing rlimit_max (1024) to minimum Windows limit (16384)
Processing section "[homes]"
Processing section "[printers]"
Processing section "[print$]"
Processing section "[Anonymous]"
Loaded services file OK.
Server role: ROLE_STANDALONE

Press enter to see a dump of your service definitions

# Global parameters
[global]
	netbios name = centos
	printcap name = cups
	security = USER
	idmap config * : backend = tdb
	cups options = raw
[homes]
	comment = Home Directories
	browseable = No
	inherit acls = Yes
	read only = No
	valid users = %S %D%w%S
[printers]
	comment = All Printers
	path = /var/tmp
	browseable = No
	printable = Yes
	create mask = 0600
[print$]
	comment = Printer Drivers
	path = /var/lib/samba/drivers
	create mask = 0664
	directory mask = 0775
	write list = root
[Anonymous]
 	comment = Anonymous File Server Share
	path = /srv/samba/anonymous
	force user = nobody
	guest ok = Yes
	read only = No
[Secure]
	comment = Secure File Server Share
	path = /srv/samba/secure
	read only = No
	valid users = @smbgrp
15. Restart Samba services to apply the changes.
# systemctl restart smb.service
# systemctl restart nmb.service
Testing Secure Samba File Sharing
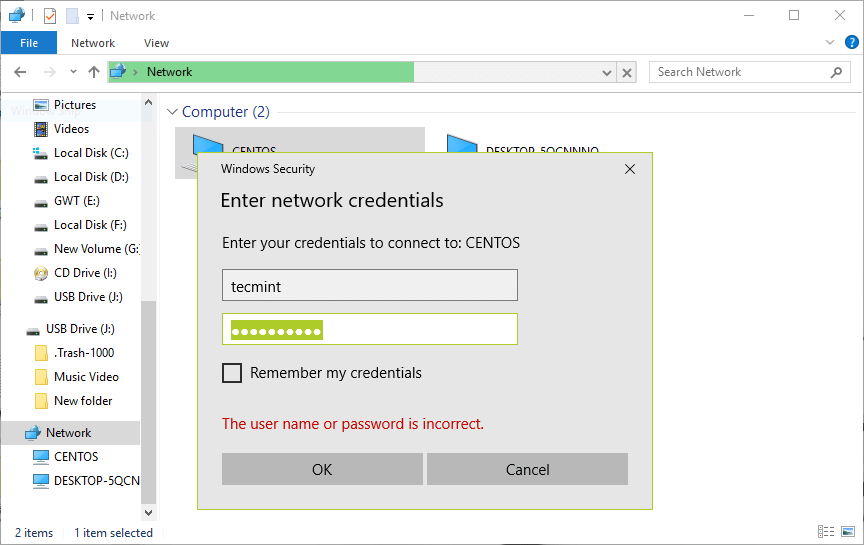
16. Go to Windows machine, open “Network” from a Windows Explorer window, then click on the CentOS host, or else try to access the server using its IP address.
e.g. \\192.168.43.168.
You’ll be asked to provide your username and password to login the CentOS server. Once you have entered the credentials, click OK.
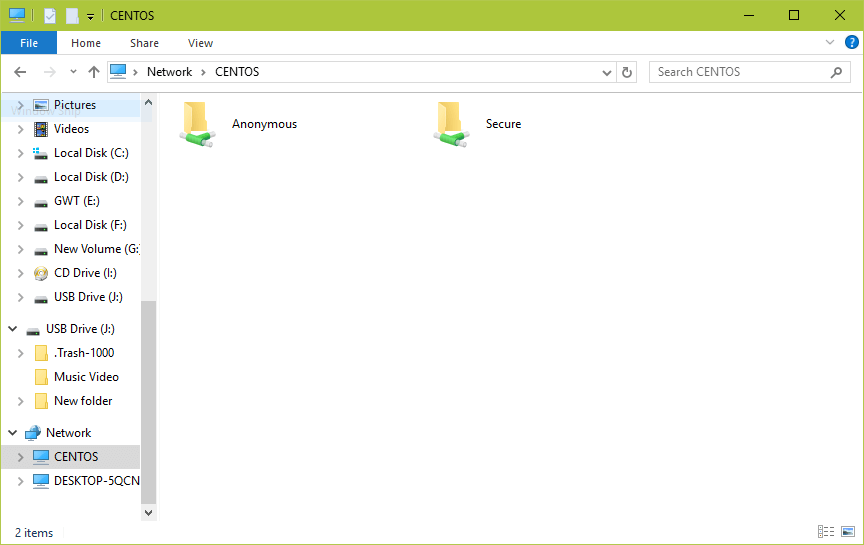
17. Once you successfully login, you will see all the samba shared directories. Now securely share some files with other permitted users on the network by dropping them in Secure directory.
You can also check out these useful articles concerning Samba file sharing on a network.
- How to Mount/Unmount Local and Network (Samba & NFS) Filesystems in Linux
- Using ACLs (Access Control Lists) and Mounting Samba / NFS Shares
- How to Fix SambaCry Vulnerability (CVE-2017-7494) in Linux Systems
In this guide, we showed you how to setup Samba4 for anonymous and secure file sharing between CentOS and other Linux systems as well as Windows machines. Share any thoughts with us via the comment section below.

Brilliant explanation, you’ve made it so clear.
Huge blow!!!!!! thank you. It worked perfectly.
Hi, is this individual username and password dependent on a different user? like john username and password different from Josep?
Thank you for sharing, worked like a charm for me.
@Ash
Great! Thanks for the feedback.
Just to understand, in parameter username tecmint OK, I saw, but where the password was defined?
You will be prompted to enter the password
Thank you very much for your work! the steps are well illustrated.
I can now see my centos folder from the windows!
Thanks
Hello, can you tell us which version of CentOS and Windows you used?
My CentOS host isn’t showing in my Windows machine in step 9. I ping, Network discovery is turn on and I’m in private. what’s wrong? :(
You need to turn on SMB1..in window turn on & off features.
What is the reason for writing SeLinux context on the directory if the Selinux is disabled?
Without Selinux context, samba public share does not work. It does not allow anonymous user to write files in the share
https://www.tecmint.com/setup-samba-file-sharing-for-linux-windows-clients/
chcon: can’t apply partial context to unlabeled file ‘/srv/samba/anonymous/’
On point 4. i got stuck.
This is an example from the previous link. Study this and set as it should be for anonymous users.
For example:
(16. Go to Windows machine, open “Network” from a Windows Explorer window, then click on the CentOS host or else try to access the server using its IP address.) Followed all the steps but unable to find CentOS host in the network, it’s not there.
I can access the Anonymous folder and write files there, but I am unable to get the access to the secure folder. It asks me for the login and password, but when I put the same credentials, which I had to use during the connection with the samba first time, when I put my own IP like you advised in the tutorial I am unable to get there.
I added user to the smbgrp. Is this a problem with Windows 10?
Hello,
I solved issues. First I have set up samba using this tutorial:
But this is a tutorial for setting up samba as a DC (domain controller). I removed samba, and purged it in CentOS (I know how to do that manually, so I did not damage anything). Then I installed everything from the scratch following your tutorial. Everything is working as I expected. Thank you very much. By the way I improved a little bit my samba global settings searching about the security and here I will present how it looks like now.
[global]
        dns forwarder = 150.10.0.1
        netbios name = SAMBA
        realm = EXAMPLE.COM
        workgroup = WORKGROUP
        security = user
        encrypt passwords = true
        smb encrypt= required
        passdb backend = tdbsam
        cups options = raw
        printcap name = cups
        invalid users = root bin daemon adm sync shutdown halt mail news uucp operator
        invalid groups = root sudo wheel
        unix charset = UTF-8
        dos charset = CP932
        protocol = SMB3
        map to guest = bad user
        panic action = /usr/share/samba/panic-action %d
        log file = /var/log/samba/log.%m
        max log size = 10000
        hosts allow = 127.0.0.1 192.168.0.0/24
        hosts deny = 0.0.0.0/0
I changed realm name, because I do not want to public information. And I allow connections only from my internal network, but if I remove last two lines it connects properly from every single computer in the world. I also have found ports which samba uses and opened them.
In CentOS it should be added like this way:
If you want to use LDAP, Kerberos, kpasswd and dns for Domain Controler add:
@Adrian
Wonderful, thanks a lot for sharing this useful solution. We are grateful!
usermod tecmint -aG smbgrpshould beusermod -aG smbgrp tecmint.Apart from Bob’s solution to add ‘map to guest = bad user‘ (I had to add it to
[global]actually) I also had to follow steps to enable ‘guest logins‘ in the Local Group Policy Editor in Windows 10 to be able to successfully access the ‘Anonymous‘ share.This link provides details on how to enable it for Windows 10 and Windows 7
https://support.microsoft.com/en-in/help/4046019/guest-access-in-smb2-disabled-by-default-in-windows-10-and-windows-ser
@Rahul
Many thanks for the useful feedback. We will check out the article.
Hi,
My nessus scanner said, my samba has “LDAP NULL BASE Search Access”. How to solved this findings?
Thanks,
@Ardian
You may want to disable NULL BASE queries on LDAP server as explained here: https://access.redhat.com/solutions/1162163.
Aaron, maybe this is a clue. I noticed the testparm produces different text than the smb.conf file.
Here it is:
Thank you for the article. My problem is: a dialog pops up “Windows Security”, “Enter your password to connect to: CENTOS” I have found the cryptic network password under Control Panel\Network and Internet\HomeGroup\View and print your home group password.
sorry admin
I still cannot figure out the sharing without password even I had follow your step. it still asking me username and password.
@MN
Access without password is only configured for anonymous access. Refer to the guide for more information.
Yes. I am clear on the limitation to the anonymous folder. I cannot see the anonymous folder. The password dialogue appears and stops any further progress. Thanks for your help! I appreciate your efforts.
Same problem here, the solution is to put:
map to guest = Bad User
in the section under [Anonymous ]
@Bob
Many thanks for sharing this, we truly appreciate your contribution.
It is possible to create a samba share between two linux servers, have some other tutorial I need to share files between two instances of my site.
@Bundas
It is possible, proper configuration is what is needed.
Hi Aaron,
Thank you for the great article. I followed all the required steps for a secure user share. In my case I had to share an existing folder structure. I have a user created for smb group and provided the required permissions for the folder as well.
I am able to connect to the share fine as well. I am able to create new files and folders but unable open or edit the existing files in the share folder.
Is there anything i might be missing. Thank you for the help.
Regards,
Vishwa
@Vishwa
In this case, you need to update the permissions on the directory (folder) and the files in it. Try to use the permissions in the article, something like this:
The
-Rflag allows for recursively adding the permission bits to sub-folders and files. And this means that the user and group have read, write and execute permissions on the folder, sub-folders and files in them.I hope this will help, otherwise, reach us again.
Hi Aaron,
I have tried the above command on the folder I am sharing. Also this folder is within the /home/ directory, if this would need any special permissions. I created a new folder in the share as a smbuser and also compared the permissions of the new folder ( where i can create the files and edit them ) with the existing folder. There is no change in the permissions, following are the permissions i notice
Regards,
Vishwadeep
@Vishwa
If the old/existing folder is within a users home directory(for example /home/user/old_folder), then the default permissions on /home/user will prevent you from opening or editing the existing files. Normally, the default permissions on a user’s home only allow rwx for user and the user’s group.
You can find more information from this article: RHCSA Series: How to Manage Users and Groups in RHEL 7 – Part 3
Hi Aaron,
Thank you for the help. I figured out the issue when i was reading up the smb.config.example.
It was the following which resolved the issue..
Turn the samba_enable_home_dirs Boolean on if you want to share home
# directories via Samba. Run the following command as the root user to turn this
# Boolean on:
# setsebool -P samba_enable_home_dirs on
Thank you again for taking time to help me out on this.
Regards,
Vishwa
by following this tutotial, It asks for password in Anonymous connection
I added in smb.conf guest only= yes and guest account = nobody and then it’s ok
But i can create files and folders in the share and they are read-only after creation.
@david
You need to set appropriate permissions(rwx) on the shared directory as explained in the article above.
Running CentOS 7 and Windows 7 Professional. I followed every step listed and I’m prompted for username and password
@Gustavo
Yes, you need to provide you login credentials to login the CentOS 7 server, as shown in Step 16 in the guide.
Hi,
I have installed CentOS 7, and i done the same thing as what you done in this but secure samba is not working…
its told login failure: unknown username and bad password
its working windows 10 only, I need for windows 7 and XP.
@Aravind
It should really work on Windows 7 and XP as well, there is no specific configuration meant for them. Try to perform some troubleshooting from the Windows side.
On Server using SAMBA and the same directory is shared on client machine via NFS, from there not able to move the images, getting error operation not permitted even tried to do it from root user.
permission is showing nobody.
Great Tutorial many thanks for your efforts.
@AhmedEagle
Welcome, thanks for reading and for the kind words of appreciation.
My brand new plain vanilla install of Clearos 7 in step 5 when running the “chcon” command I produces the following message:- “Cannot apply partial context to unlabelled file”.
What am I doing wrong. I am a novice wrt Linux
in no.9 when going into the network, I can not open “centos” there is a problem “the network path was not found”
@Luthfi
Try to use the samba server IP address, to access the anonymous shared directory.
For some reason, I could not access Anonymous Folder on step No. 10. After completing the rest of the tutorial, I was able to access Anonymous Folder, Secure Folder without entering any password, and I had an extra user Folder but i could not access this one even though I enter the correct user name and password.
Thanks for all the info you share.
@julian
There is probably an issue with your configuration; check whether you have used the security = user variable for User-level security. And also create a samba group and add the samba users in it.
If it is something else then try to troubleshoot. Many thanks for the feedback.