In this tutorial we’ll learn how to install WordPress in FAMP stack in FreeBSD. FAMP stack is an acronym that stands for FreeBSD Unix operating system, Apache HTTP server (a popular popular open-source web server), MariaDB relational database management system ( MySQL database fork currently maintained by community), and PHP dynamic programming language which runs in server-side.
WordPress is the most famous CMS framework in the world that is used for building simple blogs or professional websites.
Requirements
Step 1: Install FAMP Stack in FreeBSD
1. In order to deploy a WordPress website at your premises, you need to assure that the following FAMP components are installed and operational in FreeBSD.
The first service you need to install in FreeBSD is Apache HTTP server. To install Apache 2.4 HTTP server binary package via official FreeBSD ports repositories, issue the following command in your server console.
# pkg install apache24
2. Next, enable and start the Apache HTTP daemon in FreeBSD by executing the following commands.
# sysrc apache24_enable="yes"
# service apache24 start
3. Open a browser and navigate to your server’s IP address or FQDN via HTTP protocol to view Apache default web page. ‘It works!’ message should be displayed in your browser.
http://yourdomain.tld
4. Next, install PHP 7.1 version in your server with the below required extension by issuing the below command. Our WordPress website will be deployed in top of this PHP version.
# pkg install php71 php71-mysqli mod_php71 php71-mbstring php71-gd php71-json php71-mcrypt php71-zlib php71-curl
5. On the next step, create the php.conf configuration file for Apache web server with the following content.
# nano /usr/local/etc/apache24/Includes/php.conf
Add following configuration to php.conf file.
<IfModule dir_module>
    DirectoryIndex index.php index.html
    <FilesMatch "\.php$">
        SetHandler application/x-httpd-php
    </FilesMatch>
    <FilesMatch "\.phps$">
        SetHandler application/x-httpd-php-source
    </FilesMatch>
</IfModule>
6. Save and close this file and restart Apache daemon in order to apply the changes by issuing the below command.
# service apache24 restart
7. The final component missing is MariaDB database. To install the latest version of MariaDB database server in FreeBSD execute by the following command.
# pkg install mariadb102-client mariadb102-server
8. Next, make enable MariaDB service in FreeBSD and start database daemon by running the below commands.
# sysrc mysql_enable="YES"
# service mysql-server start
9. On the next step, execute mysql_secure_installation script in order to secure MariaDB. Use the below script output sample in order to secure MariaDB database.
# /usr/local/bin/mysql_secure_installation
Sample Output
NOTE: RUNNING ALL PARTS OF THIS SCRIPT IS RECOMMENDED FOR ALL MariaDB
      SERVERS IN PRODUCTION USE!  PLEASE READ EACH STEP CAREFULLY!

In order to log into MariaDB to secure it, we'll need the current
password for the root user.  If you've just installed MariaDB, and
you haven't set the root password yet, the password will be blank,
so you should just press enter here.

Enter current password for root (enter for none):
OK, successfully used password, moving on...

Setting the root password ensures that nobody can log into the MariaDB
root user without the proper authorisation.
Set root password? [Y/n] y
New password:
Re-enter new password:
Password updated successfully!
Reloading privilege tables..
 ... Success!
By default, a MariaDB installation has an anonymous user, allowing anyone
to log into MariaDB without having to have a user account created for
them.  This is intended only for testing, and to make the installation
go a bit smoother.  You should remove them before moving into a
production environment.
Remove anonymous users? [Y/n] y
 ... Success!
Normally, root should only be allowed to connect from 'localhost'.  This
ensures that someone cannot guess at the root password from the network.
Disallow root login remotely? [Y/n] y
 ... Success!
By default, MariaDB comes with a database named 'test' that anyone can
access.  This is also intended only for testing, and should be removed
before moving into a production environment.
Remove test database and access to it? [Y/n] y
 - Dropping test database...
 ... Success!
 - Removing privileges on test database...
 ... Success!
Reloading the privilege tables will ensure that all changes made so far
will take effect immediately.
Reload privilege tables now? [Y/n] y
 ... Success!
Cleaning up...
All done!  If you've completed all of the above steps, your MariaDB
installation should now be secure.
Thanks for using MariaDB!
10. Finally, create a WordPress installation database in MariaDB server. To create the database, log in to MariaDB console and issue the following commands.
Choose a descriptive name for this database, create a database user and password to manage this database.
# mysql -u root -p
MariaDB [(none)]> create database wordpress;
MariaDB [(none)]> grant all privileges on wordpress.* to 'user_wordpress'@'localhost' identified by 'password';
MariaDB [(none)]> flush privileges;
Step 2: Install WordPress in FreeBSD
11. To install the latest version of WordPress in FreeBSD, go to WordPress download page and grab the latest available traball version with the help of the wget utility.
Extract the tarball and copy all WordPress installation files to Apache document root by issuing the following commands.
# wget https://wordpress.org/latest.tar.gz
# tar xfz latest.tar.gz
# cp -rf wordpress/* /usr/local/www/apache24/data/
12. Next, grant Apache www group write permissions to WordPress installation directory by issuing the below commands.
# chown -R root:www /usr/local/www/apache24/data/
# chmod -R 775 /usr/local/www/apache24/data/
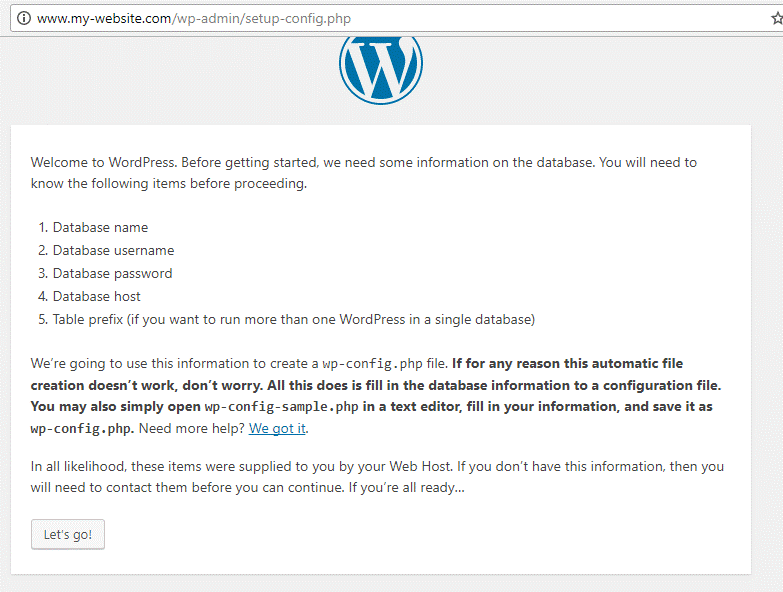
13. Now, start to install WordPress. Open a browser and navigate to your server IP address or domain name via HTTP protocol. In the first screen, hit on Let’s go! button to start the installation process.
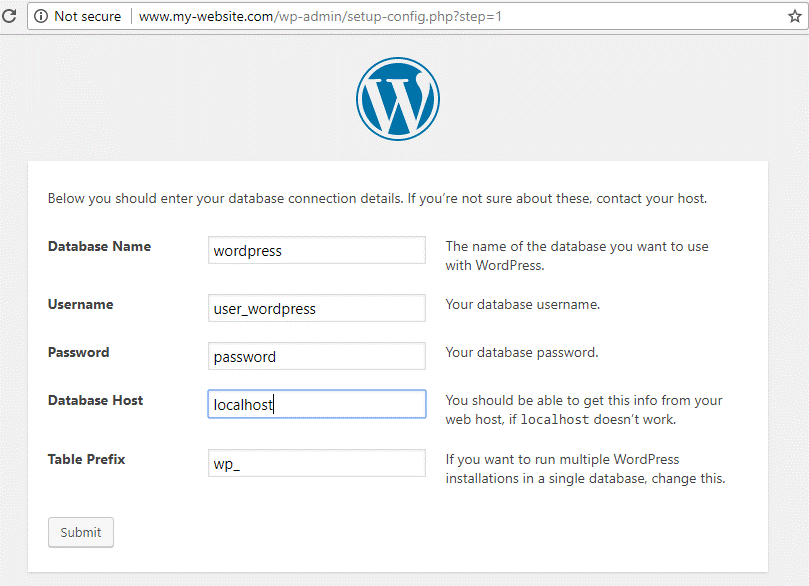
14. Next, add MySQL database name, user and password and hit on Submit button to continue, as illustrated in the below screenshot.
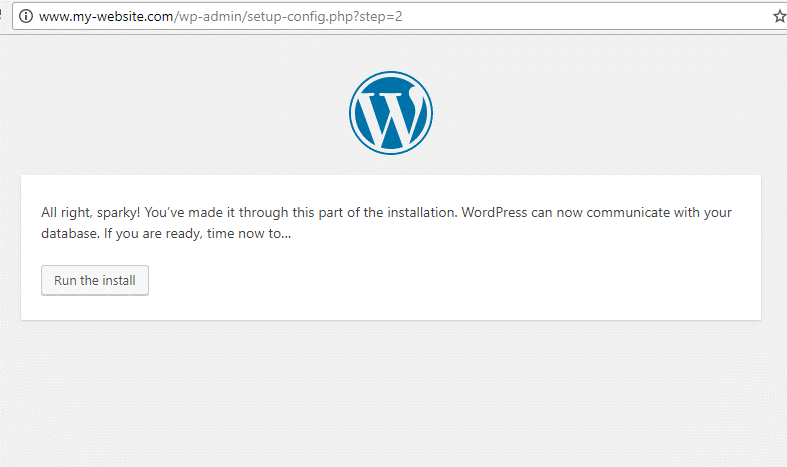
15. On the next screen, WordPress installer will inform you that it can successfully connect to MySQL database. Hit on Run the install button to install database schema.
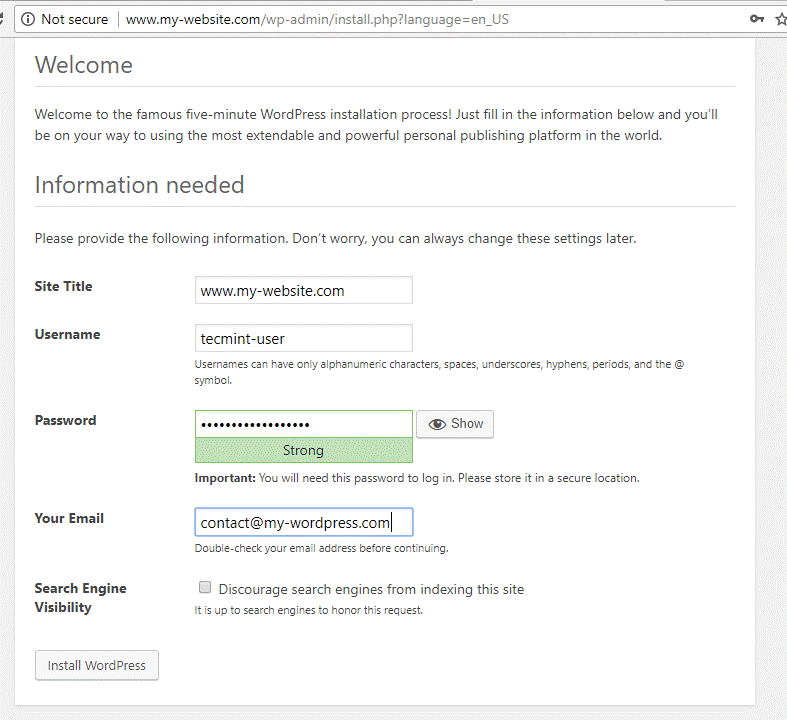
16. In the next screen, choose your site title and a username with a strong password to manage WordPress site. Also, add your e-mail address and hit on Install WordPress button to finish the installation process.
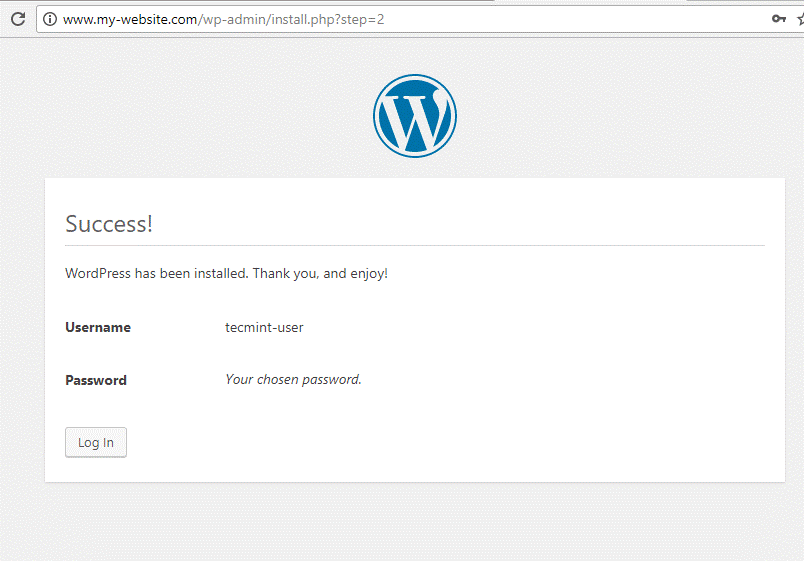
17. When the installation process completes, a message will inform you that WordPress CMS has been successfully installed. On this page you will also find the credentials needed to log in to your website admin panel, as illustrated in the below image.
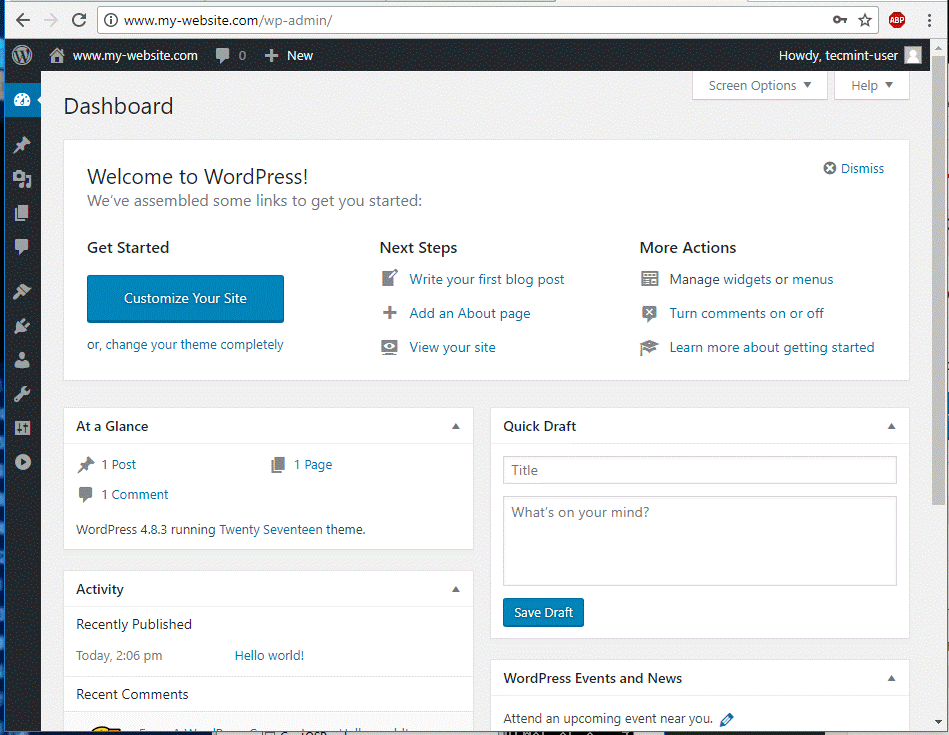
18. Finally, log in to WordPress admin dashboard using the credentials presented in the previous step and you can now start to add new posts for your website.
19. In order to visit your website frontend page, navigate to your server IP address or domain name where you will see a default post named “Hello World!”, as illustrated in the below image.
http://yourdomain.tld
Congratulations! You’ve successfully installed WordPress content management system under FAMP stack in FreeBSD.

Permalink set to “Post Name” does not work. If you click any of the links of the theme you install like “About Us” you get an error saying that the page can’t be found.
Just so you know, when I do the following command:
I get:
chmod: root:www: No such file or directory
It should just be: