Through this series of Zentyal 3.4 PDC tutorials we had setup services for file sharing like Samba and FTP, services that have their ups and downs ( Samba uses broadcasts, is designed for LAN and not scalable over Internet.
FTP only provides basic directory and file level accessing, the configurations are made by system administrator, but sometimes you want to provide users with some extra file sharing platforms that don’t require complicated system setups so users don’t have to install extra software.

This tutorial covers the basic installation and minimal configuration of Pydio –former AjaXplorer (http://pyd.io ) on top of Apache Webserver, which is a powerful Open Source File Sharing and Collaborative Platform that can turn Zentyal into a pseudo-cloud file sharing platform for internal and external users and provide features like create and edit documents, upload data, watch videos, listen music, share your files with others, collaborate on file editing etc.
Requirements
- Install and Configure Apache on Zentyal
- Enable UserDir and Password Protect Web Directories on Zentyal
- Enable .htaccess file with AllowOverride directive.
- For this setup the “cloud.mydomain.com” subdomain created on previous topic will be used to host Pydio web files and provide user storage.
- The ‘/srv/www/cloud.mydomain.com‘ path will host all Pydio web configuration files.
Step 1: Download and Configure Pydio
There are two approaches of downloading and installing Pydio.
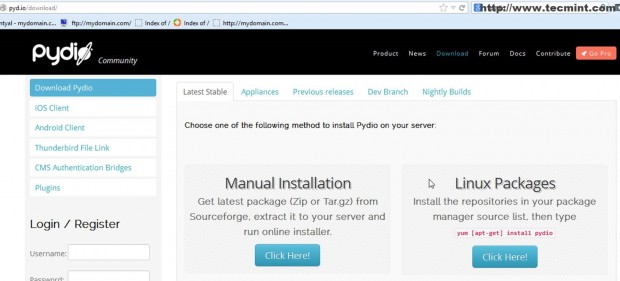
- First is by visiting Pydio official website http://pyd.io/ –> Download section -> Manual Installation, download zip or tar package, extract it to your server path (/srv/www/cloud.mydomain.com in this case) and run browser installer.
- Second method is by running an automatically installer provided through repositories on Debian systems and running apt-get command or installing RPM package for Enterprise Linux (CentOS, RHEL and Fedora).
For any other detailed information visit http://pyd.io/download/ page.
On this topic the Manual method with wget through ssh will be used for customization purposes.
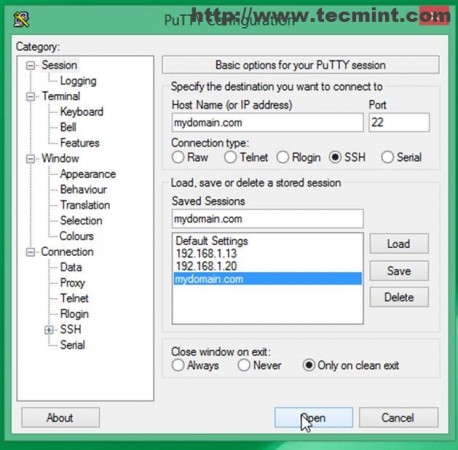
1. Logon to Zentyal 3.4 PDC Server from Putty using Zentyal IP or domain name with root account.
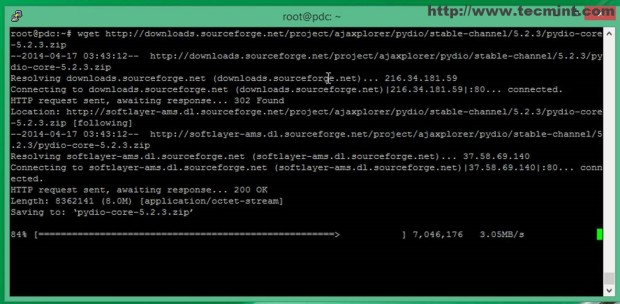
2. Download Pydio zip or tar.gz package using wget command and extract it ( on Linux I personally recommend tar.gz archive ).
# wget http://downloads.sourceforge.net/project/ajaxplorer/pydio/stable-channel/5.2.3/pydio-core-5.2.3.tar.gz
# tar xfvz pydio-core-5.2.3.tar.gz
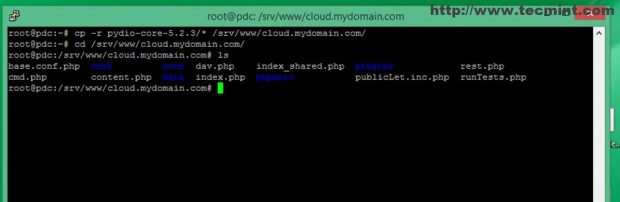
3. Copy all extracted files to your subdomain virtual host document root path by issuing the following commands then navigate to document root physical path.
# cp –r pydio-core-5.2.3/*  /srv/www/cloud.mydomain.com/
# cd /srv/www/cloud.mydomain.com/
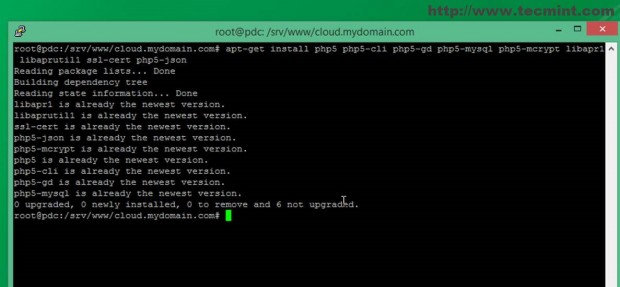
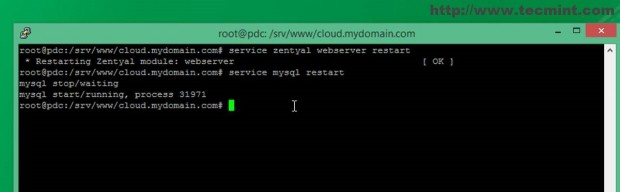
4. Now is time to install some extra Apache, MYSQL and PHP modules for Zentyal Webserver required by Pydio and then restart Zentyal Webserver service.
# apt-get install  mysql-server-5.5 php5 php5-cli php5-gd php5-mysql php5-mcrypt libapr1 libaprutil1 ssl-cert php5-json
# service zentyal webserver restart
5. The next step is to open a browser and type your subdomain on URL.
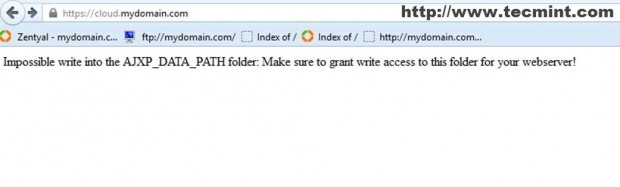
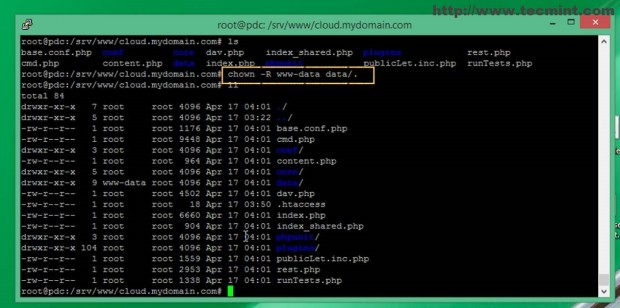
6. If you get an error message like the one in the screenshot above grant www-data with exclusive permissions on Pydio data directory.
# chown –R www-data data/.
7. For a production environment you also need to install and configure a database for Pydio configuration data ( users, plugins, document management etc). The best suited database for Zentyal in this case is MYSQL which is already installed but needs a Pydio user and database.
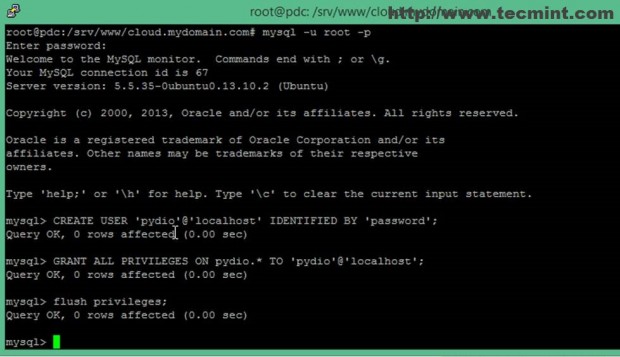
To create the Pydio user and database login to MYSQL database and create a new database named “pydio” and user “pydio” who can access this database on localhost with all privileges (On a production box change user and database name).
# mysql -u root –p
mysql> CREATE DATABASE IF NOT EXISTS pydio;
mysql> CREATE USER 'pydio'@'localhost' IDENTIFIED BY 'yourpassword';
mysql> GRANT ALL PRIVILEGES ON pydio.* TO 'pydio'@'localhost';
mysql> FLUSH PRIVILEGES;
mysql> quit;
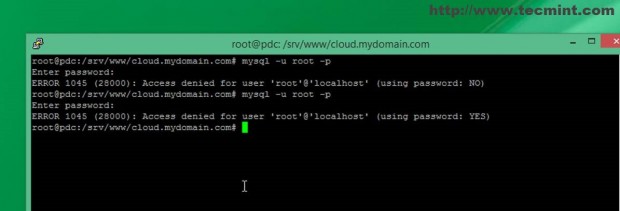
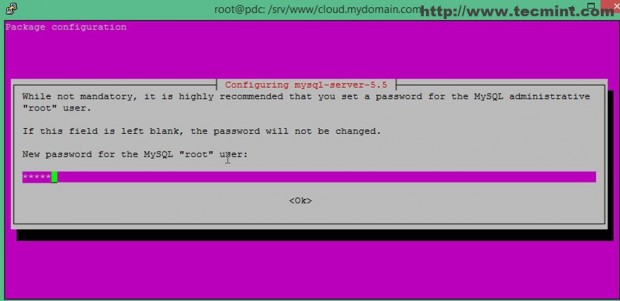
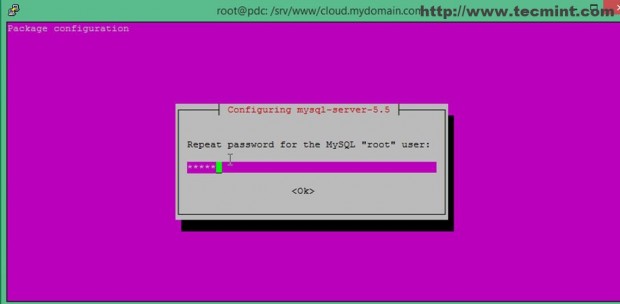
8. If you get an error while trying to access MYSQL database with standard root account issue the following command to change MYSQL root password.
# dpkg-reconfigure mysql-server-5.5
9. Now point your browser again to Pydio subdomain URL.
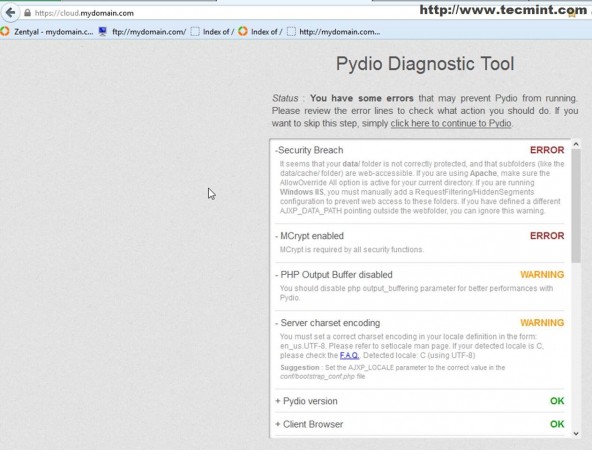
As you can see the installer generates some error that can prevent Pydio from a smooth running. To resolve some of generated errors run the following commands.
# ln –s /etc/php5/conf.d/mycrypt.ini  /etc/php5/apache2/conf.d/20-mycrypt.ini
# dpkg-reconfigure locales
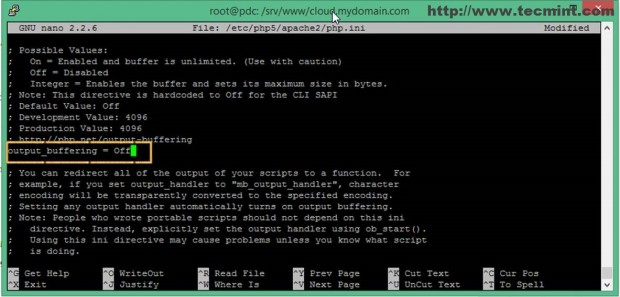
To disable PHP Output Buffer (for better performance) open and change output_buffering value to Off on /etc/php5/apache2/php.ini path.
# nano /etc/php5/apache2/php.ini
You can still experience other errors after all this steps regarding installation process but you can continue if they are classified as Warnings errors.
Step 2: Perform Pydio Installation
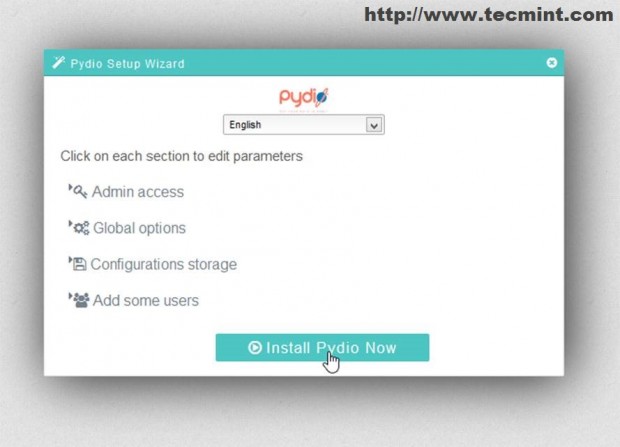
10. Now is time to actually run Pydio installer. After restarting zentyal webserver module again refresh your subdomain page and click on Start Wizard!.

11. The first step is to create your Pydio Administrator User. Enter your desired Admin Username and choose a strong password.
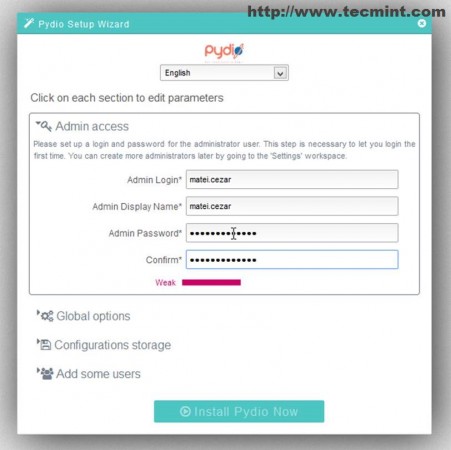
12. Next configure Pydio Global Options by adding a Title, choose your default application language and setup a welcome message (don’t enable email).

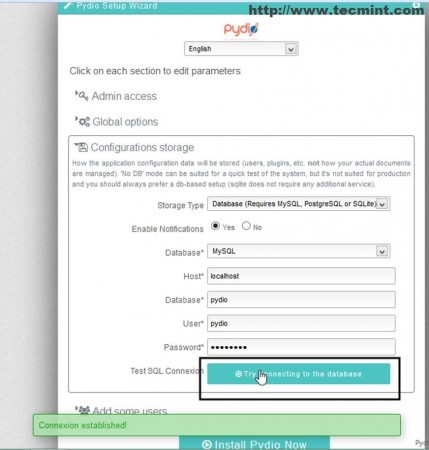
13. On the next prompt connect Pydio to MYSQL database using the credentials created earlier and test your SQL connectivity.
14. Also you can now add other users or you can choose to do this later from Pydio Admin Panel.
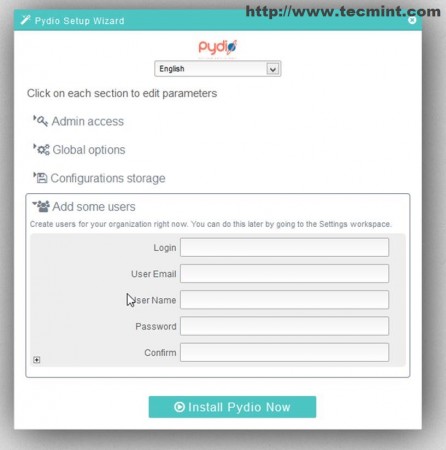
15. The last step hit on Install Pydio Now and wait for installer to finish with a successfully message.
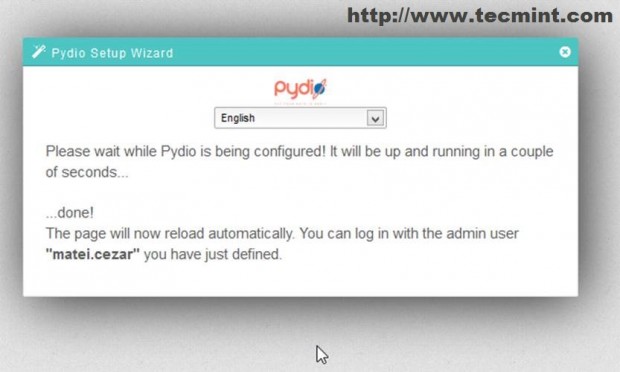
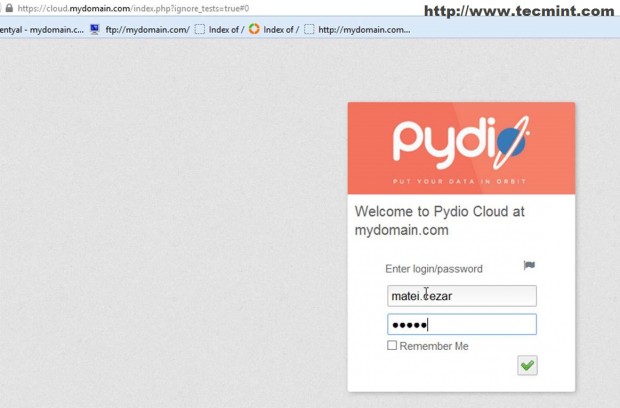
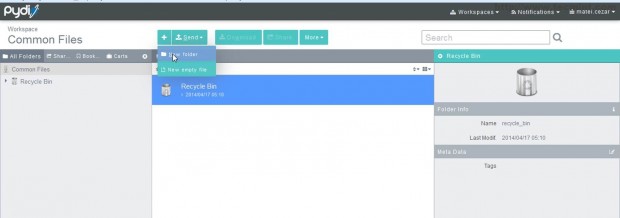
16. After the installer finish you will be automatically redirected to Pydio login webpage. Login with your administrative credentials created during installation process and setup your File and Collaboration Server ( select your preferred workspace, create new users, folders, upload files, edit users permissions etc).

Step 3: Enable HTTPS on Pydio Subdomain
Because Pydio is a Collaborative File Sharing Platform users need to be protected from network packages eavesdropping by enforcing your subdomain to run on HTTPS protocol.
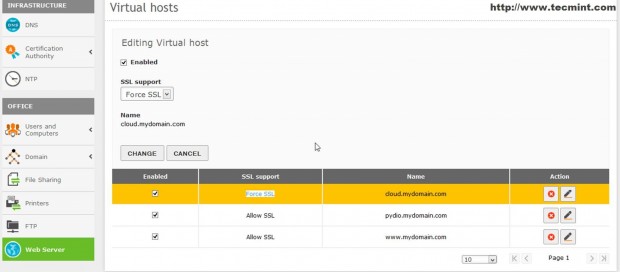
17. Login to Zentyal Admin Panel, navigate to Web Server, select your pydio subdomain, click on Edit button form Action, select Force SSL on SSL support, hit on Change and Save your settings.
Congratulations! Now you have installed and configured your sharing cloud storage platform on secure network environment.
Conclusion
As a conclusion Pydio can be a great Open Source File Sharing Platform for your organization which can connect instantly users to your local network storage or NAS and can provide an elegant alternative to other cloud storage platforms offered on Internet today.

verify permissions on /srv/www/cloud.mydomain.com/ path and assure that apache system user (www-data) has read and execute rights.
Hello
Thank you for your tutorial it help me a lot. i have a problem to install pydio. i follow all you say but nothing. i can access to the installation interface of pydio and do all the settings but when i click ‘Install Pydio now’ nothing happen.help me.