On a multiple user environment like a Zentyal PDC Active Directory running a webserver can be of great help, if you want to allow each user to have their personal webpage which can be hosted on their own homes.
Webserver module on Zentyal 3.4 can be configured to activate Users Public HTML and with the help of some Linux BASH scripts to dynamically generate some content for webpage and transmit users required information on their logon to domain.
Also Apache ships for a long time with another feature related to security delivered content and that is password protect a web directory in one of the most simple forms just by using .htaccess files and create a list of users needed to access the resources, even protect web content from search engines crawlers.
Requirements
Step 1: Enable User Public Html
1. Login to your Zentyal PDC Web Admin Tool using https://zentyal_ip.
2. Navigate to Web Server Module -> check Enable peer user public_html, hit on Change button then Save changes.

3. Open a browser and enter in URL filed the following: http://mydomain.com/~your_username.
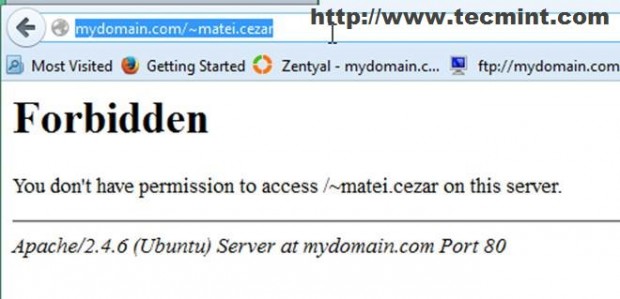
As you can see Apache has no permissions for accessing per user directory or index user’s home. To correct this behaviour we must provide www-data with execution permissions on /home/$USER directory and create a public_html folder under users path.
To simplify things a little bit we are going to write a Linux Bash script that creates public_html directory and enables correct permissions on all system users, automatic generates the html web pages for all users with a valid home directory and another script, this time a Windows Bach script, that will link it to Default domain GPO so that every user will be prompted with his personal webpage after logon with domain credentials from Windows systems joined into domain.
4. To complete this task login to Zentyal Server using Putty with your Zentyal administrative account created on system installation and create the first script using your favourite text editor. We will name it “user-dir-creation“.
# nano user-dir-creation
5. Add the bellow content on “user-dir-creation” script.
#!/bin/bash

for i in `ls /home | grep -v samba| grep -v lost+found`;  do

        mkdir /home/$i/public_html

## Make world readable and executable, so that www-data can access it  ##

        chmod -R 755 /home/$i

      chgrp -R www-data /home/$i/public_html/

## Next code should be on a single line ##

echo "<html><body style='background-color:#2DC612'><div align='center'><p><H1 style='color:#fff'>Welcome user $i on <a style='color:#fff' href='https://mydomain.com'>`hostname -f` </a></H1></p></div></body></html>" > /home/$i/public_html/index.html

## List /home/$USER permissions and public_html perm optional ##

echo "......................."

ls -all /home/$i

echo "......................"

ls -all /home/$i/public_html

done;
6. Save the script and make it executable then run it with root privileges.
# chmod +x user-dir-creation
# sudo ./user-dir-creation
7. Open again a browser and point it to the same URL as above ( see point 3 ).
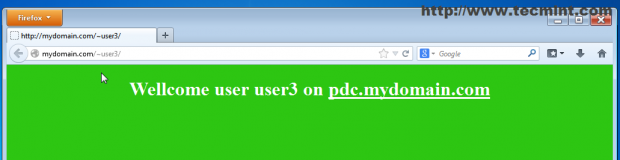
The public_html directory was created and a html file was generated for all users so now they all own a personalized web page ( This is just a simple test page but imagine what you can do with some PHP, MySQL or CGI scripts ).
8. If Zentyal 3.4 Server is also a Primary Domain Controller we can make per user web page to be automatically open in a browser when users logon from Windows hosts joined into domain.
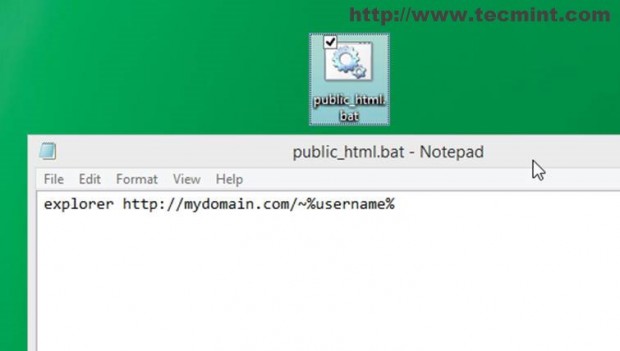
To enable it logon to a Windows system joined to domain and create a windows batch script named “public_html.bat” using Notepad with following content.
explorer http://your_domain.tld/~%username%
Note: Please note the “~” special character and %username% which is a windows environment variable.
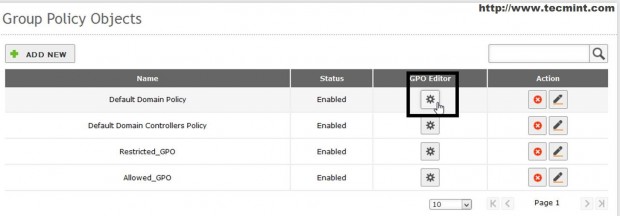
9. Open Zentyal Web Administration Tool (https://zentyal_IP) and go to Domain -> Group Policy Objects -> Default Domain Policy -> GPO Editor.
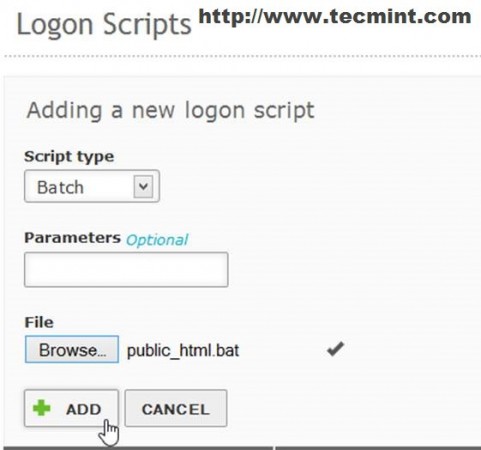
10. Click on Edit, scroll down to User Configuration –> Add New Logon Script, Browse on path where your script was created and hit ADD.
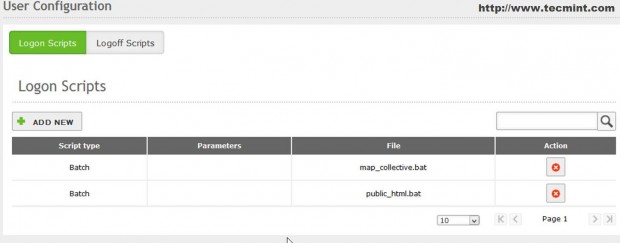
Congratulations! Now the next time you log in to domain your default browser will open a personalized web page related to your username.
Step 2: Password Protect Web Directory
This part requires more advanced configuration on Apache module which can’t be achieved form Zentyal Web Interface but only from command line and modifying some Zentyal Apache module template.
If you try to directly modify Apache configuration like you would normally do on a Linux server all of configurations made will be lost because Zentyal uses some templates forms that rewrite each service configuration files after reboot or service restart.
To actually protect a web folder using Apache authentication and make changes permanent the “AllowOverride” directive needs to be modified and “auth_basic” module needs to be loaded and enabled on Apache webserver.
11. To enable all configurations needed fist login through command line using Putty on Zentyal Server with root account.
12. Enable “auth_basic” by issuing the following command and then restart zentyal web service.
# a2enmod auth_basic
# service zentyal webserver restart
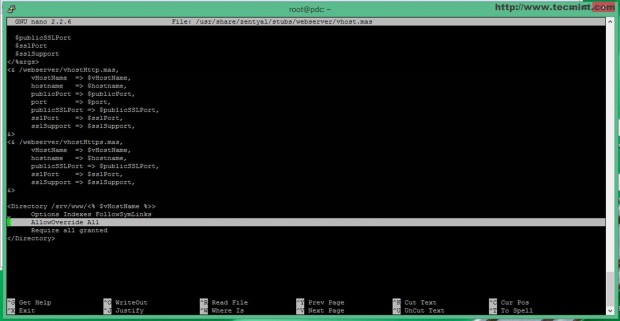
13. After the module is loaded is time to modify Zentyal Apache Vhost template located in “/usr/share/zentyal/stubs/webserver/” path and setup “AllowOverride“.
First backup vhost.mas file.
# cp /usr/share/zentyal/stubs/webserver/vhost.mas /usr/share/zentyal/stubs/webserver/vhost.mas.bak
Then open an editor, navigate bottom on file and replace “None” with “All” on “Allow Override” directive line like in the screenshot.
14. After you’re done editing restart Zentyal Webserver module to apply new changes.
# service zentyal webserver restart
The main goal of AllowOverride directive is to dynamically alter Apache configurations from other files different than ones used in Apache root (/etc/apache2/) on a per-path basis using .htacess file.
15. Now it’s time to create some users which are allowed to browse a web content directory password protected. First we need to create a directory placed outside subdomain path where .htpasswd file will be hosted and protected.
# mkdir /srv/www/htpass
# chmod –R 750 /srv/www/htpass
# chgrp –R www-data /srv/www/htpass
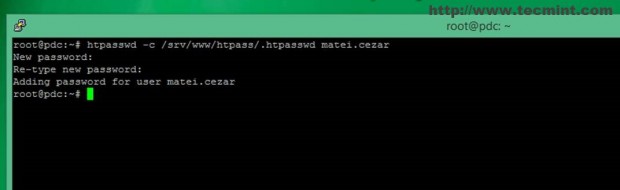
16. Now it’s time to create .htpasswd file and add some users using htpasswd command. When first user is created add “–c” (create) command switch to create the file and add user then enter and confirm user password.
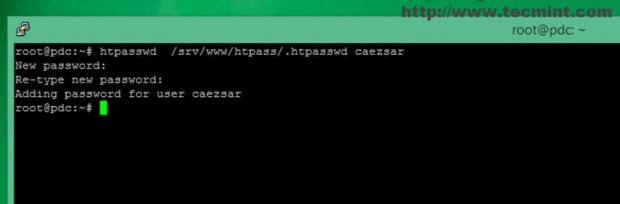
# htpasswd –c /srv/www/htpass/.htpasswd first_user
# htpasswd /srv/www/htpass/.htpasswd second_user
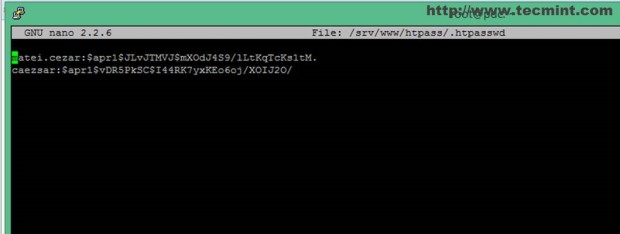
17. Now the .htpasswd file is created and encrypted using MD5 salt algorithm and you can add as many users required to access web folder content as required.
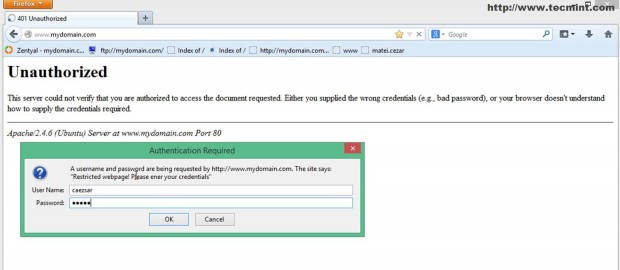
18. Now let’s assume that you want to protect http://www.mydomain.com URL from other users then ones created on your htpasswd file to access the subdomain. To enable this behaviour create a .htaccess file on www.mydomain.com system path and add the following content.
AuthType basic
AuthName “What ever message you want”
AuthBasicProvider file
AuthUserFile  /path/to/.htpassd file created
Require user  your_user1 user2 userN
Also make sure that .htacces file is word readable protected.
# nano /srv/www/www.mydomain.com/.htaccess
# chmod 750  /srv/www/www.mydomain.com/.htaccess
# chgrp www-data /srv/www/www.mydomain.com/.htaccess
Congratulations! You have now successfully password-protected the www.mydomain.com subdomain on your website and users will be prompted to enter their credentials for accessing website content.
Also if you want to protect other domains or subdomains created on your server with the credentials created already, just copy the .htaccess file on your subdomain Apache path and make sure www-data has read access.
With the help of Apache Web Direcory Password Protect Zentyal Weberver can be forged with some extra security layer on exposing sensitive information posted on your domains but be advised that this method only protects directories and not files and passwords are transmitted in clear by browser so try use HTTPS protocol to protect user credentials for being intercepted.