After my previous tutorials on Zentyal 3.4 running as a PDC, where I have integrated Windows based OS and Ubuntu, now it’s time to integrate another well known Linux distribution called CentOS.
- Install Zentyal as PDC (Primary Domain Controller) and Integrate Windows – Part 1
- Manage Zentyal PDC (Primary Domain Controller) from Windows – Part 2
- Creating Organizational Units and Enableing Group Policy – Part 3
- Setup File Sharing in Zentyal PDC – Part 4
- Integrate Ubuntu in Zentyal PDC – Part 5
In this setup CentOS 6.5 Desktop will be integrated into Zentyal PDC with the help of Likewise Open package based on Winbind. The instructions also works for Red Hat and Fedora distributions.
Step 1: Integrating CentOS in Zentyal PDC
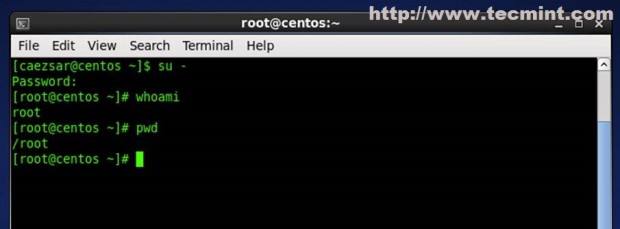
1. On CentOS 6.5, open a Terminal and login with local root account.
2. Open your browser, navigate to the following link and download PowerBroker Identity Services package for CentOS Platform ( x86 or x64 ) and save it.
Alternatively, you can use wget command to download the rpm package as shown below.
# wget http://download.beyondtrust.com/PBISO/8.0.0.2016/linux.rpm.x64/pbis-open-8.0.0.2016.linux.x86_64.rpm.sh
3. Now set the executable permission on the downloaded rpm package by running the following command.
# chmod +x pbis-open-8.0.0.2016.linux.x86_64.rpm.sh
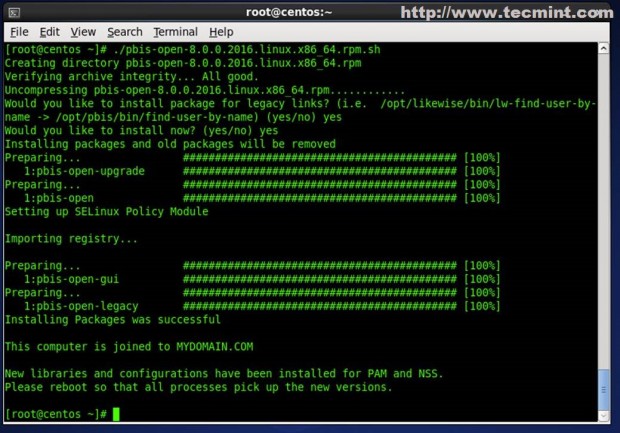
4. Then install Likewise Open software packages needed for CentOS 6.5 to join Zentyal 3.4 PDC by running.
# ./pbis-open-8.0.0.2016.linux.x86_64.rpm.sh
5. Answer all questions with “yes” and after the installation completes reboot your system.
Step 2: Configuring Network Connections
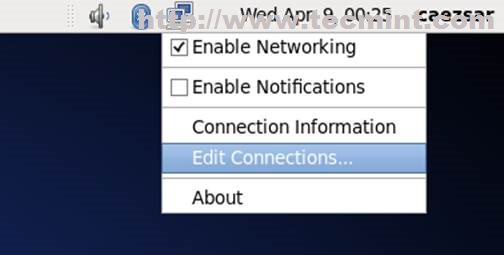
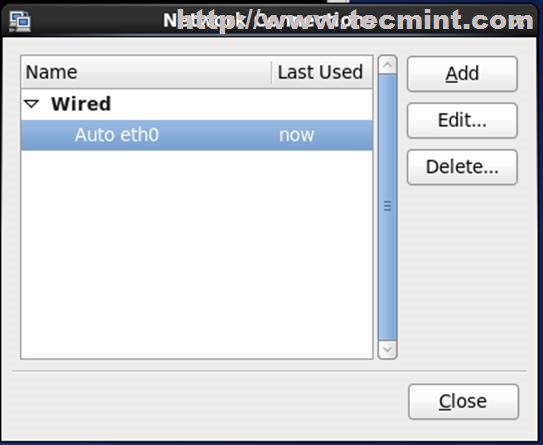
6. Go to Network icon shortcut from upper menu and right click on it and select Edit Connections.
7. Select your Network Interface that is connected to your Zentyal network and select Edit.
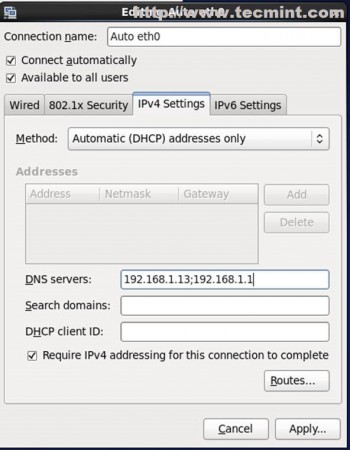
8. Go to IPv4 tab, choose Manual or Automatic (DHCP) address only and enter all DNS configurations needed hit on Apply. On DNS field enter Zentyal Server IP address.
9. To verify DNS functionality, issue a ping command on domain name. If domain responds from CentOS, means everything configured correctly.
# ping mydomain.com
10. Next, set hostname for CentOS system in ‘/etc/sysconfig/network‘ file. Here, I set hostname as ‘centos’.
# vi /etc/sysconfig/network
Step 3: Join CentOS to Zentyal PDC
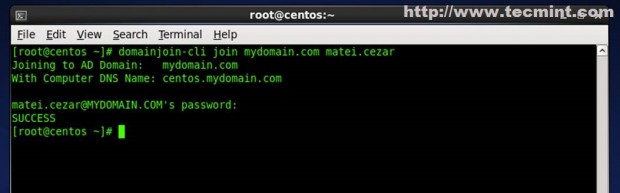
11. Now it’s time to join CentOS 6.5 system to Zentyal PDC to be a part of Active Directory. Open a terminal as root user, and run the following command.
# domainjoin-cli join domain_name domain_administrative_user
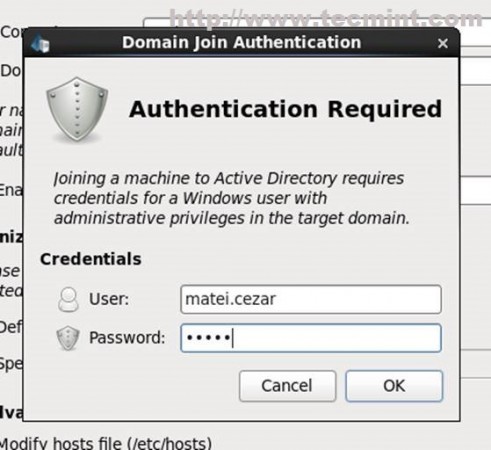
If you would like to do it from a Graphical User Interface, run the following command on the terminal.
# /opt/likewise/bin/domainjoin-gui
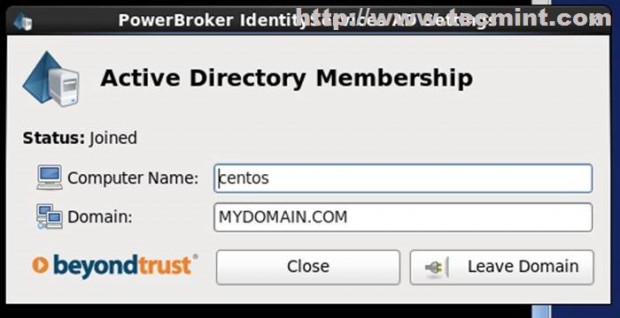
Next, enter Domain settings as shown in the below screen grab.

Enter your Zentyal PDC Administrator credentials.
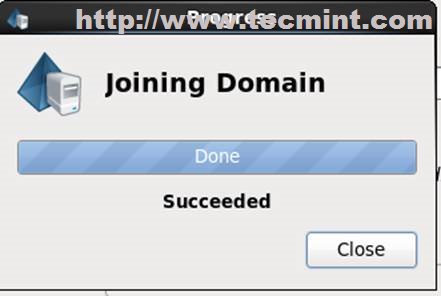
At the end you will get a success notify from server.
12. To verify that CentOS system has been added to Active Directory go to Zentyal Web Administrative Panel at ‘https://yourdomain_name‘, navigate to Users and Computers -> Manage and check if CentOS hostname added in domain forest on Computers.

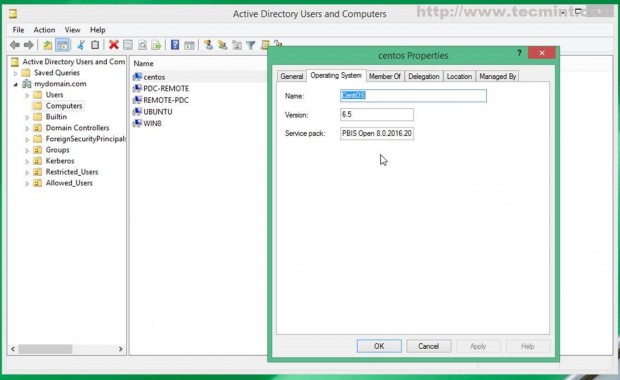
13. As a complementary step you can also confirm from a remote Windows machine by running Active Directory Users and Computers.
Step 4: Login to Domain Controller
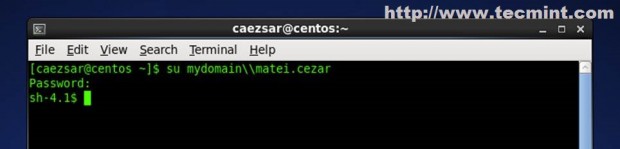
14. To login with a user that belongs to domain use the following command.
$ su - domain_name\\domain_user
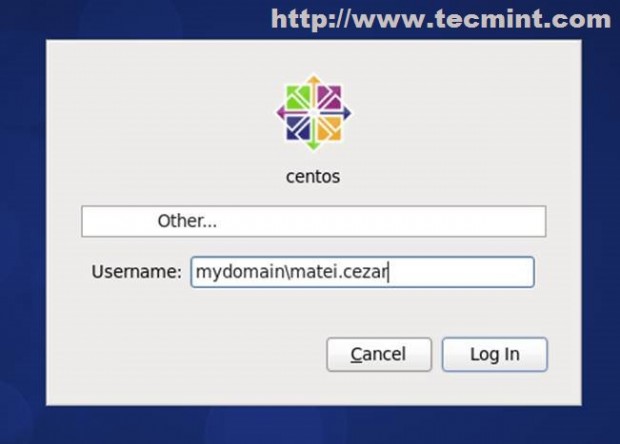
15. To login via GUI Login screen, select Other using keyboard arrows and enter.
domain_name\domain_user
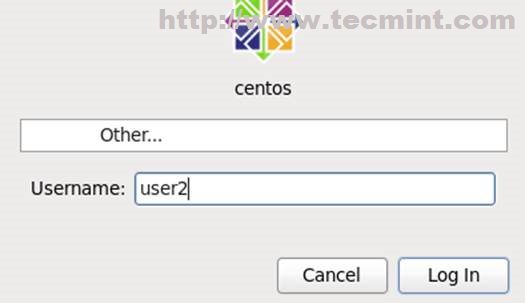
After login, reboot your system and your domain will be automatically added to logins. Then you can perform login just using the remote username without the domain name.

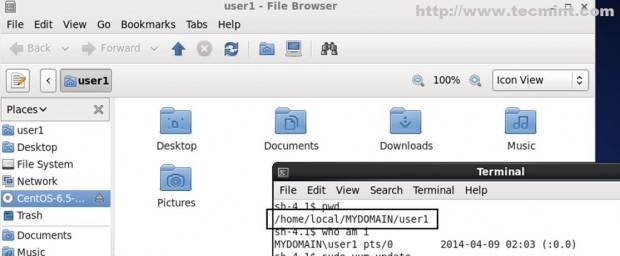
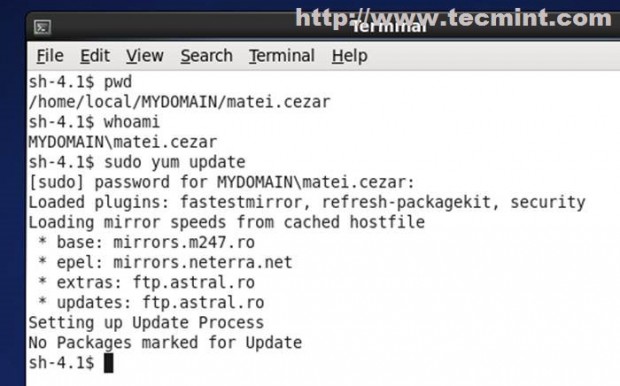
16. Now you can login on CentOS with remote users belonging to Zentyal PDC Active Directory and their default profile will be stored under.
/home/local/DOMAIN_NAME/domain_user
17. To remote login from Putty use this login structure.
domain_name\domain_user
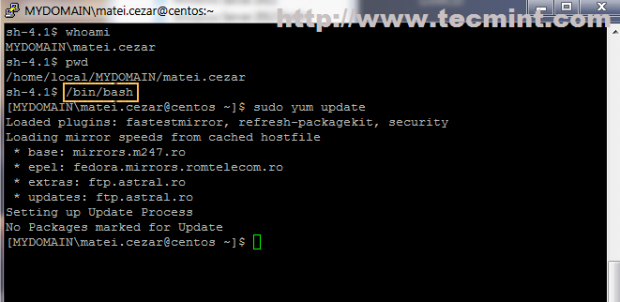
If you like to change that ugly “sh” prompt switch to bash shell.
/bin/bash
Step 5: Enable Active Directory Administrative Rights
18. By default CentOS doesn’t allow remote users from Active Directory to perform administrative tasks on system or to empower the root account with sudo.
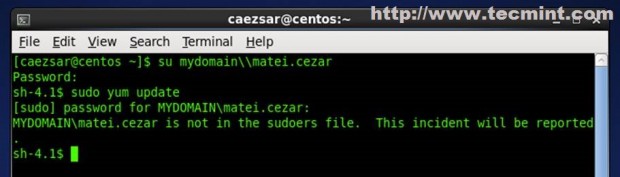
19. To enable Active Directory Administrative rights on User, you need to add the user to sudoers file.
# vi /etc/sudoers

OR

# sudo visudo
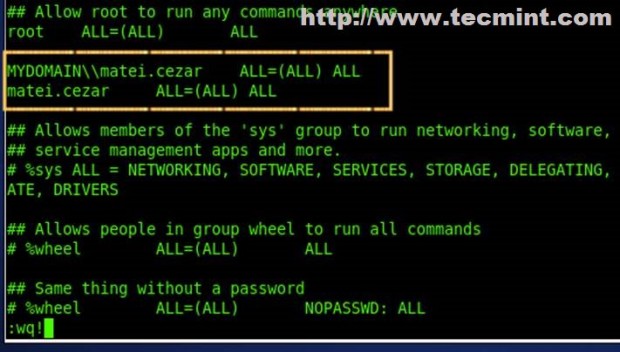
Add the following lines with your Zentyal Administrative user as shown below.
DOMAIN_NAME\\domain_administrative_user    ALL=(ALL)  ALL

domain_administrative_user    ALL=(ALL)  ALL
20. As demonstrated now Zentyal PDC Administrative User has full root privileges install/remove software packages, manage services, edit configuration and much more.

Dear
Our system successfully join to our domain .but unfortunatly we can not login with any kind of connections like XDMCP.
Thanks.
A great continuing article from your Zentyal installation guide. Many thanks!