Kubectl is a command-line utility in Kubernetes used to run commands against Kubernetes clusters. You can use it to perform a wide range of tasks, including deploying applications/microservices, viewing and managing resources, inspecting log files, and so much more.
In this tutorial, we feature commonly used kubectl commands for managing a Kubernetes (K8S) cluster.
We are using Minikube on Ubuntu 22.04 as our local Kubernetes cluster.
Creating a Kubernetes Objects / Resources
In Kubernetes, objects are persistent entities that ensure your cluster achieves the desired state. They are the building blocks of your workloads in a cluster. Objects include replicasets, deployments, pods, daemonsets, services, namespaces, configmaps and secrets, and persistent volumes to mention a few.
The most common way of creating objects is using a YAML manifest file usually with a .yaml or .yml file extension.
To create an object from a YAML manifest file, run:
$ kubectl apply -f ./file1.yaml
To create resources from multiple YAML files, run:
$ kubectl apply -f ./file1.yaml -f ./file2.yaml
To create resources from all manifest files in a directory run:
$ kubectl apply -f ./dir
To create resources from a URL, execute:
$ kubectl apply -f https://sample-url.io
Nodes in Kubernetes Cluster
A node is a physical or virtual machine on which pods and other resources that underpin your workload run. Each node is managed by a master node known as a control pane which contains multiple services required to run pods. A cluster typically has multiple nodes.
To get the number of nodes on your cluster, run:
$ kubectl get nodes

To get the pods running on a node, execute:
$ kubectl get pods -o wide | grep <node_name>

To mark your node as unschedulable, run.
$ kubectl cordon minikube

node/minikube cordoned
To mark your node as schedulable, run.
$ kubectl uncordon minikube

node/minikube uncordoned
To display resource usage metrics such as RAM and CPU run:
$ kubectl top node <node_name>
To delete a node or multiple nodes, run the command:
$ kubectl delete node <node_name>
Cluster Management and Context
A Kubernetes Cluster is a group of nodes or servers that run containerized applications. A node can run one or multiple pods which contain one or more running containers.
To list information about the master.
$ kubectl cluster-info

To check the kubectl version.
$ kubectl version --short

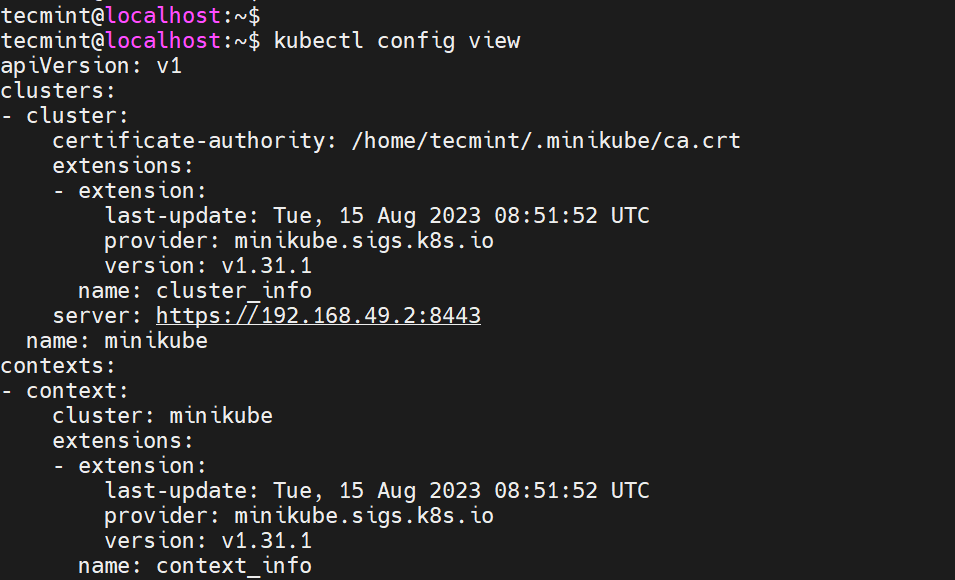
To display Kubernetes cluster configuration.
$ kubectl config view
To display contexts.
$ kubectl config get-contexts

To list available API resources.
$ kubectl api-resources

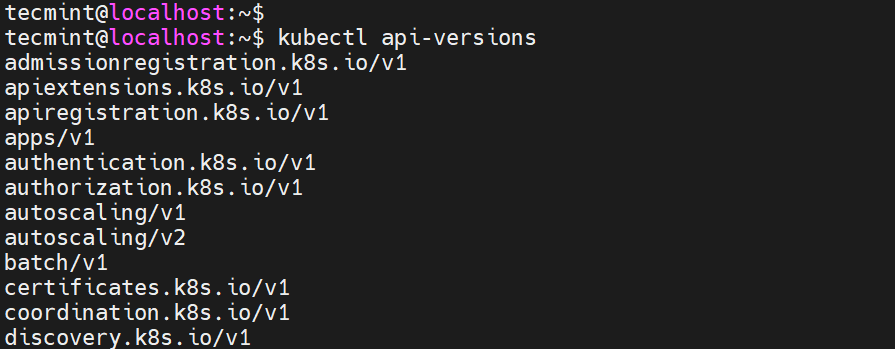
To list available API versions.
$ kubectl api-versions
Kubernetes Pods
In Kubernetes, a pod is the smallest deployable unit you can create and manage in a cluster. A pod contains a group of containers with shared volumes and network resources alongside instructions on how to run the application.
Pods are ephemeral and disposable, which means that they are short-lived and hence do not last for long periods of time. As such, the best approach to deploy pods is using the declarative configuration using a YAML file.
This is more reproducible and convenient since it can be reused. In addition, it ensures that resources defined in the YAML file are constantly monitored by Kubernetes and running as specified.
Listing / Deleting Pods
To get the list of running pods in your cluster, run the command:
$ kubectl get pods

To display pods alongside their labels, run:
$ kubectl get pods --show-labels

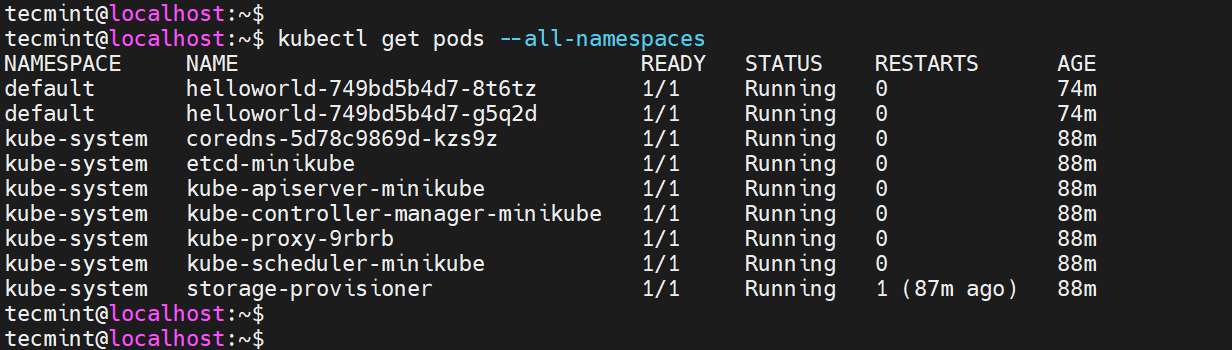
To list all pods in all namespaces, run:
$ kubectl get pods --all-namespaces
To list pods in the current namespace and with more details append the -o wide parameter.
$ kubectl get pods -o wide

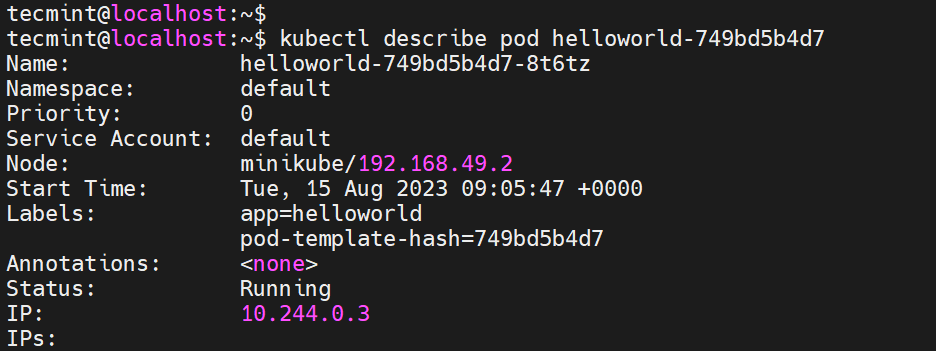
To display the detailed state of a specific pod, run:
$ kubectl describe pod <pod-name>
To add a label to a pod, run the command:
$ kubectl label pods my-pod new-label=awesome
To remove the label, execute:
$ kubectl label pods my-pod new-label-

To gain an interactive shell with a container pod run the command:
$ kubectl exec -it <pod_name> /bin/sh
To delete a specific pod, run the following:
$ kubectl delete pod <pod name>
ReplicaSets in Cluster
A ReplicaSet (RS) ensures that there is always a stable number of running pods at any given time. It guarantees the availability of a specific number of pods as defined in the YAML manifest file.
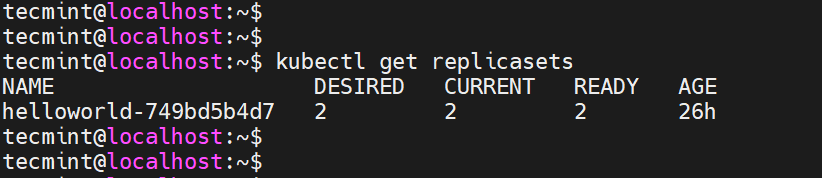
To get the number of ReplicaSets in a cluster, run the command:
$ kubectl get replicasets
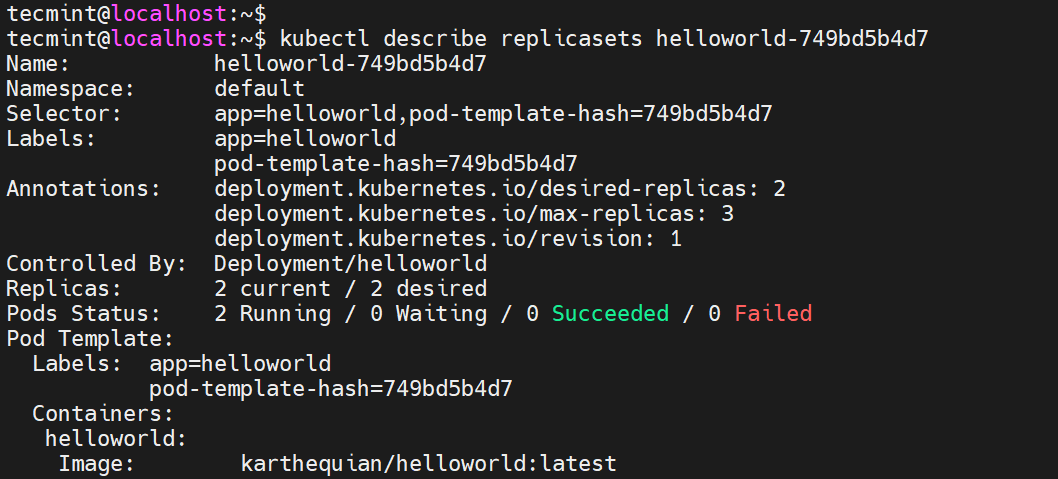
To get more information about a specific replica set, run the command:
$ kubectl describe replicasets <replicasetname>
Services in Pods
A service is a network abstraction over a pod. Services provide discovery and routing between pods. For instance, a service can connect an application’s front end to its back end, each running in separate deployments.
To list the services run:
$ kubectl get services

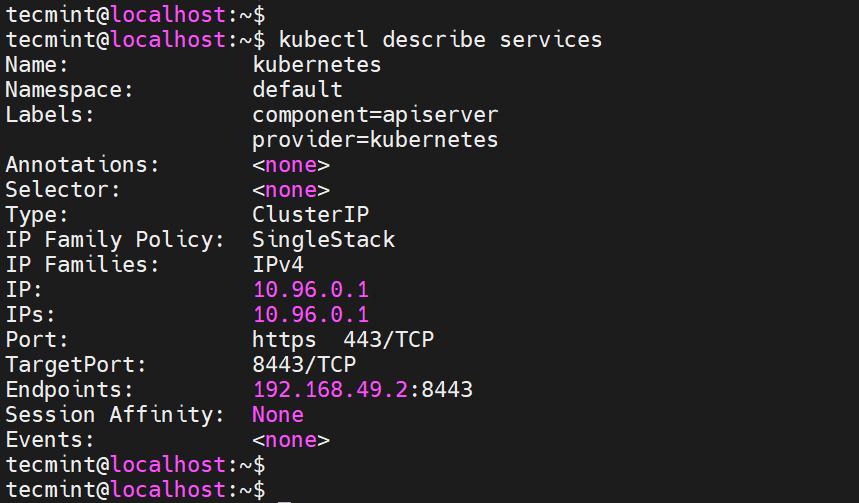
To get more details about service, run the command:
$ kubectl describe services
Service Accounts in Pods
A service account is an object used by a pod in a cluster to access the Kubernetes API server.
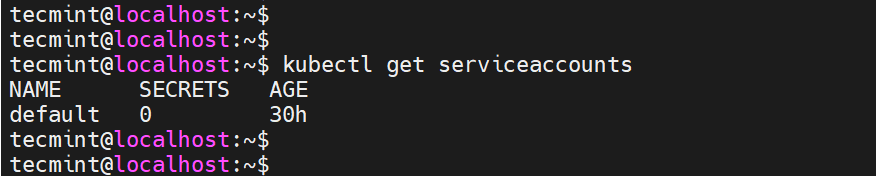
To list the service accounts, run:
$ kubectl get serviceaccounts
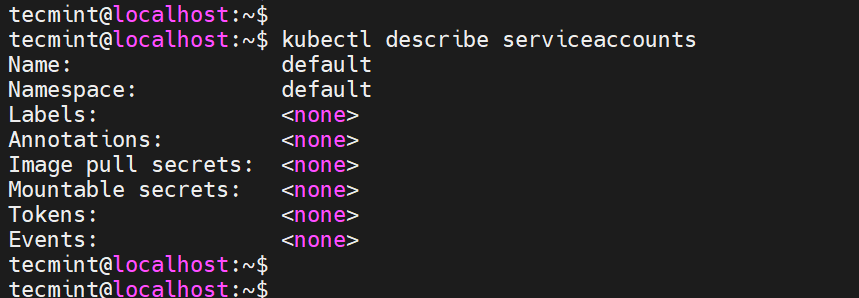
To get more detailed information about the service account, execute:
$ kubectl describe serviceaccounts
To delete a service account, use the following syntax.
$ kubectl delete serviceaccounts <serviceaccount>
Namespaces
Namespaces are units that provide a means by which a single cluster can be further subdivided into multiple sub-clusters which can then be managed individually.
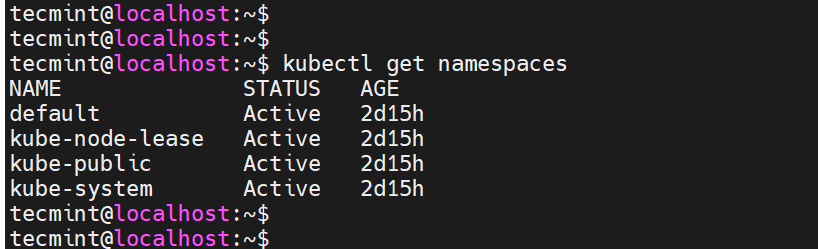
To list namespaces run:
$ kubectl get namespaces
To display detailed information about a namespace use the syntax:
$ kubectl describe namespace <namespace_name>

To create a namespace run the command:
$ kubectl create namespace <namespace_name>
To edit or modify a namespace run the command:
$ kubectl edit namespace <namespace_name>
To display the resource usage of a namespace run:
$ kubectl top namespace <namespace_name>
To delete a namespace run the command:
$ kubectl delete namespace <namespace_name>
Kubernetes Secrets
In Kubernetes, secrets is an object that holds sensitive & confidential information such as usernames and passwords.
To list existing secrets run the command:
$ kubectl get secret
To list detailed information about existing secrets execute:
$ kubectl describe secrets
To create a secret, run
$ kubectl create secret [flags] [options]
To delete a secret, run:
$ kubectl delete secret <secret_name>
Kubernetes Deployments
A deployment is an object that enables you to declare the desired state of your application. You can define the number of replicas, the image for the pods, the number of pods, and other resources.
To get the number of deployments, run the command:
$ kubectl get deployment

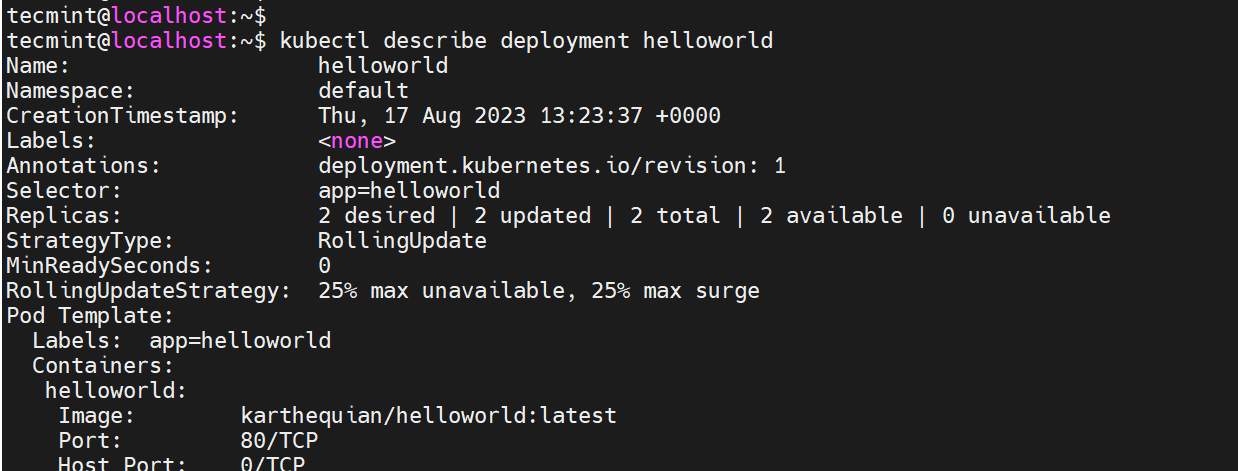
List the detailed state of a specific deployment.
$ kubectl describe deployment <deployment-name>
To delete a deployment, run the command:
$ kubectl delete deployment <deployment-name>

To create a new deployment, execute the command:
$ kubectl create deployment <deployment-name>
Kubernetes Events
In Kubernetes, an event is an object that is generated in response to a change in the state of a resource such as a pod, container, or node. A good example is the change of a pod’s state from pending to running, or successful to failed.
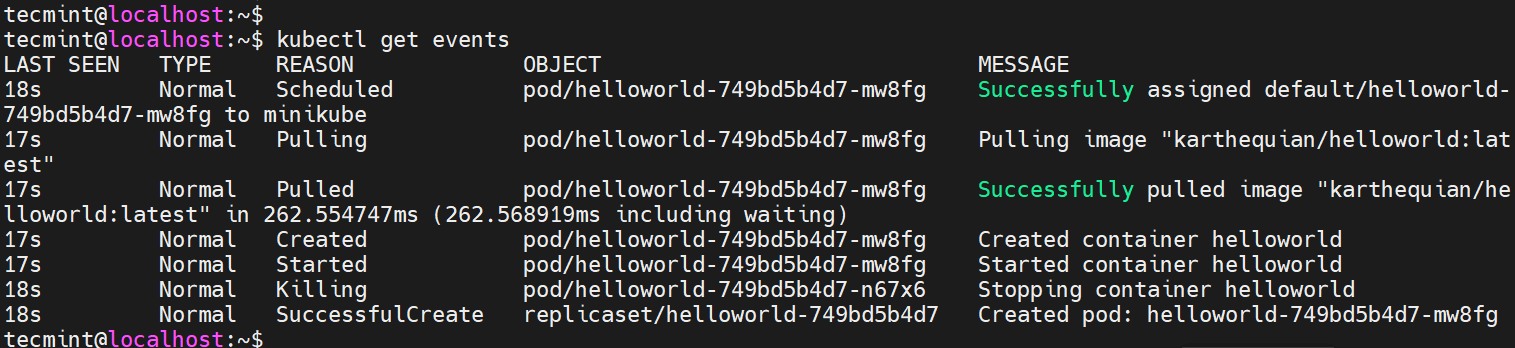
To list all events, run:
$ kubectl get events
To list events but exclude pod events run the command:
$ kubectl get events --field-selector involvedObject.kind!=Pod

To list events alongside their timestamps and sorted according to time of creation, run:
$ kubectl get events --sort-by=.metadata.creationTimestamp

Kubernetes Logs
Logs are critical in recording cluster events and helping in debugging and troubleshooting faults. You can view or configure log verbosity using the following commands:
To print logs for a specific pod run:
$ kubectl logs <pod_name>
To print and also follow the real-time logs for a specific pod execute:
$ kubectl logs -f <pod_name>
To print logs for a pod for the last X hours, say 3 hours, run:
$ kubectl logs --since=3h <pod_name>
To print logs for a specific container inside a pod, run
$ kubectl logs -c <container_name> <pod_name>
Generate the most recent 20 lines of logs
$ kubectl logs --tail=20 <pod_name>
Generate logs of a pod and save the logs in a logfile called pod.log
$ kubectl logs <pod_name> pod.log
Conclusion
That was a general overview of some of the most commonly used kubectl commands for administering a Kubernetes cluster.