If you are looking to self host your own WordPress website, there are numerous ways to do that. You have probably heard about LAMP and LEMP stacks.
In this article, we are going to show you a different approach, using Webinoly – a optimized LEMP web server with integrated multiple features to make your life easier.
Since Webinoly follows the best practices for your website, you get:
- Free SSL certificates via Let’s Encrypt.
- HTTP/2 – a major revision of the HTTP network protocol.
- PHP 7.3. Earlier versions are also supported if needed.
- FastCGI and Redis object cache for WordPress.
- Automatically attempts to optimize your web server to get most of your available resources.
To manage your websites, Webinoly provides the following options:
- Commands to create, delete and disable sites.
- Installation of SSL certificates.
- Log view in real time.
- Additional security options for accessing phpMyAdmin.
In this article, we are going to show you how to install Webinoly. It is supported on LTS versions of Ubuntu so you can install it on Ubuntu 16.04 or 18.04. There have been reports for the service to work on other versions as well, but no official tests have been made so far.
Installing Webinoly in Ubuntu
The installation of Webinoly is fairly easy, all you have to do is run the following wget command.
$ sudo wget -qO weby qrok.es/wy && sudo bash weby 3
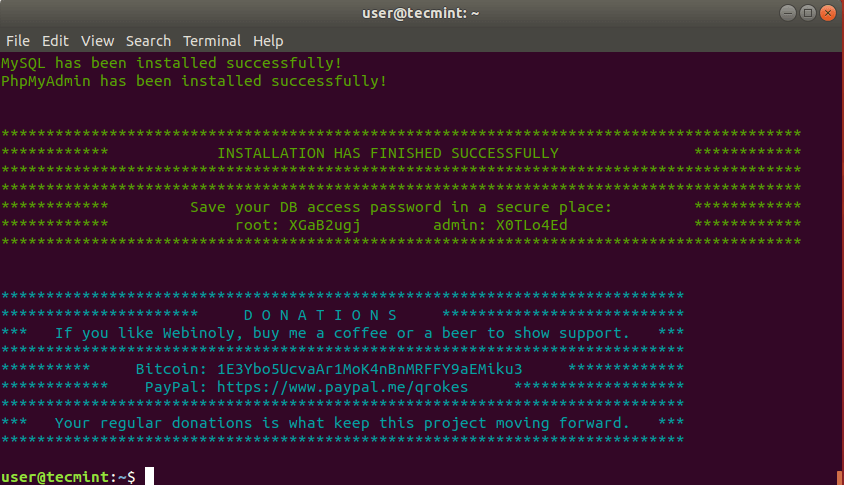
This will install all the Webinoly packages, including Nginx, MariaDB and PHP. It is that simple. When the installation is complete, you will receive your MySQL users password:
Creating Your First WordPress Website
Now that the installation is complete, you can setup your first WordPress website with Webinoly. This can easily be created with one command:
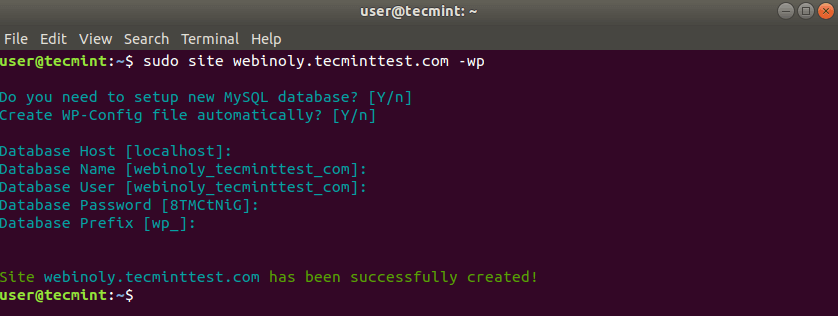
$ sudo site example.com -wp
The above command will create the website: example.com with a WordPress installation. It will ask you to create a new database or use existing one. You can answer to all question with default “y” and Webinoly will generate random database name, username and password:
Once the setup is complete, you can open the website and configure your site’s title, username and password:
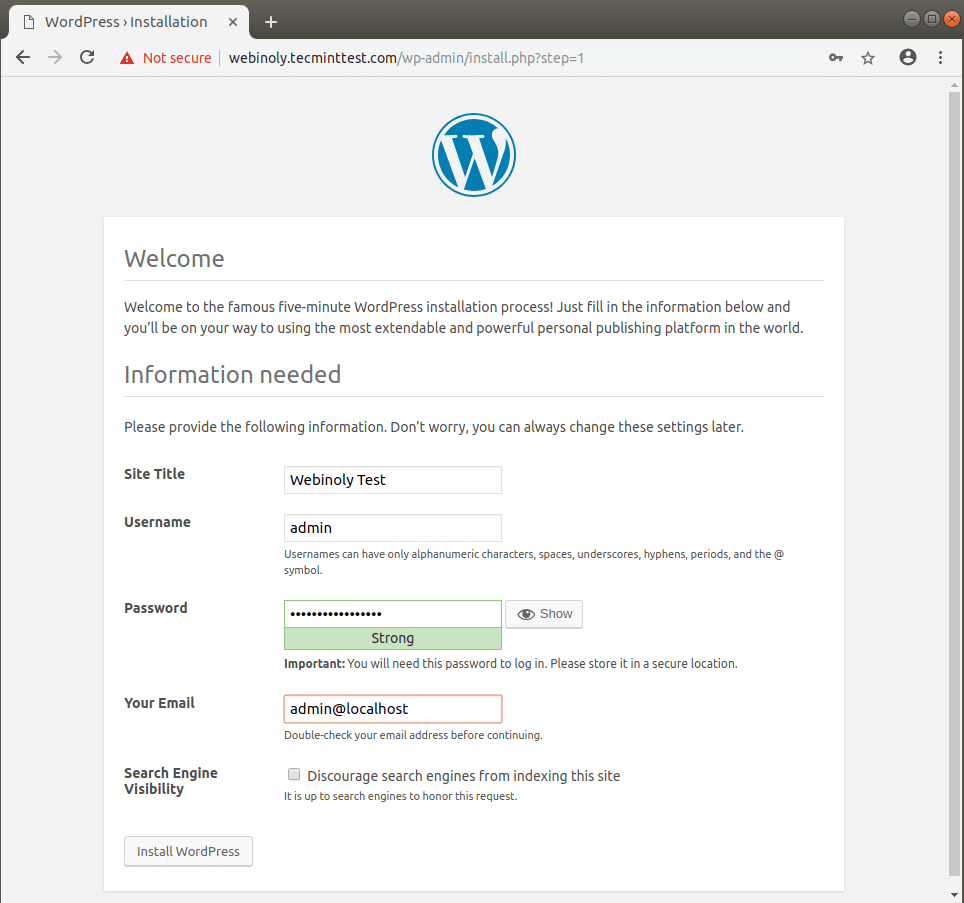
When you click on “Install WordPress” the installation will be complete and you can start work on your website.
Configure Server for WordPress
As mentioned earlier, Webinoly allows you to make some extra configurations and tweaks to your server. Below, you can see some examples of how to add extra configuration:
Modify FastCGI configuration.
$ sudo webinoly -config-cache
$ sudo webinoly -clear-cache=fastcgi
The default port for phpMyAdmin is 22222. If you want to change this, you can use the following command:
$ sudo webinoly -tools-port=18915
$ sudo webinoly -tools-site=mymainsite.com
The second command enforces the use of mymainsite.com to access the tools section.
To avoid malicious traffic we can add blackhole as default nginx response. That way no content will be returned when a request is made that does not correspond to any website.
$ sudo webinoly -default-site=blackhole
In case you want to block IP address from reaching your website, you can use the following command:
$ sudo webinoly -blockip=xx.xx.xx.xx
Setup Free SSL on WordPress Website
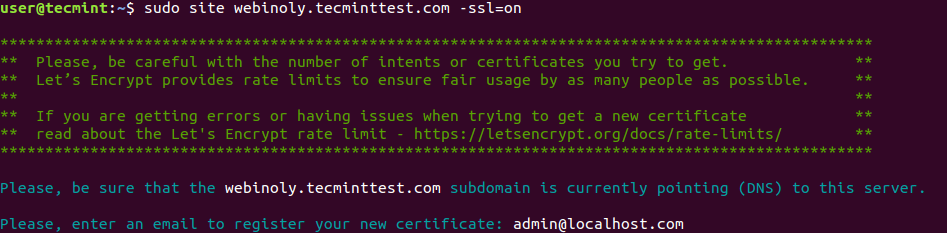
To issue free SSL certificate for your domain, you can use:
$ sudo site example.com -ssl=on
There are many more options you can use with Webinoly. For example – installing/uninstalling extra packages, enabling HTTP authentication, adding parked domains, creating WordPress multisite and many others.
For more detailed information and examples, I recommend you to check Webinoly’s documentation.
Conclusion
Webinoly is a nice and easy implementation of LEMP stack with added extra functionality. It is most definitely worth trying either if you are experienced or a newbie user.


I have made a tutorial about the SlickStack script, the tutorial link:
https://blogelegant.com/how-to-install-wordpress-with-slickstack/But I am not an expert, if you need help, contact one of their SlickStack experts anytime or check out their paid SlickStack gigs on Fiverr, Legit, Upwork, etc. Hope this tutorial helpful for you.
Hello please make tutorial in SlickStack script. I had some trouble thanks….
https://github.com/littlebizzy/slickstack