Joomla is one of the most popular open-source content management systems and software tools in the world that it is used to create, organize, manage, and publish content for small businesses, governments, non-profits, and large organizations globally.
Joomla is supported by a vast community and powers:
- Nearly 2 million active websites.
- Over 9% of all business websites.
- Over 6% of the global CMS market.
- More than 3% of the entire web.
Joomla provides a great chance to grow your business by building websites and applications. Its strong code and large global community make it easy to get started quickly. Whether you want to create websites, develop applications, design templates, or build new tools using our framework, Joomla offers endless possibilities.
As of now, the latest stable release is Joomla 5.1.2, which offers significant advancements over previous releases, including improved performance, enhanced security, and a modern user interface.
In this guide, we’ll walk you through the steps to install the latest version of Joomla on Red Hat Enterprise Linux (RHEL) 9 using the LAMP stack (Linux, Apache, MySQL, PHP), including configuring your database, downloading Joomla, and completing the installation through a web interface.
What is LAMP Stack
LAMP is an open-source web development software stack wherein Linux is the operating system, Apache is the web server, MySQL is an RDBMS, MariaDB is a community-developed fork of MySQL, and PHP is the object-oriented scripting language.
Prerequisites
Before you begin the installation of Joomla, ensure you have the following:
- A RHEL 9 server is up and running.
- You will need root (sudo) privileges to install the necessary packages and configure services.
- It’s recommended to have a domain name pointed to your server’s IP address for accessing your Joomla site.
Step 1: Setting System Hostname
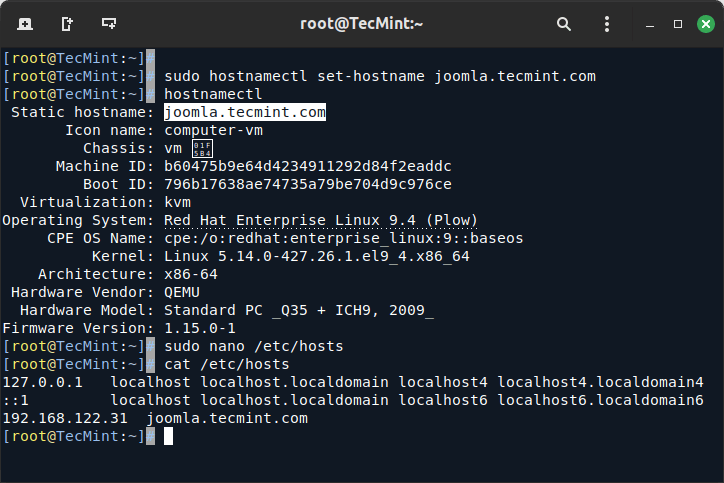
To set the hostname to joomla.tecmint.com on RHEL 9, use the following hostnamectl command.
sudo hostnamectl set-hostname joomla.tecmint.com
hostnamectl
Next, open the /etc/hosts file to map the hostname to your server’s IP address.
sudo nano /etc/hosts
Add the following line to associate the hostname with your server’s IP address (replace your_server_ip with your actual IP address).
192.168.122.31 joomla.tecmint.com
Step 2: Installing LAMP Stack
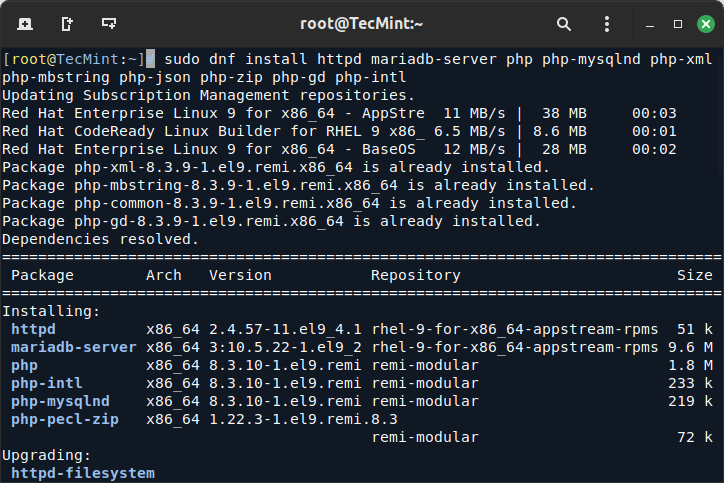
Joomla requires a web server (Apache) to serve its web pages, a database (MySQL) to store its content, and PHP along with the necessary extensions to function properly.
To install the LAMP stack, run the following command.
sudo dnf install httpd mariadb-server php php-mysqlnd php-xml php-mbstring php-json php-zip php-gd php-intl
Once the LAMP stack is installed, start the Apache and MariaDB service and enable it to start on boot.
sudo ystemctl start httpd mariadb
sudo systemctl enable  httpd mariadb
Next, you need to secure the MariaDB installation by running the MySQL security script, which will ask you to set the root password, remove anonymous users, disallow root login remotely, remove the test database, and reload privilege tables.
sudo mysql_secure_installation
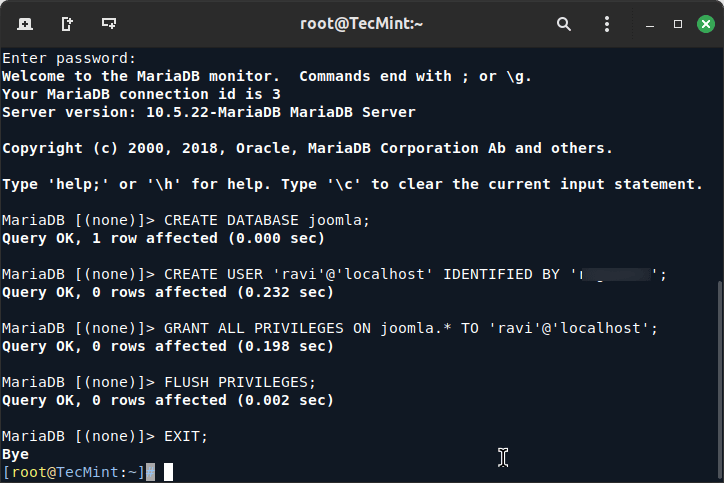
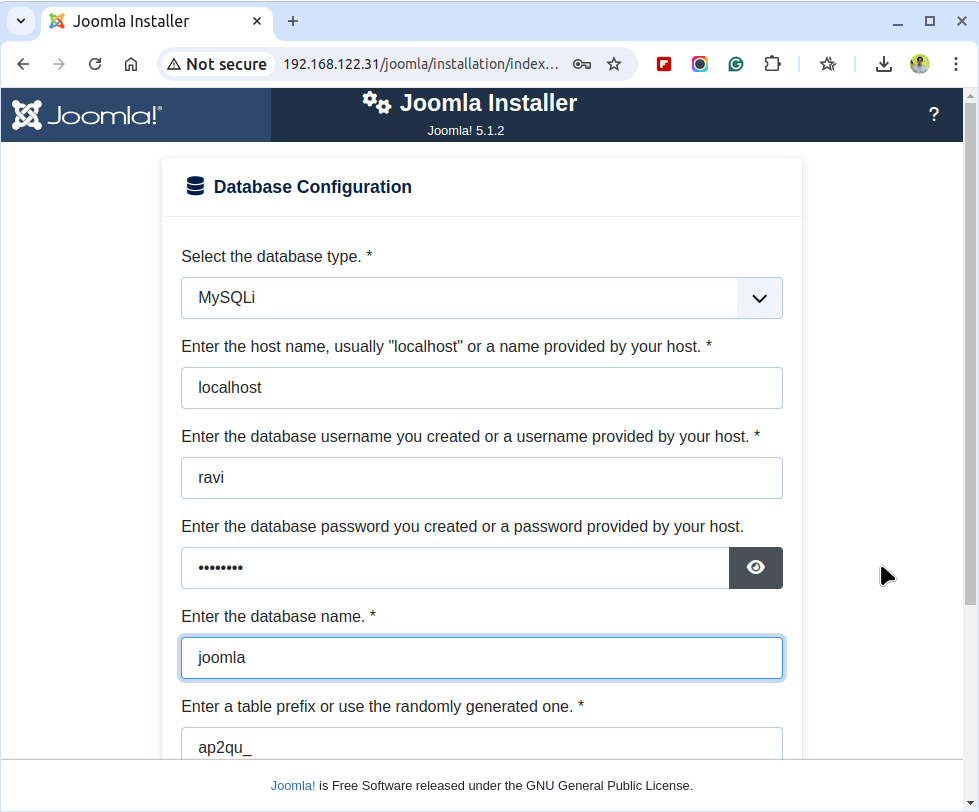
Once you have your MariaDB installation, you can connect to the MySQL server and create a new database and user for Joomla.
sudo mysql -u root -p
CREATE DATABASE joomla;
CREATE USER 'ravi'@'localhost' IDENTIFIED BY 'rig!43B#';
GRANT ALL PRIVILEGES ON joomla.* TO 'ravi'@'localhost';
FLUSH PRIVILEGES;
EXIT;
Next, you need to configure the following required PHP settings in the /etc/php.ini configuration file.
sudo nano /etc/php.ini
Find and update the following settings in the php.ini file:
memory_limit = 256M
upload_max_filesize = 30M
post_max_size = 30M
max_execution_time = 30
Step 3: Downloading and Configuring Joomla
Now that we have our web server, database, and PHP environment ready, we can proceed to download and configure Joomla by visiting the Joomla download page or using the following wget command to download it directly in the terminal.
wget https://downloads.joomla.org/cms/joomla5/5-1-2/Joomla_5-1-2-Stable-Full_Package.zip
Next, extract the Joomla package to the web root directory.
sudo unzip Joomla_5-1-2-Stable-Full_Package.zip -d /var/www/html/joomla
Now change ownership of the directory with user and group “apache” recursively with the below command.
sudo chown -R apache:apache /var/www/html/joomla
sudo chmod -R 755 /var/www/html/joomla
Step 4: Configure Apache for Joomla
To make Joomla accessible, you’ll need to configure Apache to serve the Joomla directory.
sudo nano /etc/httpd/conf.d/joomla.conf
Add the following configuration.
<VirtualHost *:80>
    ServerAdmin [email protected]
    DocumentRoot /var/www/html/joomla
    ServerName your_domain_or_IP
    <Directory /var/www/html/joomla>
        Options Indexes FollowSymLinks
        AllowOverride All
        Require all granted
    </Directory>
    ErrorLog /var/log/httpd/joomla-error.log
    CustomLog /var/log/httpd/joomla-access.log combined
</VirtualHost>
Replace your_domain_or_IP with your domain name or server IP address.
Test the Apache configuration for syntax errors and restart Apache to apply the new configuration.
sudo apachectl configtest
sudo systemctl restart httpd
Next, you need to open port 80 for HTTP and port 443 for HTTPS on firewalld.
sudo firewall-cmd --permanent --add-service=http
sudo firewall-cmd --permanent --add-service=https
sudo firewall-cmd --reload
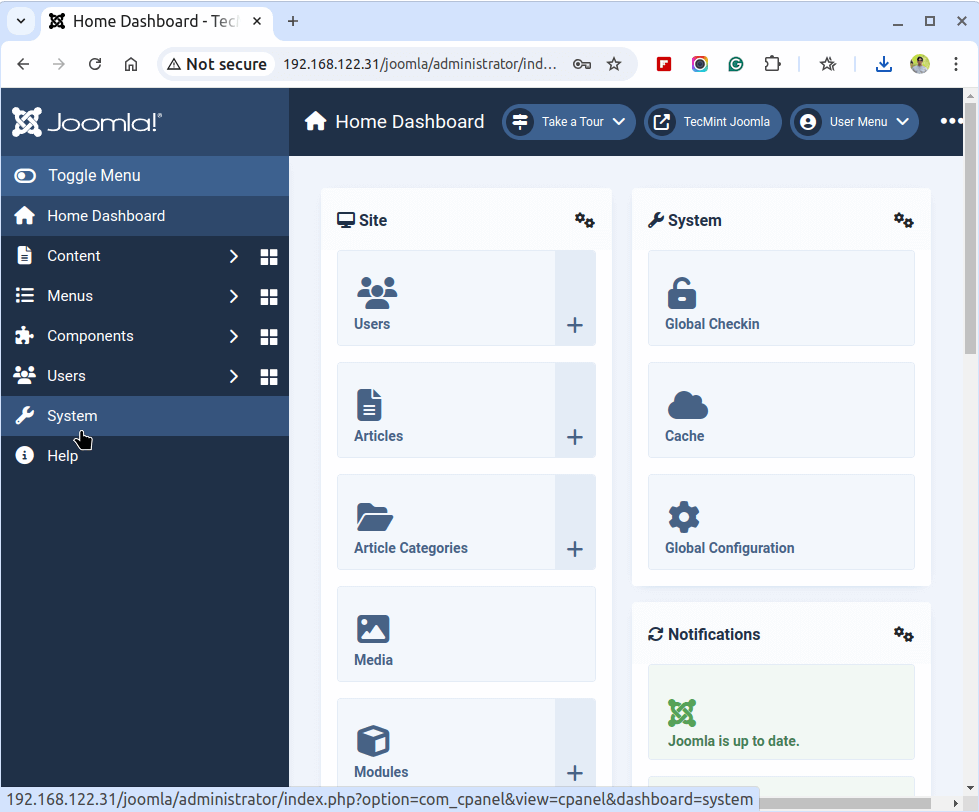
Step 5: Complete the Joomla Installation via Web Browser
Now that everything is set up, you can complete the Joomla installation through your web browser by going to the following URL.
http://your_domain_or_IP
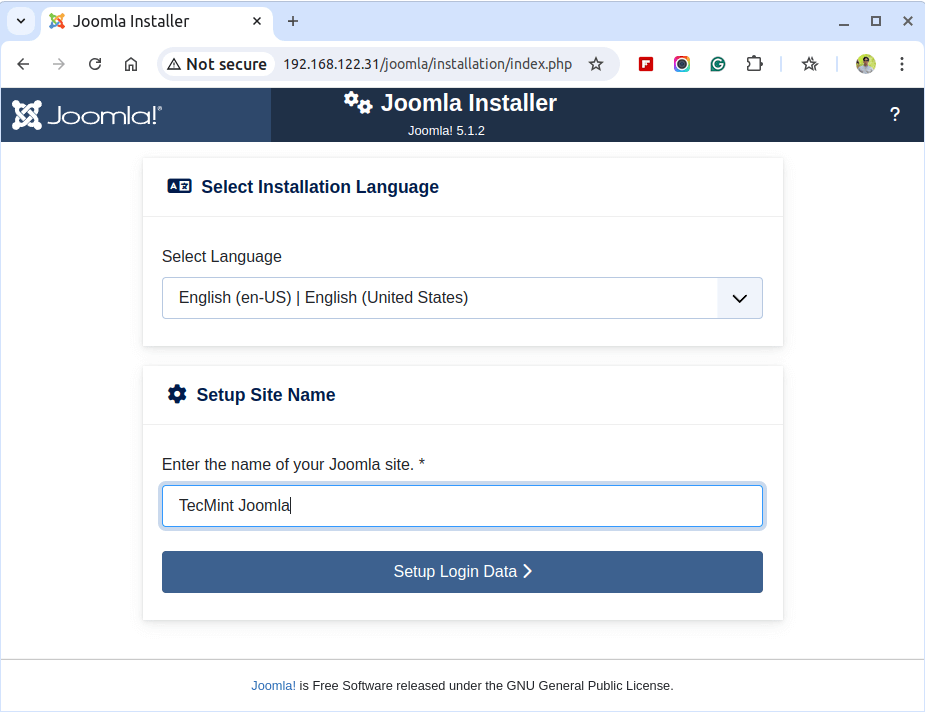
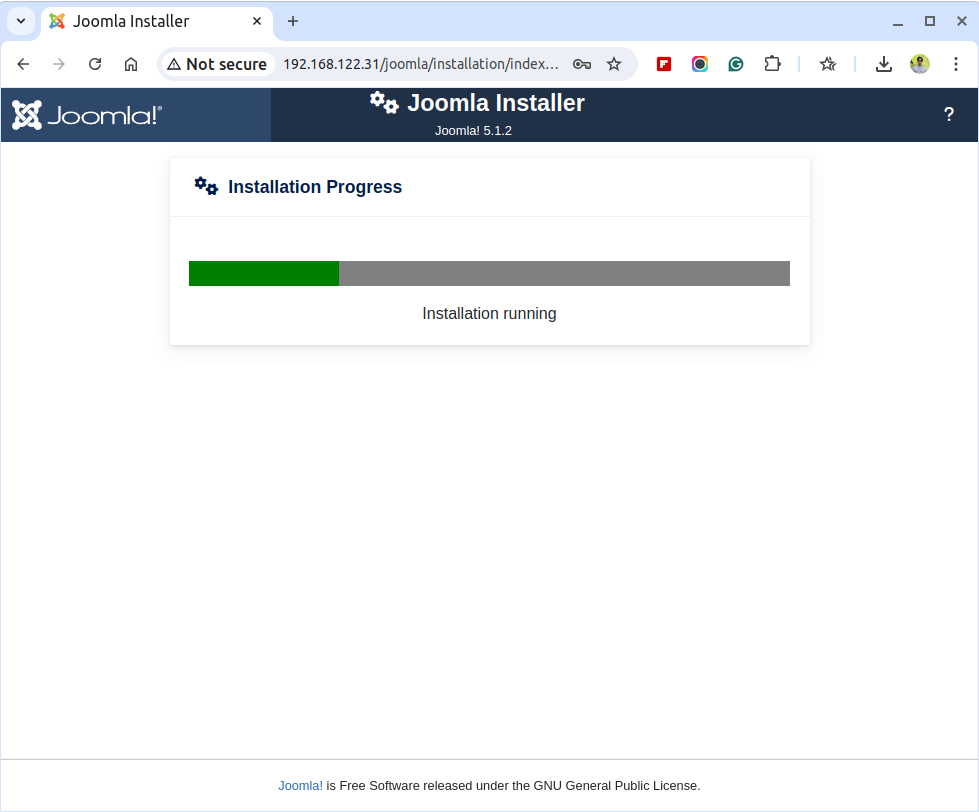
Follow the on-screen instructions to complete the installation:
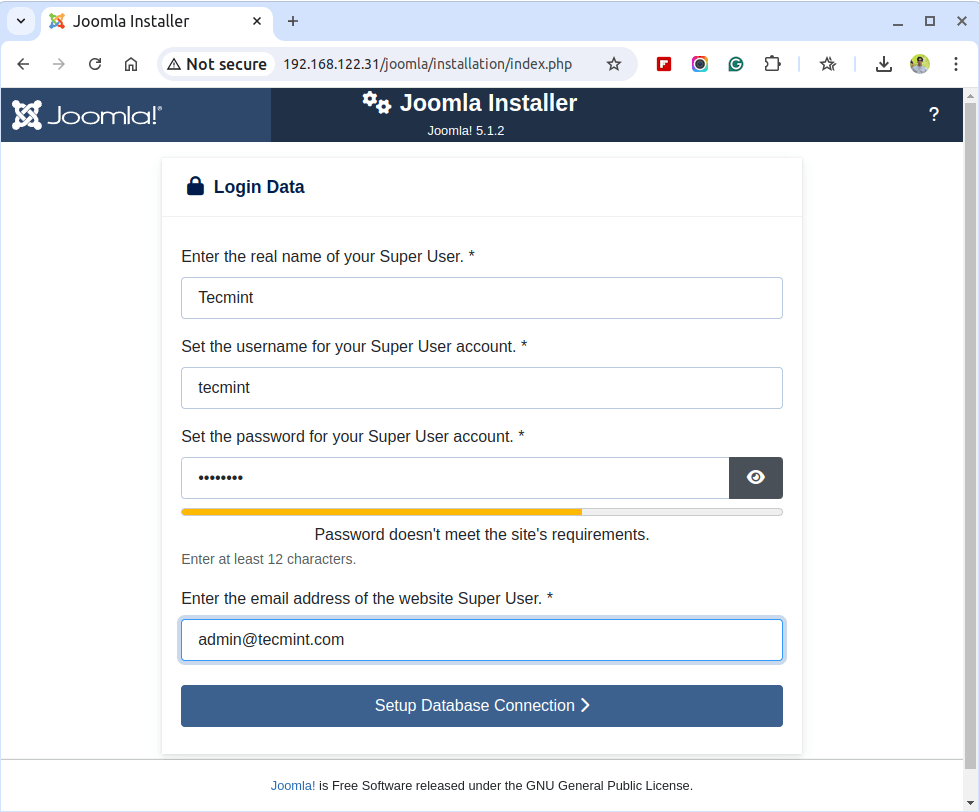
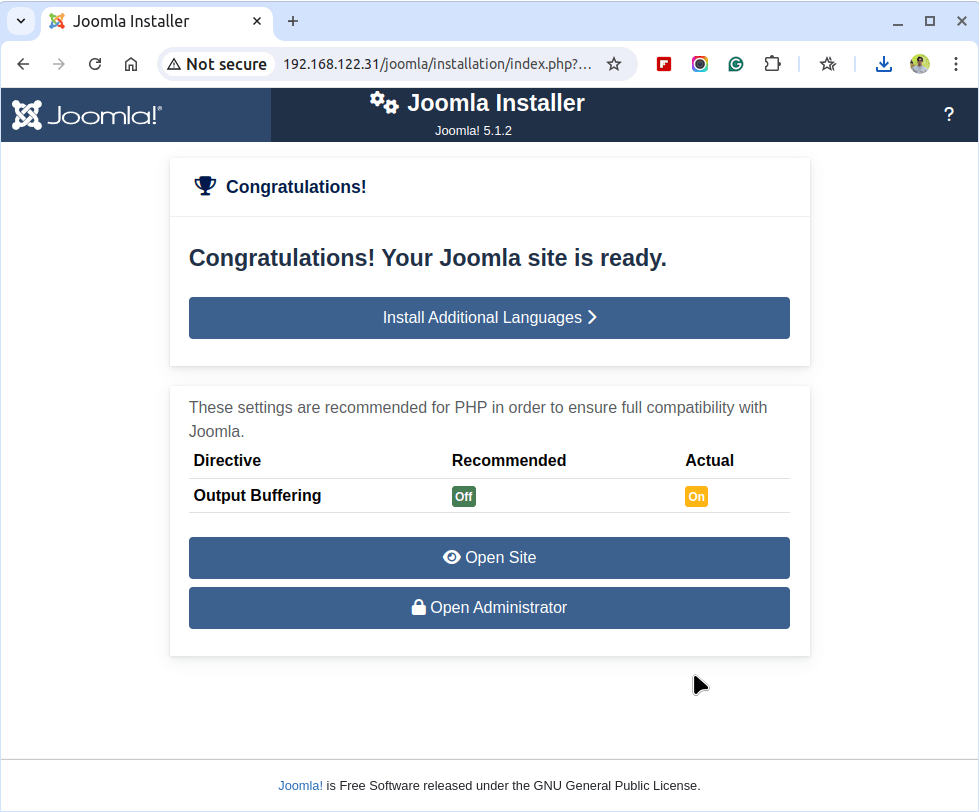
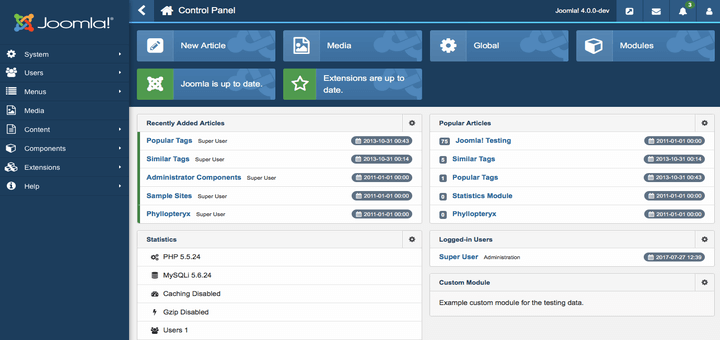
Once the installation is complete, you’ll see a success message. You can then log in to the Joomla admin panel using the admin account you created.
Conclusion
You’ve successfully installed Joomla on RHEL 9, now you can create and manage your blog, a business website, or a large e-commerce site.


Do NOT use permanently:
This opens gate for cracker as Apache is able to rewrite any file in Joomla instalaltion.
how to create joomla website when i download the latest version of joomla template on ubuntu
just my menu tabs are home aboutus comment photo
Great! Thank you!
For those who experience issues prior going to the database page, make sure that the files/folders owership and permissions are setup correctly in accordance to your server setup. Alternatively you can check the error log in /var/log/httpd/error_log to see what goes wrong.
Linux newbie, so each problem I run into is costing me a son. I’m running out of sons.
The problem of configuration.php not writable cost me two days (and another son).
A chmod 777 for the directory did not help. I found out via the net that RH, CentOS7, and Fedora (in my case 22) come with SELINUX installed. This protection level is what is locking folks out of a clean install and a manual update of the config file.
As root, type # getenforce to see the current status. You’ll probably find it “Enforcing” To temporarily disable it type # setenforce Permissive
More information about a permanent lockout can be found here: http://sharadchhetri.com/2013/02/27/how-to-disable-selinux-in-red-hat-or-centos/
A manual can be found here: https://docs.fedoraproject.org/en-US/Fedora/22/pdf/SELinux_Users_and_Administrators_Guide/Fedora-22-SELinux_Users_and_Administrators_Guide-en-US.pdf
@Mark,
Thanks for the tip, we will include a note about SELinux in the article, this will help others who will similar problem..
Please do include this in the original article. The article has been of great use, being a newbie in the Linux/Lamp/Joomla world I have followed the steps in all three related articles and it had worked great, except for the configuration.php issue (again it took me a day to figure out how to move the file to the centos box) and even then the system information said that all files were unwritable. Another two days later and I found this comment and now all is well. Please add it to the article as this is so useful.
thanks.
@Carlos,
Thanks for finding this article very helpful, yes I will surely include in the article steps to move Joomla configuration.php to server or will show how to make the server to write configuration file itself..
@Ravi Saive,
As a pre-installation check I got two errors (Zlb compression support no , Configuration.php writable no ) .But when I re-compile my php (ie ./configure with –with-zlib-dir) , at that time page is redirecting directly to joomla installation.But in First step after giving main configuration details , it is not moving to database page .
@Sanish,
No idea why it’s not moving to next step, could you please check your Apache logs and see what error it showing?
Thanks Sir G I have successfully installed the Joomla with LAMP
thanks for share
all perfect!!, thank you
Worked great….Thanks
This steps are valid almost for every CMS
hi,
after coming in the step 7 i can not go on the database page , can u resolve this prob
Plz
Have you configure MySQL with database and user ???
I am also having the same problem. Not moving to database page. I am new to Linux and Joomala. Please help
I’m having a issue when I get to the first Web Installer page. I fill in the Main Configuration details and hit next. The blue progress bar start’s scrolling but I can never get to the Database Configuration tab. I have tried on CentOS 6.4 32 and 64bit OS’s with the same result. I don’t any errors during any part of the install of LAMP or in the setup/configurations above. The only difference I can see is that it’s installing PHP 5.5.1 and I have read on some other forums that other people have seen similar issues with their PHP version, but it was mainly on older versions of Joomla. Any idea’s?
Hope you have created a database with grant permission for a user. Share your Joomla version you are using.
Also confirm Apache is installed with with following packages mod_mysql, mod_xml, and mod_zlib.
I am also having the same problem. Not moving to database page. CentOS 6.6,Joomla 3.4.4.Is their any solution ??
@Sanith,
Could you please tell us the exact problem or error you getting on the screen. So that we can help you out…If possible can you share the image where you stuck.