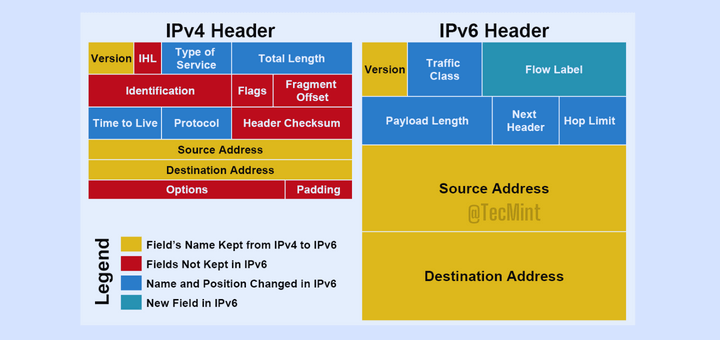
IPv6 addressing was developed in anticipation of depletion of the IPv4 addresses. It is meant to solve the exhaustion of IPv4 addresses through the use of a much wider network addressing space. An IPv6 address is a 128-bit number comprising 8 colon-separated groups each made up of 4 hexadecimal numbers.
Read Also: What’s wrong with IPv4 and Why we are moving to IPv6
An example of an IPv6 address is shown below:
2001:1:1:1443:0:0:0:400
IPv6 is usually enabled by default on CentOS/RHEL 8. To check if IPv6 is enabled on your system, run the command:
$ sudo sysctl -a | grep ipv6.*disable
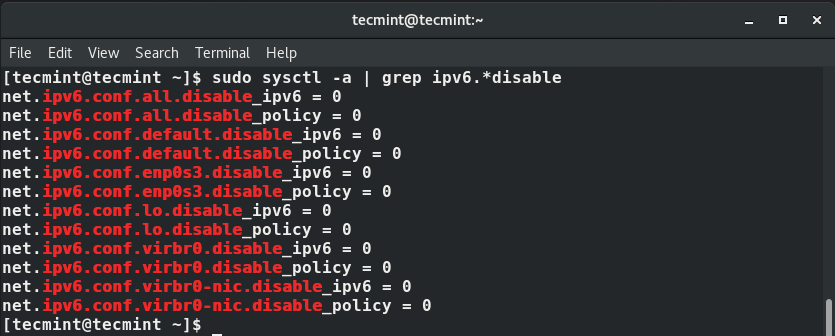
The value 0 indicates that IPv6 is active on your node. A value of 1 shows that IPv6 is disabled. Therefore, from the output above, IPv6 is enabled.
Another method of checking if IPv6 is enabled is by viewing your network interface at the /etc/network-scripts/ directory. In our case, this will be the /etc/sysconfig/network-scripts/ifcfg-enps03 file.
So let’s execute the command below and check if IPv6 is enabled.
$ cat /etc/sysconfig/network-scripts/ifcfg-enps03
Be on the lookout for the folIowing IPV6 options as shown:
- IPV6INIT=yes – This initializes the interface for IPv6 addressing.
- IPV6_AUTOCONF=yes – This enables the IPv6 auto-configuration for the interface.
- IPV6_DEFROUTE=yes – This indicates that the default IPv6 route has been assigned to the interface.
- IPV6_FAILURE_FATAL=no – indicates that the system won’t fail even when IPv6 fails.
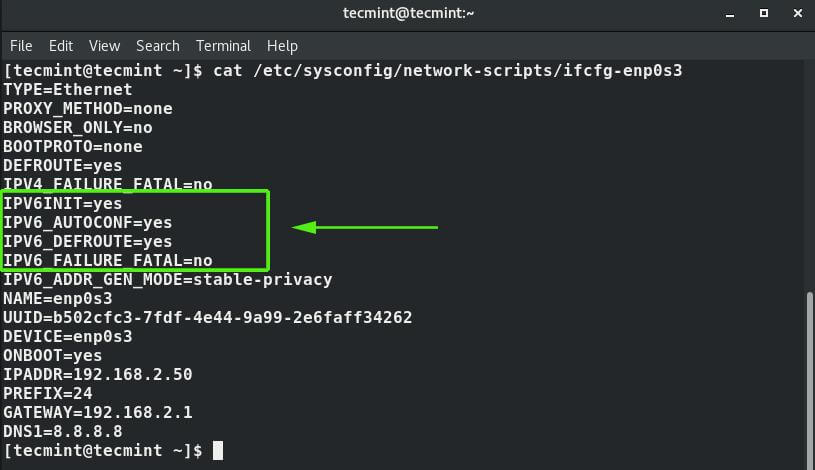
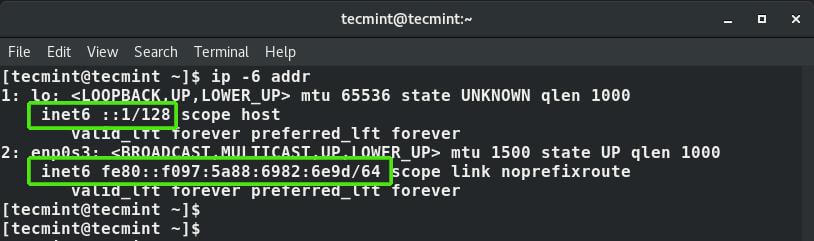
The output above confirms that IPv6 addressing is enabled. On the terminal, you can check the IPv6 address of your interfaces by running the IP commands below.
$ ip a
OR
$ ip -6 addr
Be on the lookout for the inet6 prefix as shown below.
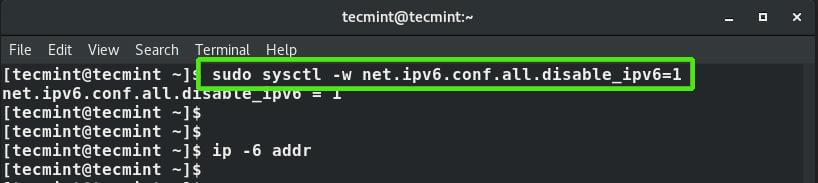
To temporarily disable IPv6, run the command:
$ sudo sysctl -w net.ipv6.conf.all.disable_ipv6=1
$ ip -6 addr
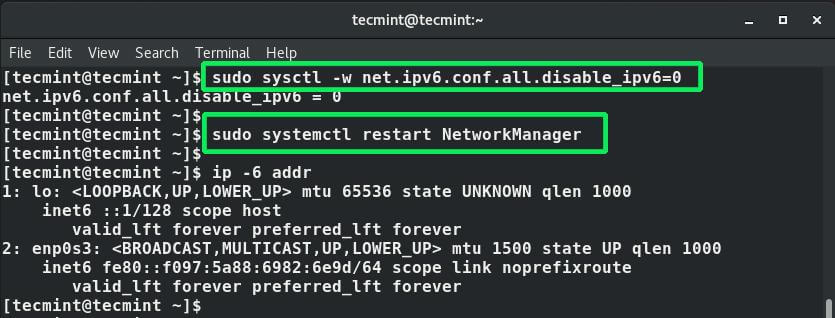
To enable IPv6, run the command:
$ sudo sysctl -w net.ipv6.conf.all.disable_ipv6=0
Then restart NetworkManager for the changes to apply.
$ sudo systemctl restart NetworkManager
To permanently disable IPv6, edit the GRUB /etc/default/grub file. In the line, GRUB_CMDLINE_LINUX, append the argument ipv6.disable=1 at the end of the line as shown.
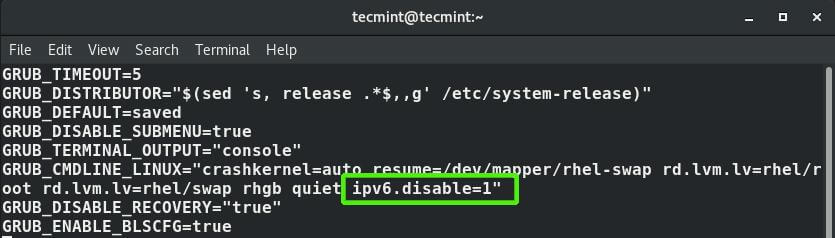
To apply the changes, reboot your system.
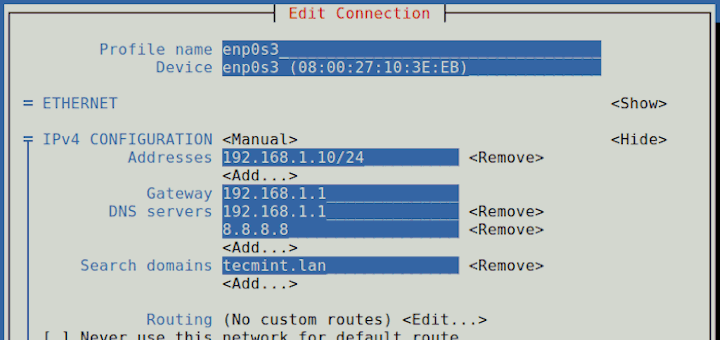
Just like IPv4, a manual configuration of IPv6 is possible using the nmtui and nmcli tools. However, this is not recommended because the manual configuration of IPv6 is prone to errors and is quite arduous.
Furthermore, it’s quite a task keeping track of which IPv6 addresses are assigned to what systems. Chances are that you are likely to mess up your configuration.