

One of the most important and useful feature added to YUM Package Manager (from version 3.2.25) is the ‘yum history’ command. It allows you to review a full history of yum transactions that have been run on a system.
It shows the dates and times when a transactions were performed, whether the transactions succeeded or were aborted, the number of packages affected, and so much more.
Importantly, yum history can be used to undo or redo certain transactions. In this article, we will show how to undo or redo a yum install including dependencies on a CentOS/RHEL distribution.
To do this, first you need to review the yum transactions history by running the following command as root user, otherwise use the sudo command to gain root privileges.
$ sudo yum history
OR
$ sudo yum history list all
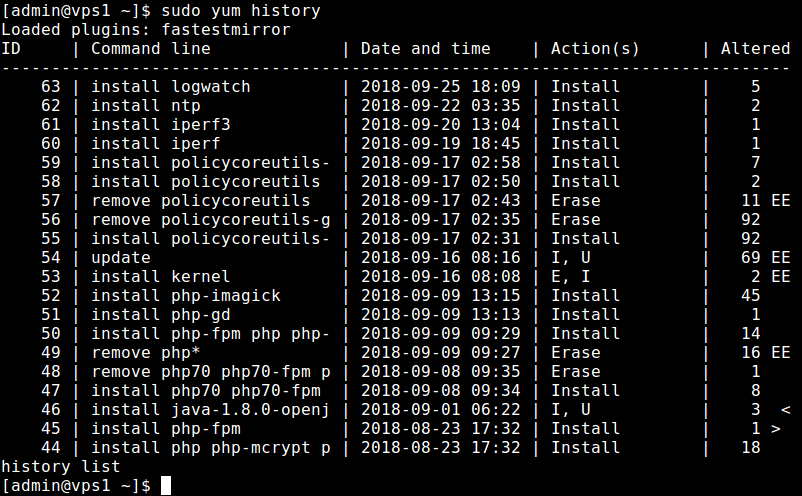
From the output in the screenshot above, the yum history shows you the transaction ID, the command line, date and time, action and more.
To undo a yum install, take note of the transaction ID, and perform the required action. In this example, we want to undo the install with ID 63, which will erase the package that was installed in the specified transaction, as follows (enter y/yes when asked).
$ sudo yum history undo 63
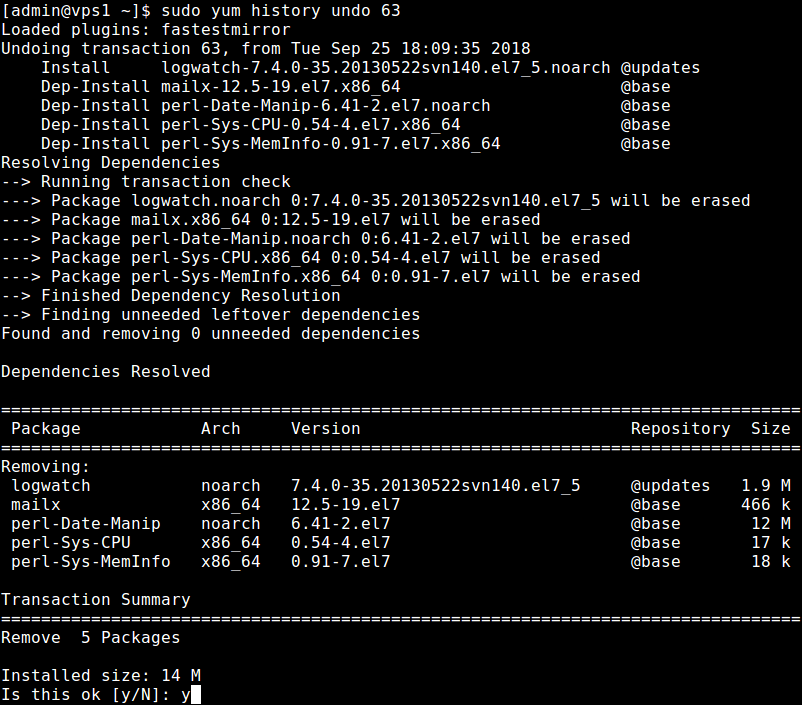
To redo a yum install, as before, take note of the transaction ID, and run it. For instance to redo the install with ID 63, run the the following command.
$ sudo yum history redo 63
Note that you can do the same for a yum remove/erase transaction. The most important thing to note is the transaction ID of an yum install or yum remove action.
For more information about yum history, see this guide:
That’s all for now! In this article, we demonstrated how to undo or redo a yum install including dependencies on CentOS/RHEL. Share your thoughts with us via the comment form below.
