File sharing, as the act of distributing and providing access to different types of files over the Internet, has become something that everyone is familiar with. The fast development of file-sharing services makes it extremely easy for us to share whatever we need with friends, family, or co-workers. For example, a couple of clicks is enough to instantly share a funny video or picture with someone who is halfway around the world.
One of the most popular services for file sharing and synchronization is Seafile. In this article, you will learn how to integrate Seafile with ONLYOFFICE Docs to create a collaborative file-sharing environment on Linux.
About Seafile
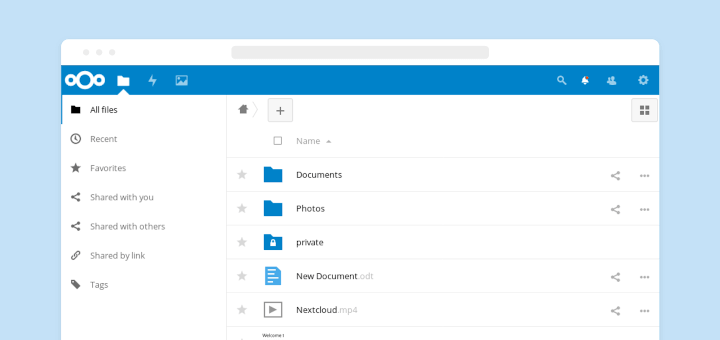
Seafile is an open-source file storage solution with file synchronization and sharing capabilities. Its functionality is very similar to what Dropbox, Google Drive, and Office 365 offer.
However, Seafile allows users to host files on their own server. The core features of the solution are related to quick and safe file sharing and synchronization. The availability of desktop clients for Linux, Windows, macOS, and mobile apps for iOS and Android makes the user experience more comfortable. There is also a user-friendly web interface that lets you access your files in a web browser.
The file-sharing functionality of Seafile can be extended with online document collaboration. The solution easily integrates with popular online office suites, like Microsoft Office Online and ONLYOFFICE Docs, allowing users to share and work on documents together in real-time in the web browser.
About ONLYOFFICE Docs
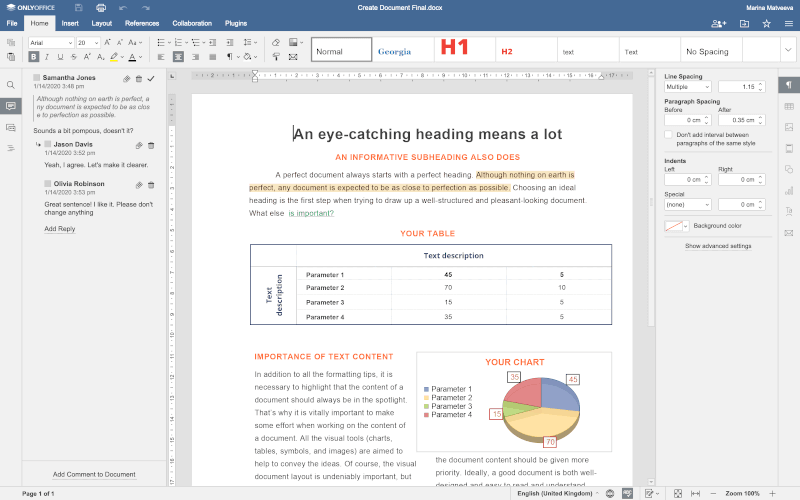
ONLYOFFICE Docs is a self-hosted open-source office suite that comes with web-based online editors for text documents, spreadsheets, and presentations. Total compatibility with the Office Open XML formats (DOCX, XLSX, and PPTX), support for other popular formats (for example, ODT, ODS, ODP, DOC, XLS, PPT, PDF, etc.), and a cross-platform desktop app for Linux, Windows and macOS make ONLYOFFICE a universal solution for various office tasks.
Apart from a full set of formatting and styling tools, ONLYOFFICE Docs also offers some useful collaborative features, including two co-editing modes (Fast and Strict), Track Changes, Version History, Autosave, comments, user mentions, and communication in the built-in document chat. Also, the suite allows you to share files with others by generating an external link.
The ONLYOFFICE Docs suite easily integrates with various file-sharing platforms and electronic document management systems (DMS). Some of the most well-known integration examples include Nextcloud, ownCloud, Moodle, Confluence, SharePoint, Alfresco, Liferay, Nuxeo, etc.
Installing Seafile and ONLYOFFICE Docs in Linux
If you want to use the ONLYOFFICE online editors within Seafile, you must first install Seafile and then deploy an ONLYOFFICE server. You can deploy both solutions in the same machine with the same domain or use two separate machines with two different domains. The second option is better because it’s less complicated and time-consuming.
In this guide, all the installation and configuration operations below are described for ONLYOFFICE Docs and Seafile installed on different machines. Please read this detailed guide that shows how to install and configure the Seafile platform on Ubuntu.
To install ONLYOFFICE Docs and all the required components and dependencies via Docker, please have a look at this step-by-step guide on GitHub.
Configuring the Autosave Option in ONLYOFFICE Docs
When you open a file using the ONLYOFFICE online editors, the ONLYOFFICE Document Server will send a file save request to the Seafile server only after you close the document. If you don’t close it for a long time, all your edits will not be saved on the Seafile server.
Let’s set up autosaving by making some changes to the ONLYOFFICE configuration file. Go to the /etc/onlyoffice/documentserver/ folder and open the local.json file.
$ sudo nano /etc/onlyoffice/documentserver/local.json
Add the following lines:
{
    "services": {
        "CoAuthoring": {
             "autoAssembly": {
                 "enable": true,
                 "interval": "5m"
             }
        }
    }
 }
Then you need to restart the ONLYOFFICE Document Server using this command:
$ sudo supervisorctl restart all
Configuring a JWT Secret in ONLYOFFICE Docs
It’s highly recommended to enable a JWT secret to protect your documents from unauthorized access. To do so, you need to install a python module using the following command:
$ sudo pip install pyjwt
Make the following change to the seahub_settings.py configuration file:
ONLYOFFICE_JWT_SECRET = 'your-secret-string'
After that, run the ONLYOFFICE Docker image with the help of the following command:
$ sudo docker run -i -t -d -p 80:80 -e JWT_ENABLED=true -e JWT_SECRET=your-secret-string onlyoffice/documentserver
If you don’t want to change the configuration file every time the ONLYOFFICE Document Server container is restarted, you can create a local-production-linux.json file and mount it into the documentserver container:
-v /local/path/to/local-production-linux.json:/etc/onlyoffice/documentserver/local-production-linux.json
Configuring the Seafile Server
To complete the configuration process, you need to add some configuration options to the seahub_settings.py configuration file.
To enable ONLYOFFICE:
ENABLE_ONLYOFFICE = True
VERIFY_ONLYOFFICE_CERTIFICATE = False
ONLYOFFICE_APIJS_URL = 'http{s}://{your OnlyOffice server's domain or IP}/web-apps/apps/api/documents/api.js'
ONLYOFFICE_FILE_EXTENSION = ('doc', 'docx', 'ppt', 'pptx', 'xls', 'xlsx', 'odt', 'fodt', 'odp', 'fodp', 'ods', 'fods')
ONLYOFFICE_EDIT_FILE_EXTENSION = ('docx', 'pptx', 'xlsx')
To enable the Force Save feature so that users can save their files when they click the save button:
ONLYOFFICE_FORCE_SAVE = True
Then you need to restart the Seafile server using one of these commands:
$ sudo ./seafile.sh restart
or
$ sudo ./seahub.sh restart
Alternatively, you can run this:
$ sudo service seafile-server restart
Using ONLYOFFICE Docs within Seafile
After following all the steps above, you will get a collaborative file-sharing environment on your server. When you click a document, spreadsheet, or presentation in your Seafile library, you will see the new preview page and be able to view and edit files online.
Connecting ONLYOFFICE Desktop Editors to Seafile
If document editing in a web browser is not your thing and you prefer desktop-based applications, there is good news for you. You can install and connect ONLYOFFICE Desktop Editors, a free cross-platform office suite for Linux, Windows, or macOS, to your Seafile instance to edit documents, spreadsheets, and presentations in a convenient way.
First of all, open the seahub_setting.py configuration file and add the following line:
ONLYOFFICE_DESKTOP_EDITORS_PORTAL_LOGIN = True
Then launch ONLYOFFICE Desktop Editors, click Connect to cloud on the starting page, and choose Seafile. Enter the IP address or domain name of your Seafile server and click Connect now.
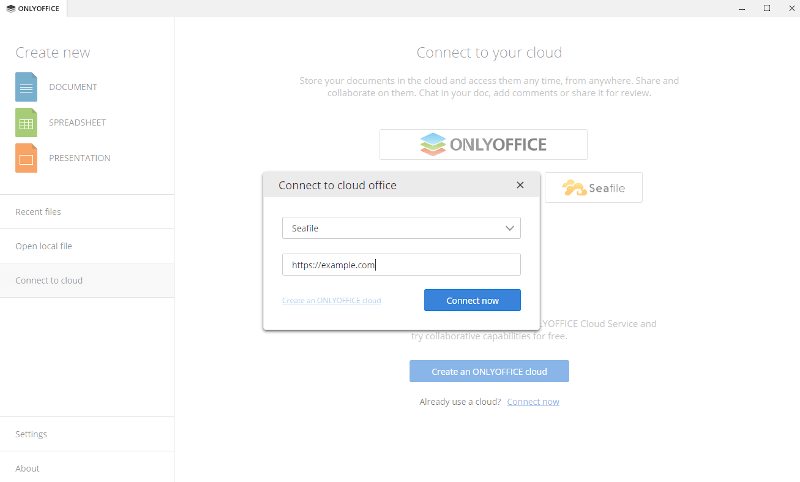
You will see a new window where you will need to enter your Seafile user name or email and your password. Once you have successfully logged into your Seafile account, you can edit and collaborate on your Seafile documents, spreadsheets, and presentations right from the interface of ONLYOFFICE Desktop Editors.
Have you ever edited documents in Seafile using the ONLYOFFICE online editors? Please share your feedback by leaving a comment below.