Ajenti is a free and open source web-based Admin Control Panel that allows you to perform a wide range of server administration tasks such as installing and updating packages, managing services, and so much more.
Written in Python and Javascript, Ajenti provides a powerful and intuitive UI that is lightweight and resource-friendly. In addition, it’s easy to install and a great tool for novices or users who do not have advanced Linux knowledge.
[ You might also like: Best Control Panels to Manage Linux Servers ]
In this guide, we will demonstrate how to install Ajenti Control Panel in Debian and Ubuntu distributions to manage your servers. For demonstration, we will install it on Ubuntu 22.04 Jammy JellyFish.
For RHEL-based distributions, follow this Ajenti installation guide.
Requirements
Ajenti supports the following operating systems at the time of writing this guide.
- Debian 9 and later.
- Ubuntu 18.04 and later.
Installing Ajenti Control Panel in Ubuntu
To get started, log in to your Ubuntu server instance and update the local package repositories as shown.
$ sudo apt update
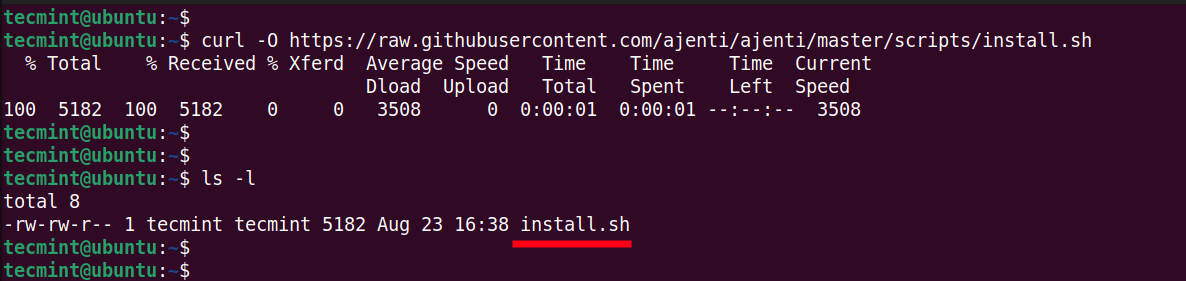
Once updated, head over to the next step and download the Ajenti installation script, which simplifies the installation of Ajenti. To take advantage of this, you need to, first of all, download the Ajenti installation script using the curl command as shown.
$ curl -O https://raw.githubusercontent.com/ajenti/ajenti/master/scripts/install.sh
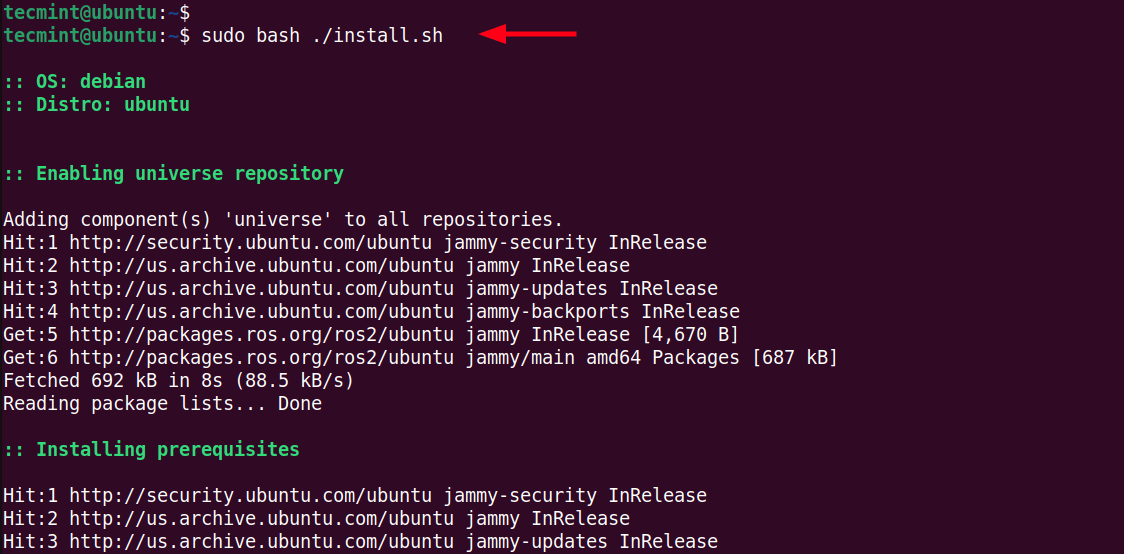
Once downloaded, run the installation script as a sudo user.
$ sudo bash ./install.sh
As mentioned before, the installation script automates the installation of Ajenti and saves you the time and effort required to manually install Ajenti.
In a nutshell, the installation script does the following:
- Enables the Universe repository.
- Updates the package index.
- Installs the prerequisite packages including Python3 dependencies.
- Installs Ajenti and Ajenti plugins.
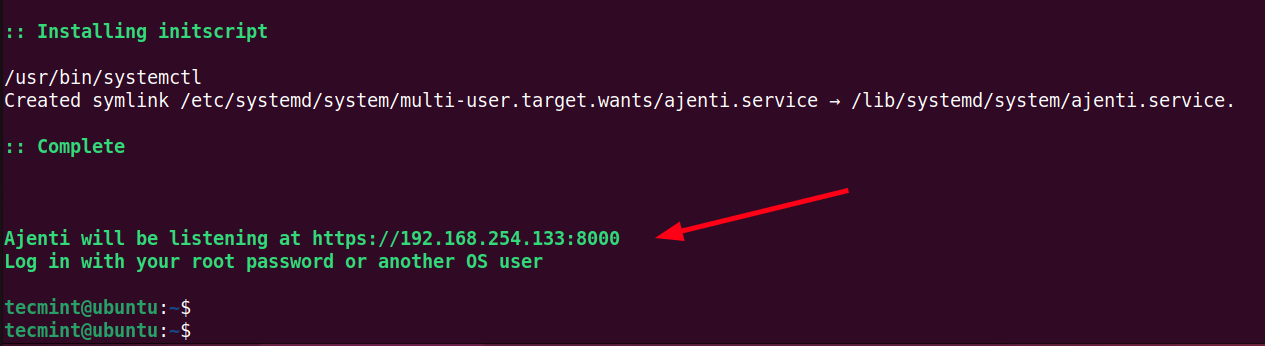
- Starts Ajenti systemd service.
The installation takes roughly 5 minutes to complete. At the very end, you should see the following output, an indication that the installation of Ajenti was successful.
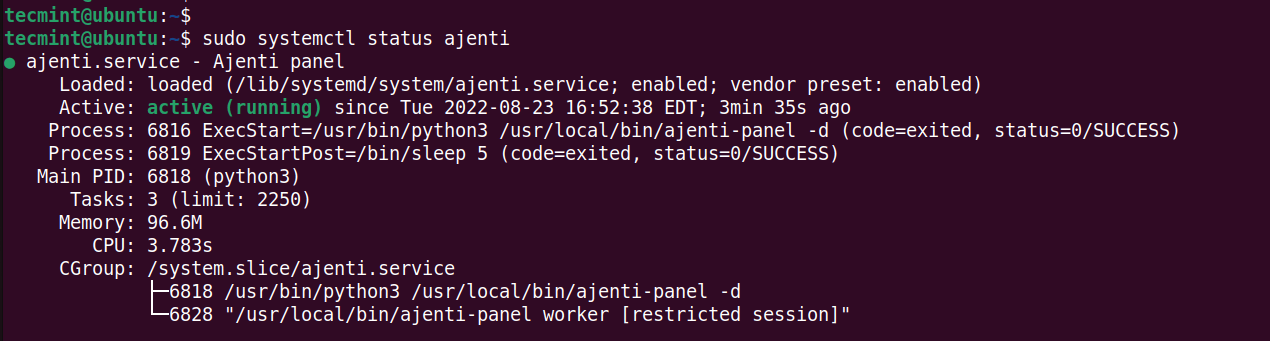
To confirm that the Ajenti service is running, execute the command:
$ sudo systemctl status ajenti
The following output shows that Ajenti is running as expected.
The Ajenti service can be started, stopped, and restarted using the following commands.
$ sudo systemctl start ajenti
$ sudo systemctl stop ajenti
$ sudo systemctl restart ajenti
By default, Ajenti listens on TCP port 8000. You can verify this using the ss command as shown.
$ ss -pnltue | grep 8000

If you have a UFW firewall installed, consider opening the port on the firewall as shown.
$ sudo ufw allow 8000/tcp
$ sudo ufw reload
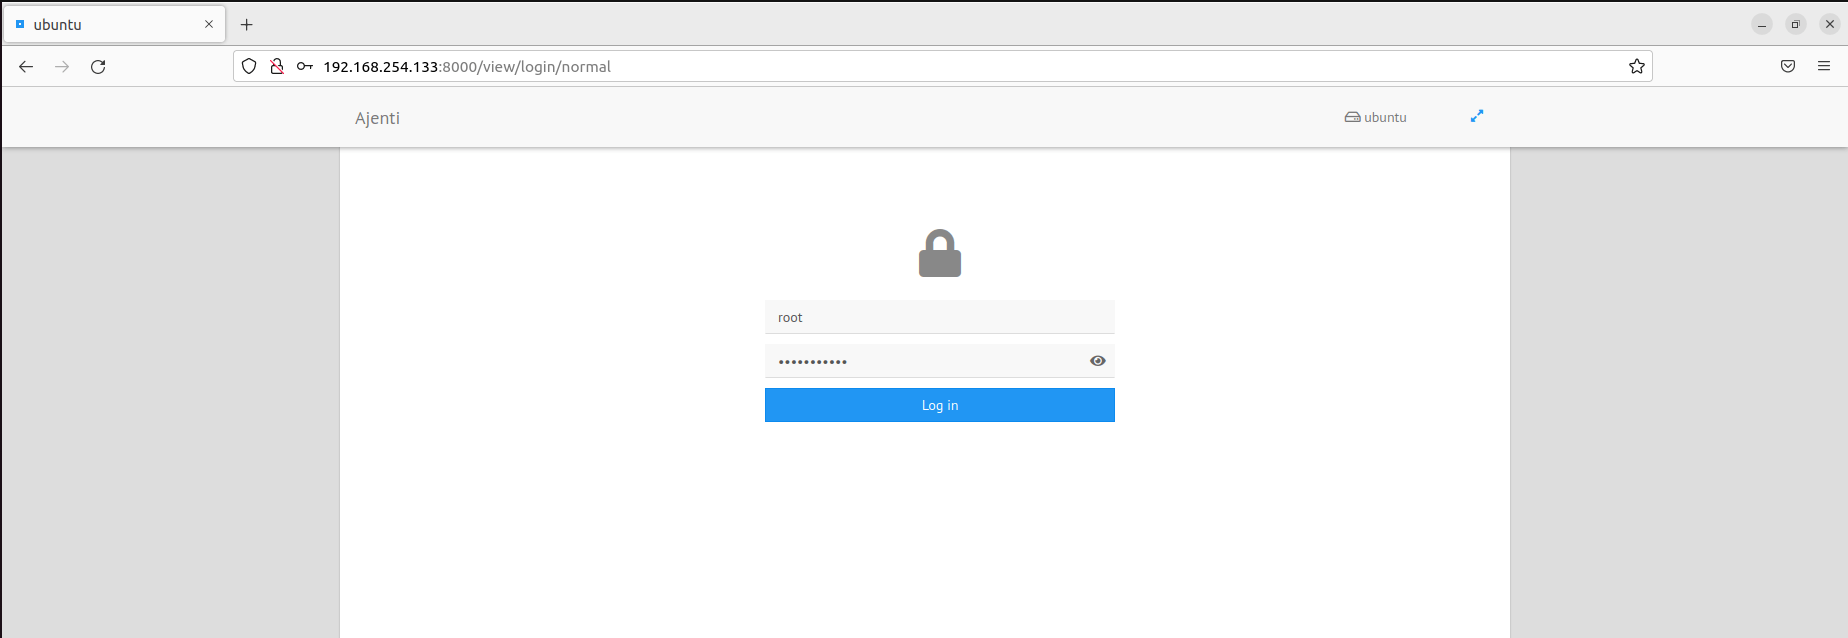
With Ajenti now installed, the only step remaining is to log in to your Ajenti dashboard. To do so, log in using the following URL
https://ip-address:8000
Provide your root credentials and click ‘Login’.
This ushers you to the Ajenti dashboard as shown below. At a glance, this provides the essential system metrics such as uptime, memory usage, CPU usage, and load average.

On the left sidebar, There are options for administering your system categorized under ‘GENERAL’, ‘TOOLS’, ‘SOFTWARE’, and ‘SYSTEM’.
This brings our guide to a close. We hope that you can now install Ajenti comfortably on your Linux Server.