How to Install Ajenti Control Panel to Manage Linux Servers

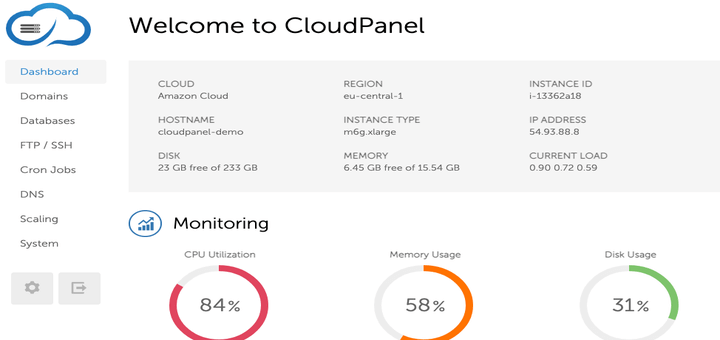
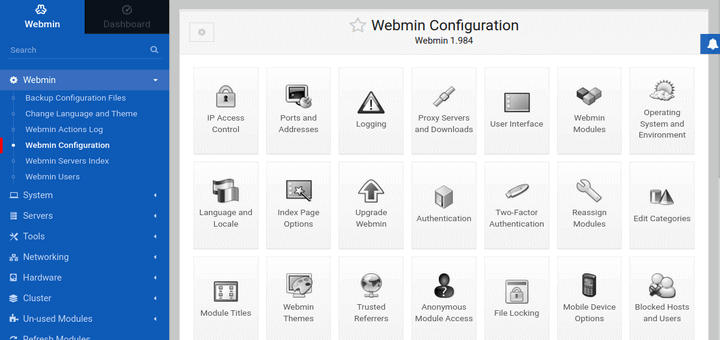
Ajenti is an open-source web-based system management control panel for managing remote Linux system administration tasks from the web browser much similar to the Webmin system administration tool.

Ajenti is a much powerful and lightweight tool, that provides a fast and responsive web interface for managing small server set-ups and is also best suitable for VPS and Dedicated servers.

[ You might also like: Best Control Panels to Manage Linux Servers ]

It has been built with many pre-made plugins for configuring and monitoring server software and services such as Apache, Cron, File System, Firewall, MySQL, Nginx, Munin, Samba, FTP, Squid, and many other tools like File Manager, Code Editor for developers and Terminal access.

Requirements

  • Debian 9 or later
  • Ubuntu Bionic or later
  • RHEL 8 or later

In this article, you will learn how to install Ajenti Control Panel on a fresh Linux system to manage a variety of Linux server management tasks from a web browser.

Installing Ajenti Control Panel in Linux

To install Ajenti, first, you need to update and upgrade your system software to the latest version as shown.

$ sudo apt update && sudo apt upgrade -y    [On Ubuntu & Debian]
$ sudo dnf update && sudo dnf upgrade -y    [On RHEL]

Once system updates are completed, reboot the system before starting the installation of Ajenti.

$ sudo systemctl reboot

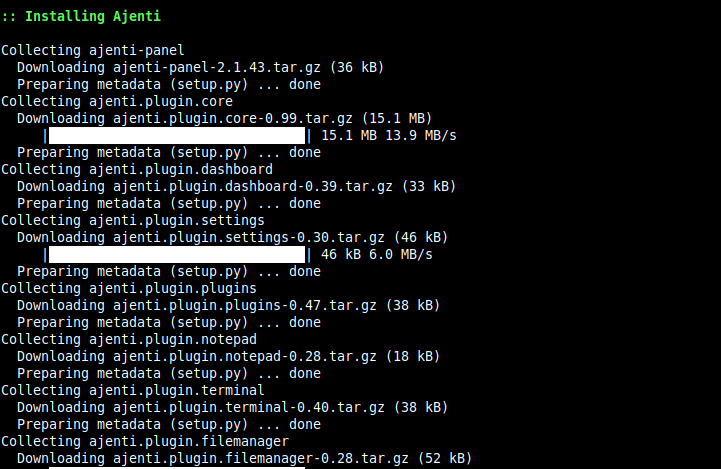
After reboot, download the Ajenti installation script using the following curl command, which will install Ajenti along with all the needed dependencies as shown.

Install Ajenti on Debian/Ubuntu

$ curl https://raw.githubusercontent.com/ajenti/ajenti/master/scripts/install.sh | sudo bash -s -

Install Ajenti on RHEL/Rocky & AlmaLinux

On RHEL-based distributions, you need to enable the EPEL repository to install needed Ajenti dependencies as shown.

$ sudo dnf install https://dl.fedoraproject.org/pub/epel/epel-release-latest-8.noarch.rpm
$ dnf install -y gcc python3-devel python3-pip python3-pillow python3-augeas python3-dbus chrony openssl-devel redhat-lsb-core

After installing all the required dependencies, now install Ajenti using the installation script as shown.

$ curl https://raw.githubusercontent.com/ajenti/ajenti/master/scripts/install.sh | sudo bash -s -
Installing Ajenti Control Panel
Ajenti Installation Completes

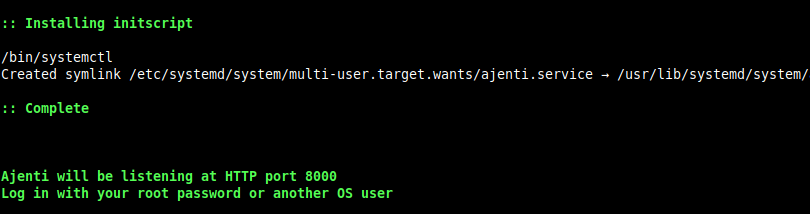
After Ajenti installation finishes, open the “8000” port on the firewall/router for remote access of the web interface.

$ sudo ufw allow 8000   [On Ubuntu & Debian]
$ sudo firewall-cmd --permanent --zone=public --add-port=8000/tcp  [On RHEL]
$ sudo firewall-cmd --reload

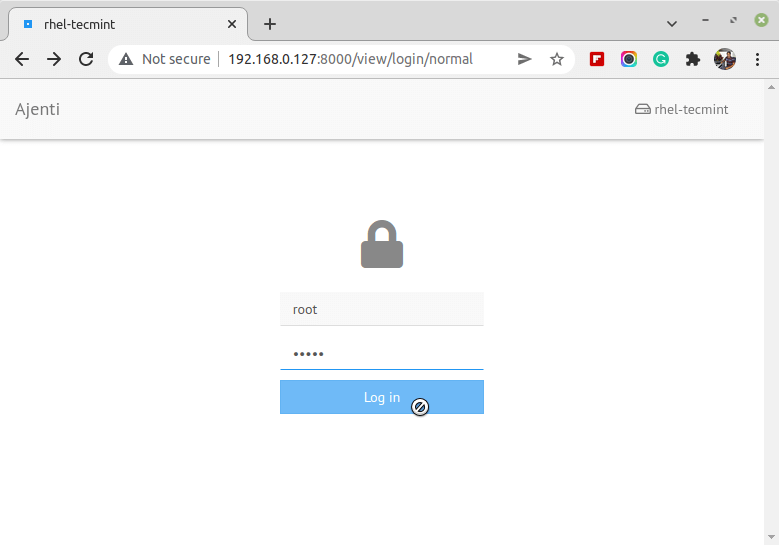
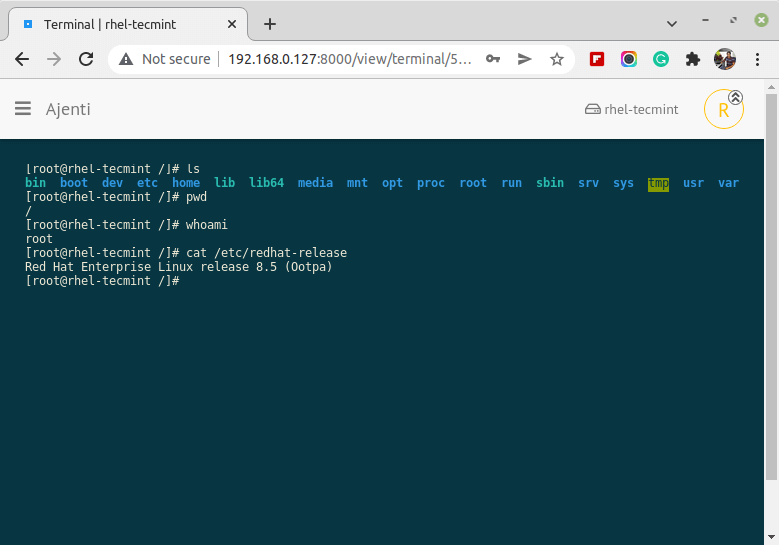
To access the Ajenti control panel web interface, open a web browser and type the IP of the server where we’ve installed Ajenti, and enter credentials of your system: username “root” and root password.

https://localhost:8000
OR
https://ip-address:8000
Ajenti Login
Ajenti Login
Ajenti Control Panel Dashboard
Terminal Access from Ajenti

The Ajenti service can be started, stopped, restarted using the following commands.

$ sudo systemctl stop ajenti
$ sudo systemctl start ajenti
$ sudo systemctl restart ajenti
$ sudo systemctl status ajenti

Uninstall Ajenti Control Panel in Linux

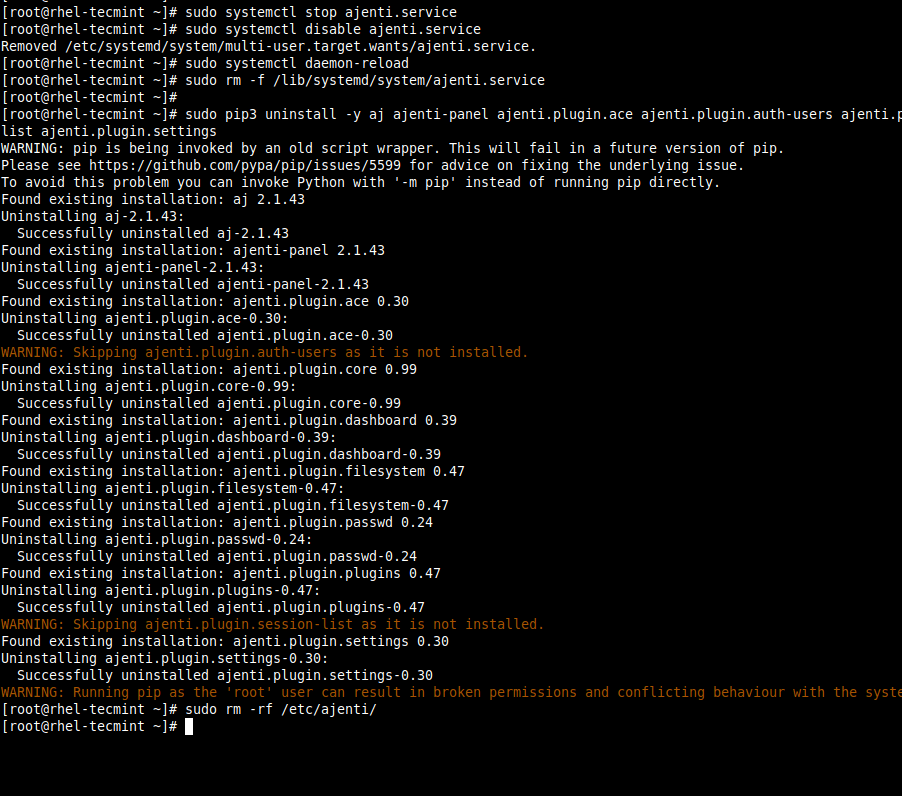
Ajenti is a group of Python modules installed with pip, issued with a systemd script. So it’s essential to delete the systemd script, then the Python libraries, and the configurations files.

$ sudo systemctl stop ajenti.service
$ sudo systemctl disable ajenti.service
$ sudo systemctl daemon-reload
$ sudo rm -f /lib/systemd/system/ajenti.service

Then simply remove all Python modules:

$ sudo pip3 uninstall -y aj ajenti-panel ajenti.plugin.ace ajenti.plugin.auth-users ajenti.plugin.core ajenti.plugin.dashboard ajenti.plugin.filesystem ajenti.plugin.passwd ajenti.plugin.plugins ajenti.plugin.session-list ajenti.plugin.settings

If you don’t need configuration files, just delete the directory /etc/ajenti/:

$ sudo rm -rf /etc/ajenti/
Uninstall Ajenti Control Panel

For more information visit the Ajenti homepage.

If you read this far, tweet to the author to show them you care. Tweet a thanks
Ravi Saive
I am an experienced GNU/Linux expert and a full-stack software developer with over a decade in the field of Linux and Open Source technologies

Each tutorial at TecMint is created by a team of experienced Linux system administrators so that it meets our high-quality standards.

Join the TecMint Weekly Newsletter (More Than 156,129 Linux Enthusiasts Have Subscribed)
Was this article helpful? Please add a comment or buy me a coffee to show your appreciation.

49 thoughts on “How to Install Ajenti Control Panel to Manage Linux Servers”

  1. First off, thanks for the awesome posts! I read your other post where you talked about Ajenti, so I am trying it out. I wanted to add that with CentOS 6.5, I had to add my iptables rules up toward the top of the config file, not at the bottom. When I had them at the bottom, it was still blocking the port for some reason. I assume that one of the above rules is set to block all unconfigured traffic, but I am still fairly new at Linux firewall rules in general. Anyway, thanks for the great info! Looking forward to reading more of your posts!

    Sean

    Reply
  2. I have just initiated a new server – Ubuntu 12.04/Nginx 1.4.5 to test Ajenti on. I don’t understand probably the most fundamental part of how to make the vhosts work. The developer Eugene posts this – http://support.ajenti.org/topic/349870-ajenti-behind-nginx/

    I’m used to having a vhost like /etc/nginx/sites-enabled/domain.com…. with the files in /home/user/public_html/domain.com/public/

    So basically I don’t get how domain.com fetches the /ajenti files without some modification to his example.

    Any clarification on this would be greatly appreciated.

    thx
    stu

    Reply
    • I think it’s the next option that will be added from @Ajenti Team, i agree that’s a little bit late to think about it or sad to forget about it.
      But i’m just like you waiting for the Webmail Management.

      Cheers
      Jenz

      Reply
  3. Yep, I’m getting the same error as Kumar, above.

    [[email protected] ~]# service iptables restart
    iptables: Applying firewall rules: iptables-restore: line 1 failed
    [FAILED]

    vi edit the iptables fails…

    Centos x64 6.4 – Digital Ocean.

    You can manually add at command line…
    But you still can’t access ip and port in the browser.

    Reply
    • To fix such error, you need to replace your iptables rules with below lines.

      # Firewall configuration written by system-config-firewall
      # Manual customization of this file is not recommended.
      *filter
      :INPUT ACCEPT [0:0]
      :FORWARD ACCEPT [0:0]
      :OUTPUT ACCEPT [0:0]
      -A INPUT -m state --state ESTABLISHED,RELATED -j ACCEPT
      -A INPUT -p icmp -j ACCEPT
      -A INPUT -i lo -j ACCEPT
      -A INPUT -m state --state NEW -m tcp -p tcp --dport 22 -j ACCEPT
      -A INPUT -m tcp -p tcp --dport 80 -j ACCEPT
      -A INPUT -m state --state NEW -p tcp --dport 21 -j ACCEPT
      -A INPUT -j REJECT --reject-with icmp-host-prohibited
      -A FORWARD -j REJECT --reject-with icmp-host-prohibited
      COMMIT
      

      And restart iptables again….

      Reply
  4. Hi
    I tried to follow your commands but having these problem using cent os 6 32 bit

    == After adding those two lines when i restart iptables i get error on line 1 .

    I am newbie in servers any help would be appreciated

    Reply
  5. Get this error, cant install Ajenti in Ubuntu 12.04

    The following packages have unmet dependencies:
    ajenti : Depends: python-requests (>= 0.12.0) but 0.8.2-1 is to be installed
    E: Unable to correct problems, you have held broken packages.

    Reply

Got something to say? Join the discussion.

Have a question or suggestion? Please leave a comment to start the discussion. Please keep in mind that all comments are moderated and your email address will NOT be published.