This guide will describe how to install and configure FBAMP in FreeBSD operating system, which is similar to a LAMP stack on Linux. FBAMP is an acronym which stands for a collection of software based on FreeBSD OS, Apache HTTP server, the most popular open-source web server in internet, MariaDB relational database management system (RDBMS), a fork of MySQL database engine, and PHP server-side.
Requirements
- A fresh installation of FreeBSD
- FreeBSD Initial Configurations
- Direct console access or SSH in case of a remote connection to FreeBSD.
- A static IP Address configured on a Network Interface.
Step 1: Install Apache on FreeBSD
1. The first service we’ll install is Apache HTTP server. By default, FreeBSD offers multiple versions with different runtime work modules for Apache web server.
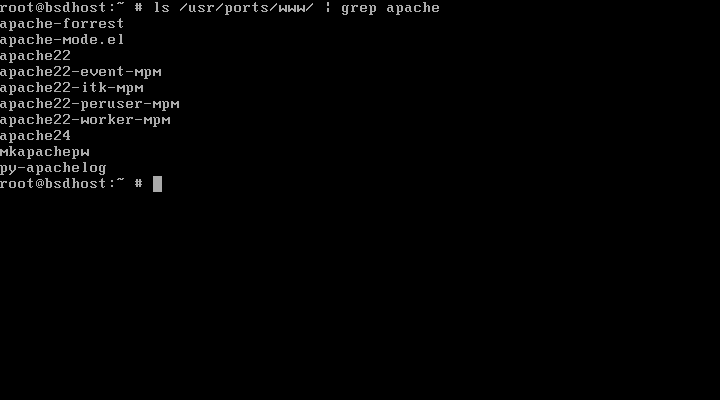
The versions are pre-compiled into a binary package and provided by FreeBSD PORTS repositories. To display all Apache packages binaries provided by PORTS, issue the following command.
# ls /usr/ports/www/ | grep apache
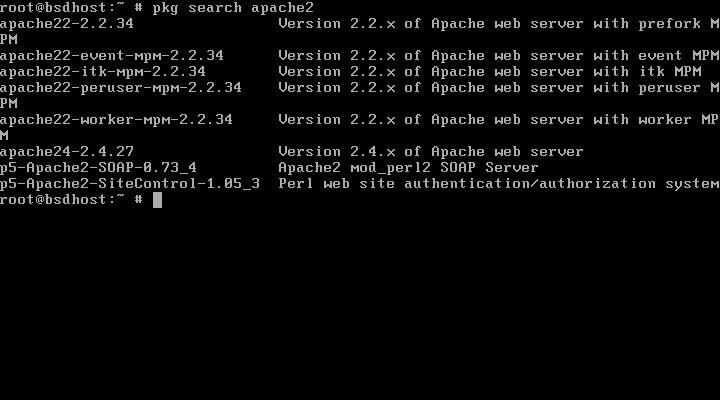
You can also search for available pre-complied Apache packages on FreeBSD by issuing the below command.
# pkg search apache2
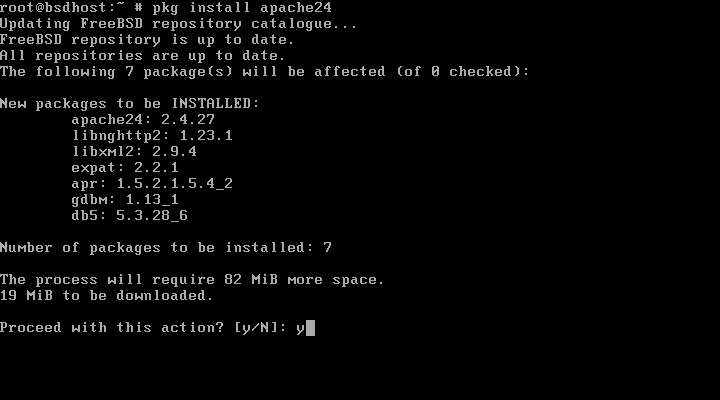
2. Next, install the latest version of Apache HTTP server with all required modules by issuing the following command.
# pkg install apache24
3. After Apache web server has been installed on the system, issue the following command to enable the daemon system-wide in FreeBSD.
# sysrc apache24_enable="yes"
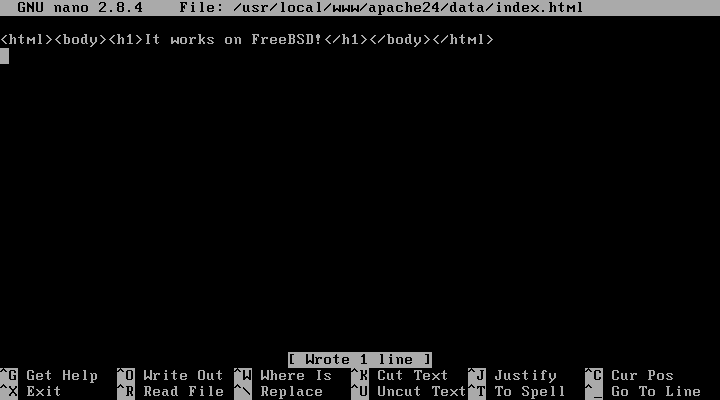
An alternative method of enabling Apache daemon would be to manually edit and append the line apache24_enable="yes" in /etc/rc.conf file as illustrated in the below screenshot.

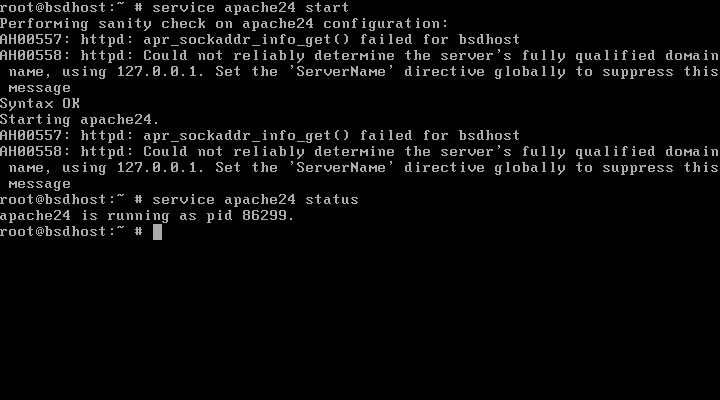
4. Finally, to test if the web server is properly working, start Apache daemon by issuing the below command and visit the default web page by pointing a browser to your server IP address of FQDN (http://IP-orFQDN) as shown in the below screenshot.
# service apache24 start
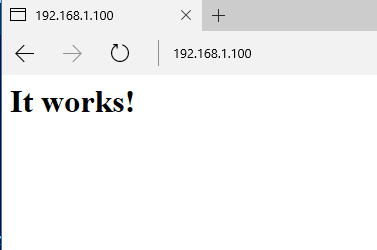
The default webroot directory of Apache web server in FreeBSD 11.x is located in /usr/local/www/apache24/data/ system path. There you will find a small index.html file you can edit as preferably.
Step 2: Install PHP on FreeBSD
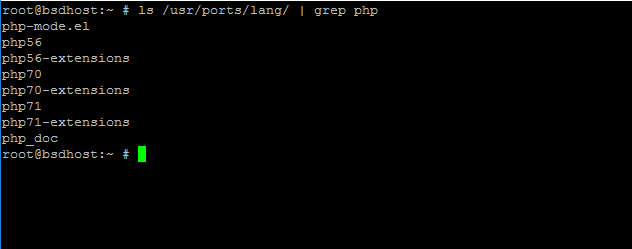
5. FreeBSD 11.x offers multiple versions of PHP interpreted server-side language packaged in pre-complied binaries. To get a list of all available PHP version packages provided by FreeBSD Ports repositories issue the following command.
# ls /usr/ports/lang/ | grep php
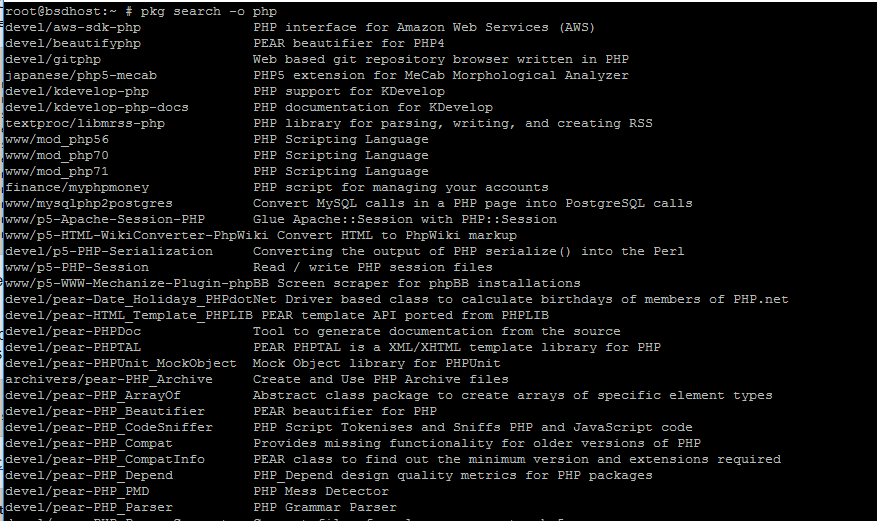
An alternative method of searching for all available FreeBSD PHP package versions is by running the below command.
# pkg search -o php
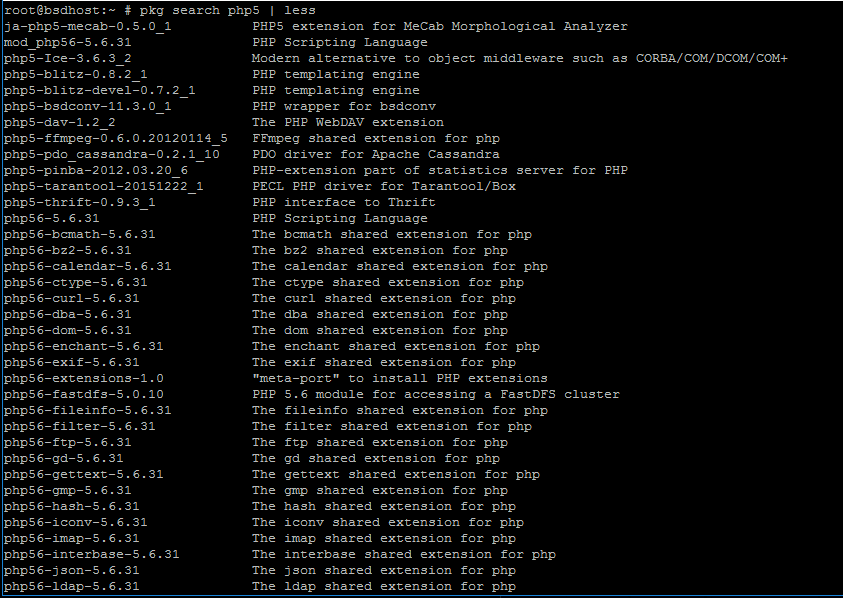
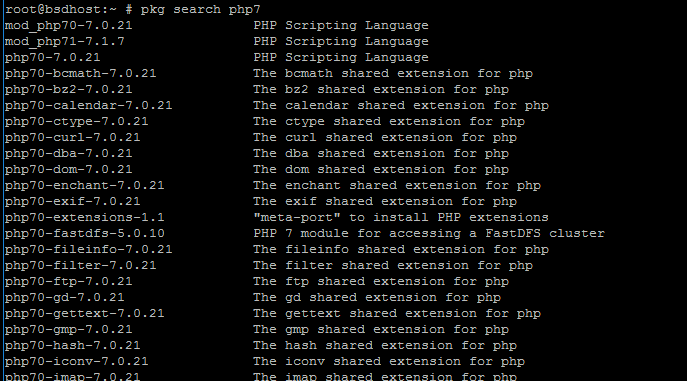
6. To search for all available binaries provided by FreeBSD for a specific PHP version (5 or 7 versions currently) run the below commands. Use less command to narrow and navigate through the output.
# pkg search php5 |less
# pkg search php7
7. To be more specific on what modules a custom PHP version provides, run the following command as described below, which display all available modules for PHP 7.1 version.
# pkg search php71
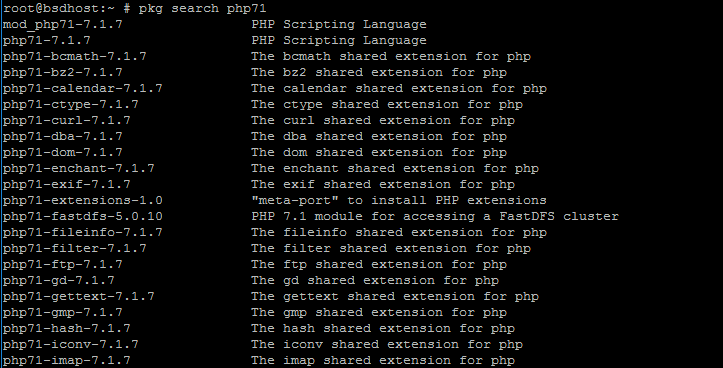
8. In this guide we’ll install PHP 7.1 release for our FBAMP stack. Issue the following command to install PHP with some of the most important modules required for a typical CMS installation.
# pkg install php71 mod_php71 php71-mbstring php71-mcrypt php71-zlib php71-curl php71-gd php71-json
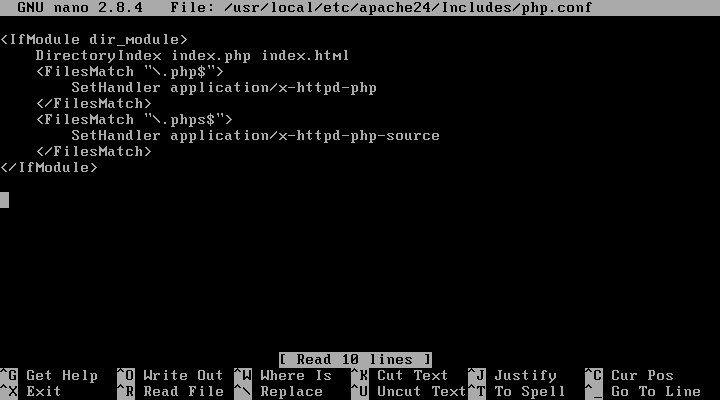
9. Next, we need to create the php.conf configuration file for Apache web server in /usr/local/etc/apache24/Includes/ system path with the following content.
# nano /usr/local/etc/apache24/Includes/php.conf
Add the following lines to php.conf file.
<IfModule dir_module>
    DirectoryIndex index.php index.html
    <FilesMatch "\.php$">
        SetHandler application/x-httpd-php
    </FilesMatch>
    <FilesMatch "\.phps$">
        SetHandler application/x-httpd-php-source
    </FilesMatch>
</IfModule>
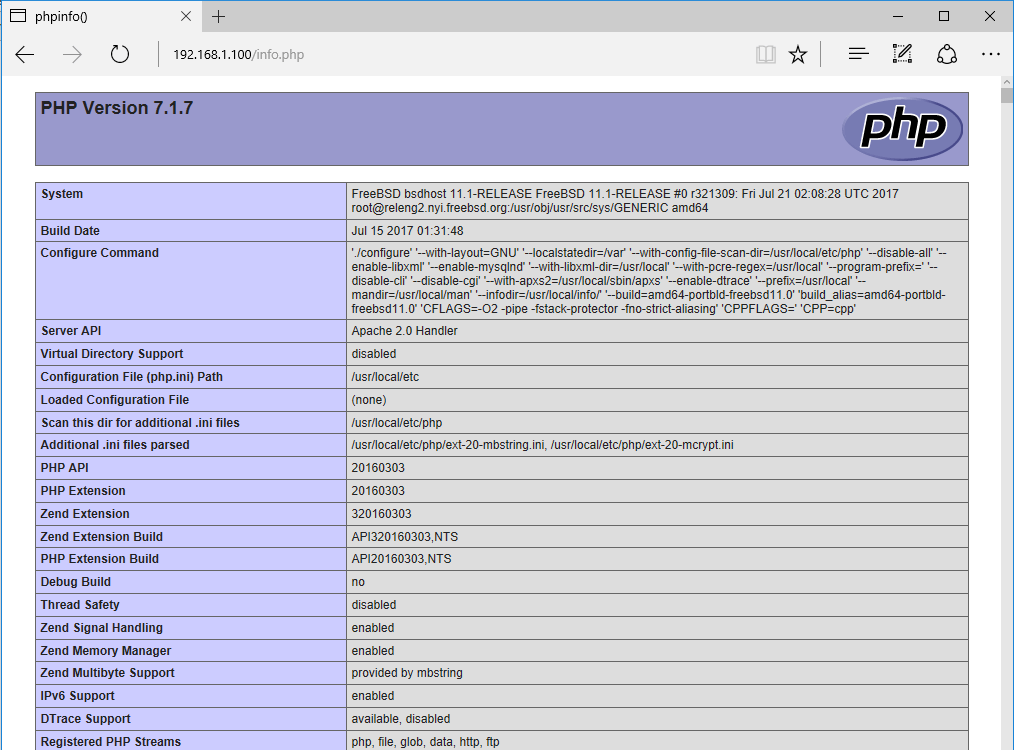
10. In order to test if PHP gateway is working as expected with Apache web server, create a PHP info.php file in /usr/local/www/apache24/data/system path, which is the default web document root path of Apache web server.
# echo '<?php phpinfo(); ?>' | tee -a /usr/local/www/apache24/data/info.php
Restart Apache daemon to apply changes.
# service apache24 restart
Next, visit the following URI in a browser to view PHP summary.
http://IP-or-FQDN/info.php
11. In order to activate PHP ini configuration file for production issue the below commands. You can modify php.ini production file in order to change diverse PHP settings in your FBAMP stack.
# cp /usr/local/etc/php.ini-production /usr/local/etc/php.ini-production.bakup
# ln -s /usr/local/etc/php.ini-production /usr/local/etc/php.ini
Step 3: Install MariaDB on FreeBSD
12. The last missing component for our FBAMP stack is MySQL database server. FreeBSD 11.x offer more than 1000 packages for diverse databases.
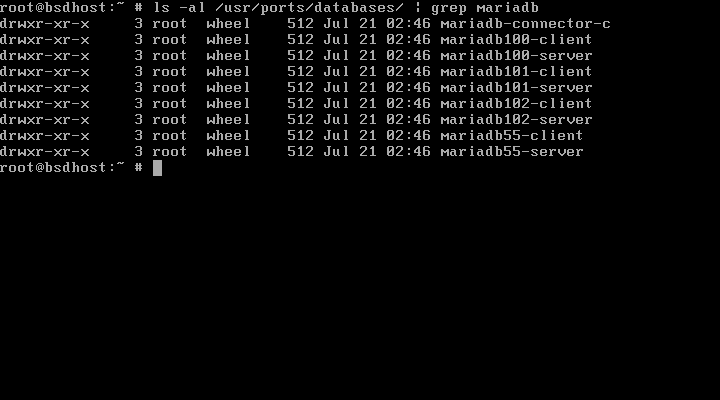
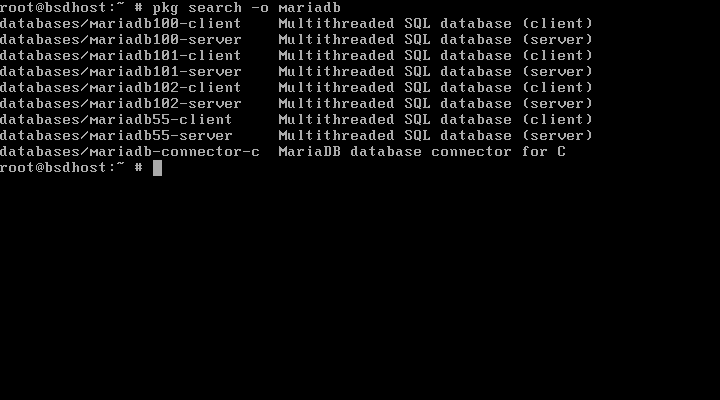
In order to display what components are available for MariaDB or MySQL databases, issue the following commands. In this guide we’ll install MariaDB database over MySQL (which is now owned and developed actively by Oracle).
# ls -al /usr/ports/databases/ | grep mariadb
# pkg search -o mariadb
# ls -al /usr/ports/databases/ | grep mysql
# pkg search -o mysql5
13. In this guide we’ll install the latest version of MariaDB database server in FreeBSD, which currently is represented by mariadb102 binary package release.
Run the following command in order to install MariaDB server and client and the required PHP 7.1 module needed to access the database via Apache server gateway.
# pkg install mariadb102-server mariadb102-client php71-mysqli
14. Next, enable MariaDB server system-wide and start the database daemon by running the following commands.
# sysrc mysql_enable="yes"
# service mysql-server start
15. To secure the database run mysql_secure_installation scrip. Use the below script output excerpt to harden MariaDB.
# /usr/local/bin/mysql_secure_installation
Sample Output
NOTE: RUNNING ALL PARTS OF THIS SCRIPT IS RECOMMENDED FOR ALL MariaDB
      SERVERS IN PRODUCTION USE!  PLEASE READ EACH STEP CAREFULLY!

In order to log into MariaDB to secure it, we'll need the current
password for the root user.  If you've just installed MariaDB, and
you haven't set the root password yet, the password will be blank,
so you should just press enter here.

Enter current password for root (enter for none):
OK, successfully used password, moving on...

Setting the root password ensures that nobody can log into the MariaDB
root user without the proper authorisation.
Set root password? [Y/n] y
New password:
Re-enter new password:
Password updated successfully!
Reloading privilege tables..
 ... Success!
By default, a MariaDB installation has an anonymous user, allowing anyone
to log into MariaDB without having to have a user account created for
them.  This is intended only for testing, and to make the installation
go a bit smoother.  You should remove them before moving into a
production environment.
Remove anonymous users? [Y/n] y
 ... Success!
Normally, root should only be allowed to connect from 'localhost'.  This
ensures that someone cannot guess at the root password from the network.
Disallow root login remotely? [Y/n] y
 ... Success!
By default, MariaDB comes with a database named 'test' that anyone can
access.  This is also intended only for testing, and should be removed
before moving into a production environment.
Remove test database and access to it? [Y/n] y
 - Dropping test database...
 ... Success!
 - Removing privileges on test database...
 ... Success!
Reloading the privilege tables will ensure that all changes made so far
will take effect immediately.
Reload privilege tables now? [Y/n] y
 ... Success!
Cleaning up...
All done!  If you've completed all of the above steps, your MariaDB
installation should now be secure.
Thanks for using MariaDB!
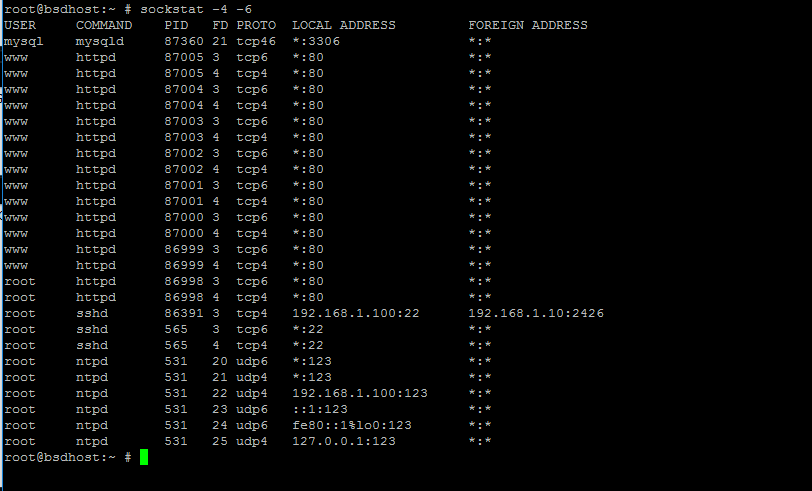
16. By default, MariaDB daemon listens for network connections outside localhost on port 3306/TCP. Run netstat, lsof or sockstat command to get MariaDB socket state. This configuration is dangerous and exposes the service to outside network attacks.
# lsof -i4 -i6
# sockstat -4 -6
17. If you don’t need remote access to MariaDB, make sure MariaDB daemon listens to localhost only, by issuing the below command. Subsequently, restart MariaDB service to apply changes.
# sysrc mysql_args="--bind-address=127.0.0.1"
# service mysql-server restart
or
# /usr/local/etc/rc.d/mysql-server restart
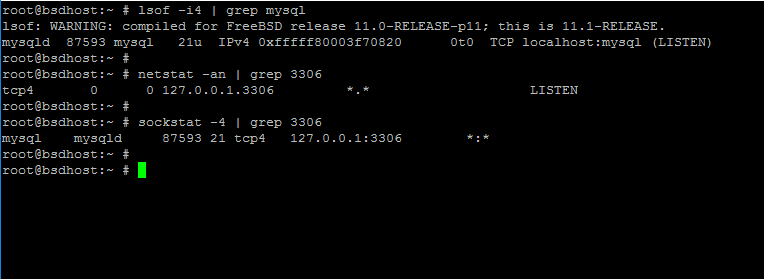
18. Again, run netstat, lsof or sockstat command in order to list MariaDB network socket. The socket should bind and listen on localhost now, as illustrated in the below image.
# lsof -i4 | grep mysql
# netstat -an | grep 3306
# sockstat -4 | grep 3306
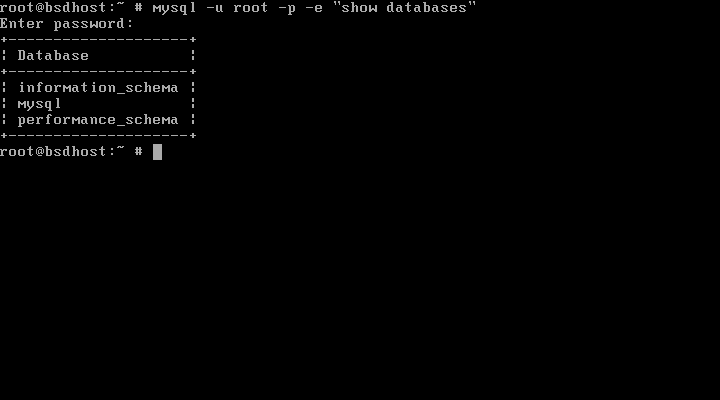
19. To test MariaDB database connectivity from console issue the following command. Enter MySQL root password in prompt and a list of default databases should be displayed in your console screen as illustrated in the below image.
# mysql -u root -p -e "show databases"
That’s all! You’ve successfully installed Apache web server with MariaDB database and PHP interpreter in FreeBSD. You can now start to deploy a WordPress website in no time.
On the next tutorial we’ll discuss some advanced FPBAMP topics, such as how to enable and create Apache virtual hosts, enable rewrite module required by .htaccess file to function properly and how to secure Apache connections using a Self-Signed certificate or a free Certificate offered by Let’s Encrypt entity.
Thanks, now I installed apache, subscribed to your blog.