LAMP, an acronym for Linux, Apache, MySQL, and PHP, is a popular free and open-source stack used by website administrators and developers alike to test and host dynamic websites.
The LAMP server comes with 4 core components: the Apache web server, MySQL or MariaDB database and PHP which is a popular scripting language that is used for creating dynamic web pages.
Related Article: How to Install LEMP Server on CentOS 8
The LAMP stack is a popular hosting stack for a vast majority of hosting companies in providing a hosting environment for users’ websites. In this article, you will learn how to install LAMP server on CentOS 8 Linux distribution.
Step 1: Update CentOS 8 Software Packages
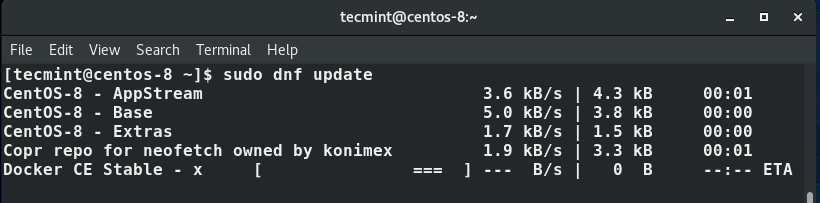
As is always recommended, it’s a good idea to update software packages before embarking on any installation. So log in to your server and run the command below.
$ sudo dnf update
Step 2: Install Apache Web Server on CentOS 8
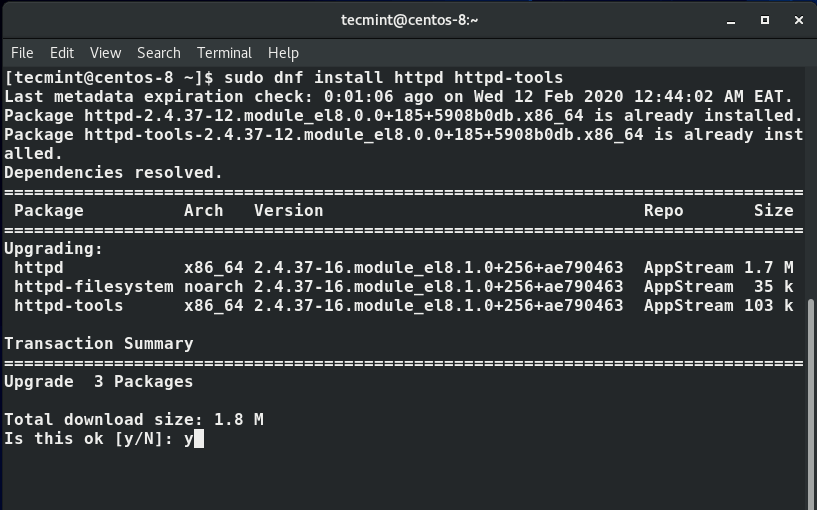
With the system packages up to date, the next step is installing the Apache Web Server and some crucial tools and utilities run the command.
$ sudo dnf install httpd httpd-tools
Once the installation is complete, enable Apache to auto-start at system boot time using the command below.
$ sudo systemctl enable httpd
Next, start the Apache service by running the command.
$ sudo systemctl start httpd
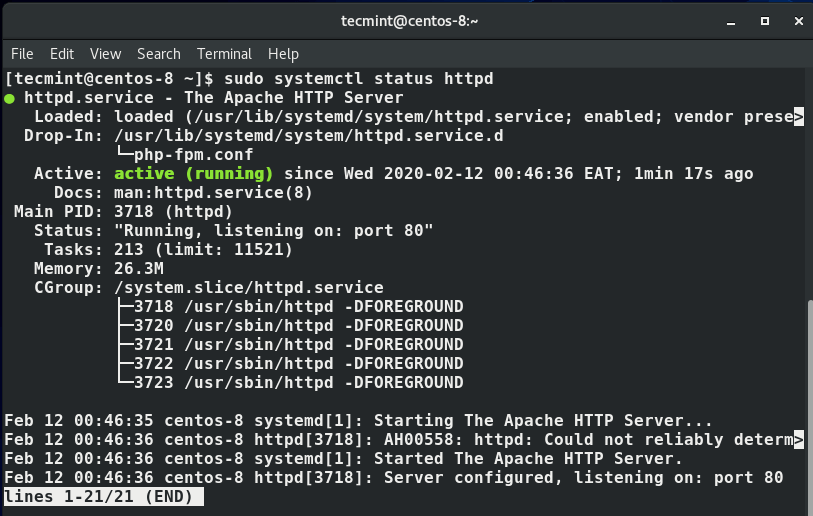
To confirm is Apache web service is running, run the command.
$ sudo systemctl status httpd
After installing apache, update the firewall rules to allow requests to web server.
$ sudo firewall-cmd --permanent --zone=public --add-service=http
$ sudo firewall-cmd --permanent --zone=public --add-service=https
$ sudo firewall-cmd --reload
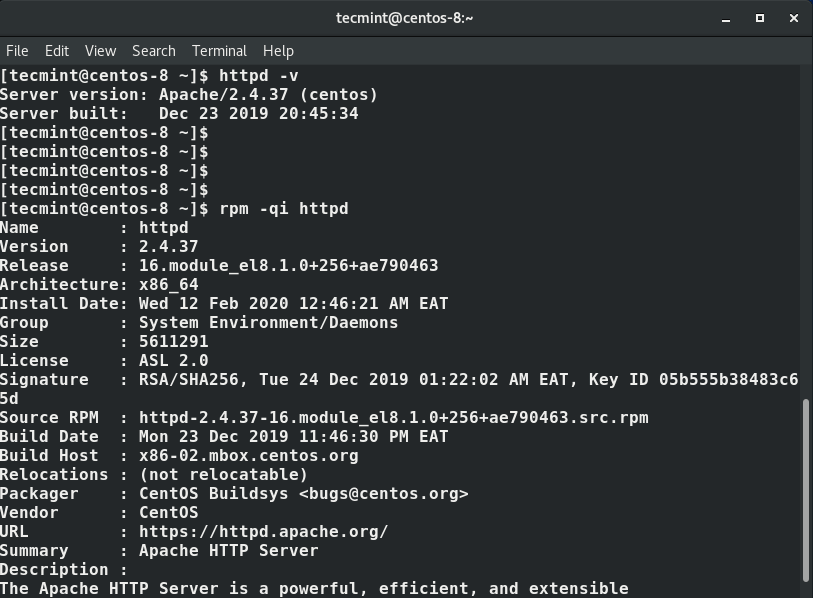
If you are a little curious, you can get the version of apache among other details related to Apache by running the rpm command.
$ sudo rpm -qi
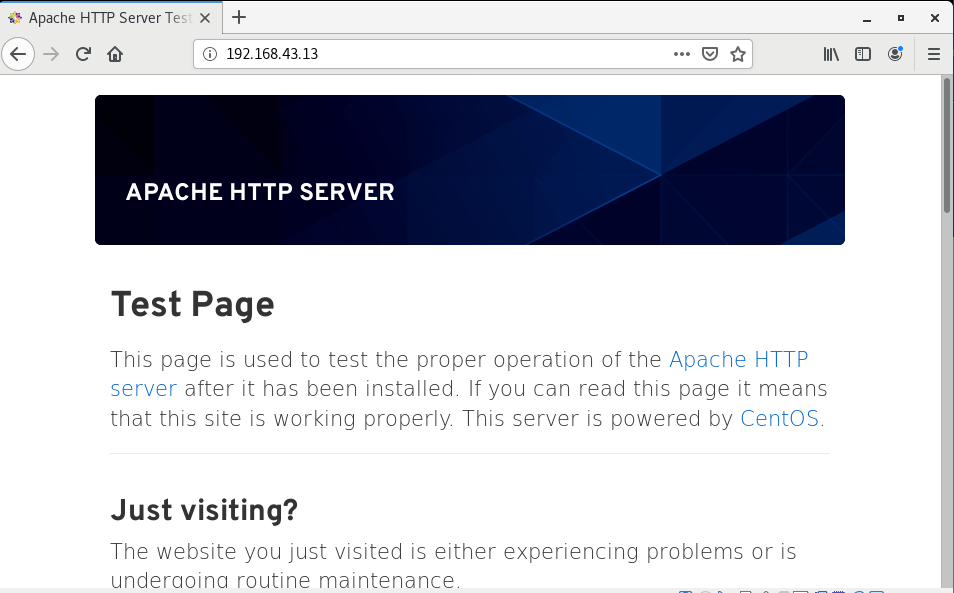
Additionally, you can open your web browser and visit your server’s IP a shown.
http://server-IP
Step 3: Install MariaDB on CentOS 8
MariaDB is a fork of MySQL database . It was developed by a former team of MySQL who had concerns that Oracle may turn MySQL to a closed-source project. It ships with innovative and better features than MySQL that make it a better option than MySQL.
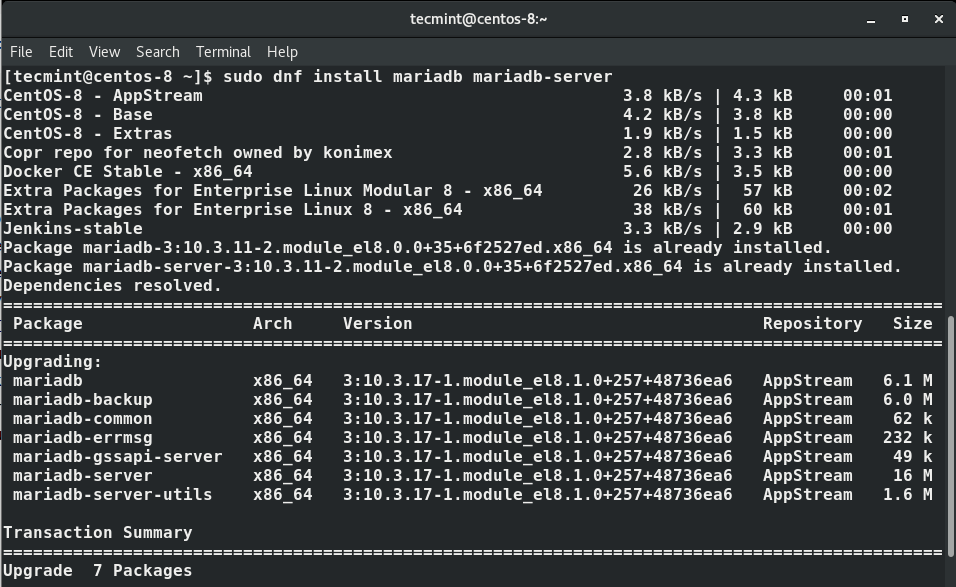
To install MariaDB, run the command.
$ dnf install mariadb-server mariadb -y
Next, start and enable MariaDB on startup, run the command.
$ systemctl start mariadb
$ systemctl enable mariadb
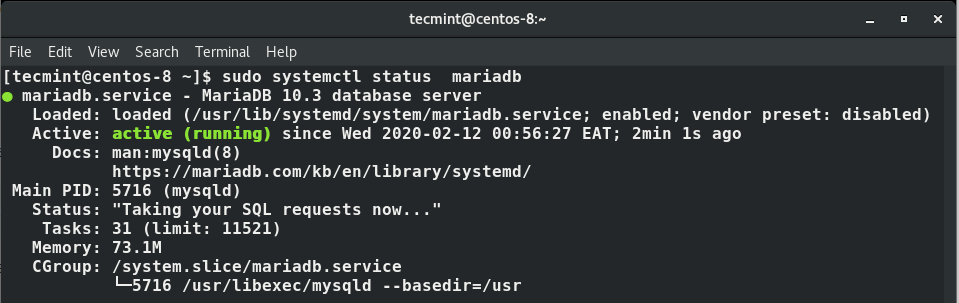
You can verify the status of MariaDB by running the command.
$ systemctl status mariadb
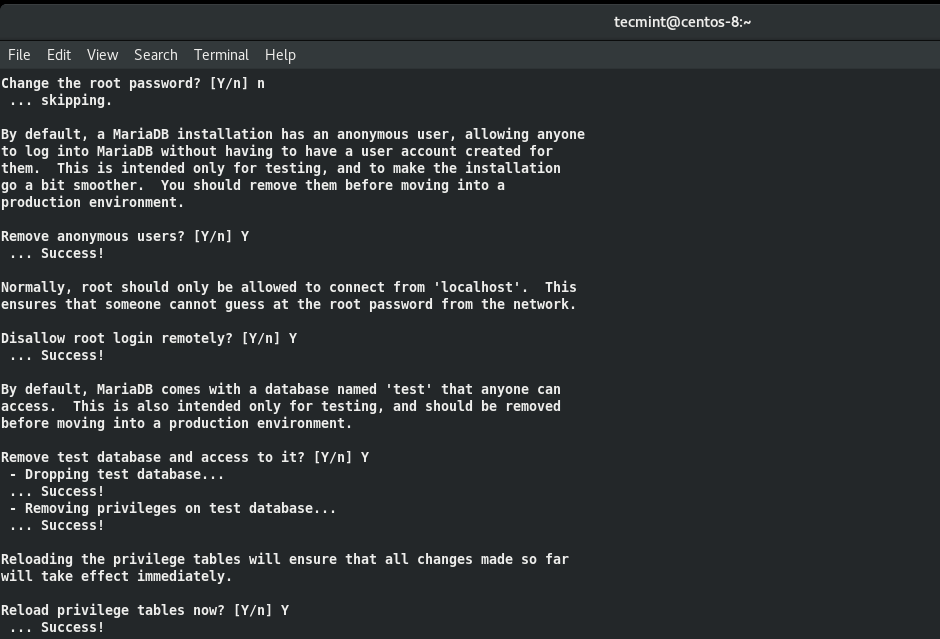
Lastly, we need to secure our MariaDB database engine by running.
$ mysql_secure_installation
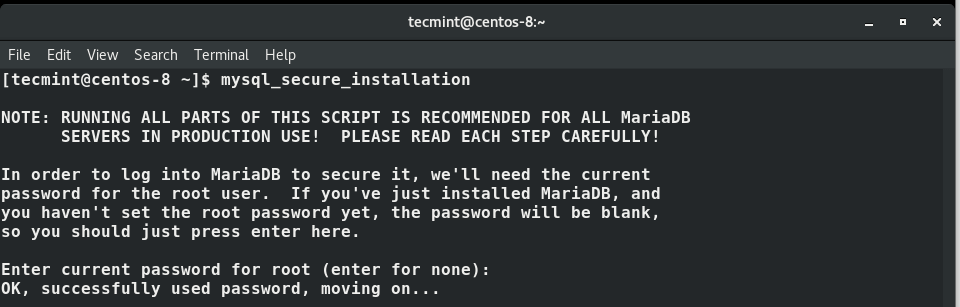
You will be prompted to enter the root password ( if you already have a root password in place) or set it up. Thereafter, answer Y for every subsequent prompt.
Step 4: Install PHP 7 on CentOS 8
The last component in the LAMP stack we need to install is PHP, and as mentioned earlier, PHP is a scripting web programming language used for developing dynamic web pages.
We are going to install the latest version of PHP ( PHP 7.4 by the time of penning down this guide) using the Remi repository.
First, install the EPEL repository.
$ sudo dnf install https://dl.fedoraproject.org/pub/epel/epel-release-latest-8.noarch.rpm
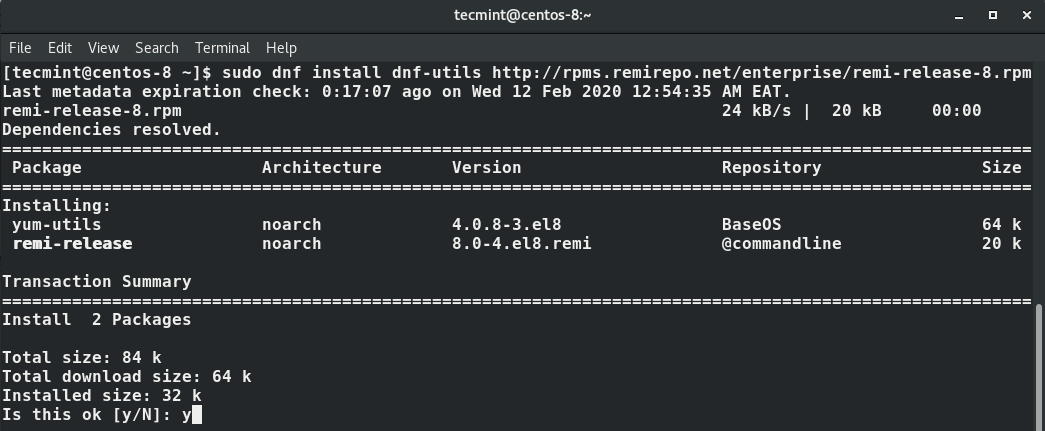
Next, install yum utils and enable remi-repository using the command below.
$ sudo dnf install dnf-utils http://rpms.remirepo.net/enterprise/remi-release-8.rpm
After the successful installation of yum-utils and Remi-packages, search for the PHP modules which are available for download by running the command.
$ sudo dnf module list php
The output will include the available PHP modules, stream and installation profiles as shown below.
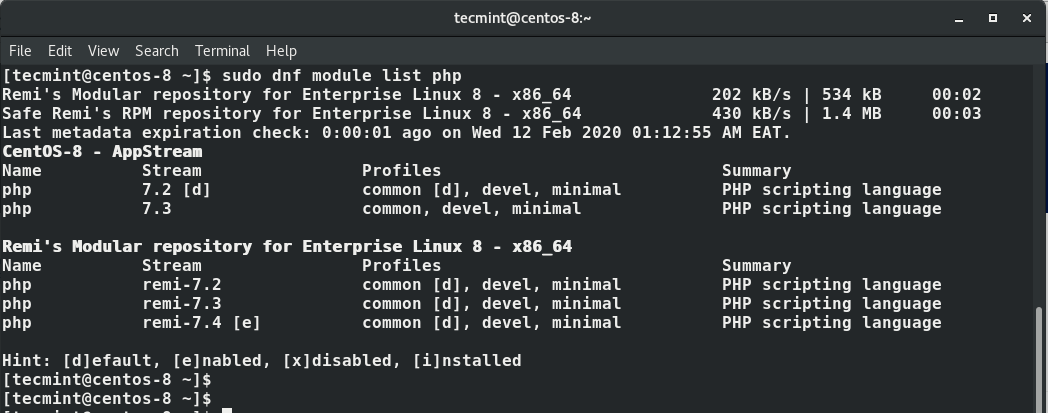
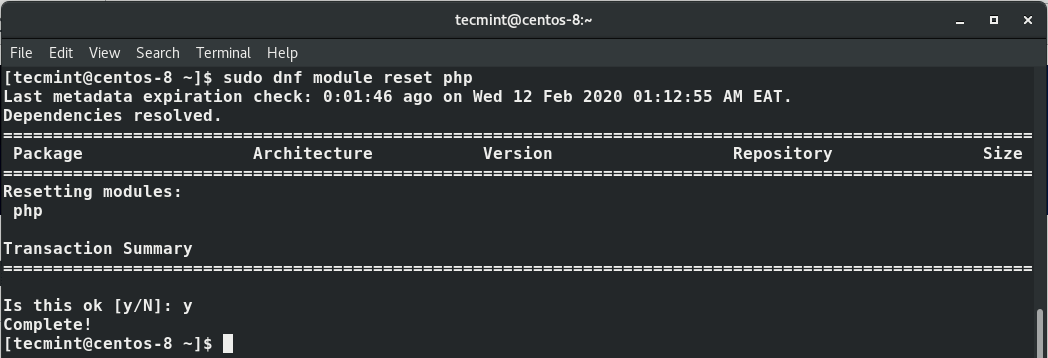
The output indicates that the currently installed version of PHP is PHP 7.2. To install the newer release, PHP 7.4, reset the PHP modules.
$ sudo dnf module reset php
Having reset the PHP modules, enable the PHP 7.4 module by running.
$ sudo dnf module enable php:remi-7.4

Finally, install PHP, PHP-FPM (FastCGI Process Manager) and associated PHP modules using the command.
$ sudo dnf install php php-opcache php-gd php-curl php-mysqlnd

To verify the version installed to run.
$ php -v
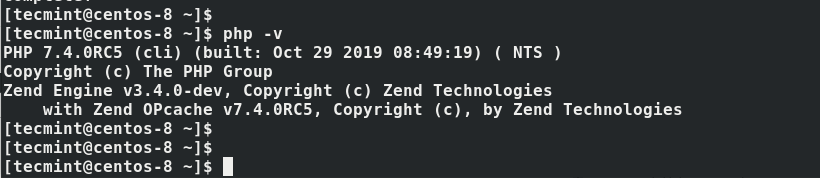
Perfect! We now have PHP 7.4 installed. Equally important, we need to start and enable PHP-FPM on boot-up.
$ sudo systemctl start php-fpm
$ sudo systemctl enable php-fpm
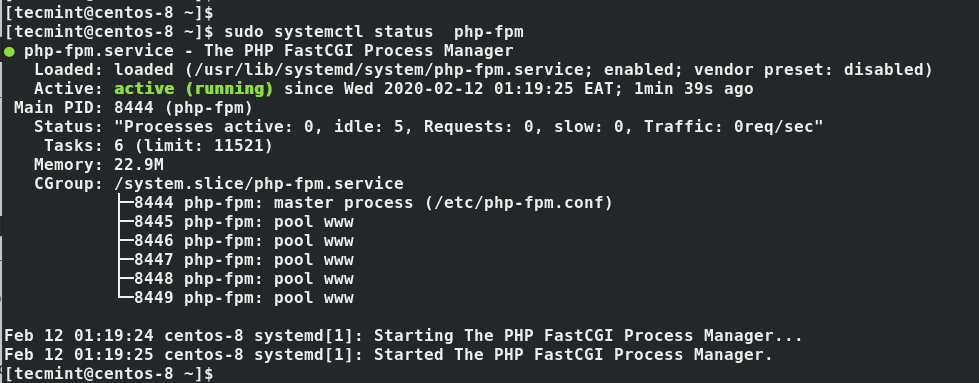
To check its status execute the command.
$ sudo systemctl status php-fpm
To instruct SELinux to allow Apache to execute the PHP code via PHP-FPM run.
$ setsebool -P httpd_execmem 1
Finally, restart Apache web server for PHP to work with Apache web server.
$ sudo systemctl restart httpd
Step 5: Testing PHP Information
To test PHP with the web server, you’ll have to create an info.php file to the document root directory.
$ vi /var/www/html/info.php
Insert the PHP code below and save the file.
<?php
 phpinfo ();
?>
Then head out to your browser, and type the URL below. Remember to replace the server IP address with your server’s actual IP address.
http://server-ip-address/info.php

You should now be able to see information about PHP on your web browser.
Great! You have now installed Apache, PHP, and MariaDB on your CentOS 8 system. As good practice, ensure you delete the info.php file as it can pose a security risk if hackers are able to identify the PHP version you are running.


Hi, I had this error was trying the deploy a WordPress website webserver and to make the WordPress talk to another db server both on RedHat distribution Linux server on AWS
but am getting this error “Error establishing a database connection” instead of the WordPress website to appear what am doing wrong guys. I allowed all ip address on my security group.
@Ayenco,
You need to allow the remote IP address to access your MySQL database on the server.
Please add
or pgpmyadmin will not work
Hi,
Great tutorial on LAMP setup and everything worked great until the testing phase. I used nano to create info.php and i keep getting a permission denied error. Actually, anything I tried to save on /var/www/html directory gives me a permission error.
Hey Rudy, looks like a permission issue. Try running the following command:
Let me know how it goes.
You are an awesome man!!! Great Article on installing the LAMP environment in CentOS Linux.
Missing HTTPS SSL Site…
Great article!
Thanks!
Waiting for other goodies!
Thanks for the love Igor. Much appreciated.
After installing apache also the firewall rules must be updated with:
@Ivan,
Thanks, I have added the firewall commands to the article…
Best guide on LAMP setup so far…
You’re welcome. Thanks for the warm feedback.
Thank you, great guide, one small issue on step 5 is “vi” command not “v” ;)
@Paskuale,
Thanks, corrected the command in the article…
Thank you, Jala. I’m glad the article was helpful to you.
Hi,
Thanks a lot…
Very useful article…