Let’s Chat is a free and open source, self-hosted chat application designed for relatively small teams. It is feature-rich; built using Node.js and employs MongoDB to store the application data.
Let’s Chat Features:
- Supports persistent messages
- Supports multiple rooms
- Supports local/Kerberos/LDAP authentication
- Comes with a REST-like API
- Supports private and password-protected rooms
- Offers support for new message alerts / notifications
- Also supports mentions (hey @tecmint/@all)
- Provides support for image embeds / Giphy search
- Allows for code pasting
- Supports for file uploads (locally or from Amazon S3 or Azure)
- Also supports XMPP Multi-user chat (MUC) and 1-to-1 chat between XMPP users and many more.
Importantly, it is intended to be easily deployable on any system that meets all following requirements.
Requirements
- Node.js (0.11+)
- MongoDB (2.6+)
- Python (2.7.x)
In this article, we will explain how to install and use a Let’s Chat messaging application for small teams on CentOS and Debian based systems.
Step 1: Update the System
1. First make sure to perform a system-wide update by installing necessary packages as follows.
-------------- On CentOS/RHEL/Fedora --------------
$ sudo yum update && sudo yum upgrade

-------------- On Debian/Ubuntu --------------
$ sudo apt-get update && sudo apt-get -y upgrade
$ sudo apt-get install software-properties-common git build-essential
2. After finishing system update, reboot the server (Optional).
$ sudo reboot
Step 2: Installing Node.js
3. Install most recent version of NodeJS (i.e version 7.x at the time of writing) using the nodesource repository as shown.
-------------- On CentOS/RHEL/Fedora --------------
$ curl -sL https://rpm.nodesource.com/setup_7.x | sudo -E bash -
$ sudo yum install nodejs

-------------- On Debian/Ubuntu --------------
$ curl -sL https://deb.nodesource.com/setup_7.x | sudo -E bash -
$ sudo apt install nodejs
Step 3: Installing MongoDB Server
4. Next you need to install MongoDB community version, however, it is not available in the YUM repository. Therefore you have to enable the MongoDB repository as explained below.
On CentOS/RHEL/Fedora
$ cat <<EOF | sudo tee -a /etc/yum.repos.d/mongodb-org-3.4.repo
[mongodb-org-3.4]
name=MongoDB Repository
baseurl=https://repo.mongodb.org/yum/redhat/7/mongodb-org/3.4/x86_64/
gpgcheck=1
enabled=1
gpgkey=https://www.mongodb.org/static/pgp/server-3.4.asc
EOF
Now install and start the latest version of MongoDB Server (i.e 3.4).
$ sudo yum install mongodb-org
$ sudo systemctl start mongod.service
$ sudo systemctl enable mongod.service
On Debian/Ubuntu
$ sudo apt-key adv --keyserver hkp://keyserver.ubuntu.com:80 --recv EA312927
$ echo 'deb http://repo.mongodb.org/apt/ubuntu xenial/mongodb-org/3.2 multiverse' | sudo tee /etc/apt/sources.list.d/mongodb-org-3.2.list
$ sudo apt-get update
$ sudo apt-get install -y mongodb-org
$ sudo systemctl start mongod.service
$ sudo systemctl enable mongod.service
Step 4: Install Let’s Chat Server
5. First install git to clone the Let’s Chat repository and install dependencies as shown.
$ sudo yum install git		##RHEL/CentOS
$ sudo apt install git		##Debian/Ubuntu

$ cd /srv
$ sudo git clone https://github.com/sdelements/lets-chat.git
$ cd lets-chat
$ sudo npm install
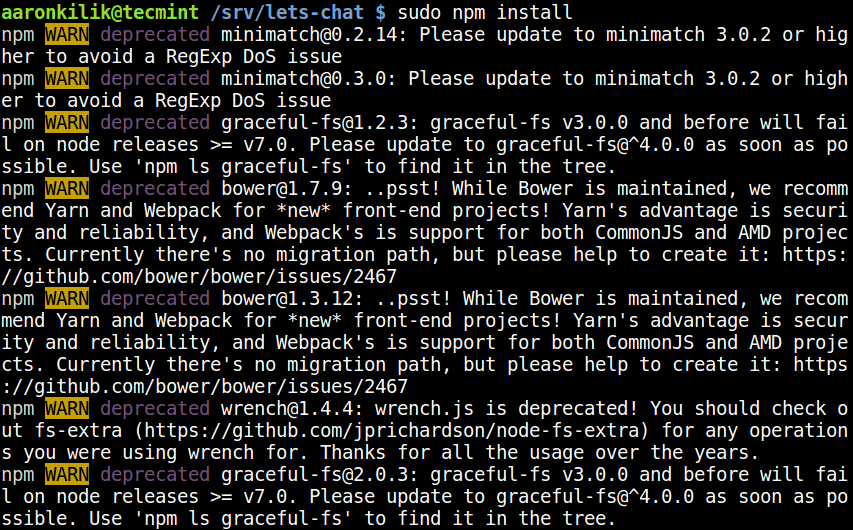
Note: The npm WARN signals from the output above are normal during the installation. Just ignore them.
6. After finishing installation, create the application configuration file (/srv/lets-chat/settings.yml) from the sample file and define your custom settings in it:
$ sudo cp settings.yml.sample settings.yml
We will use default settings provided from the sample settings file.
7. Finally start the Let’s Chat server.
$ npm start
To keep the Let’s Chat daemon running, let’s press Ctrl-C to exit and then create a Systemd unit file to enable it at system boot.
Step 5: Create Let’s Chat Startup File
8. Create a systemd unit file for Let’s Chat.
$ sudo vi /etc/systemd/system/letschat.service
Copy and paste the unit configuration below in the file.
[Unit]
Description=Let's Chat Server
Wants=mongodb.service
After=network.target mongodb.service

[Service]
Type=simple
WorkingDirectory=/srv/lets-chat
ExecStart=/usr/bin/npm start
User=root
Group=root
Restart=always
RestartSec=9

[Install]
WantedBy=multi-user.target
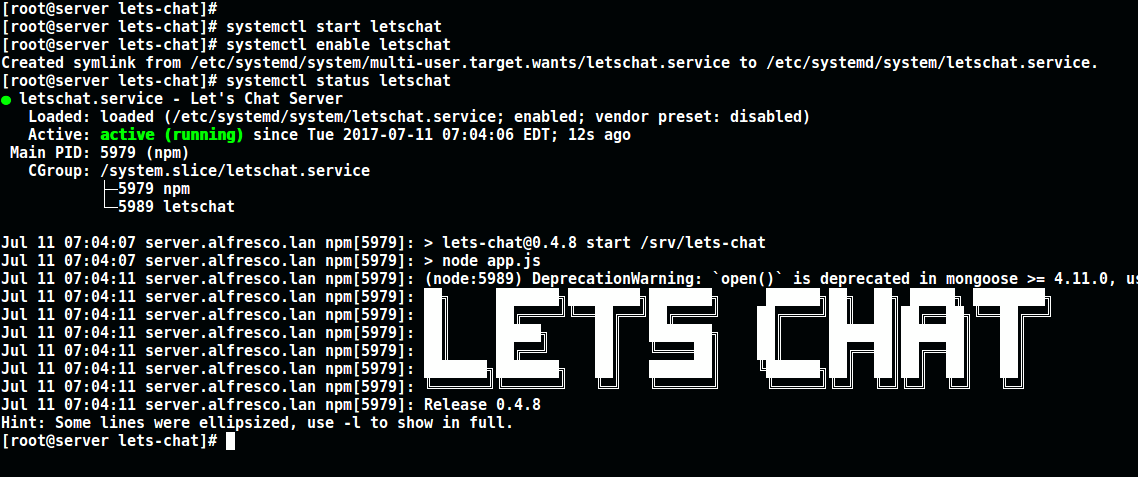
9. Now start the service for the mean time and enable it to automatically start on system boot.
$ sudo systemctl start letschat
$ sudo systemctl enable letschat
$ sudo systemctl status letschat
Step 6: Access Let’s Chat Web Interface
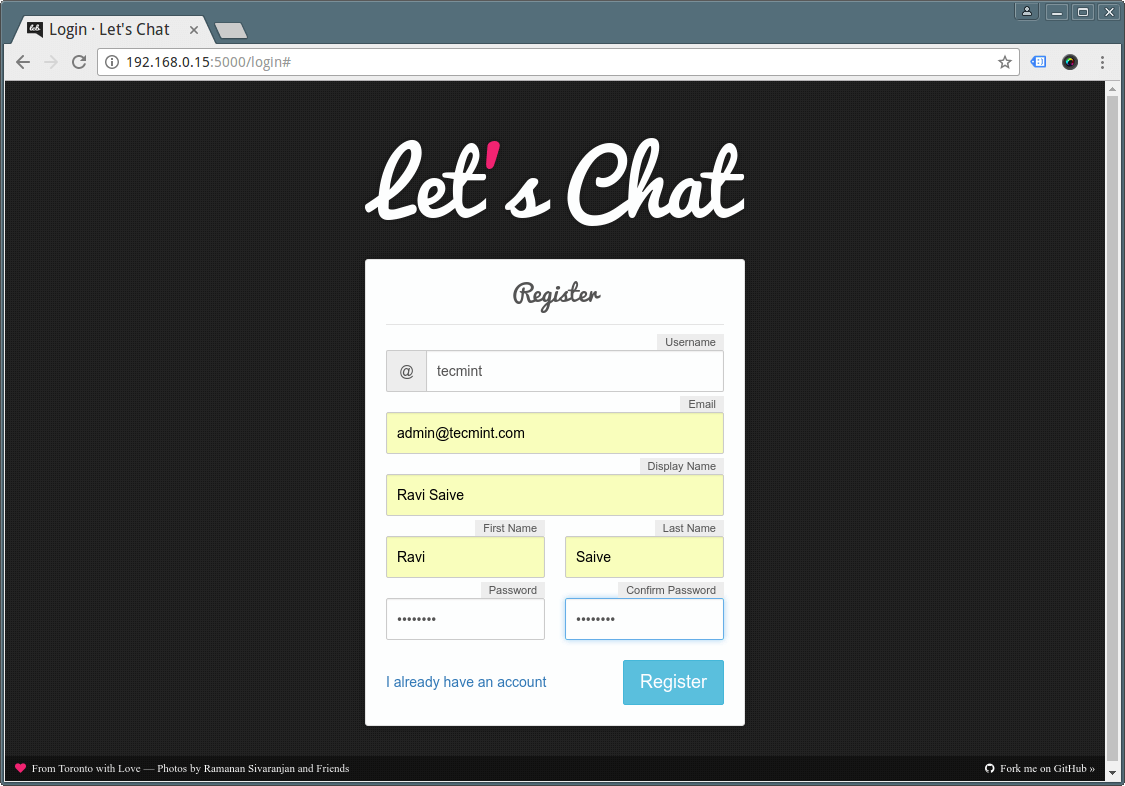
10. Once everything in place, you can access the Let’s Chat web interface at the following URL.
https://SERVER_IP:5000
OR
https://localhost:5000

11. Click on “I need an account” to create one and fill in the required information and click “Register”.
You may also like following related articles:
- Useful Commands to Create Commandline Chat Server in Linux
- Create Your Own Instant Messaging/Chat Server Using “Openfire” in Linux
Let’s Chat Github repository: https://github.com/sdelements/lets-chat
Enjoy! You now have Let’s Chat application installed on your system. To share any thoughts with us, use the feedback form below.