Countly is a feature-rich, open source, highly-extensible real-time mobile & web analytics, push notifications and crash reporting software powering more than 2.5k web sites and 12k mobile applications.
It works in a client/server model; the server gathers data from mobile devices and other Internet-connected devices, while the client (mobile, web or desktop SDK) displays this information in a format which analyzes application usage and end-user behavior.
Watch a 1 minute video introduction to Countly.
Countly Analytics Features:
- Supports for centralized management.
- Powerful dashboard user interface (supports multiple, custom and API dashboards).
- Provides user, application and permission management functionalities.
- Offers multiple application support.
- Supports for reading / writing APIs.
- Supports a variety of plugins.
- Offers analytics features for mobile, web and desktop.
- Supports crash reporting for iOS and Android and error reporting for Javascript.
- Supports for rich and interactive push notifications for iOS and Android.
- Also supports for custom email reporting.
Requirements
Countly can be easily installed via beautiful installation script on a freshly installed CentOS, RHEL, Debian and Ubuntu systems without any services listening on port 80 or 443.
In this article, we will guide you on how to install and manage Countly Analytics from the command line in CentOS and Debian based systems.
Step 1: Install Countly Server
1. Luckily, there is an installation script prepared for you which will install all the dependencies as well as Countly server on your system.
Simply download the script using the wget command and run it thereafter as follows.
# wget -qO- http://c.ly/install | bash
Important: Disable SELinux on CentOS or RHEL if it’s enabled. Countly will not work on a server where SELinux is enabled.
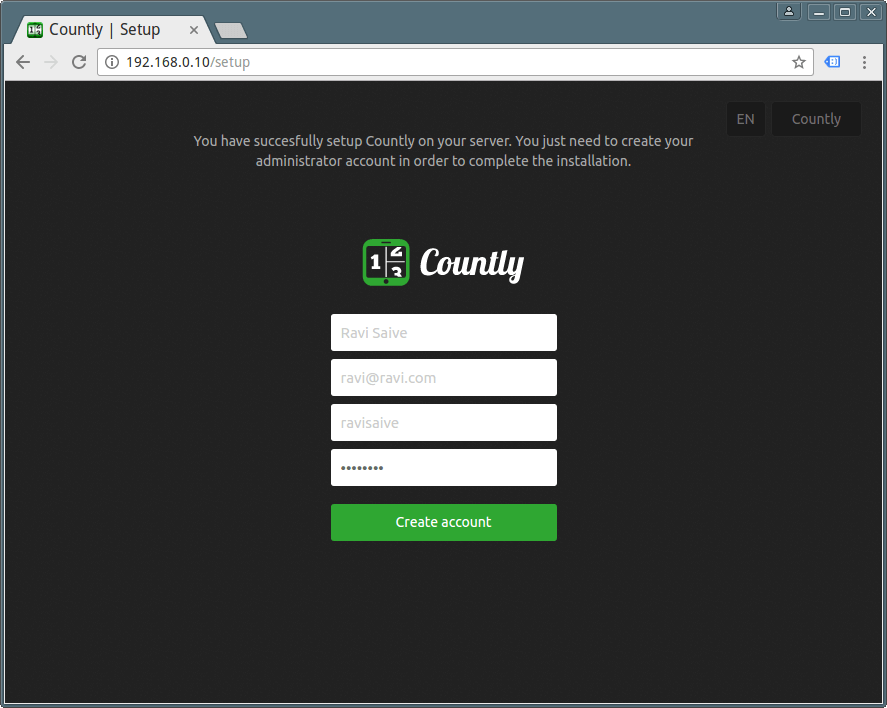
Installation will take between 6-8 minutes, once complete open the URL from a web browser to create your admin account and login to your dashboard.
http://localhost
OR
http://SERVER_IP
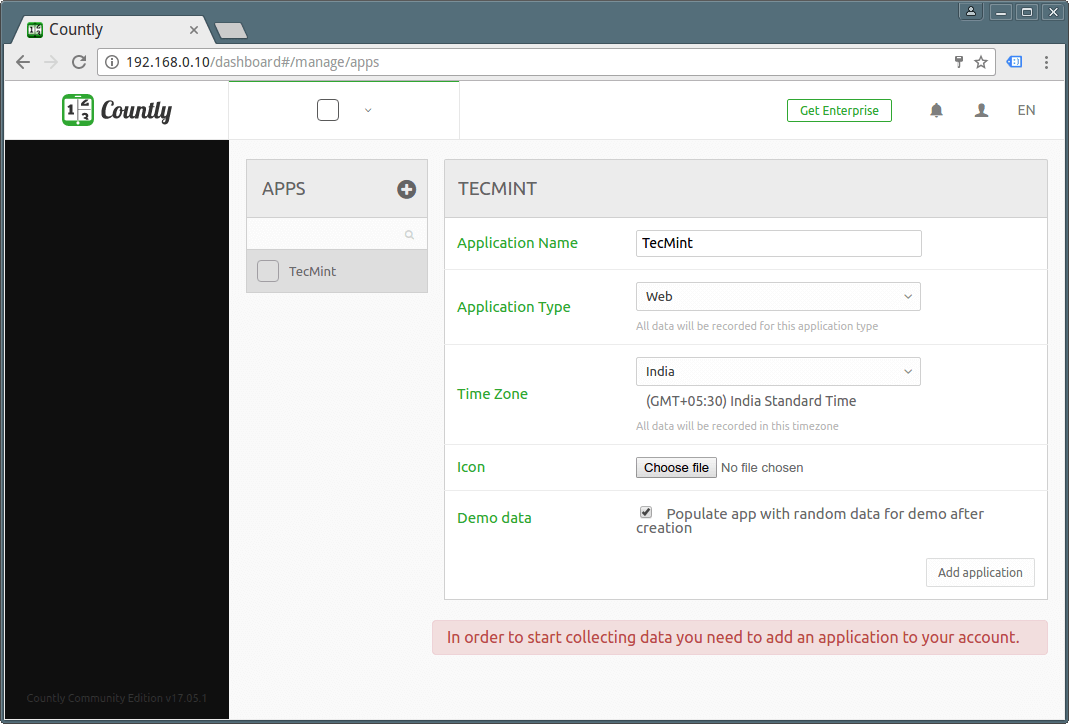
2. You will land in the interface below where you can add an App to your account to start collecting data. To populate an app with random/demo data, check the option “Demo data”.
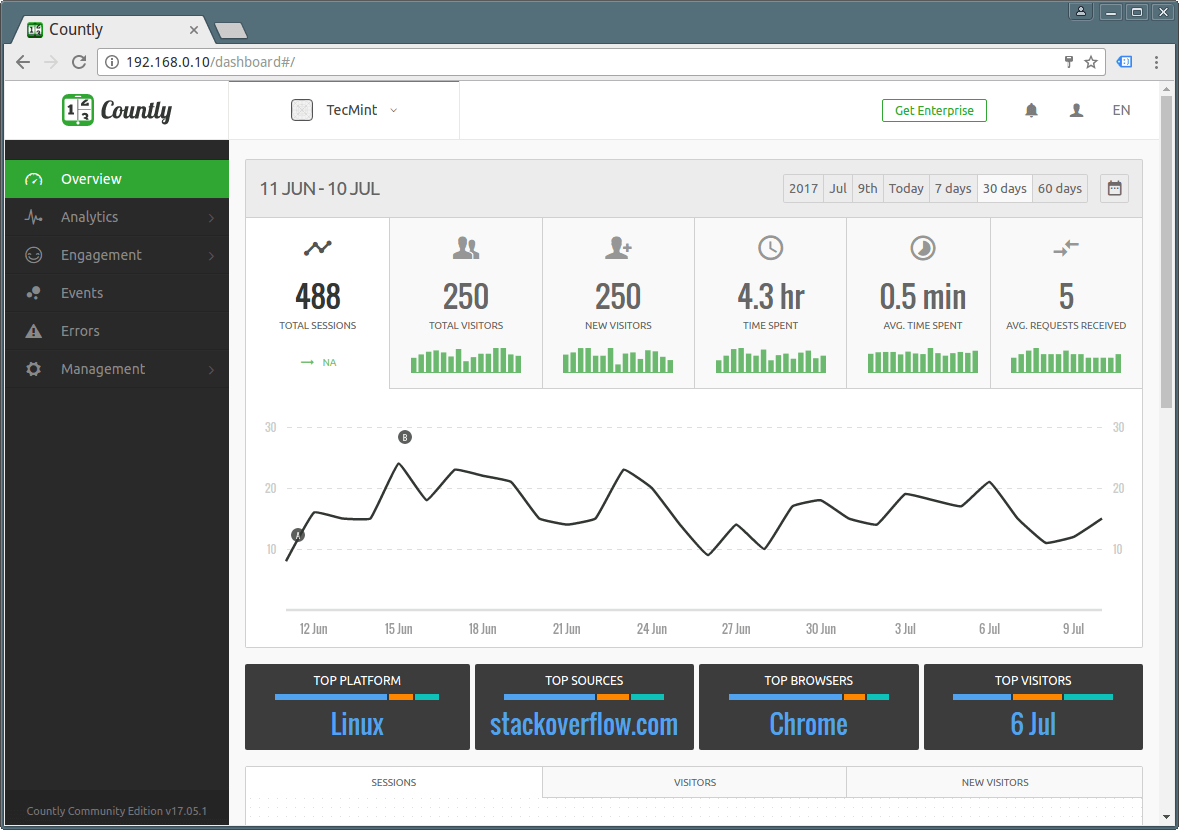
3. Once the app has been populated, you will get the overview of the test app as shown. To manage applications, users plugins etc, click on the Management Menu item.
Step 2: Manage Countly From Linux Terminal
4. Countly ships in with several commands to manage the process. You can execute most of the tasks via Countly user interface, but the countly command which can be run in the following syntax – does the needful for command line geeks.
$ sudo countly version		#prints Countly version
$ sudo countly start  		#starts Countly
$ sudo countly stop	  	#stops Countly
$ sudo countly restart  	#restarts Countly
$ sudo countly status  	        #used to view process status
$ sudo countly test 		#runs countly test set
$ sudo countly dir 		#prints Countly is installed path
Step 3: Backup and Restore Countly
5. To configure automatic backups for Countly, you can run countly backup command or assign a cron job that runs every day or week. This cron job ideally backup Countly data to a directory of your choice.
The following command backup Countly database, Countly configuration & user files (e.g app images, user images, certificates, etc).
$ sudo countly backup /var/backups/countly
Additionally you can back up files or database separately by executing.
$ sudo countly backupdb /var/backups/countly
$ sudo countly backupfiles /var/backups/countly
6. To restore Countly from backup, issue the command below (specify the backup directory).
$ sudo countly restore /var/backups/countly
Likewise restore only files or database separately as follows.
$ sudo countly restorefiles /var/backups/countly
$ sudo countly restoredb /var/backups/countly
Step 4: Upgrade Countly Server
7. To initiate an upgrade process, run the command below which will run npm to install any new dependencies, if any. It will also run grunt dist-all to minify all files and create production files from them for enhanced effective loading.
And lastly restarts Countly’s Node.js process to effect new files changes during the two previous processes.
$ sudo countly upgrade
$ countly usage
For more information visit official site: https://github.com/countly/countly-server
In this article, we guided you on how to install and manage Countly Analytics server from the command line in CentOS and Debian based systems. As usual, send us your queries or thoughts concerning this article via the response form below.