Linux Mint 22, codenamed “Wilma”, was officially released as a major update to Linux Mint on July 25, 2024. Linux Mint 22 is an LTS (Long Term Service) release based on Ubuntu 24.04 and will be maintained until April 2029.
As expected, the latest release unveiled its three traditional desktop editions – XFCE, Cinnamon, and MATE and a bunch of other improvements and new features.
In this guide, we will walk you through the installation of Linux Mint 22 MATE Edition.
What’s New in Linux Mint 22
At a high level, Mint 22 ships with the following improvements:
- A new communication platform based on the Element client has been integrated, allowing users to interact with the Linux Mint community and join existing Matrix communities.
- A search bar has been added to the startup applications settings, making it easier to find and add applications to the startup.
- The default sound server has been changed to PipeWire, which offers lower latency and improved performance with better compatibility for modern audio devices.
- The distribution is now powered by the Linux 6.8 kernel, which includes enhancements for graphics and CPU performance.
- Linux Mint themes have been updated to support GTK4, ensuring compatibility with modern applications.
For an in-depth overview of the features provided, check out the release notes.
Prerequisites
Before you get started with installing Mint 22 MATE edition, ensure that you have the following requirements:
- A 16 GB USB drive for the installation medium.
- Broadband internet connection for downloading the ISO image.
In addition, ensure that your system meets the following minimum recommended requirements.
- Minimum of 2GB of RAM
- Minimum of 1 GHz core processor
- 30 GB of free hard disk space
- HD graphics card and monitor
Download Linux Mint 22 MATE ISO Image
To get off the ground, download the Linux Mint 22 MATE ISO image from the Official Linux Mint download page.
Once downloaded, use one of these free tools to create a bootable USB drive from the ISO image that you have just downloaded.
Alternatively, you can use the dd command to create a bootable USB device.
sudo dd if=linuxmint-22-mate-64bit.iso of=/dev/sdX bs=4M status=progress && sync
Replace /dev/sdX with the location of your USB drive (e.g., /dev/sdb). If you do not know, you can use the lsblk command to find all block devices (drives and partitions) connected to your system.
Next plug in the bootable USB drive to your PC and reboot. Ensure to set the bootable USB medium as the first boot priority in the BIOS and save the changes to continue booting.
Installing Linux Mint 22 Mate Desktop
Once the system boots, the GRUB menu will be displayed as shown. Select the first option and hit ENTER.

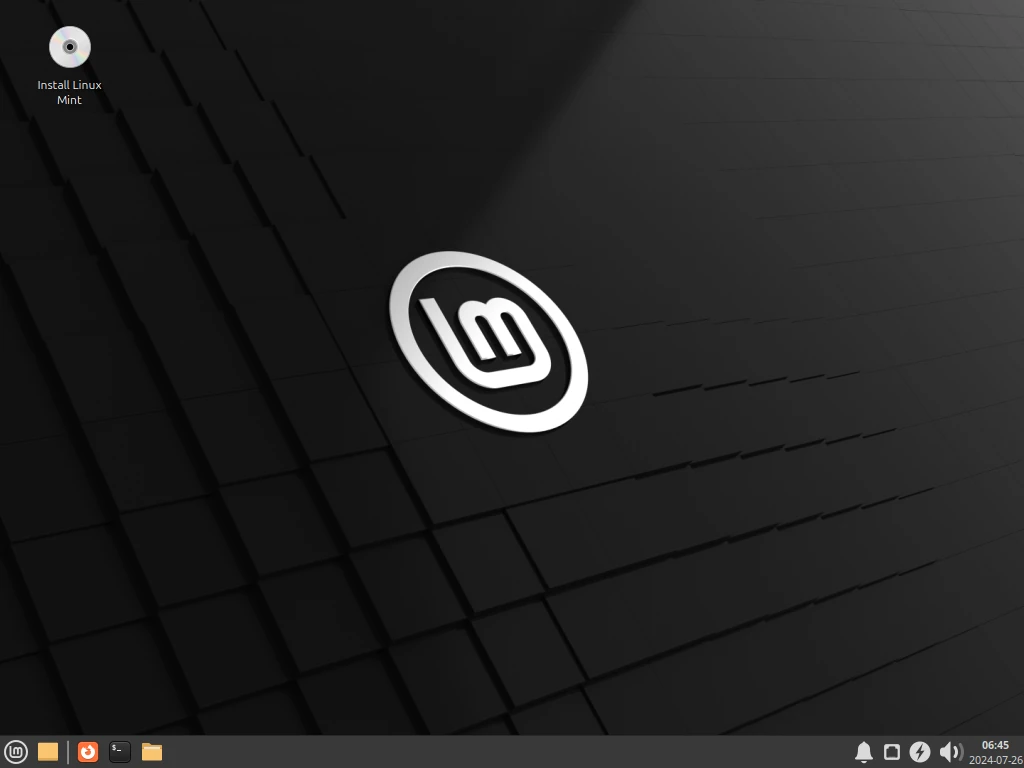
Afterward, you will be ushered to the Live environment where you can test-run Linux Mint without installing it. Since our mission is to install Linux Mint 22, click on the ‘Install Linux Mint’ desktop icon as shown.
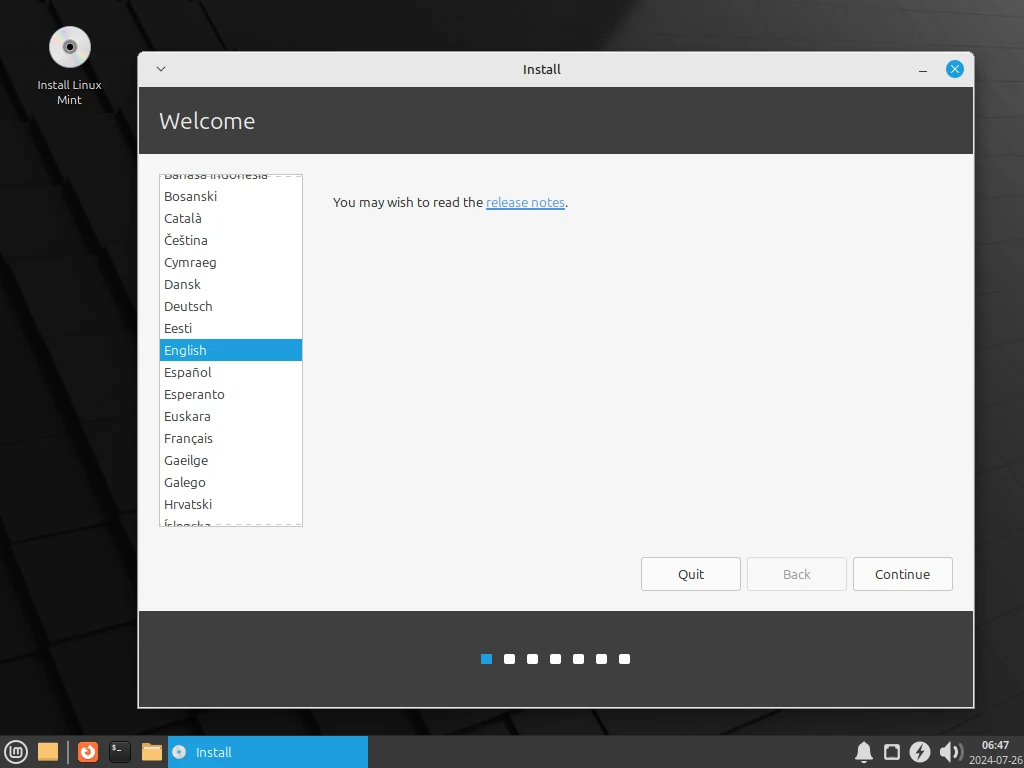
After clicking on the ‘Install Linux Mint’ desktop icon, the installer will pop open and you will be prompted to select the installation language. Once you have selected your preferred language, click ‘Continue’.
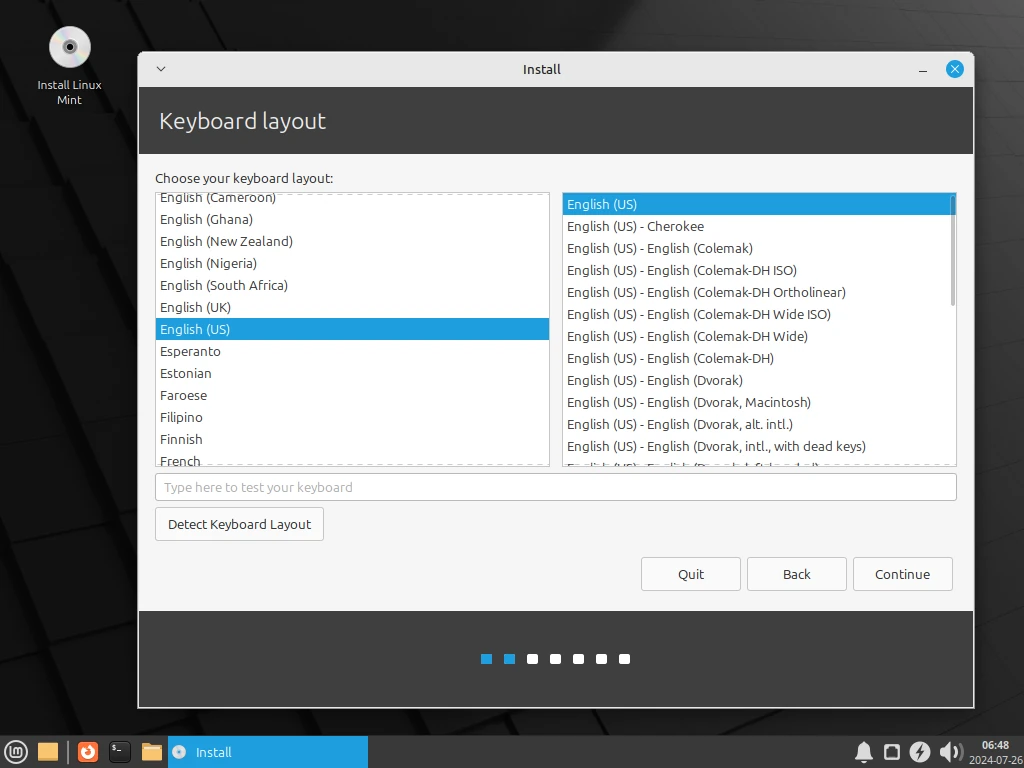
Next, choose your preferred keyboard layout. In addition, you can type a few words to confirm if the keyboard selection you have selected is the right one. If all looks great, click ‘Continue’.
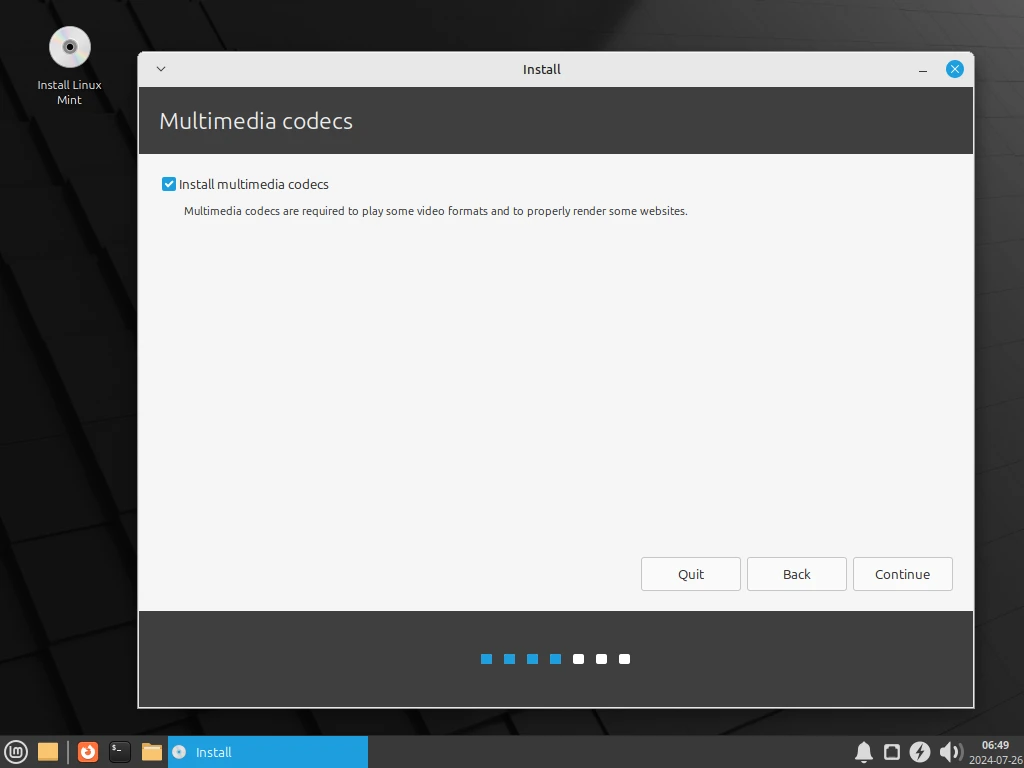
Next, you will be given an option to install multimedia codecs. Installing the codecs is highly recommended as it provides support for multiple video formats and an enhanced user experience when browsing some websites.
So, click on the checkbox and click ‘Continue’.
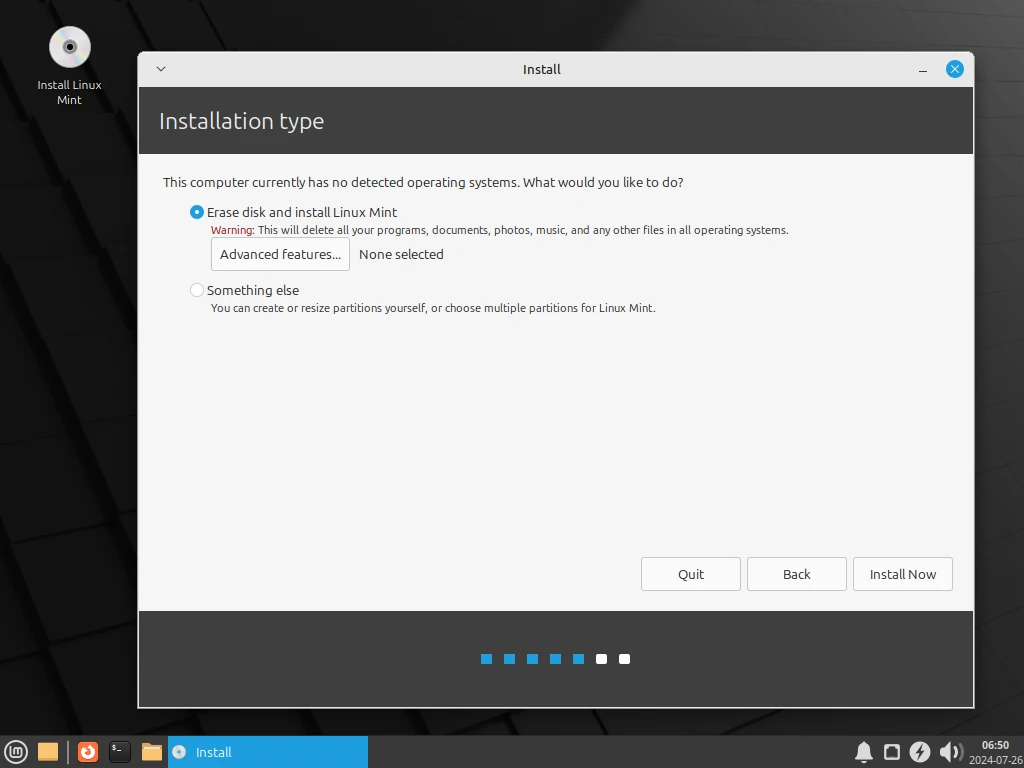
In this step, you will be required to partition your hard drive. Two options will be presented to you:
- Erase disk and install Linux Mint – This option wipes out everything on your hard drive including any existing OS. In addition, it automatically partitions your hard disk. This is a preferred option if you are starting from a clean slate and are not familiar with manual partitioning.
- Something else – This option gives you autonomy to manually create and resize the partitions yourself. It’s particularly useful when you want to have a dual-boot setup.
For this guide, we will go with the first option.
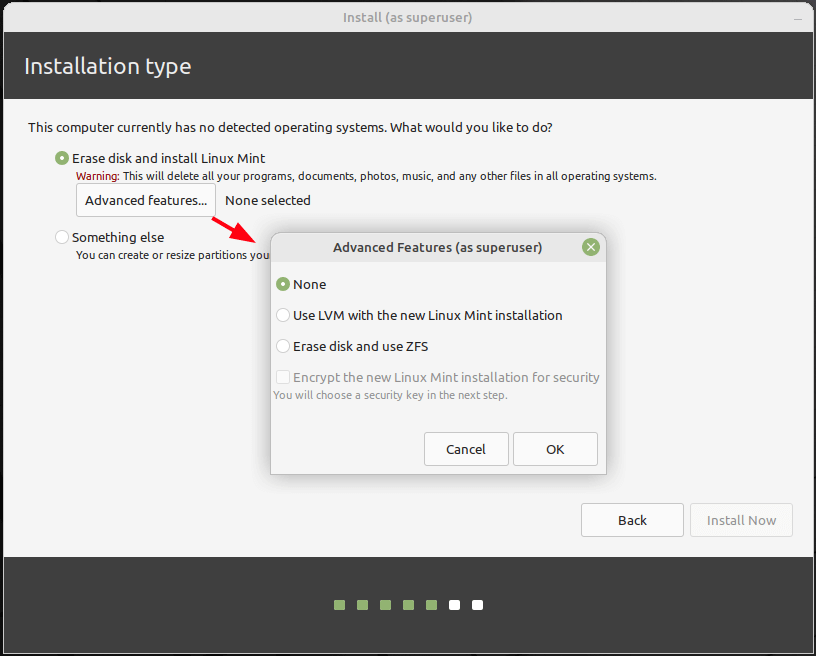
The ‘Advanced Features’ button provides two additional options to choose from: using LVM with your new installation or ZFS filesystem. Once you have made your selection, click ‘OK’. Then click ‘Install Now’.
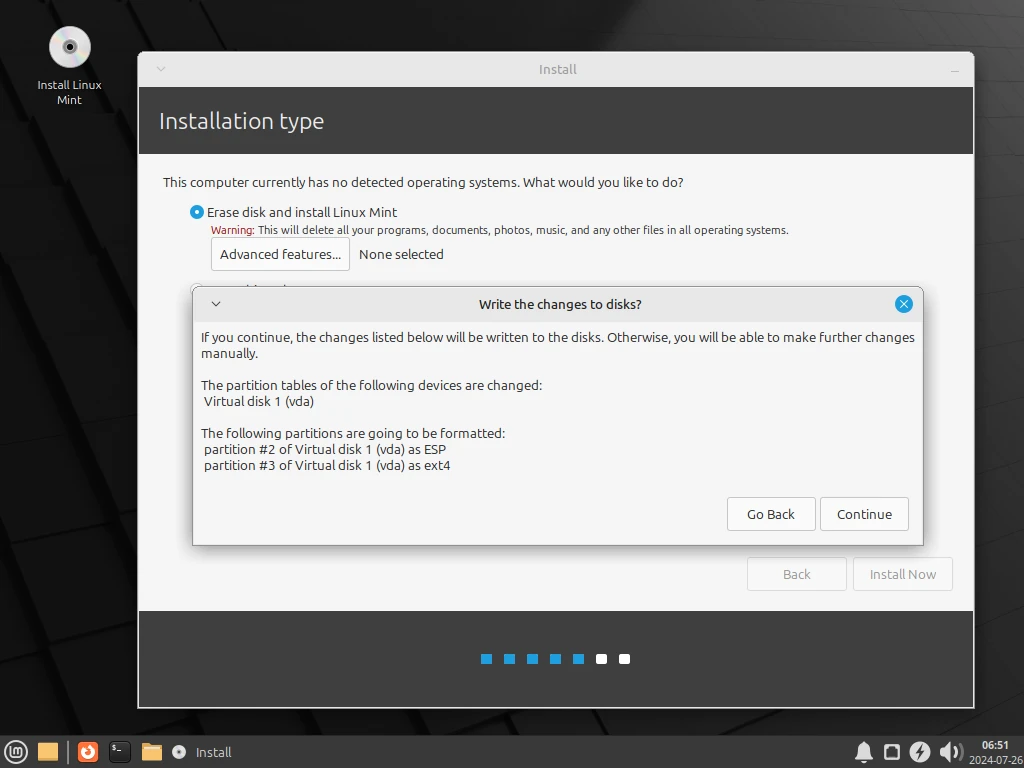
On the pop-up that appears, click ‘Continue’ to effect the changes made to the disk.
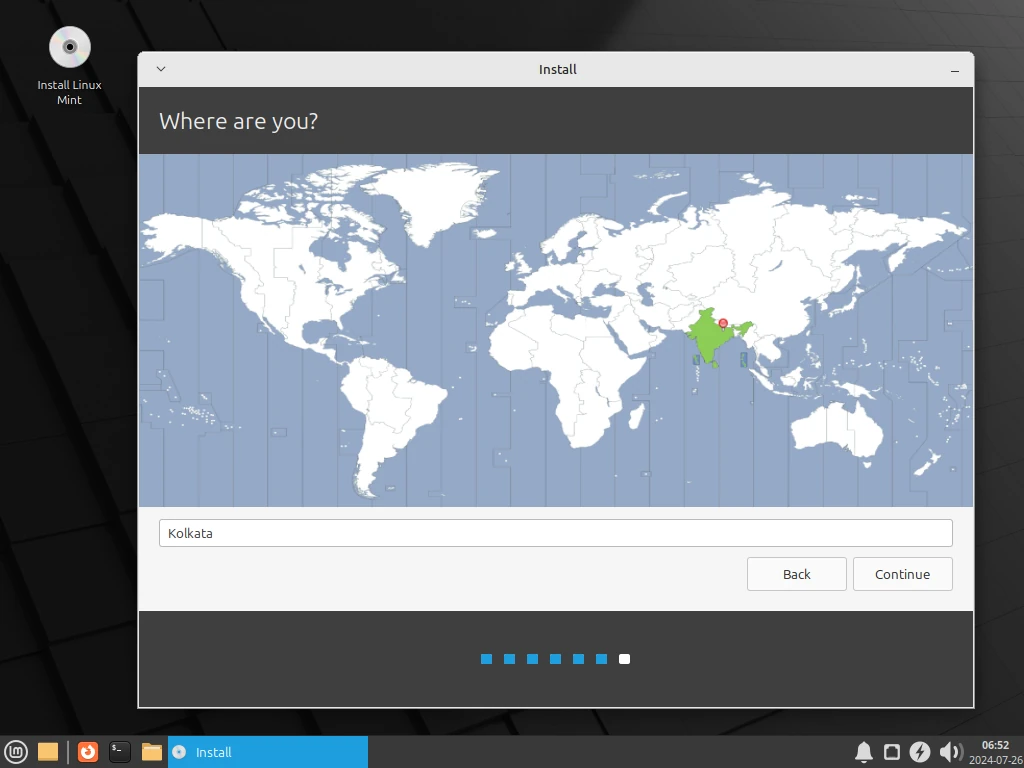
In the next step, select your location from the world map provided and click ‘Continue’.
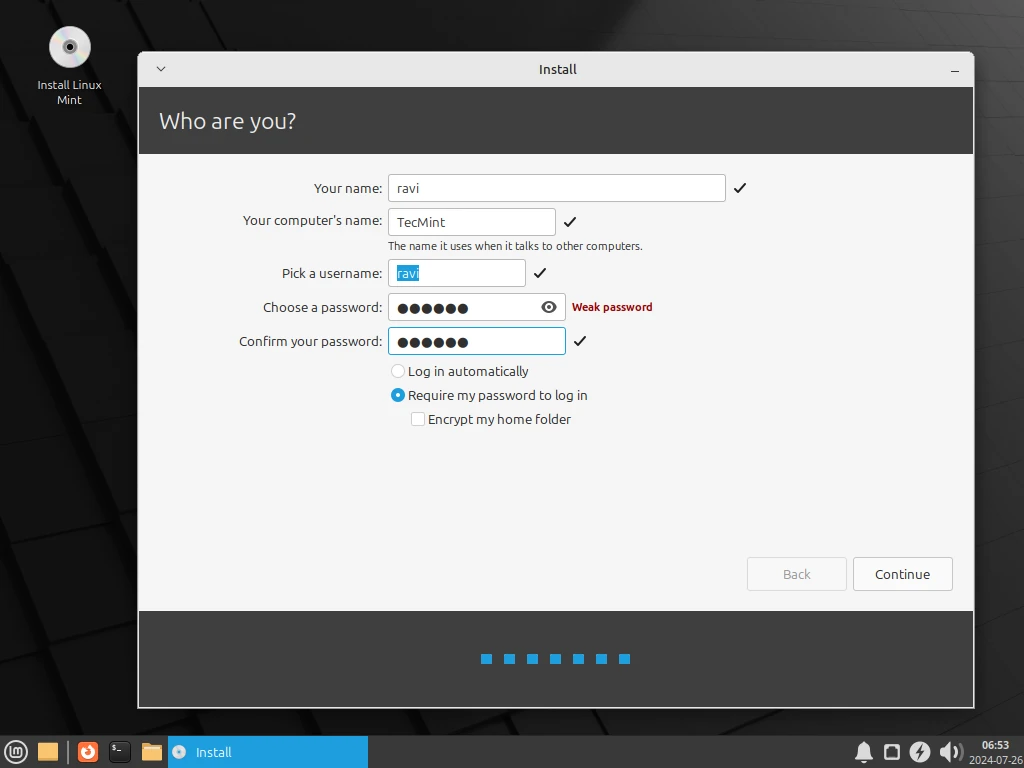
In this step, create a login user by providing the username and password of the user. Then click ‘Continue’.
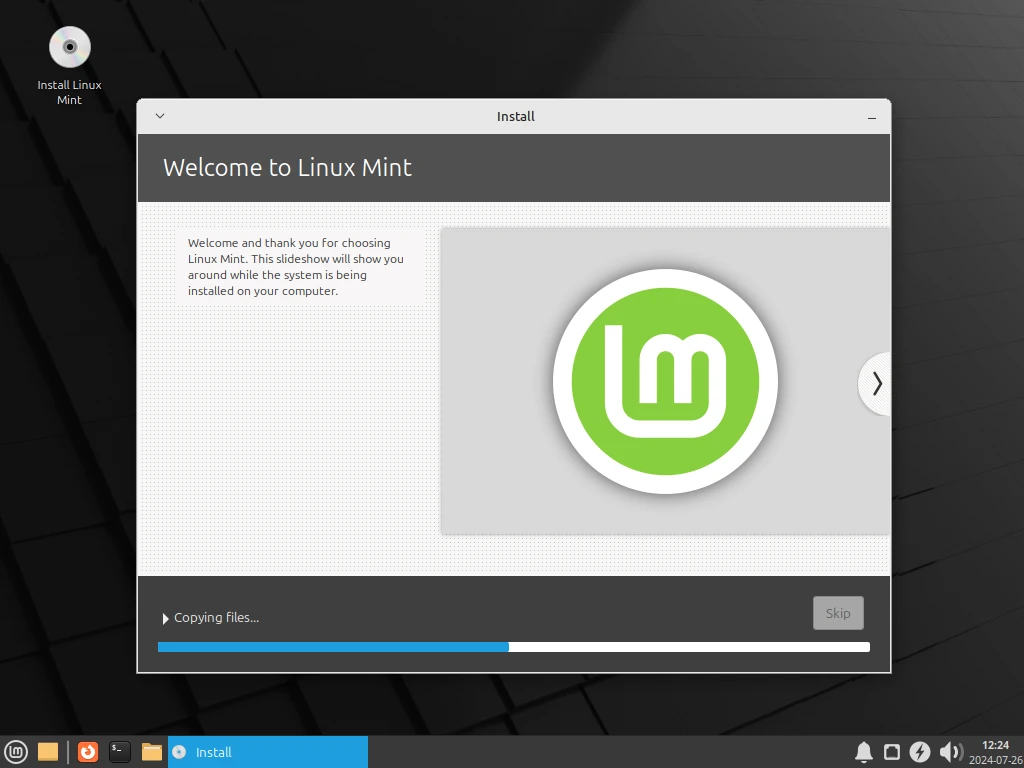
At this point, the installer will begin copying all the files to your hard drive and make the required configurations. This might take a while, so just sit back and take some coffee.
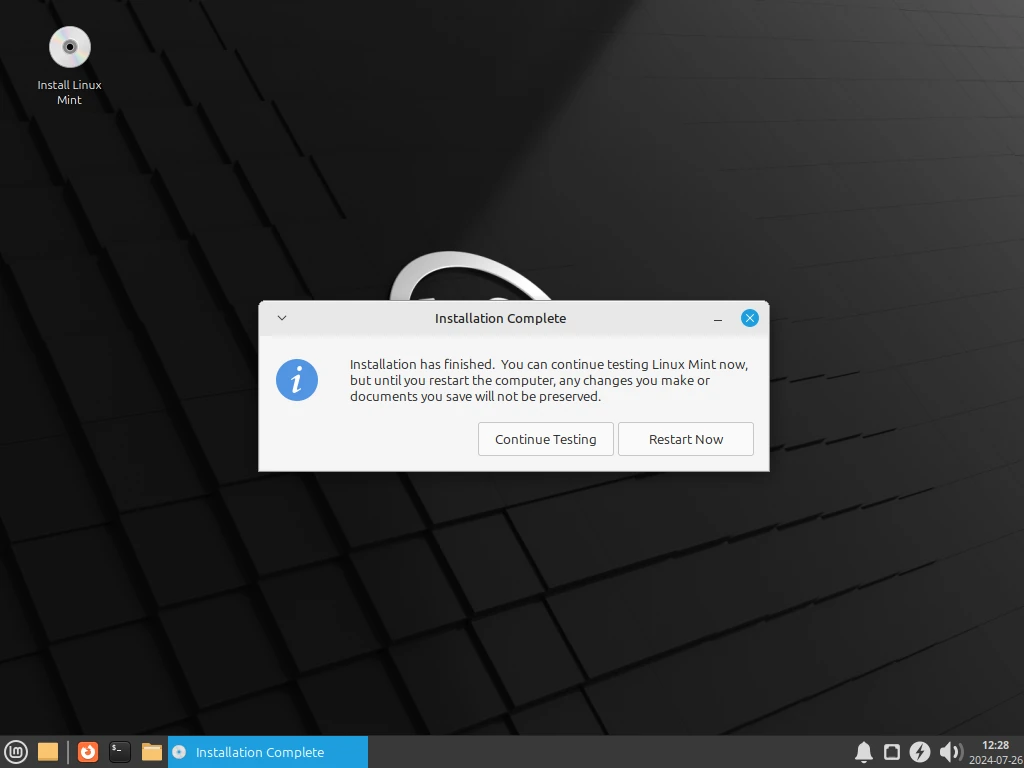
Once the installation is complete, reboot your system by clicking ‘Restart Now’.
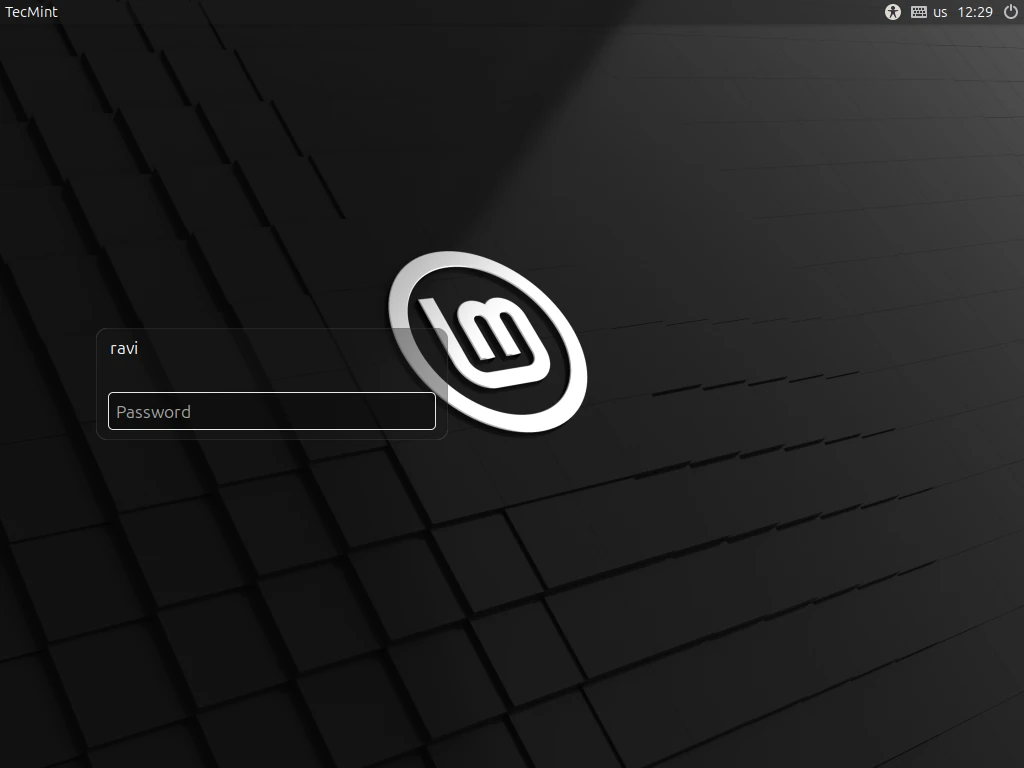
Once the system has rebooted, log in by providing the password and pressing ‘ENTER’.
You will then be ushered to the Linux 22 MATE desktop as shown.
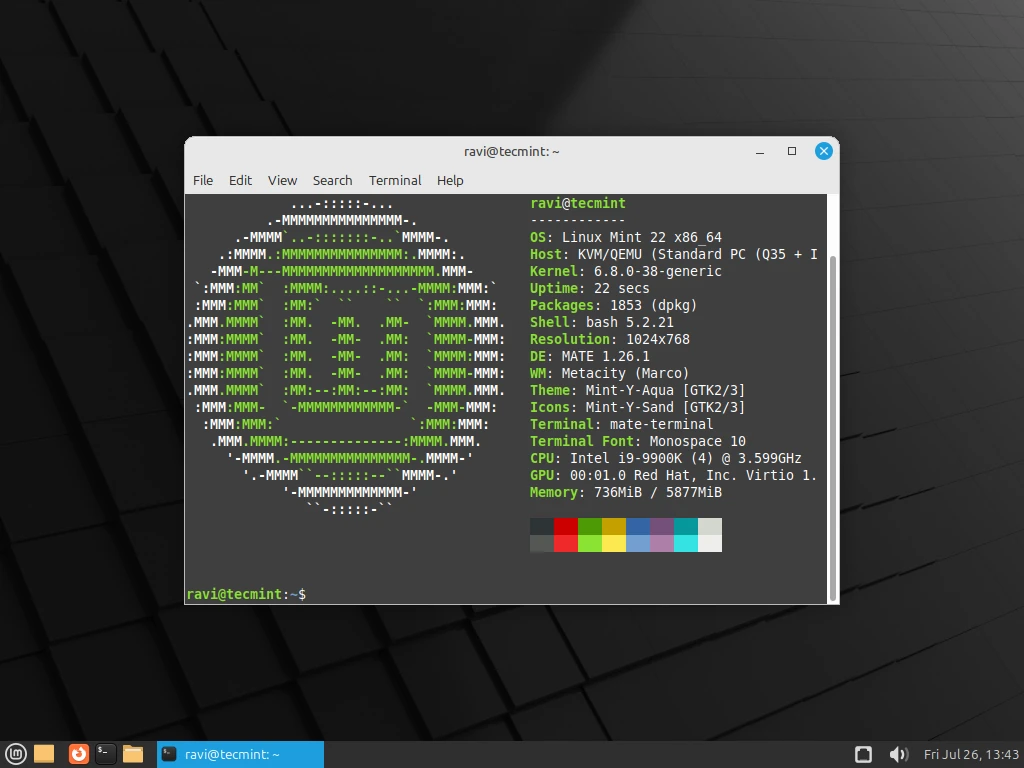
With that, we call it a wrap on this guide. It’s our hope that you can comfortably install Linux Mint 22 MATE edition without any issues.
I don`t have a menu down left but a strange menu left on the top why? I have already 2 times installed Linux Mint but still the same. What do I wrong? and also I can`t shut down normally but push the button ctrl+alt+del and then a little menu asks me for shutdown, restart, or canceled. Can`t you help me please, sorry for the bad English?
Hi,
Linux Mint may be supper, but today, I downloaded xos linux iso file and make a bootable USB, but the system did’t boot from usb.
I just installed Linux Mint alongside windows. For some reason, I do not have the option of booting up in windows. My computer automatically boots to Linux. Help, please. I’m sure I screwed up somehow but there ARE some things in windows that I need to use.
Thanks a lot for any advice.
First XP should be installed, and make it separate partion for Linux Mint.
Enjoy…
Hi, I have installed ubuntu but now I want to install Linux Mint. How to install it from a hard disk? I try to install grub but i am getting error help me please.
I am running an older version of Linux Mint and I’m interested in updating to the latest version.
I didn’t install this (a good friend did), so I am a novice user. If this is possible, anything special I need to know?
Any help would be greatly appreciated!
Simply follow the instructions given in the article.