Linux Mint 22, codenamed “Wilma”, was officially released and is now available for download. It is based on Ubuntu 24.04 and will be supported until 2029 and comes in three editions: Cinnamon, MATE, and XFCE.
In this guide, we will walk you through the installation of the Linux Mint 22 XFCE Edition.
What’s New in Linux Mint 22?
Linux Mint 22 comes with the following improvements.
- A new communication platform based on the Element client has been integrated, allowing users to interact with the Linux Mint community and join existing Matrix communities.
- A search bar has been added to the startup applications settings, making it easier to find and add applications to the startup.
- The default sound server has been changed to PipeWire, which offers lower latency and improved performance with better compatibility for modern audio devices.
- The distribution is now powered by the Linux 6.8 kernel, which includes enhancements for graphics and CPU performance.
- Linux Mint themes have been updated to support GTK4, ensuring compatibility with modern applications.
Prerequisites
Before you get started with installing Linux Mint 22 XFCE edition, ensure that you have the following requirements:
- A 16 GB USB drive for the installation medium.
- Broadband internet connection for downloading the ISO image.
In addition, ensure that your system meets the following minimum recommended requirements.
- Minimum of 2GB of RAM.
- Minimum of 1 GHz Dual core processor.
- 30 GB of free hard disk space.
- HD graphics card and monitor.
Step 1: Download Linux Mint 22 XFCE ISO Image
To get started with the installation, head over to the Official Linux Mint download page and download the XFCE ISO image file on your PC.
Next, use any of these tools for creating a bootable USB drive with the ISO image or alternatively, you can use the dd command as follows:
sudo dd if=linuxmint-22-xfce-64bit.iso of=/dev/sdX bs=4M status=progress && sync
Replace /dev/sdX with the location of your USB drive (e.g., /dev/sdb). If you do not know, you can use the lsblk command to find all block devices (drives and partitions) connected to your system.
lsblk
With the USB bootable medium at hand, plug it into your PC and reboot. Be sure to set the bootable USB medium as the first boot priority in the BIOS settings. Save the changes and continue to boot.
Step 2: Installing Linux Mint 22 XFCE Desktop
On the GRUB menu, select the first entry as shown.

This takes you straight to the Linux Mint 22 Live desktop environment. You can choose to try out Linux Mint and discover the new features. Since our goal is to install Linux Mint, click on the ‘Install Linux Mint’ desktop icon.
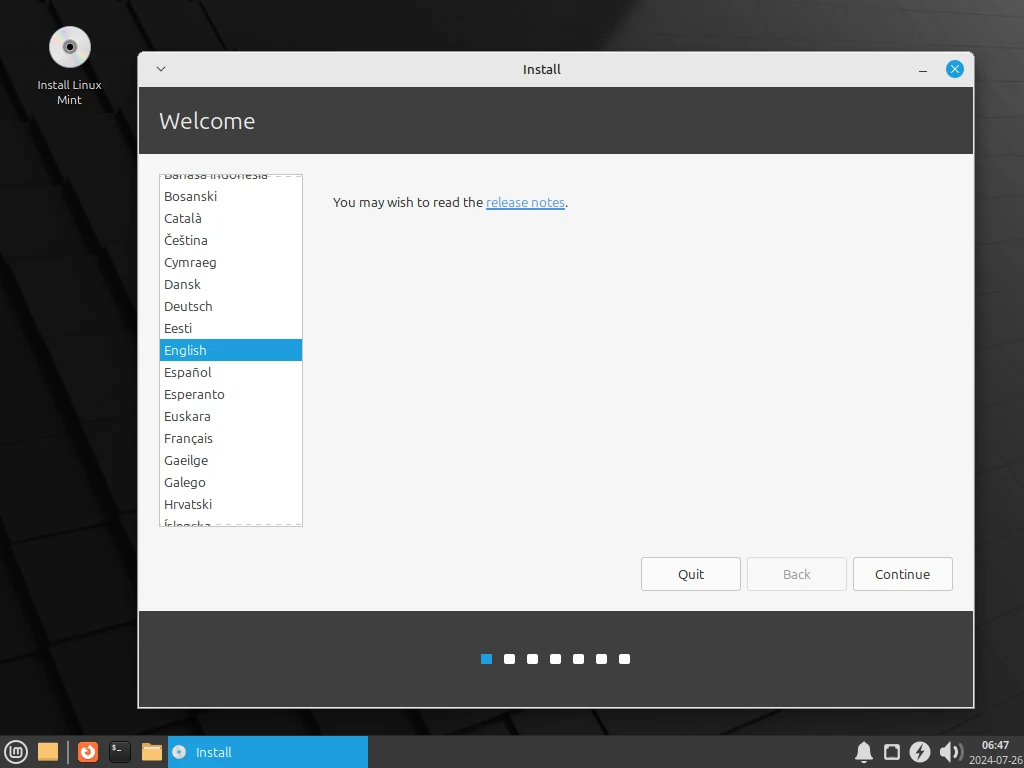
The installer will be launched and will walk you through a series of steps to install Linux Mint. First up, select your preferred installation language and click ‘Continue’.
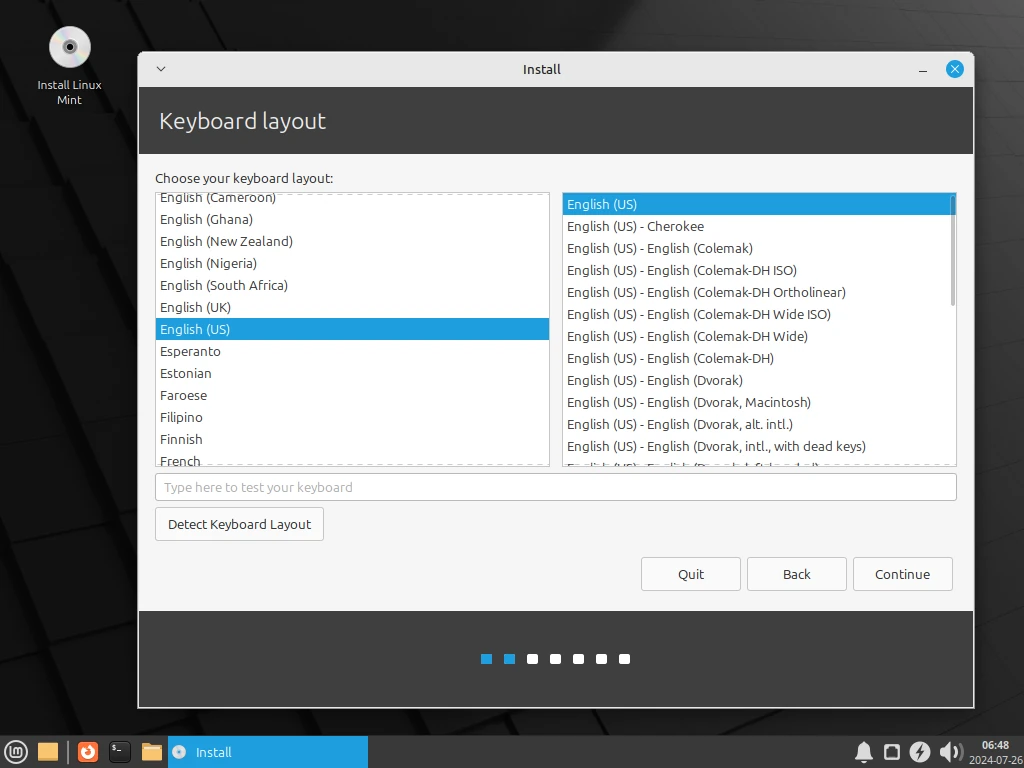
Next, choose your preferred keyboard layout, and click ‘Continue’.
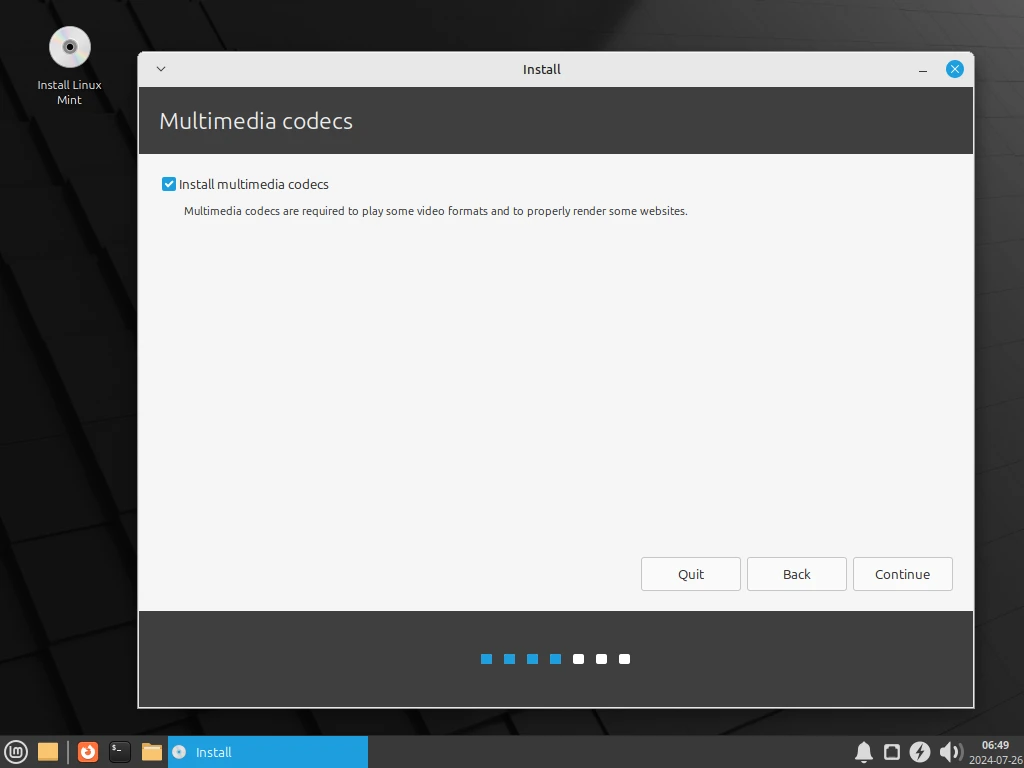
Next, you will be presented with an option to install multimedia codecs. This comes highly recommended as the codecs provide support for a variety of video formats and improved user experience.
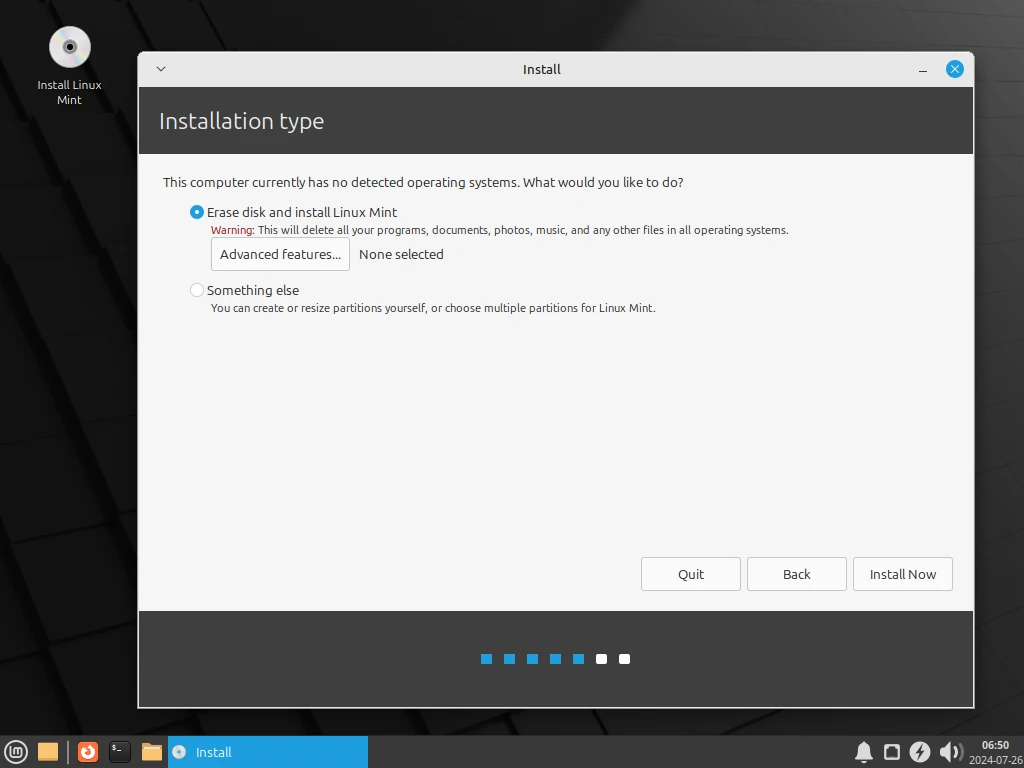
In this step, you will be required to configure partitioning for your hard disk. You will be presented with the following options – ‘Erase disk and install Linux Mint‘ and ‘Something Else‘. Let us see what each of these does.
- Erase disk and install Linux Mint – This option completely deletes everything on your hard drive including any existing OS. Further, it automatically partitions your hard disk, and for this reason, it is the more preferred option for novices or those who cannot manually partition the hard drive.
- Something else – This option gives you the flexibility to manually partition and resize your hard drive. It’s particularly useful when you want to configure a dual-boot setup.
For this guide, we will go with the first option: ‘Erase disk and install Linux Mint‘. Next, click ‘Install Now‘.
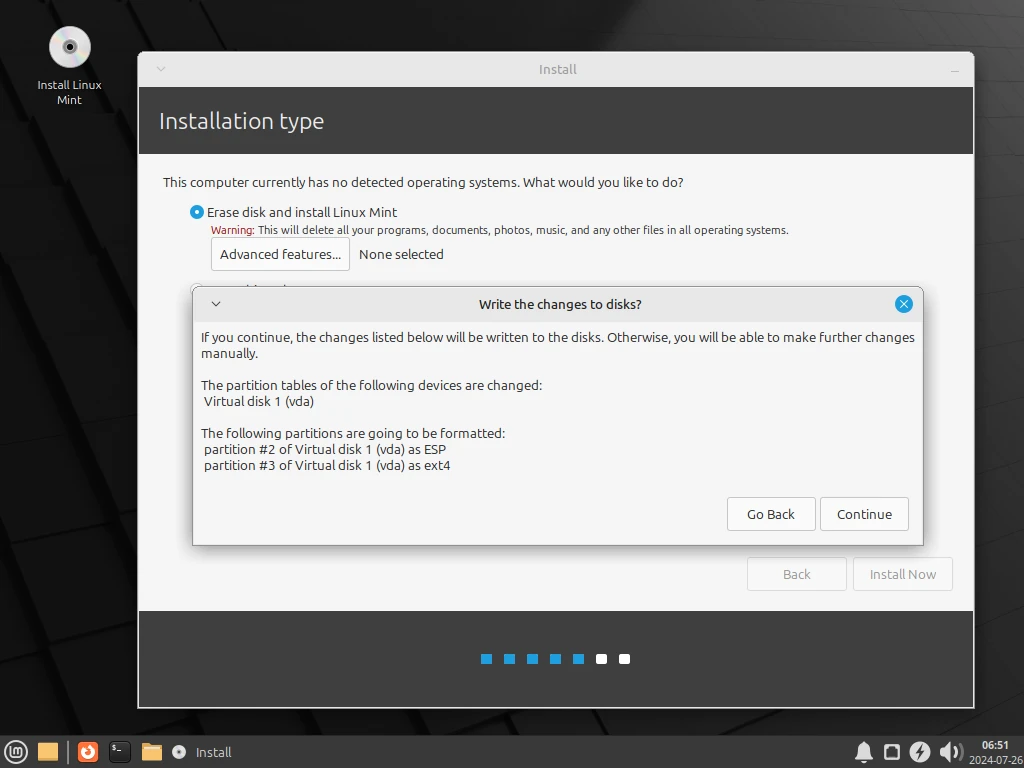
On the pop-up that appears, click ‘Continue’ so that the changes will be written to your hard drive.
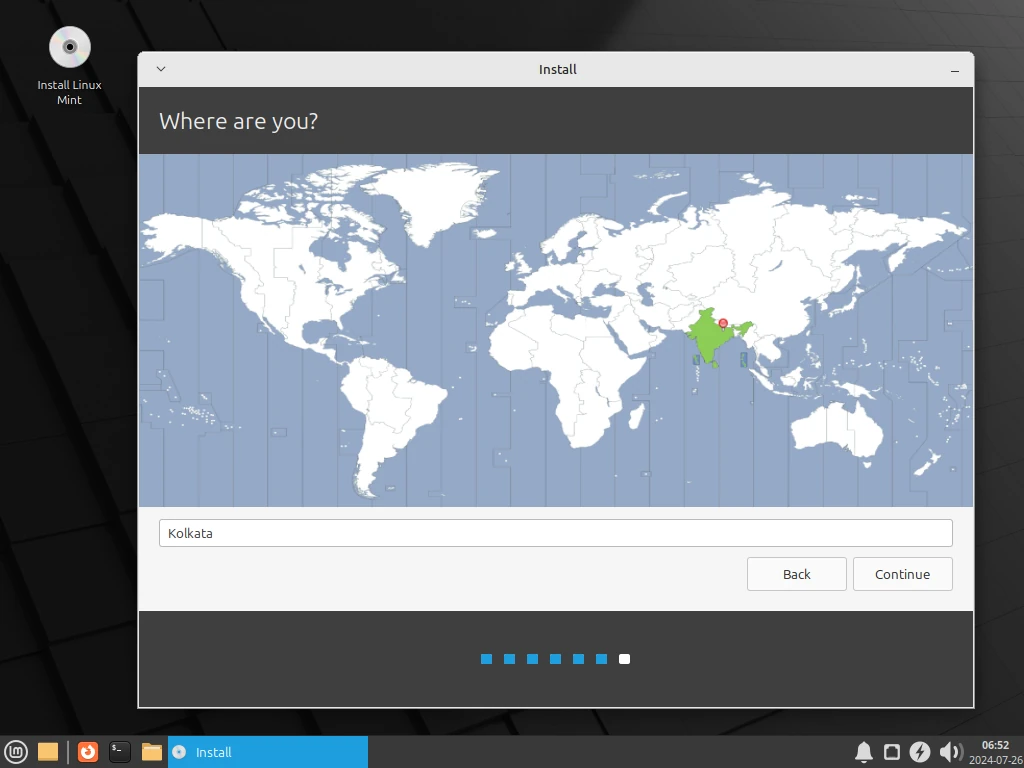
In the next step, select your geographical position from the world map provided and click ‘Continue’.
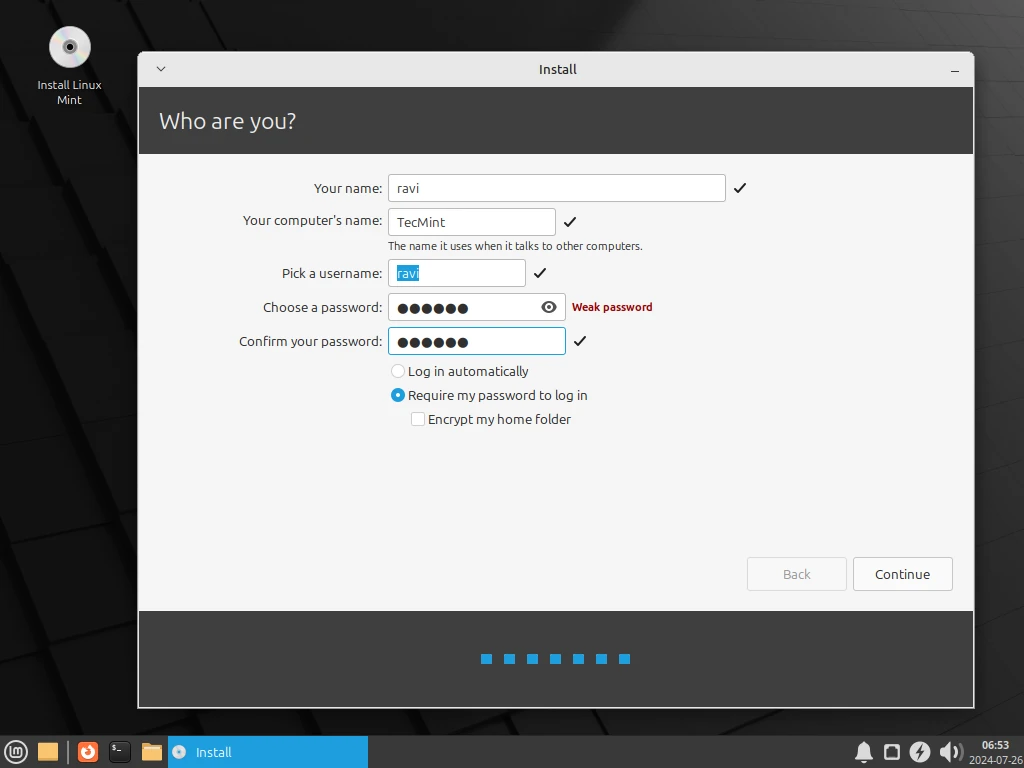
Next, create a login user and click ‘Continue’.
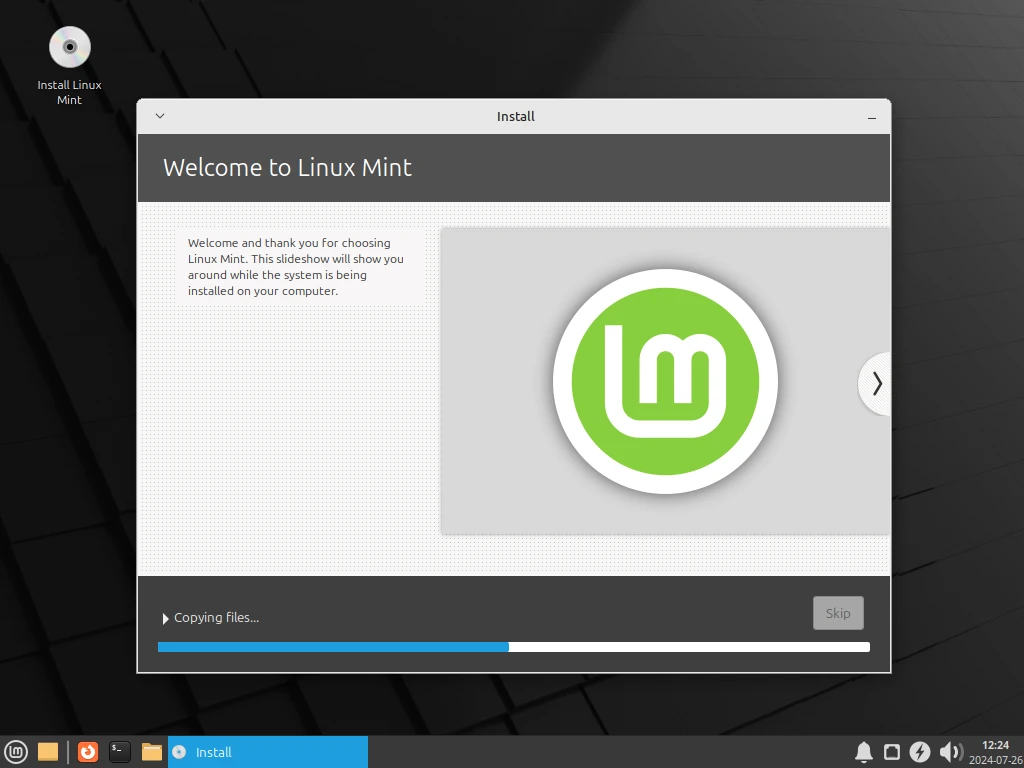
From here, the installer will copy all the files from the ISO image to the hard disk and make all the necessary configurations required. This process takes about 20 minutes and this is a great point to take short.
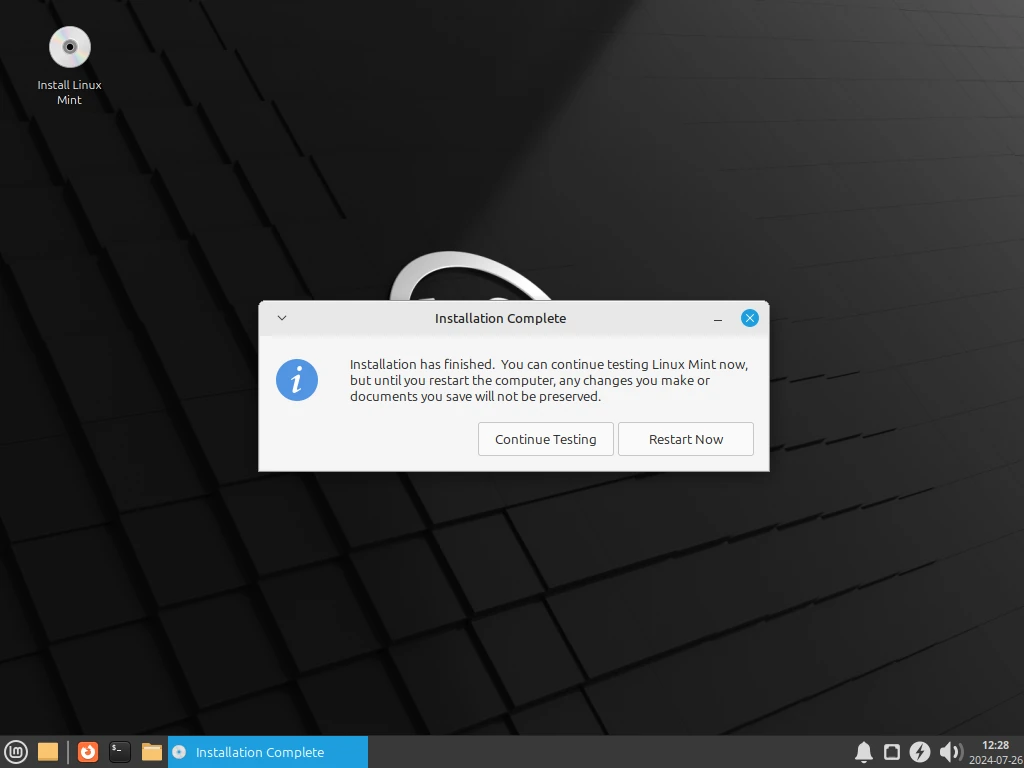
Once the installation is complete, you will get a pop-up prompting you to restart. Therefore, click on ‘Restart Now’ to reboot the system.
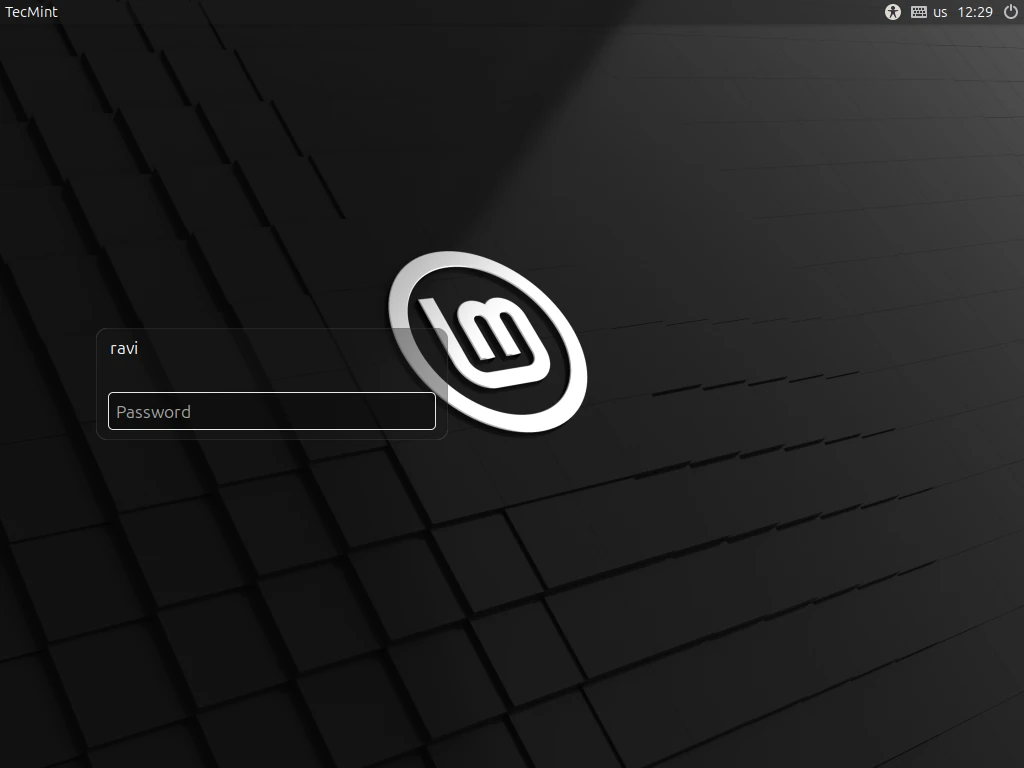
On the login screen, provide your login password and press ENTER.
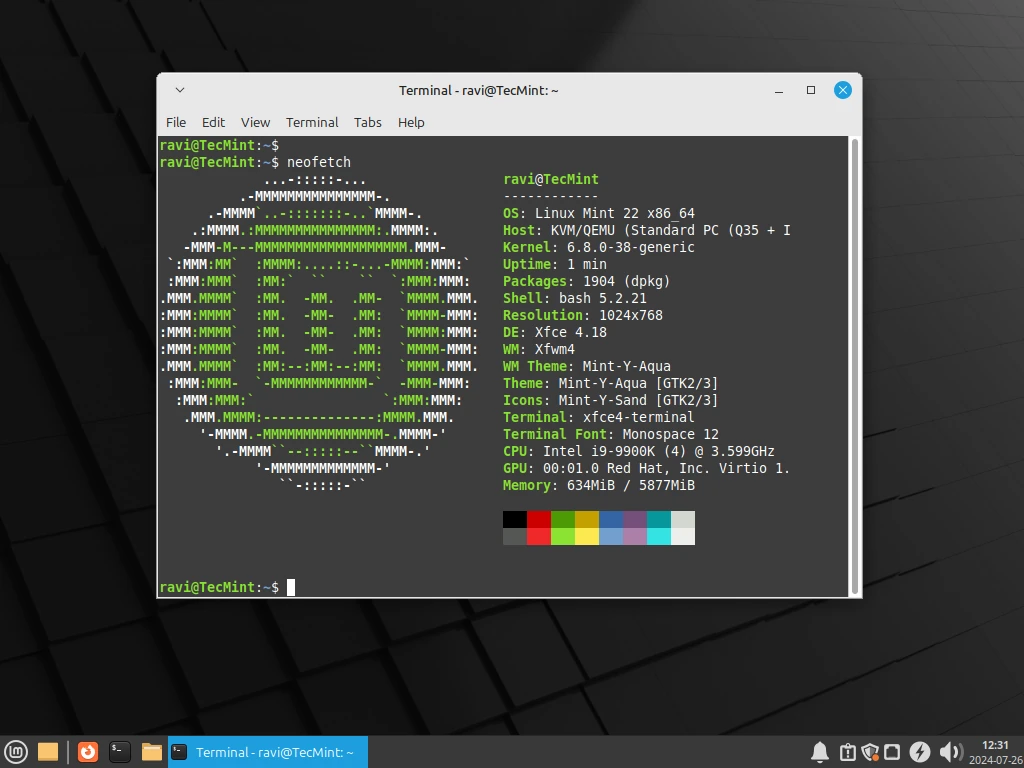
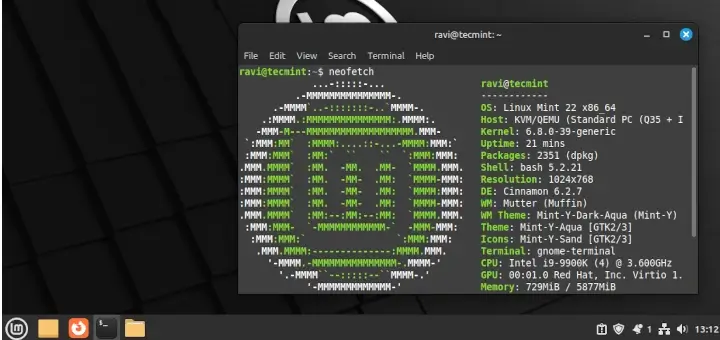
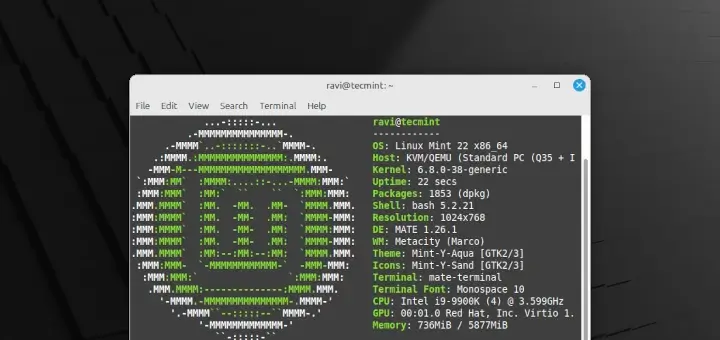
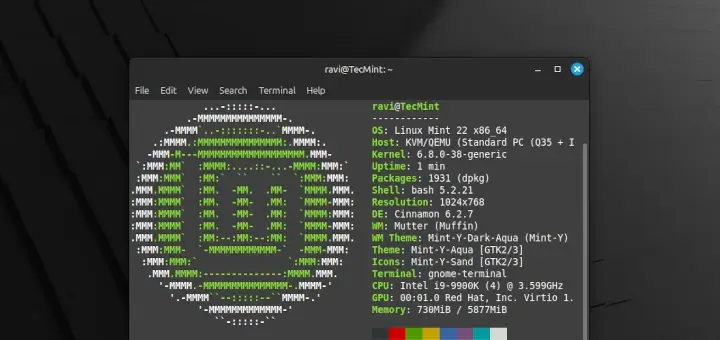
This ushers you into the Linux Mint desktop environment as shown. You can launch the terminal and run the neofetch utility to extract more information about the OS.
neofetch
And that’s it. We have walked you through the installation of the Linux Mint 22 XFCE Edition. Have fun!
How do I remove Windows 10 from my computer after installing Linux Mint?
@Bill,
If you’ve already installed Linux Mint and no longer need Windows 10, you can safely remove it by deleting its partitions and expanding your Linux partition.
Here’s the general process:
1. Back up your data first – removing Windows will wipe everything on its partitions.
2. Boot into Linux Mint and open GParted (you can install it if it’s not there).
3. Find the NTFS partitions (these belong to Windows).
4. Delete the Windows partitions.
5. Expand your Linux Mint partition (or create new ones for storage).
6. Update your GRUB bootloader with:
After that, Windows will be completely gone, and Linux Mint will use the whole drive.
Hi Narad,
I am just about to try this tutorial but, I want to ask something before I do this, in case I face a problem or issue while installing Linux mint, I got a PC Pentium 4 (3.00GHz ) and also Ram 1 Gb, its work?
@Furiose,
It should work well with your PC hardware configuration without any issues, give it a try and see if any issues we are here to help you…
After using Gnome for many years, now I am using XFCE. I think it is such a great desktop.
But how to install packages for mint if the internet is not available? Actually, I have wireless networking & I m unable to find the wireless network driver for Mint.
Try to install first mint mate or cinnamon and then, xfce 4.10.
While XFCE is ideally suited to old machines, it is a great choice for any machine where the user is looking for a desktop with a clean look and feel. I’ve tried a number of Linux distributions and desktops and for me Mint XFCE is perfect. XFCE gives a simple, fast, modern desktop feel and the additional tweaks from Mint give you everything you need. Mint XFCE is my only OS on my i3 desktop PC and I’m dual booting it with Windows on my notebook.
Are you familiar with any networking issues in this release? I upgraded from 13 and I’m having some, at least…
No issues with the network, it’s working fine for me.
A nice guide to the installation process, but really this is not much if at all different from the installation process for other flavors of Linux Mint. The article would have been much better to explain why someone would want to choose XFCE over for example MATE or Cinnamon or KDE.
Is the XFCE architecture different to better suit older machines? Or is it just a slimline version of MATE/Cinnamon? Is it any different from those two in terms of general and major updates?
As you’ve said XFCE is an alternative for older machines even though it’s becoming less lightweight with time. It’s nice for someone who used Gnome before but with a modern desktop is unable to run Gnome 3/Cinnamon because of an older GPU. It is also compatible with gnome because it uses gtk as well and that makes migration much easier. Overall it doesn’t have all the facilities that Gnome has, like for example drag and drop on the system panel, but these are minor things that you can get used to very easily.