PgAdmin 4 is an open-source, powerful, and front-end PostgreSQL database administration tool. PgAdmin 4 allows administrators to seamlessly manage PostgreSQL databases from a web browser and run SQL queries among other database tasks. It’s written in Python and Javascript/JQuery and is an improvement of its predecessor PgAdmin.
PgAdmin 4 Features
Notable features include:
- A syntax highlighting SQL editor.
- Redesigned and new-look user interface.
- Live SQL query tool for directly editing the data.
- Powerful and easy-to-use tools for everyday database administrative tasks.
- Responsive web interface, and so much more.
In this article, we focus on how you can install PgAdmin4 on Rocky Linux and AlmaLinux.
Prerequisites
As a requirement, you need to have PostgreSQL installed. Already, we have a guide on how to install PostgreSQL on Rocky Linux and AlmaLinux.
Step 1: Add the PgAdmin4 Repository on Rocky Linux
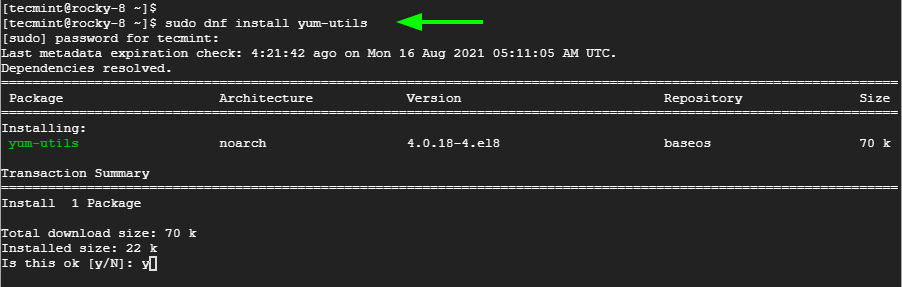
To install PgAdmin4, the first step will be to add the PgAdmin4 repository. But first, install the yum-utils package.
$ sudo dnf install yum-utils
Next, disable the PostgreSQL common repositories to prepare for the installation of the latest PgAdmin4 packages.
$ sudo yum-config-manager --disable pgdg-common
Once the command has run successfully, install the PgAdmin4 repository.
$ sudo rpm -i https://ftp.postgresql.org/pub/pgadmin/pgadmin4/yum/pgadmin4-redhat-repo-2-1.noarch.rpm
Step 2: Install PgAdmin4 on Rocky Linux
Once the PgAdmin4 repository is in place, update the system repositories.
$ sudo dnf update
Next, install pgAdmin 4 by running the command:
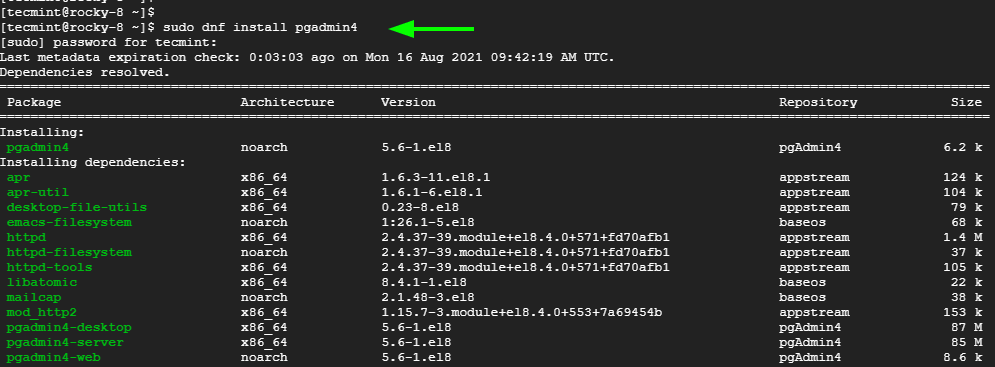
$ sudo dnf install pgadmin4
This installs pgAdmin4, Apache webserver alongside other dependencies that are required by PgAdmin4. Press ‘Y’ when prompted to install all the packages and dependencies.
Step 3: Start and Enable Apache Webserver
Before setting up PgAdmin4, we need to start the Apache webserver service. This is necessary since PgAdmin4 runs on a webserver.
To enable Apache web server, run the command:
$ sudo systemctl enable httpd
Once enabled, proceed and start the Apache service as follows.
$ sudo systemctl start httpd
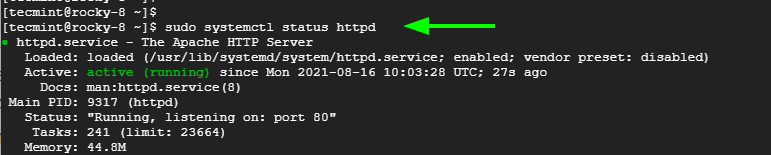
To verify that Apache is running, execute the command:
$ sudo systemctl status httpd
Step 4: Set Up PgAdmin4 in Rocky Linux
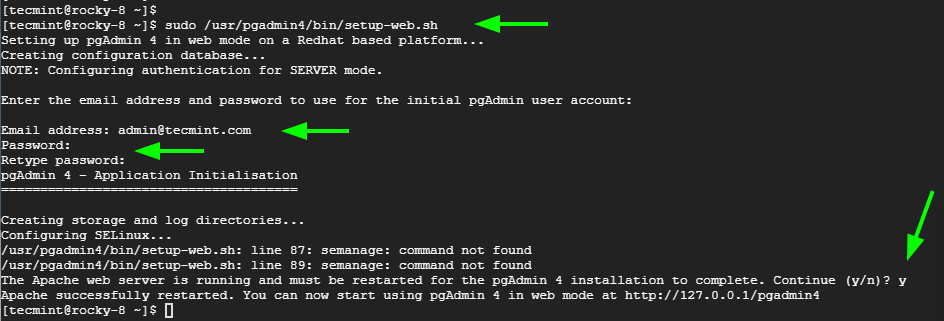
Moving on, we can now proceed to configure PgAdmin4 by running the PgAdmin4 setup script as shown:
$ sudo /usr/pgadmin4/bin/setup-web.sh
The script sets up PgAdmin4 in web mode and prompts for details such as the email address and the password. These will, later on, be used for authentication. Therefore, provide your email address and password, and press ‘y’ to restart the Apache webserver.
Before we access the PgAdmin4 web GUI, we need to adjust our SELinux settings. If SELinux is on enforcing mode, set it to permissive mode as shown.
$ sudo setenforce permissive
We also need to configure the firewall to allow HTTP traffic as shown.
$ sudo firewall-cmd --permanent --add-service=http
Then reload to effect the changes.
$ sudo firewall-cmd --reload
Step 5: Access PgAdmin4 in Rocky Linux
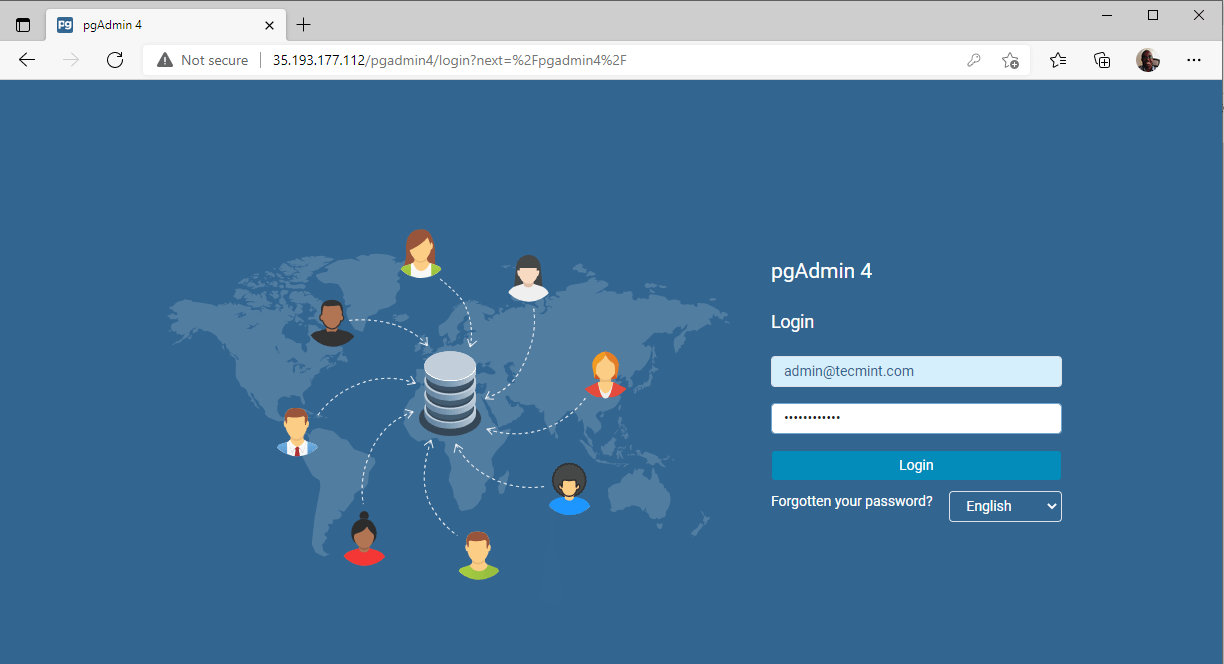
Finally, to log in, launch your browser and visit the URL:
http://server-ip/pgadmin4
Enter the login credentials, i.e. the email address and the password that you previously set, and hit the ‘Login’ button.
The PgAdmin 4 dashboard will come to view.
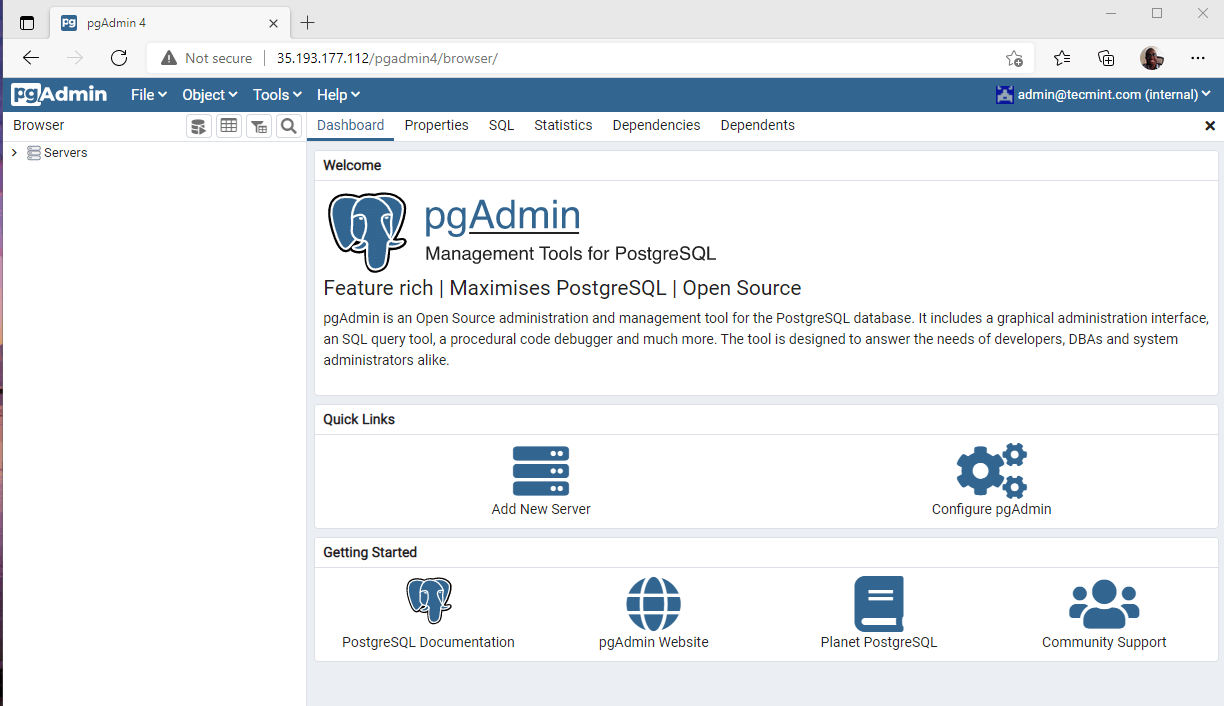
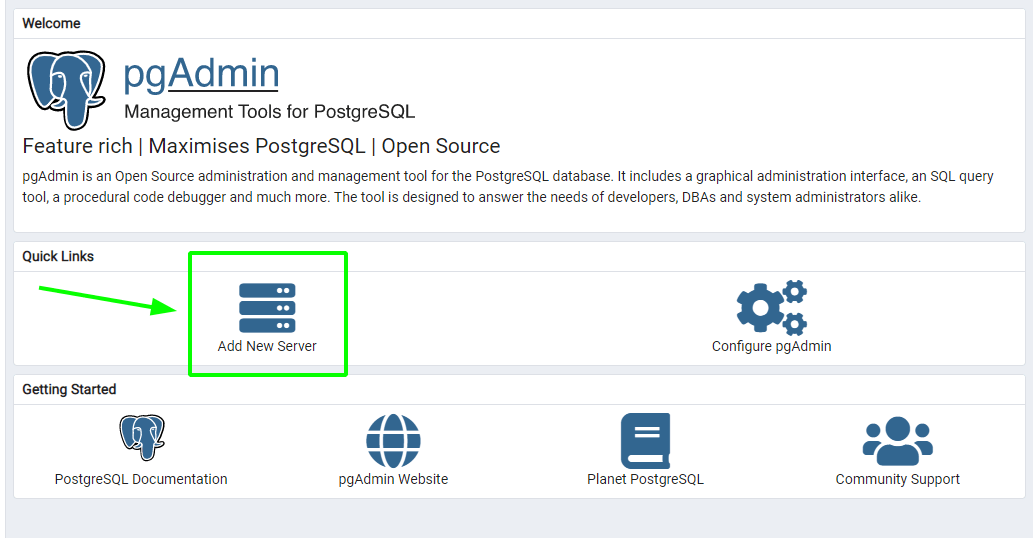
By default, no database server is currently connected. To connect to a new database server, click on the ‘Add New Server‘ icon.
On the ‘General’ section, provide a name for your database server. In our case, we will provide an arbitrary name – the local PostgreSQL database.
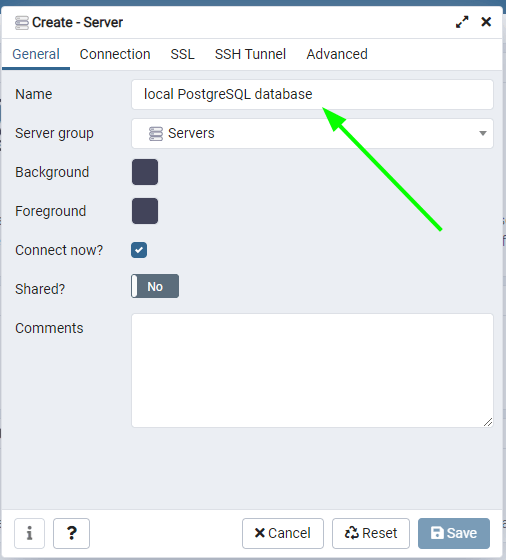
Then click on the ‘Connection’ tab and fill out the required details. Here we are using the default Postgres database and user credentials. The password belongs to the postgres user.
Then click on ‘Save’.

Upon successful connection, the database server will appear on the left sidebar. Click on it to view additional database details and view the performance dashboards.
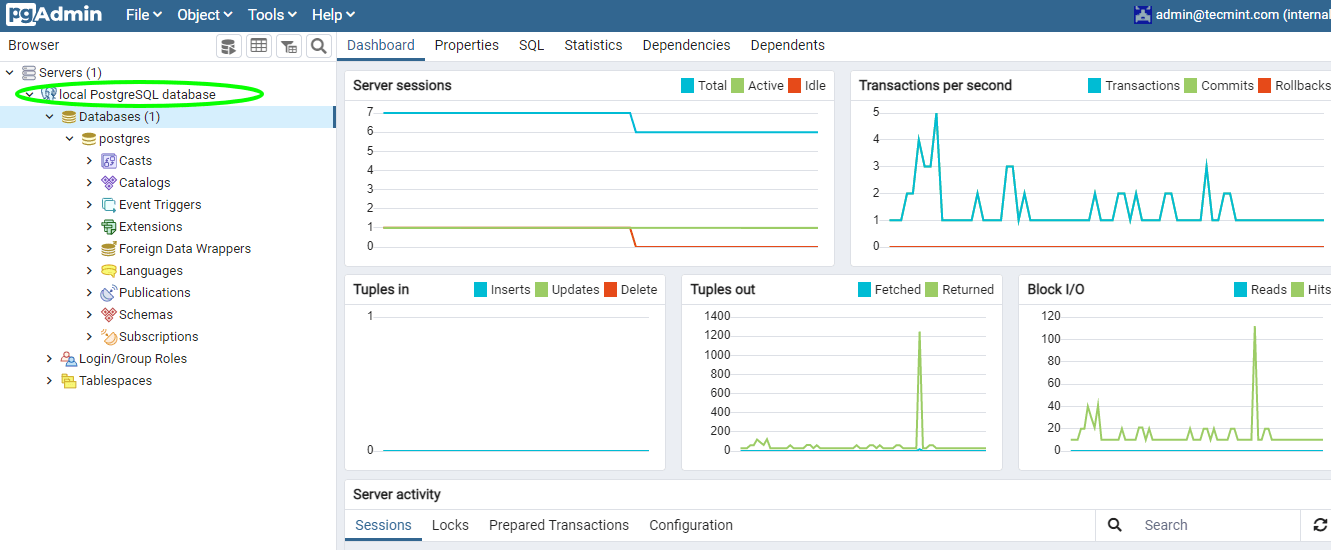
In this guide, we successfully installed PgAdmin4 on Rocky Linux and AlmaLinux and added a database server to monitor the performance of databases.


Lots of faffing about at the repository install stage, but I finally got it to go. 750+ steps?!!! Scary for a linux newbie.
Thanks. it works from Tony CL Chan’s “PostgreSQL DBA” and only provides installation for Windows and MacOS pgAdmin.
Lifesaver.
Thanks for this tutorial. Trying to use YUM to install pgadmin4 doesn’t work for some reason. It wouldn’t install “pgadmin4-web“. It would downgrade the “pgadmin4-redhat-repo” file used to set up the repo and then tell me that the “pgadmin4-redhat-repo” package was already installed when running “yum install “pgadmin4-web”.
I’m going to contact the pgadmin4 developers and let them know. Thanks again.