Prestashop is a free Open Source shopping cart web application build on top of PHP and MySQL database which allows you to create and deploy on-line shops for your own business.

This tutorial will guide you on how you can install and configure Prestashop on top of a LAMP stack in RHEL/CentOS 7/6 and Fedora distributions with Apache SSL configured with a Self-Signed Certificate for shopping security.
Requirements
Step 1: Install PHP Extensions for Prestashop
1. Before proceeding with the installation process of Prestashop first we need to assure that the following configurations and packages are present on our system.
Open a terminal prompt and install the following required PHP extensions, beside the standard ones that comes with a basic PHP installation, by issuing the below command:
# yum install php-gd php-mbstring php-mcrypt php-xml
Step 2: Created Self-Signed Certificates for Apache
2. Next install Apache alongside with SSL module and create a Self-Signed Certificate in /etc/httpd/ssl directory in order to be able to securely access your domain using HTTPS protocol.
# mkdir /etc/httpd/ssl
# openssl req -x509 -nodes -days 365 -newkey rsa:2048 -keyout /etc/httpd/ssl/prestashop.key –out /etc/httpd/ssl/prestashop.crt
Supply the Certificate file with your own domain information and make sure that the Certificate’s Common Name matches your server’s fully qualified domain name (FQDN).
Step 3: Create Apache SSL Virtual Host
3. Now it’s time to edit Apache SSL configuration file and install the newly created Certificate and key.
Also, create a Virtual Host for Apache in order to correctly answer http requests received with the domain header www.prestashop.lan (the example domain used on this tutorial).
So, open /etc/httpd/conf.d/ssl.conf file with a text editor and make the following changes:
# vi /etc/httpd/conf.d/ssl.conf
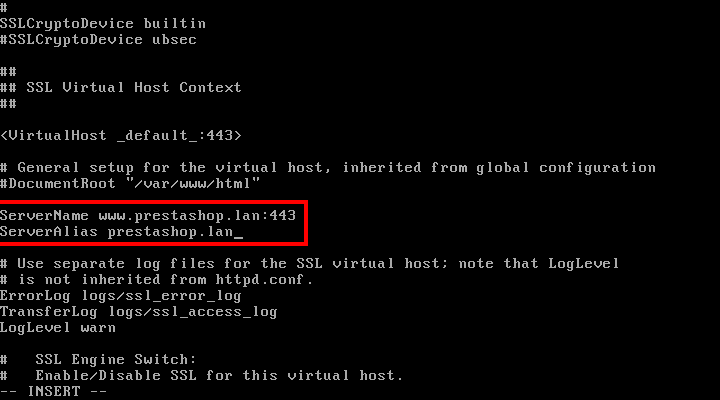
Add the ServerName and ServerAlias directives after DocumentRoot line to match your domain name as the below excerpt suggests.
ServerName www.prestashop.lan:443
ServerAlias prestashop.lan
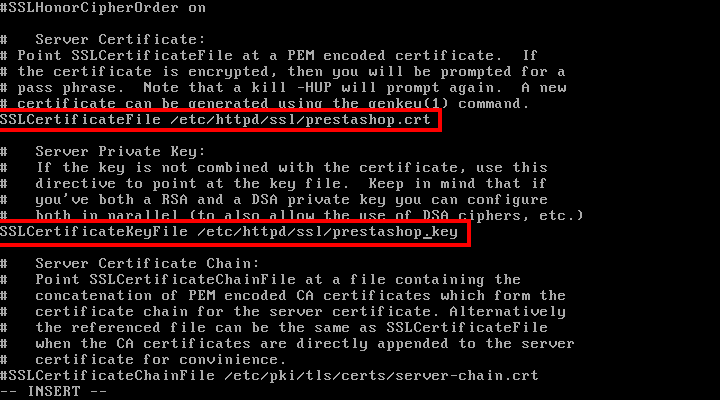
4. Next, scroll down in the configuration file and locate the SSLCertificateFile and SSLCertificateKeyFile statements. Replace the lines with the certificate file and key created earlier.
SSLCertificateFile /etc/httpd/ssl/prestashop.crt
SSLCertificateKeyFile /etc/httpd/ssl/prestashop.key
In order to commit changes restart Apache daemon by issuing the following command:
# systemctl restart httpd   [On CentOS/RHEL 7]
# service httpd restart     [On CentOS/RHEL 6]
Step 4: Disable Selinx in CentOS/RHEL
5. To disable Selinux issue setenforce 0 command and verify the status with getenforce.
# getenforce
# setenforce 0
# getenforce

To completely disable Selinux, edit /etc/selinux/config file and put the line SELINUX from enforcing to disabled.
If you don’t want to completely disable Selinux and just relax the rules in order to run Prestashop issue the following command.
# chcon -R -t httpd_sys_content_rw_t /var/www/html/
Step 5: Create MySQL Database for Prestashop
6. Prestashop web application needs a database in order to store information. Login to MySQL and create a database and a user for Prestashop database by issuing the below commands:
# mysql -u root -p
mysql> create database prestashop;
mysql> grant all privileges on prestashop.* to 'caezsar'@'localhost' identified by 'your_password';
mysql> flush privileges;
mysql> exit
In order to be safe please replace the database name, user and password accordingly.
7. Finally install wget and unzip utilities in order to download and unpack prestashop archive from command line.
# yum install wget unzip
Step 6: Install Prestashop Shopping Cart
8. Now it’s time to install Prestashop. Grab the latest version of Prestashop and extract the archive to current directory by issuing the following commands:
# wget https://www.prestashop.com/download/old/prestashop_1.6.1.4.zip
# unzip prestashop_1.6.1.4.zip
9. Next, copy prestashop installation files to your domain webroot (usually /var/www/html/ directory in case you haven’t changed the DocumentRoot apache directive) and do a listing of the copied documents.
# cp -rf prestashop/* /var/www/html/
# ls /var/www/html/
10. On the next step grant Apache daemon user with write permissions to /var/www/html/ path where Prestashop files are located by issuing the following commands:
# chgrp -R apache /var/www/html/
# chmod -R 775 /var/www/html/
11. Now it’s time to continue with the installation from a web browser. So, open a browser on a machine from your LAN and visit the Prestashop domain using the secure HTTP protocol at https://prestashop.lan.
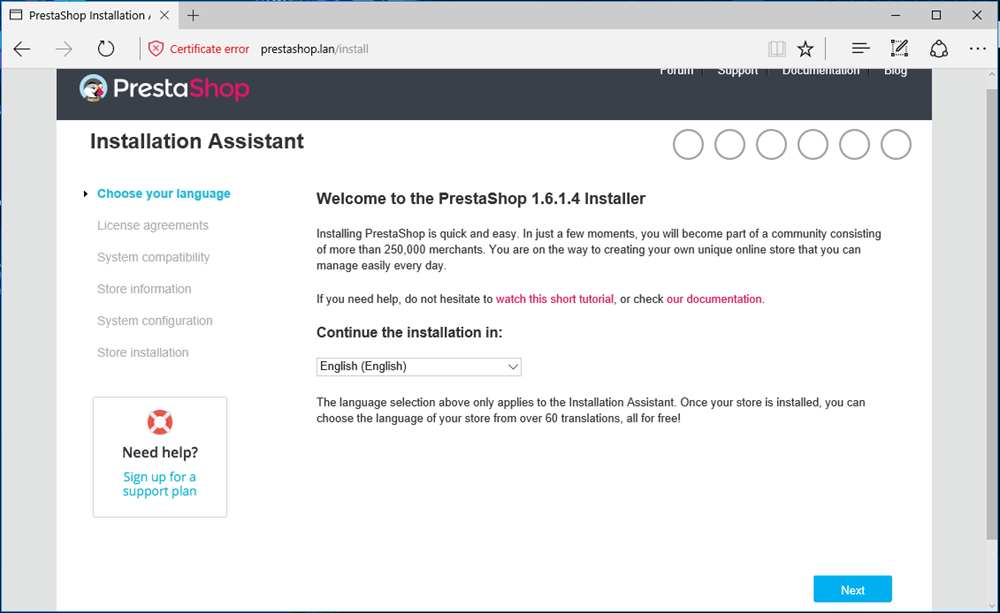
Due to the fact that you’re using a Self-Signed Certificate and not a certificate issued by a trusted authority an error should appear on your web browser.
Accept the error to continue further and the first screen of Prestashop installation assistant should appear. Select the installation language and hit Next button to move on.
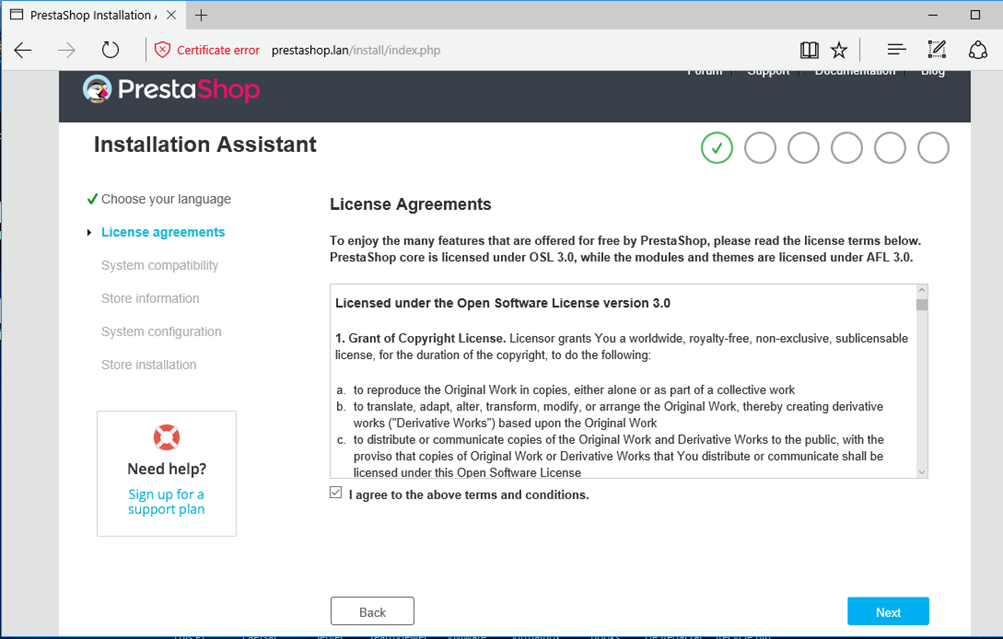
12. Next accept the license terms and hit Next to continue.
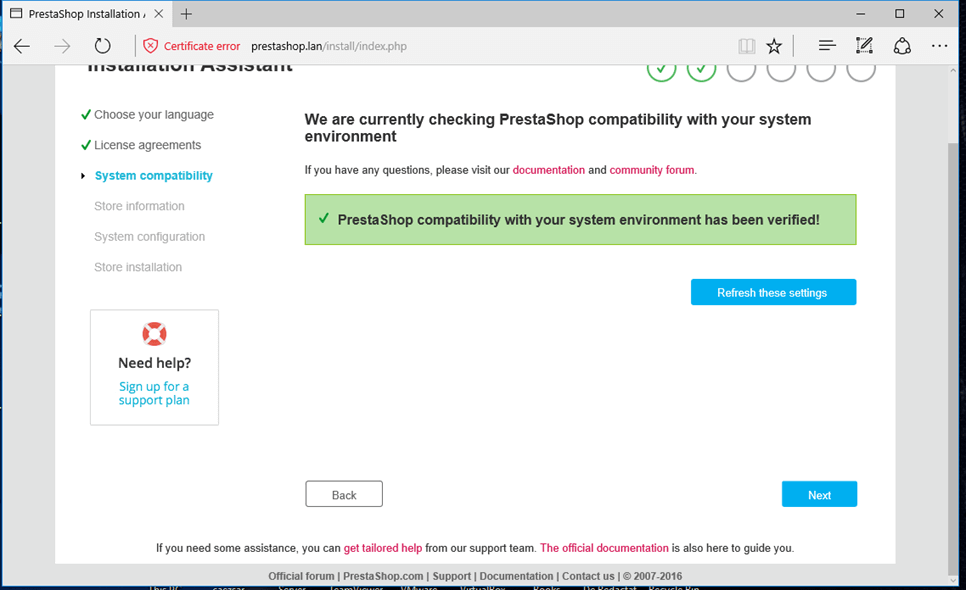
13. On the next step the installer will check your installation environment. Once the compatibility has been verified hit Next to continue.
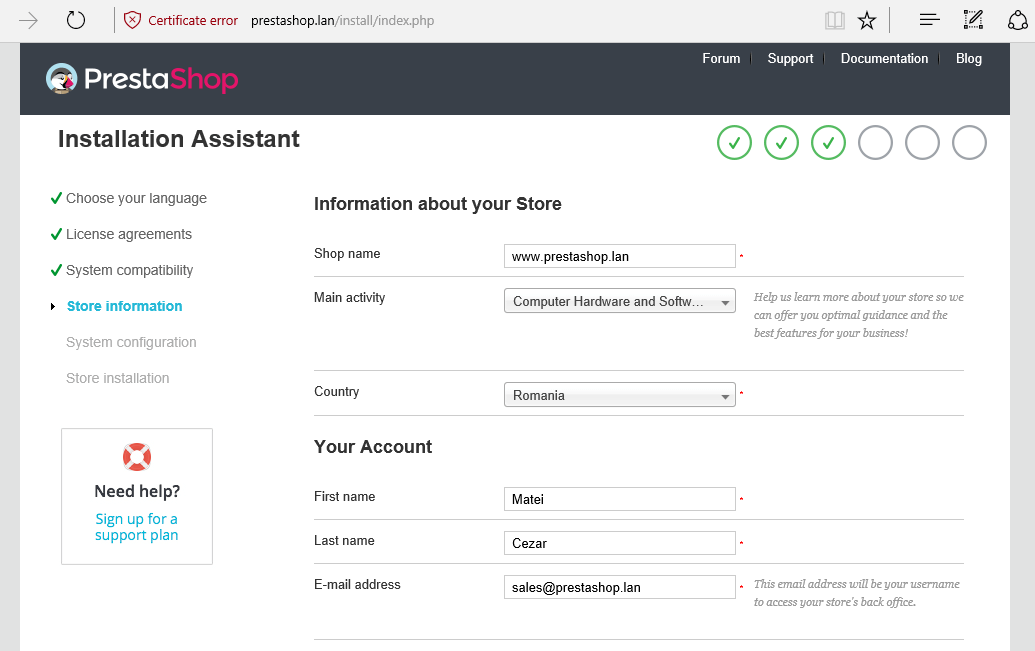
14. Further supply the store with your own information concerning the Name of the Store, Main Activity of your store and your Country.
Also supply an Account Name and an email address with a strong password which will be used to access the store back office. When finish hit Next to continue to the next installation screen.
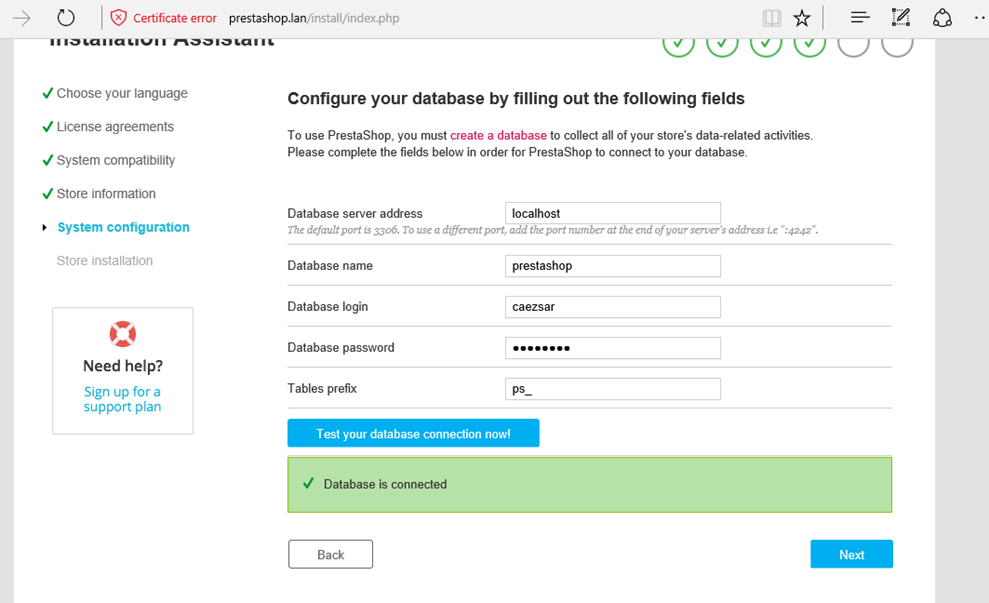
15. Now supply MySQL database information. Use the database name, user and password created earlier from command line.
Because MySQL database service runs on the same node with Apache webserver use localhost on database server address. Leave the tables prefix as default and hit on Test your database connection now! button to check MySQL connectivity.
If the connection to MySQL database is successful hit Next button to finish the installation.
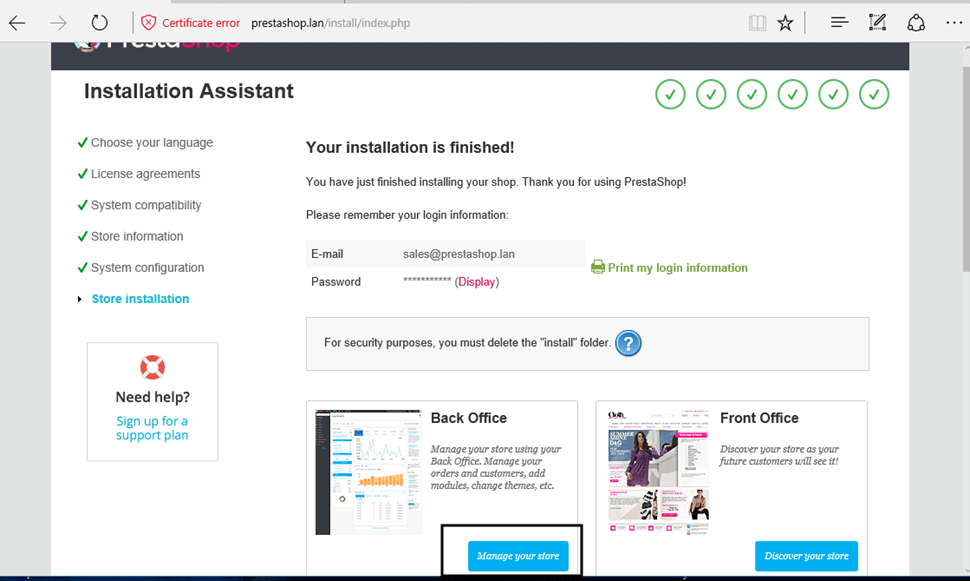
16. Once the installation process has finished you will get a summary of your login information and two links you should follow in order to access Backed Office and Frontend Office of your store.
Do not close this windows yet before you hit on Back Office Manage your store hyperlink button which will direct you to the store backend link. Note down or bookmark this web address in order to access backend office in future.
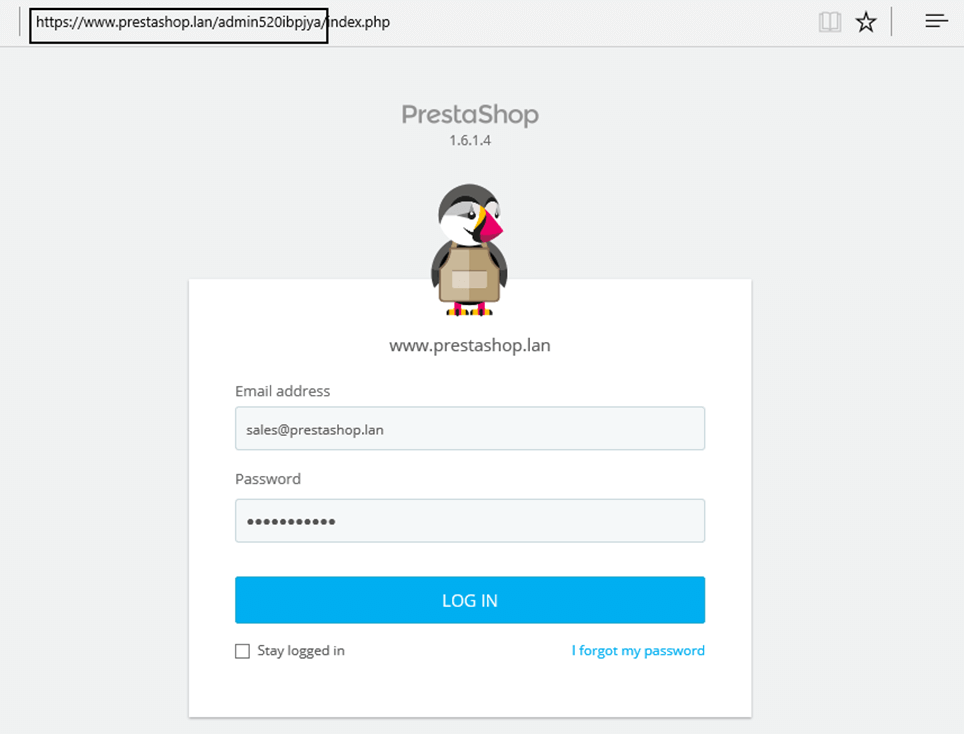
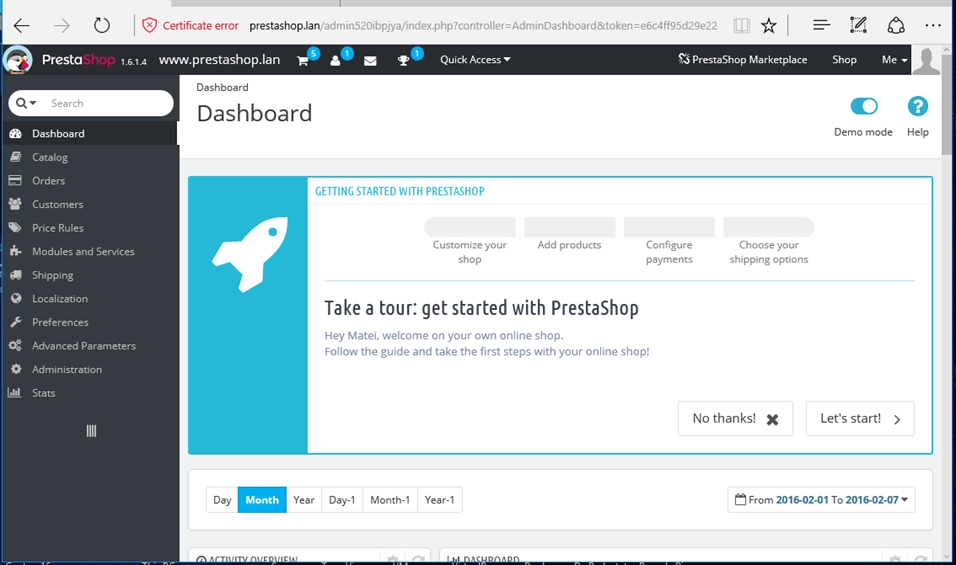
17. Finally, login with the credentials configured on the installation process (email account and its password) and start managing the store further.
Also, as a security measure, enter command line again and remove the installation directory by issuing the following command.
# rm -rf /var/www/html/install/
18. In order to access the frontend of your store, typically the visitors page, just type your domain name in a web browser via HTTPS protocol.
https://www.prestashop.lan
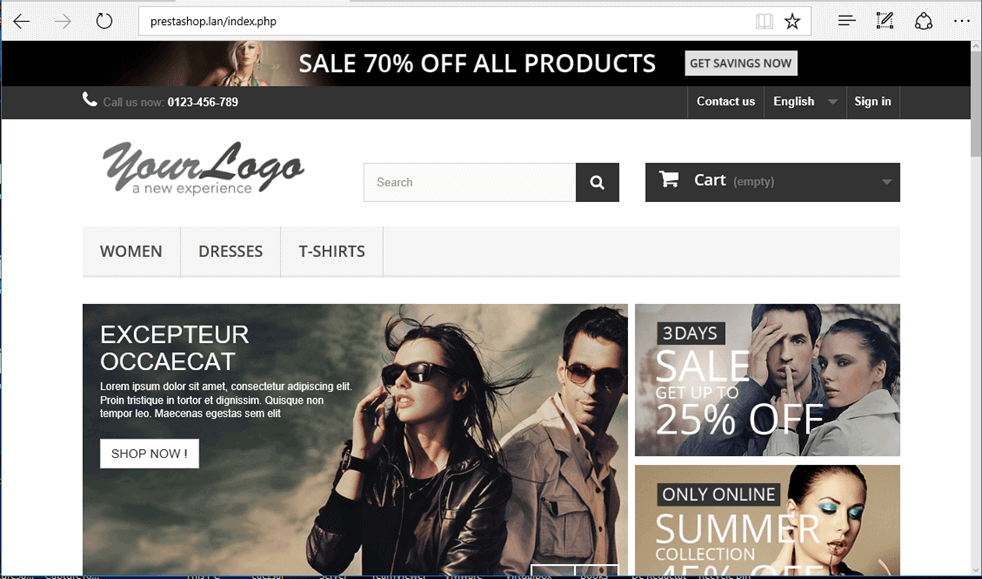
Congratulations! You have successfully installed an e-commerce website using Prestashop platform on top of LAMP stack. To further manage the store visit Prestashop user guide documentation.


Install SSL package for Apache web server with the folloing command: dnf install mod_ssl
Hello, how to add ssl support on httpd 2.4 in fedora? My installation does not contain the ssl files.
Thank you!