X-Cart is a commercial open source e-commerce CMS platform written in PHP used for creating online stores for businesses and sell products.
In this topic we’ll learn how to install X-Cart e-commerce platform in Debian 9, Ubuntu 16.04 or CentOS 7, in order to create a business online shopping store.
Requirements
Step 1: Initial Configurations for X-Cart Installation
1. On the first step, install unzip utility in your system by issuing the following command.
# yum install unzip zip     [On CentOS/RHEL]
# apt install zip unzip     [On Debian/Ubuntu]
2. X-Cart is a web based e-commerce platform which is deployed on top of LAMP stack in Linux. In order to install X-Cart in your system, first install all required application’s PHP modules in your LAMP stack by issuing the following command.
------------------ On CentOS/RHEL ------------------
# yum install epel-release
# yum install php-mbstring php-curl php-gd php-xml

------------------ On Debian/Ubuntu ------------------
# apt install php7.0-mbstring php7.0-curl php7.0-gd php7.0-xm
3. Next, update the following PHP variables from default configuration file and setup the PHP timezone to match your system geographical location. The list of time zones provided by PHP can be found at official PHP timezones page.
Edit PHP configuration file by issuing the below commands according to your own distribution.
# vi /etc/php.ini                      [On CentOS/RHEL]
# nano /etc/php/7.0/apache2/php.ini    [On Debian/Ubuntu]
Update the following variables in php.ini configuration file.
file_uploads = On
allow_url_fopen = On
memory_limit = 128 M
upload_max_file_size = 64M
date.timezone = Europe/Bucharest
4. Save and close PHP configuration file and restart Apache daemon to reflect changes by issuing the following command.
# systemctl restart httpd      [On CentOS/RHEL]
# systemctl restart apache2    [On Debian/Ubuntu]
5. Next, log in to MariaDB/MySQL database console and create X-Cart application database with the proper credentials, by issuing the following commands.
Replace the database name, user and password with your own values.
# mysql -u root -p

MariaDB [(none)]> create database xcart;
MariaDB [(none)]> grant all privileges on xcart.* to 'xcartuser'@'localhost' identified by 'your_password';
MariaDB [(none)]> flush privileges;
MariaDB [(none)]> exit
Step 2: Install X-Cart in CentOS, Debian and Ubuntu
6. To install X-Cart, first go to X-Cart download page from a Desktop machine download the latest zip package by filling the required web form from their website.
Then, copy the downloaded zip file to the server /tmp directory via scp command or sftp protocols, as illustrated in the below examples.
# scp x-cart-5.3.3.4-gb.zip root@your_server_IP:/tmp   [Using SCP]
# sftp://root@your_server_IP:/tmp                      [Using sFTP]
7. After you’ve copied the X-Cart zip archive to server /tmp directory, go back to server terminal and extract the archive by issuing the below command.
# cd /tmp
# unzip x-cart-5.3.3.4-gb.zip
8. Then, create a directory named shop in /vaw/www/html/ path and copy the content of xcart directory to web server document root path to shop directory, by issuing the following command. Also, copy the hidden file .htaccess to webroot /shop directory path.
# mkdir /vaw/www/html/shop
# cp -rf xcart/* /var/www/html/shop/
# cp xcart/.htaccess /var/www/html/shop/
9. Next, make sure all files from webroot path /shop directory are owned by Apache user. Issue ls command to list /var/www/html/shop/ directory permissions.
# chown -R apache:apache /var/www/html/shop        [On CentOS/RHEL]
# chown -R www-data:www-data /var/www/html/shop    [On Debian/Ubuntu]
# ls -al /var/www/html/shop
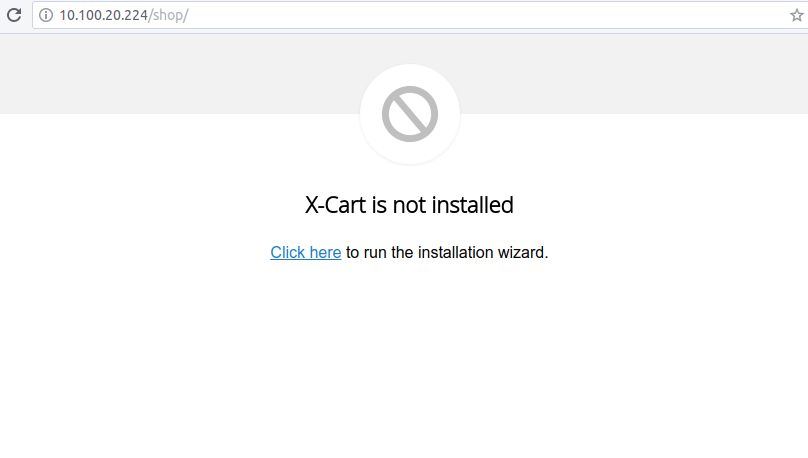
10. Next, go to your server IP address via HTTP protocol to /shop URL and hit on Click here link in order to start the installation process.
http://your_domain.tld/shop/
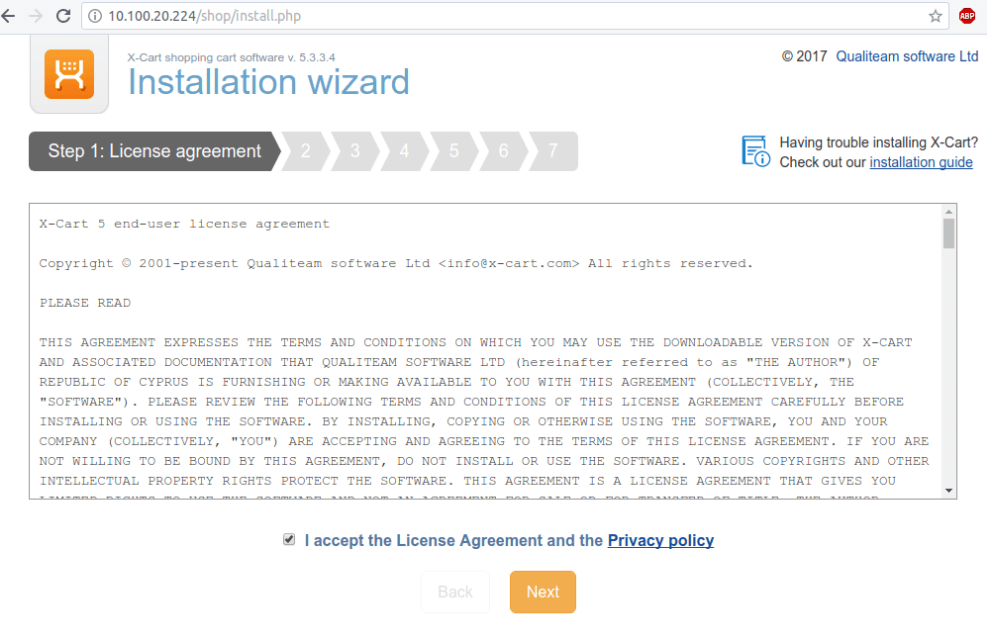
11. Next, check I accept the License Agreement and the Privacy policy and hit on Next button to accept the license and move to the next installation screen.
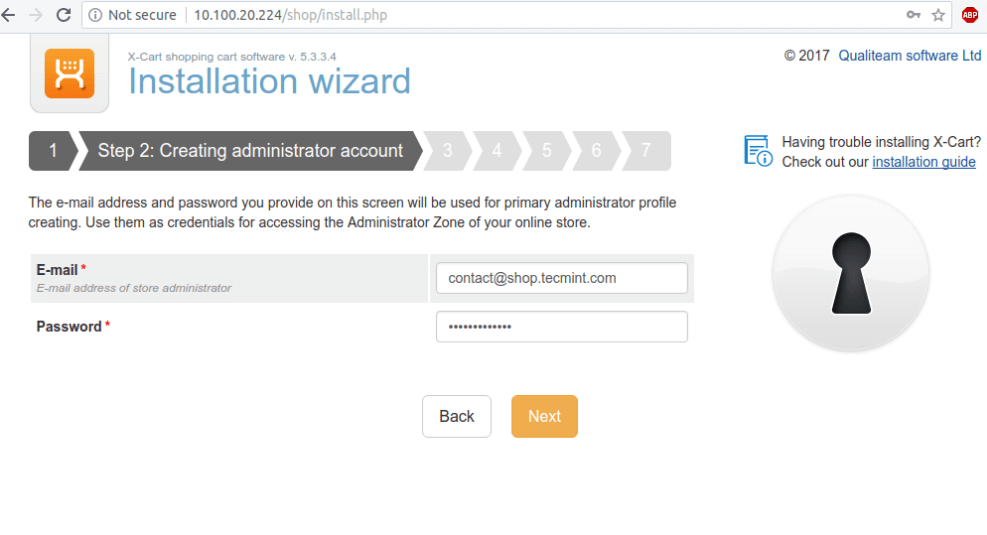
12. On the next screen add your email address and setup a password for admin account and hit the Next button to continue the installation process.
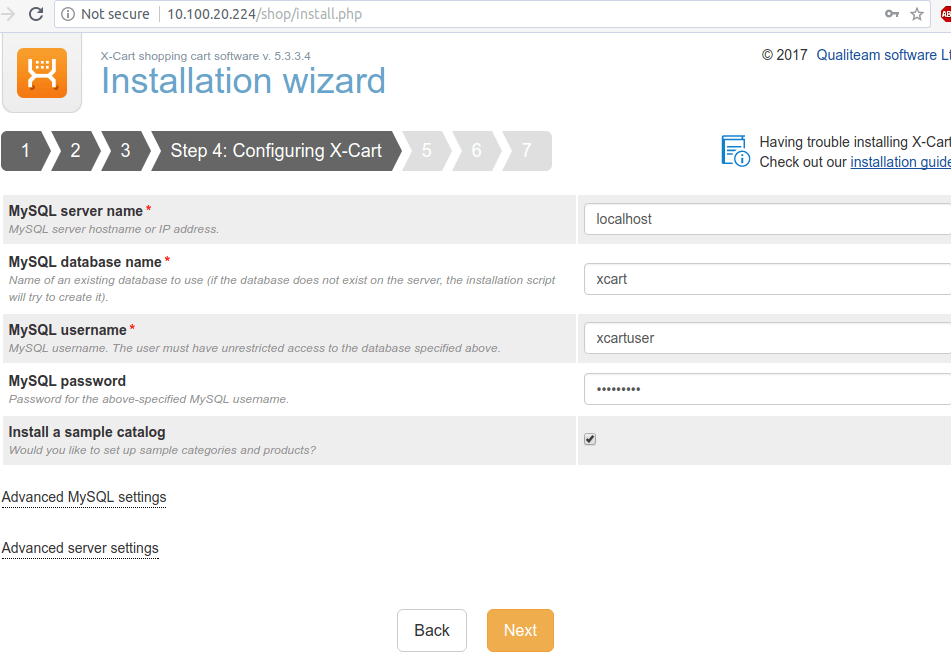
13. Next, add X-Cart MySQL database name and credentials created earlier, check Install a sample catalog and hit on Next button to continue.
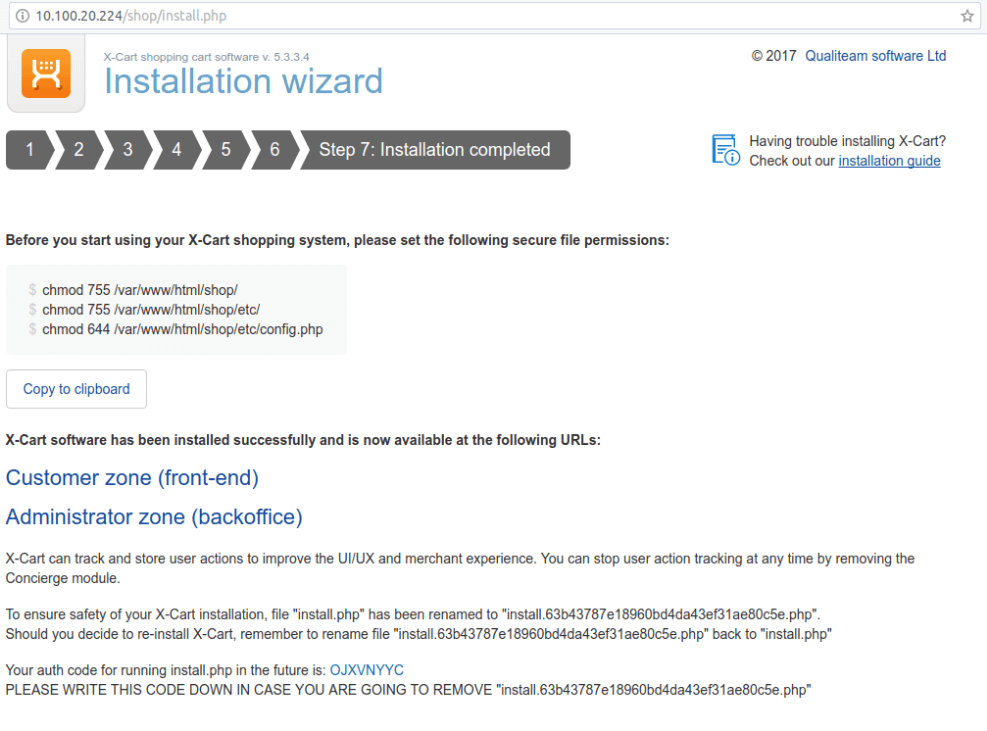
14. Wait for the installation process to complete and you will see two links for accessing X-Cart Administration zone (backoffice) panel and X-cart frontend (Customer zone) of your store, as illustrated in the below image.
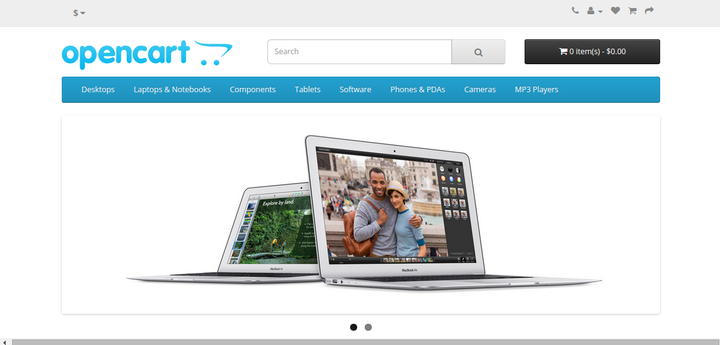
15. Visit your X-cart store frontend, by hitting on Customer zone link. You can also visit the store frontend by navigating to your server IP address or domain name to /shop URL as shown in the below example.
http://yourdomain.tld/shop

16. Next, go back to server console and secure your X-Cart backed admin panel, by issuing the below commands:
# chown -R root /var/www/html/shop/etc/
# chown root /var/www/html/shop/config.php
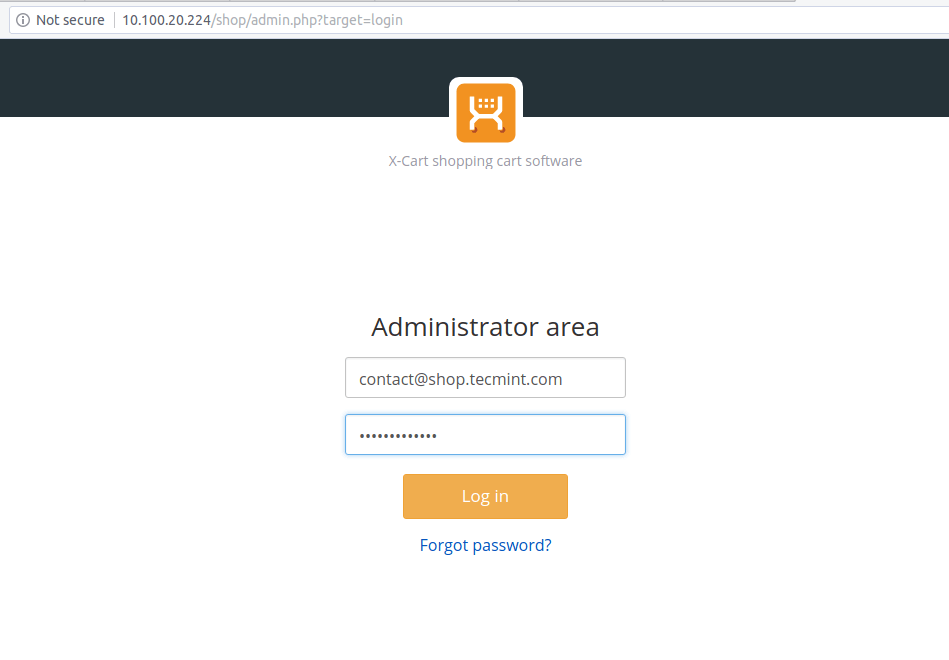
17. Finally, access X-Cart backed panel by hitting on Administrator zone (Backoffice) link or by navigating to your server IP address or domain name via HTTP protocol to /shop/admin.php URL, as shown in the below example.
http://your_domain.tld/stop/admin.php
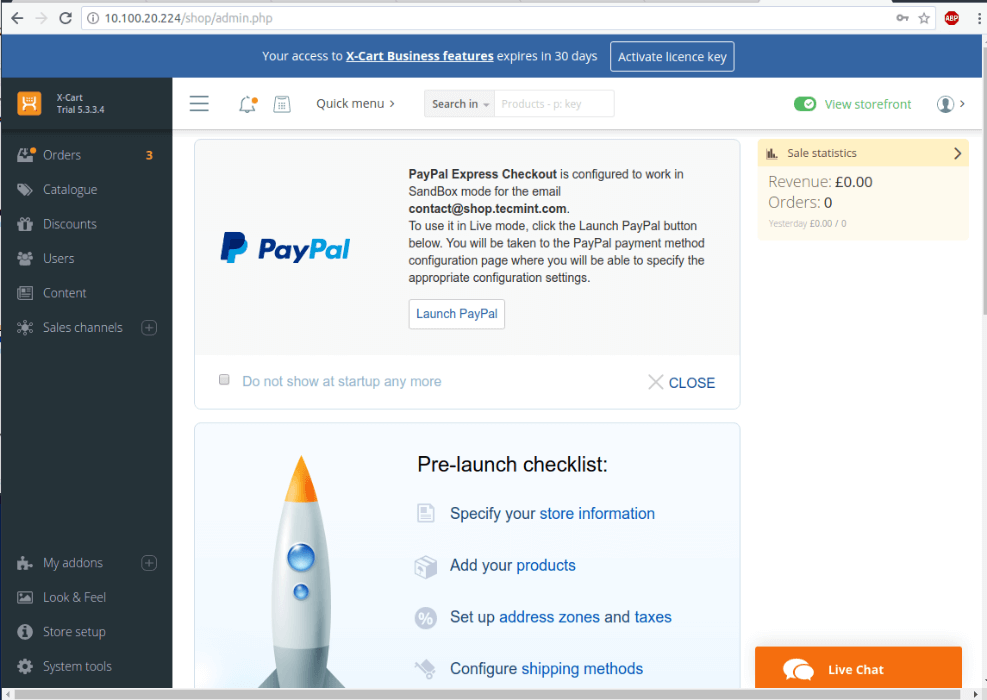
18. After logging in to X-Cart backed admin panel with the credentials configured during the installation process you should activate your X-Cart edition and start managing your online store.
Congratulations! You have successfully installed and configured X-Cart e-commerce platform in your server.


Great easy to follow tutorial. Just wondering at what point during the install process can we enable https (if at all possible with x-cart)? Just curious as if I was shopping online, I would want to make sure my details are secured.
@Jono,
Follow this guide to setup HTTPS for your X-cart shopping site..
Install Let’s Encrypt to enable HTTPS for Apache on CentOS 7
Thanks! :) Have been trialling xcart and opencart. X-cart is by far easier so far (on debian anyway)