Written in C programming language, Apache Subversion, colloquially abbreviated as SVN, is a free and open-source versioning control system that keeps track of historical versions of files and directories.
Simply put, SVN is simply a version tracker that allows users to send changes made to files to a repository that tracks who made the changes in each file. The repository is similar to a file server. The difference is that it tracks changes and allows you to recover older versions of code or probe the history of the file changes.
In this article, we focus on how to install SVN on RHEL-Based Linux distributions such as CentOS, Fedora, Rocky Linux, and AlmaLinux.
Step 1: Install Apache Subversion (SVN) in Linux
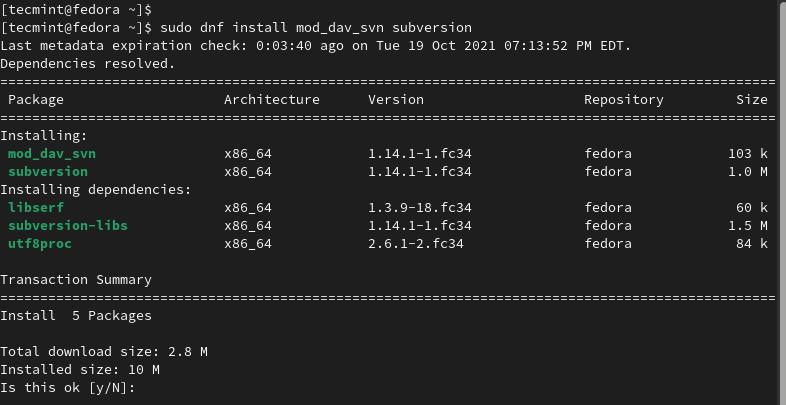
We begin by first installing Subversion and its associated packages as shown.
$ sudo dnf install mod_dav_svn subversion
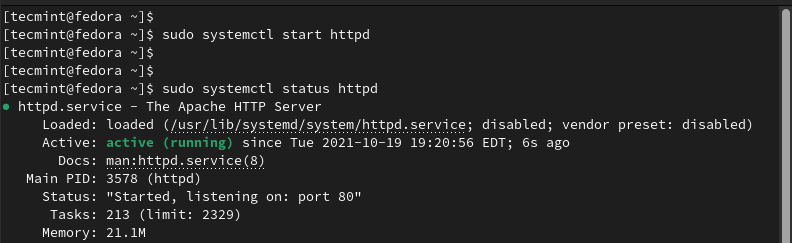
The command also installs Apache HTTP web server, if it was not installed earlier on. You can start Apache and check its status as follows.
$ sudo systemctl start httpd
$ sudo systemctl status httpd
Step 2: Create and Configure a Local SVN Repository
Once SVN is installed, the next step will be to create a repository for storing files and code.
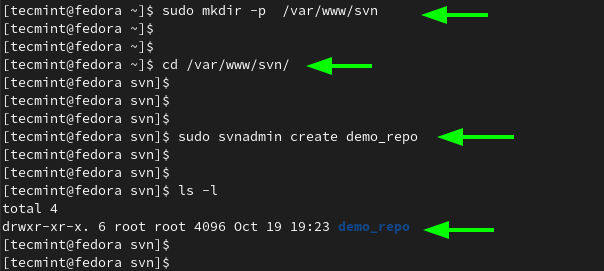
First, create the SVN directory in which you will store the code.
$ sudo mkdir -p /var/www/svn
Next, navigate into the directory and create a repository using the svadmin create command:
$ cd /var/www/svn/
$ sudo svadmin create demo_repo
Next, assign permissions to the SVN directory.
$ sudo chown -R apache.apache /var/www/svn
Step 3: Create a Subversion Configuration File
We need to create a Subversion configuration file.
$ sudo vim /etc/httpd/conf.d/subversion.conf
Add the following lines.
LoadModule dav_svn_module     modules/mod_dav_svn.so
LoadModule authz_svn_module   modules/mod_authz_svn.so


<Location /svn>
   DAV svn
   SVNParentPath /var/www/svn

   # Limit write permission to list of valid users.
   <LimitExcept GET PROPFIND OPTIONS REPORT>
      # Require SSL connection for password protection.
      # SSLRequireSSL

      AuthType Basic
      AuthName "Subversion repo"
      AuthUserFile /etc/svn-auth-users
      Require valid-user
   </LimitExcept>
</Location>
Save the changes and exit.
Step 4: Create Authorized Subversion Users
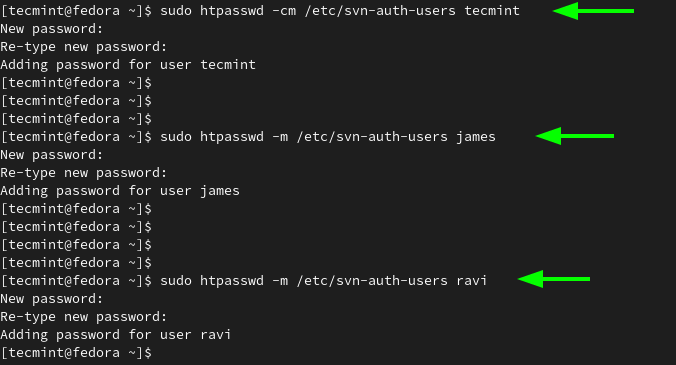
The next step is to create Subversion users i.e users who will be authorized to access the Subversion repository. To create the first user, use the htpasswd command with the -cm option. The passwords are saved in the /etc/svn-auth-users file.
$ sudo htpasswd -cm /etc/svn-auth-users svnuser1
To create subsequent users, omit the -c option and only use the -m option.
$ sudo htpasswd -m /etc/svn-auth-users svnuser2
$ sudo htpasswd -m /etc/svn-auth-users svnuser3
To apply the changes made, restart the Apache webserver.
$ sudo systemctl restart httpd
Step 5: Configure Firewall and SELinux for SVN
Configure the firewall to allow HTTP traffic on the firewall as follows:
$ sudo firewall-cmd --add-service=http --permanent
$ sudo firewall-cmd --reload
Additionally, apply the following SELinux rules on the repository.
$ sudo chcon -R -t httpd_sys_content_t  /var/www/svn/demo_repo
$ sudo chcon -R -t httpd_sys_rw_content_t /var/www/svn/demo_repo
Step 6: Accessing SVN from a Browser
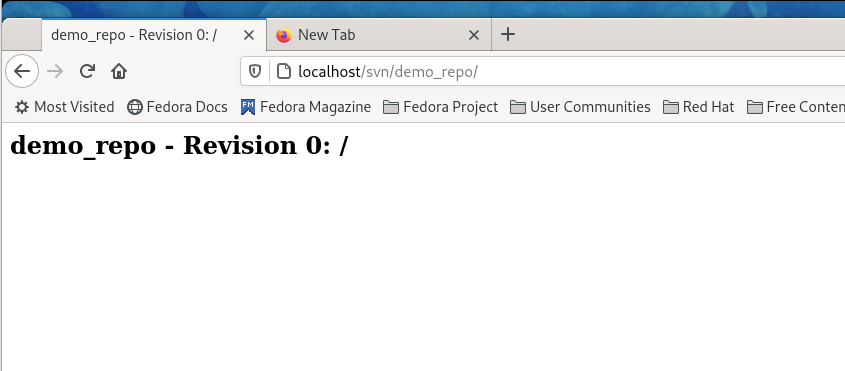
To access your SVN repository from a browser, simply go to the URL.
http://server-ip/svn/demo_repo
Using SVN Repository
To start using the SVN repository, you need to create a working copy of the SVN repository on your current working directory using the svn checkout command.
$ svn checkout URL

To add some files, navigate to the cloned directory:
$ cd demo_repo
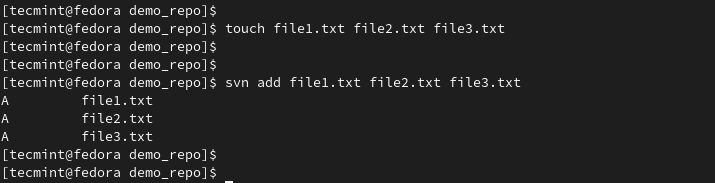
Create some demo files:
$ touch file1.txt file2.txt file3.txt
Add the files to SVN.
$ svn add file1.txt file2.txt file3.txt
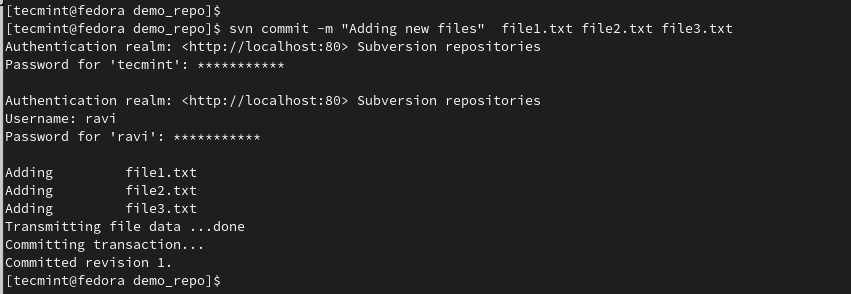
Then commit the files to the repository as follows:
$ svn commit -m "Adding new files" file1.txt file2.txt file3.txt
Authenticate with your credentials and the files will be added to the repository.
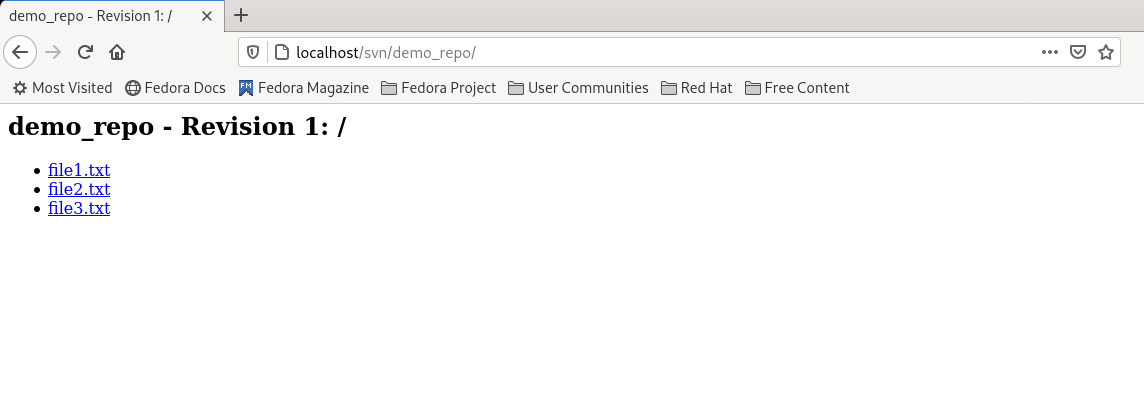
You can confirm this by heading back to the browser.
And this concludes our guide on how to install SVN on RHEL, CentOS, Fedora, Rocky Linux, and AlmaLinux.


