WordPress is the most popular platform in the world for building websites, be it a blog, an e-commerce website, a business website, a portfolio website, an online business directory, and so on. It is free and open-source, easy to install, learn and use, highly pluggable and customizable too.
Read Also: How to Install WordPress with Nginx in Ubuntu 20.04
This guide shows how to install the latest version of WordPress with Apache in Ubuntu 20.04. It assumes that you have the LAMP stack installed and well configured for hosting websites, otherwise, see our guide:
Installing WordPress in Ubuntu 20.04
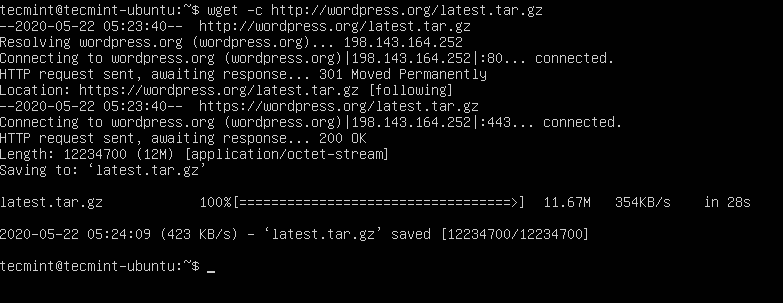
1. Once the LAMP stack (Apache, MariaDB, and PHP) installed and configured on the Ubuntu 20.04 server, you can proceed further to download the latest version of WordPress using the following wget command.
$ wget -c http://wordpress.org/latest.tar.gz
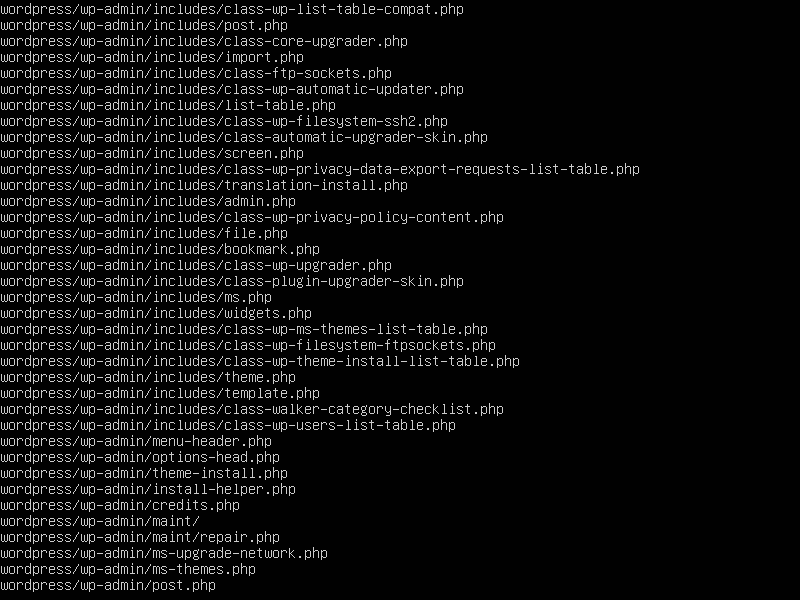
2. Once the download is complete, extract the archived file using the tar command as shown.
$ tar -xzvf latest.tar.gz
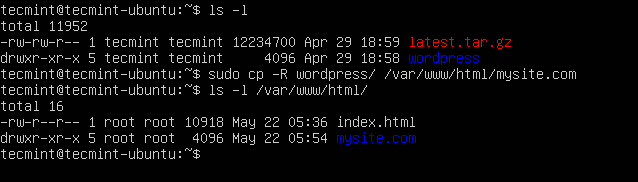
3. Next, move the extracted WordPress directory into your document root i.e. /var/www/html/ and under your website as shown (replace mysite.com with your website’s name or domain name). The following command will create a mysite.com directory and move WordPress files under it.
$ ls -l
$ sudo cp -R wordpress /var/www/html/mysite.com
$ ls -l /var/www/html/
4. Now set appropriate permissions on the website (/var/www/html/mysite.com) directory. It should be owned by the Apache2 user and group called www-data.
$ sudo chown -R www-data:www-data /var/www/html/mysite.com
$ sudo chmod -R 775 /var/www/html/mysite.com

Creating a WordPress Database for Website
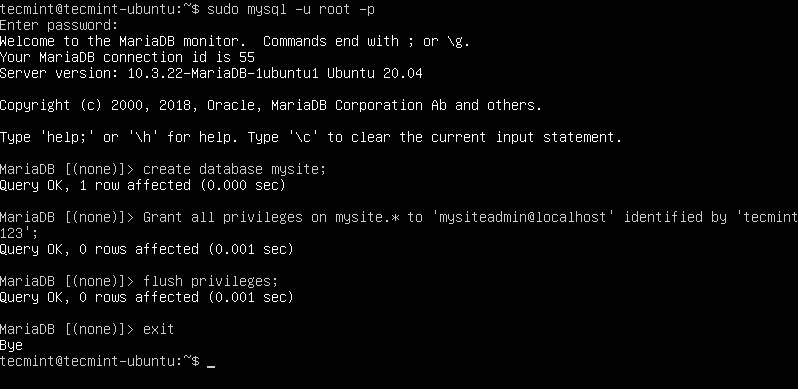
5. To get started, log into your MariaDB database shell using the following mysql command with -u flag to supply the username which should be root and -p to enter a password that you set for the MySQL root account when you installed the MariaDB software.
$ sudo mysql -u root -p
6. After login, run the following commands to create your site’s database and a database user with privileges as shown. Remember to replace “mysite”, “mysiteadmin” and “SecureP@ssHere!” with your database name, database username, and the user’s password.
MariaDB [(none)]> CREATE DATABASE mysite;
MariaDB [(none)]> GRANT ALL PRIVILEGES ON mysite.* TO 'mysiteadmin'@'localhost' IDENTIFIED BY 'SecureP@ssHere!';
MariaDB [(none)]> FLUSH PRIVILEGES;
MariaDB [(none)]> EXIT
7. Next, move into your website’s document root, create a wp-config.php file from the sample configuration file provided as shown.
$ cd /var/www/html/mysite.com
$ sudo mv wp-config-sample.php wp-config.php
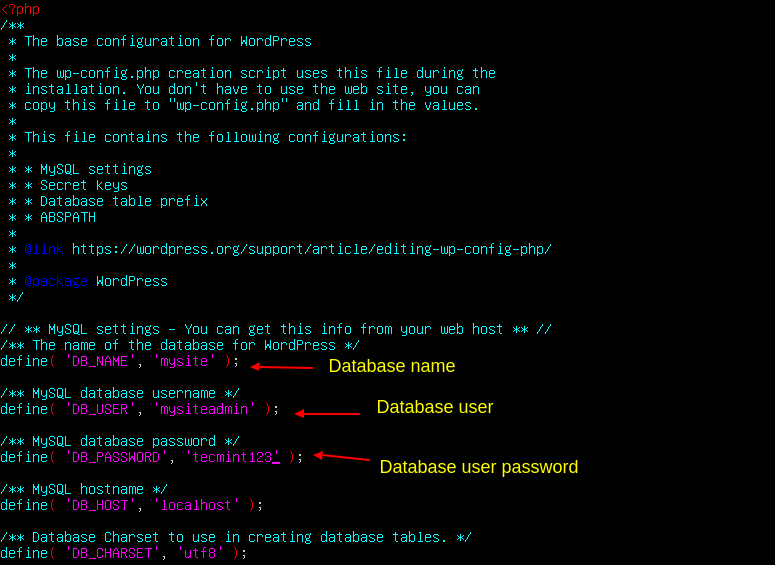
8. Then open the wp-config.php configuration file for editing.
$ sudo vim wp-config.php
and update the database connection parameters (database name, database user, and the user’s password created above) as shown in the following screenshot.
Creating Apache VirtualHost for WordPress Website
9. Next, you need to configure Apache webserver to serve your WordPress site using your fully qualified domain name, by creating a Virtual Host for it under the Apache configuration.
To create and activate a new Virtual Host, create a new file under the /etc/apache2/sites-available/ directory. In this example, we will call the file mysite.com.conf (it should end with the .conf extension).
$ sudo vim /etc/apache2/sites-available/mysite.com.conf
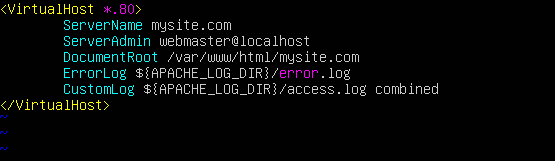
Then copy and paste the following configuration in it (replacing the ServerName and ServerAdmin emails with your values).
<VirtualHost *:80>
	ServerName mysite.com
	ServerAdmin webmaster@localhost
	DocumentRoot /var/www/html/mysite.com
	ErrorLog ${APACHE_LOG_DIR}/error.log
	CustomLog ${APACHE_LOG_DIR}/access.log combined
</VirtualHost>
Save the file and close it.
10. Then check the Apache configuration for syntax correctness. If the syntax is OK, enable the new site and reload the apache2 service to apply the new changes.
$ apache2ctl -t
$ sudo a2ensite mysite.com.conf
$ sudo systemctl reload apache2

11. Also, disable the default virtual host to allow your new site to load properly from a web browser.
$ sudo a2dissite 000-default.conf
$ sudo systemctl reload apache2

Completing the WordPress Installation via Web Interface
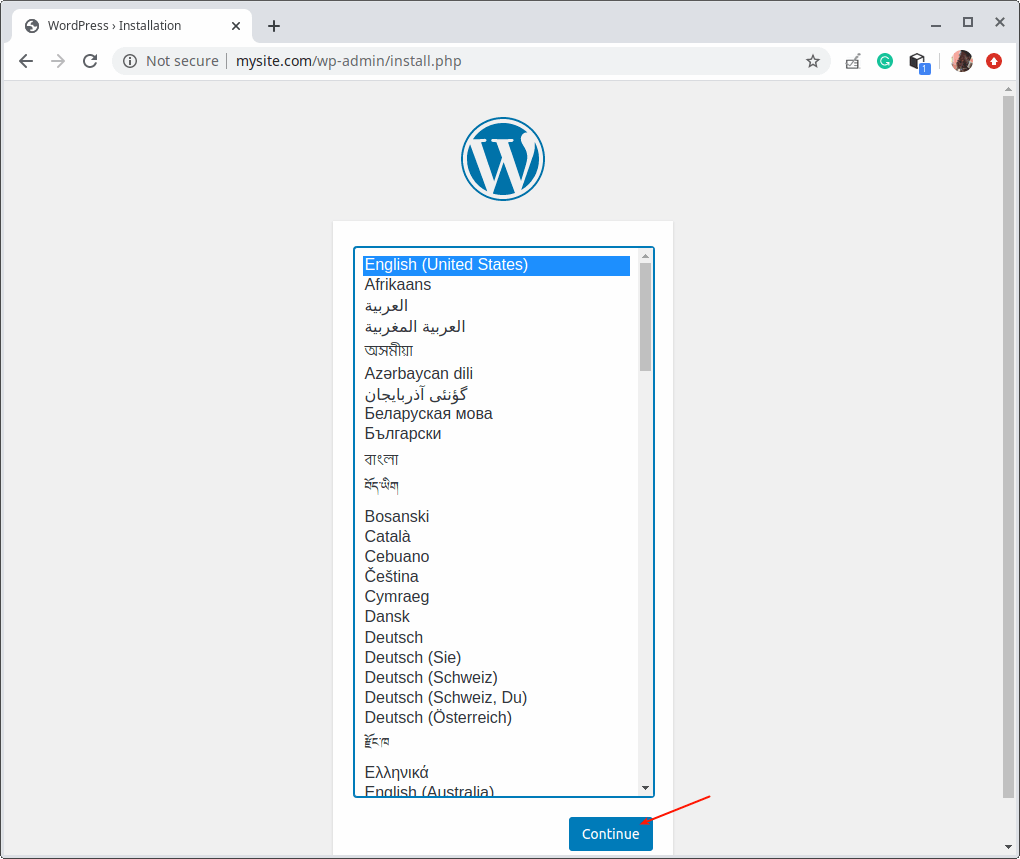
12. The final section demonstrates how to complete the WordPress installation using the web installer. So open your browser and navigate using your site’s domain name:
http://mysite.com.
Once the WordPress web installer loads, pick the language you wish to use for installation and click Continue.
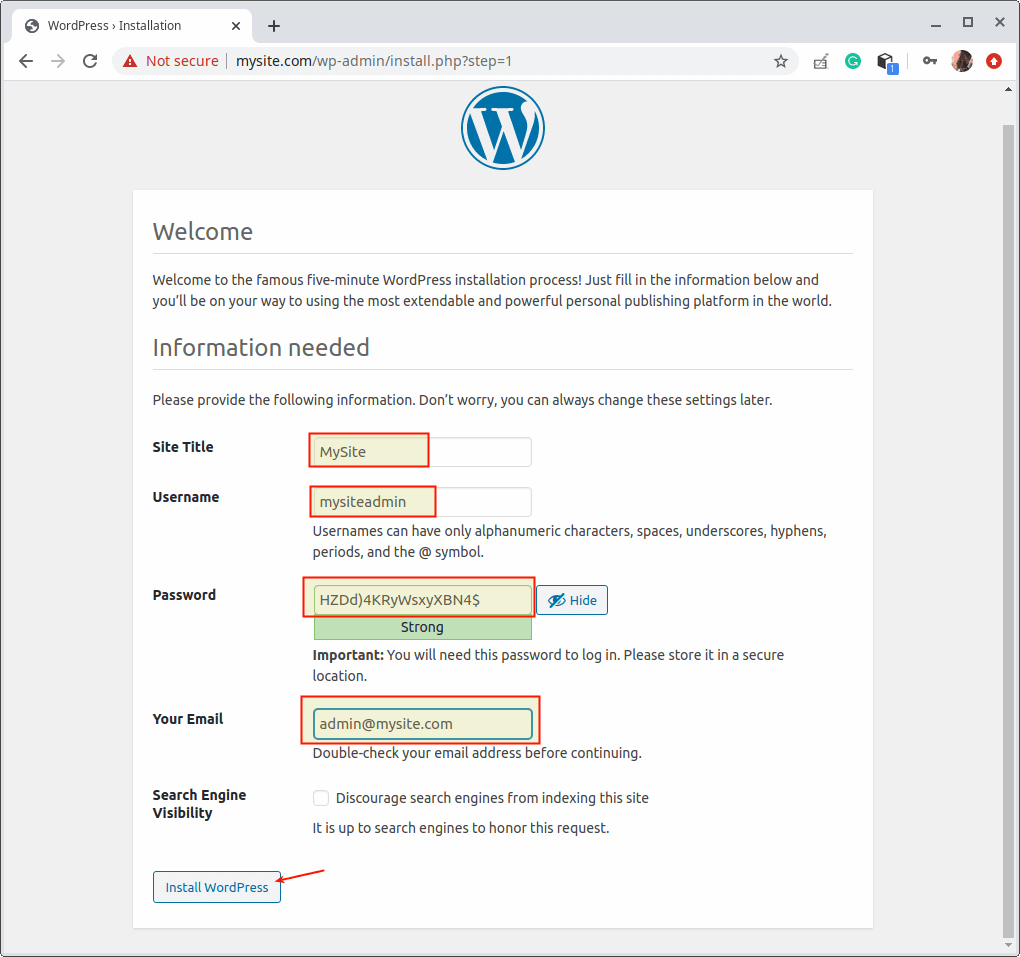
13. Next, set your site’s title, administrative username, and password and an email for managing your site content. Then click Install WordPress.
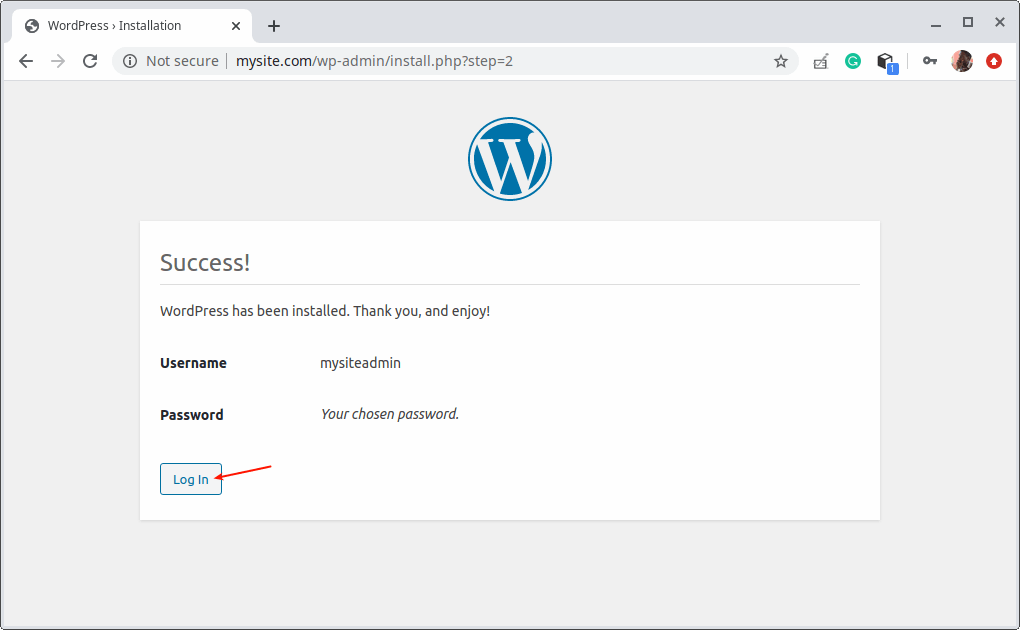
14. Once the WordPress installation is complete, click on Log in to access your site’s administrative login page.
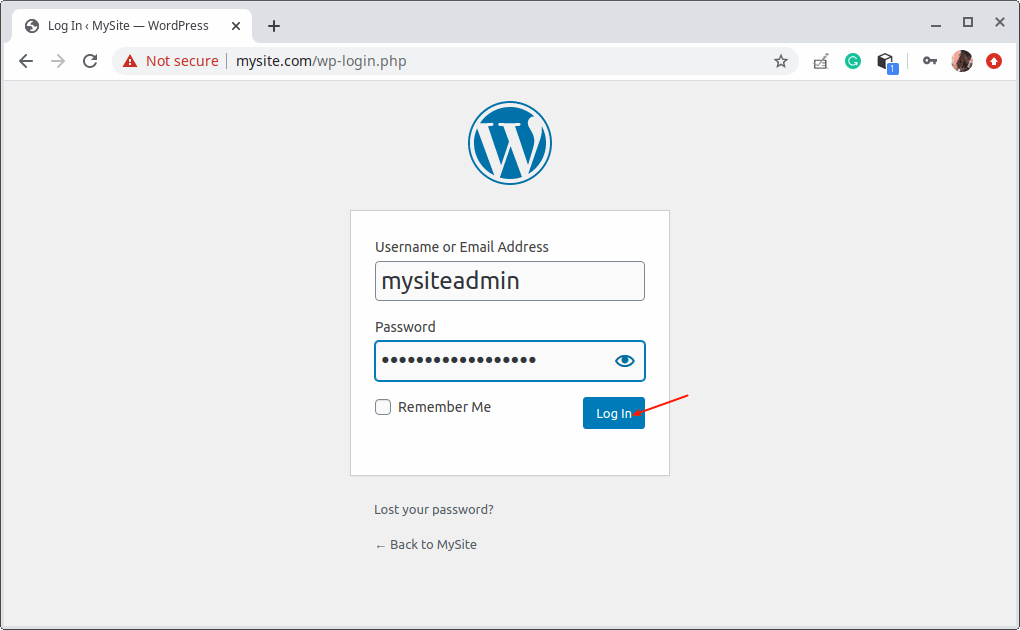
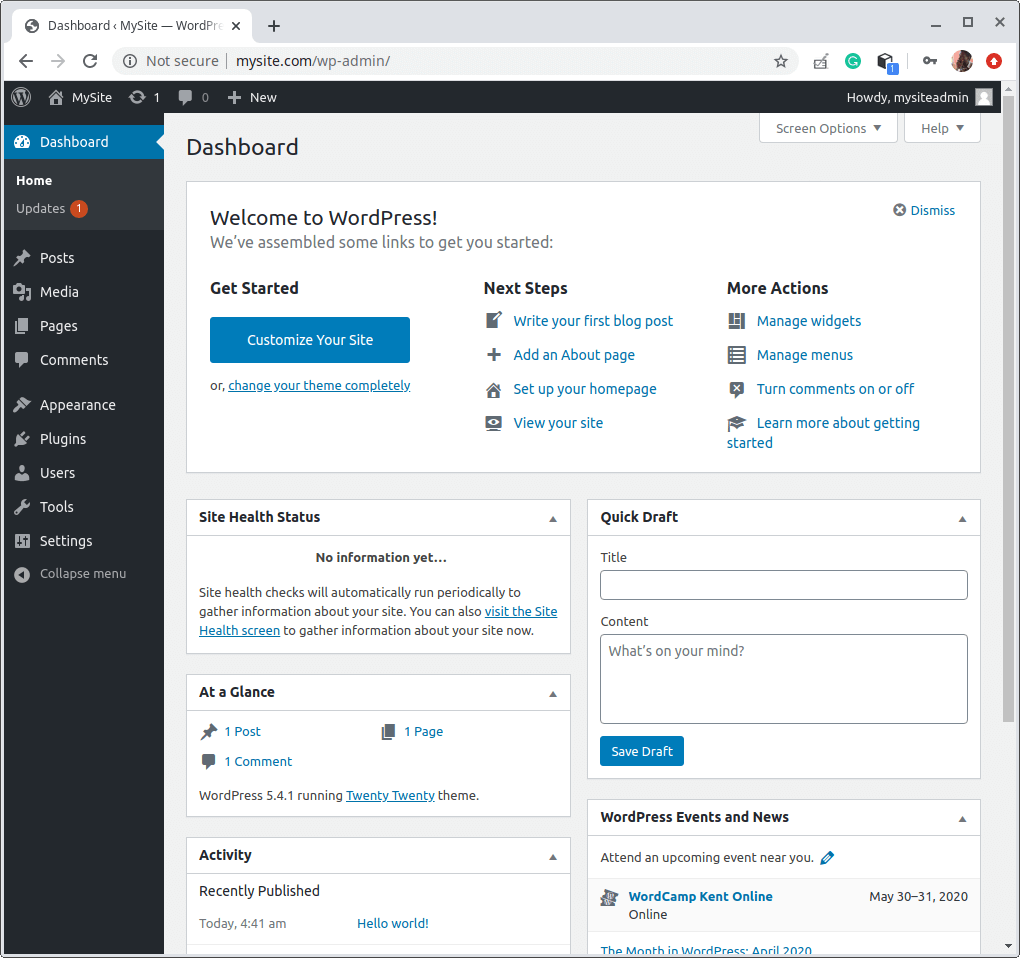
15. Now log into your new WordPress website using your administrative credentials (username and password created above) and start to customize your site from Dashboard.
In this article, we have explained how to install WordPress using Apache as a web server and MySQL as a database system for serving PHP websites.
Next, the crucial step is to secure your WordPress site with SSL. If you have deployed WordPress on a real domain, you can secure the site with Free Let’s Encrypt certificate. If you have deployed WordPress locally on a dummy website for testing or personal use, I suggest you to use a self-signed certificate instead.


My VPS ip auto redirects to my 1st domain. So when I install the 2nd domain and point to VPS ip, it also redirects to the 1st domain @@.
@Candy,
You need to set up Apache virtual host for each domain you deploy on the web server…
Hi admin,
I try to install another domain to my current VPS.
I create a virtual host and a separate root folder for my 2nd domain.
However, it always points to my 1st domain
Please, help!
Very helpful and show me step by step. Now I can install back wordpress in my hosting.
Thank you very much.
I found this article very helpful. After doing all I am getting errors when I hit localhost in my web browser.
It says Database Error.
is there a way to resolve this?
is there an article for uninstalling everything as well?
I would like to install it from scratch again.
@Chandraprakash,
Please follow the instructions carefully again…
Hi admin,
Can I save all my files to /root/MyDomain instead of /var/www/html/MyDomain?
Because if I save in /var/…. only my homepage work, all other pages show a 404 error.
(I transfer Mysql and all data from share hosting to VPS, all my files used to be saved in /root/MyDomain. So now I think I should save my file in /root/MyDomain now for old Mysql to work in new VPS)
Should I do that ??
Hi admin, thank you very much for your post.
However, what does if I need to install 2 or more domains to my VPS ??
@Jame,
Create Apache Virtual Host for other domains with separate document root files.
What if both my 2 domains point to the same IP server?
@Jonthan,
You can point multiple domains to the same IP address with Apache virtual host for each domain…
Hi admin,
I pointed nameserver to the current VPS and followed all your steps.
But my site doesn’t work.
It only works in my ip server while my domain doesn’t work :(((
@Vanok,
Create a Virtualhost for your domain pointing to your WordPress files in Apache…
I created a virtual host like this:
	ServerName MyDomain
	ServerAdmin MyDBUser@localhost
	DocumentRoot /var/www/html/MYDomain
	ErrorLog ${APACHE_LOG_DIR}/error.log
	CustomLog ${APACHE_LOG_DIR}/access.log combined
But my domain not work, only the IP address show WordPress Installing page
@Vanok,
It is related to your domain Virtualhost configuration, you need to check and correct if any misconfiguration settings in Apache Vhost…
So I followed this blog/post/tutorial and installed LAMP as well, but when I tried to enter the website domain, I only got a “This site can’t be reached” error, but using the server’s IP works
How can I make the domain useable?
@Zerq,
Make sure to add a DNS A record for the domain to map to the IP address of the server..
I bought a domain on Namecheap, it requires Namecheap nameserver to make changes on DNS.
Then I changed DNS A record to my IP server.
But it doesn’t work.
@Vanok,
Is your IP address resolving to your server?
Yes bro,
My IP address is working and show wordpress install page.
But my domain does not work even I change DNS A to my IP address
Do the instructions change if I only want to install the WordPress site locally on my machine? Particularly, do I need to create an Apache Virtual Host for this? I am simply trying to create a WordPress site using the LAMP stack, that will stay in my machine (for testing and development purposes), and that won’t go live.
@Glibert,
The instructions remain the same for local or server setup.
Potentially dumb conceptual question:
I’ve read wordpress-centric articles that state that one needs to pay for “hosting” when migrating from wordpress.com to WordPress itself.
If I have been following your guides, installed the LAMP stack, and then complete this guide, am I essentially hosting myself?
Are there other articles on this blog about using 3rd parties to host our WordPress content?
Really appreciate these articles by the way, I am a recent Linux convert, and every day I appreciate that decision more and more.
Thanks
Got it all working and learned a lot about apache and linux commands.
Thanks !
You might want to edit this to be sure the viewers are in the proper location for setting up WordPress?
Or did I miss that part?
never mind – you are taking a different track than I would have… You can delete my comment and reply… :-)
Hello,
At first, I need to tell you that this is a very good and precise tutorial but I need help with port. For LAMP installation I did this tutorial: https://www.tecmint.com/install-lamp-with-phpmyadmin-in-ubuntu-20-04/. I want to change the website port from 80 to for example 5588. What should I do in order to change the port? Thank you for any responses.
@Samuel,
This article will help you out in changing the apache port in Ubuntu – https://www.tecmint.com/change-apache-port-in-linux/
Doesn’t work I’m getting not found but it does show:
index of /
Well done tutorial!
Installing WordPress in Ubuntu 20.04
4. Now set appropriate permissions on the website (/var/www/html/mysite.com) directory. It should be owned by the Apache2 user and group called www-data.
Should this be:
@Theo0101
The Apache2 user is www-data and the group is also www-data in Ubuntu and other related distributions.
Thanks, Aaron,
I meant to call out that the description didn’t match what was typed in the screenshot.
Still great work! Thanks for posting it!
Thanks for the excellent tutorial! I still have the following question:
Since I only wanted a sample website to experiment with, I used
mysite.comas URL (as in the tutorial), without realizing that a site with that URL already exists. When I open in step 12http://mysite.comin a browser, I don’t see the WordPress installer, but the site of a Webhosting company instead.What can I do to see “my” website (on localhost) using this URL?
Thank you again!