A software repository (“repo” in short) is a central file storage location to keep and maintain software packages, from which users can retrieve packages and install them on their computers.
Repositories are often stored on servers on a network for example an internet, which can be accessed by multiple users. However, you can create and configure a local repository on your computer and access it as a single user or allow access to other machines on your LAN (Local Area Network).
One advantage of setting up a local repository is that you don’t need an internet connection to install software packages.
YUM (Yellowdog Updater Modified) is a widely used package management tool for RPM (RedHat Package Manager) based on Linux systems, which makes software installation easy on Red Hat/CentOS Linux.
In this article, we will explain how to set up a local YUM repository over HTTP (Nginx) web server on CentOS 7 VPS and also show you how to find and install software packages on client CentOS 7 machines.
Our Testing Environment
Yum HTTP Repository Server:	CentOS 7 [192.168.0.100]
Client Machine:		CentOS 7 [192.168.0.101]
Step 1: Install Nginx Web Server
1. First start by installing the Nginx HTTP server from the EPEL repository using the YUM package manager as follows.
# yum install epel-release
# yum install nginx
2. Once you have installed the Nginx web server, you can start it for the first time and enable it to start automatically at system boot.
# systemctl start nginx
# systemctl enable nginx
# systemctl status nginx
3. Next, you need to open port 80 and 443 to allow web traffic to Nginx service, update the system firewall rules to permit inbound packets on HTTP and HTTPS using the commands below.
# firewall-cmd --zone=public --permanent --add-service=http
# firewall-cmd --zone=public --permanent --add-service=https
# firewall-cmd --reload
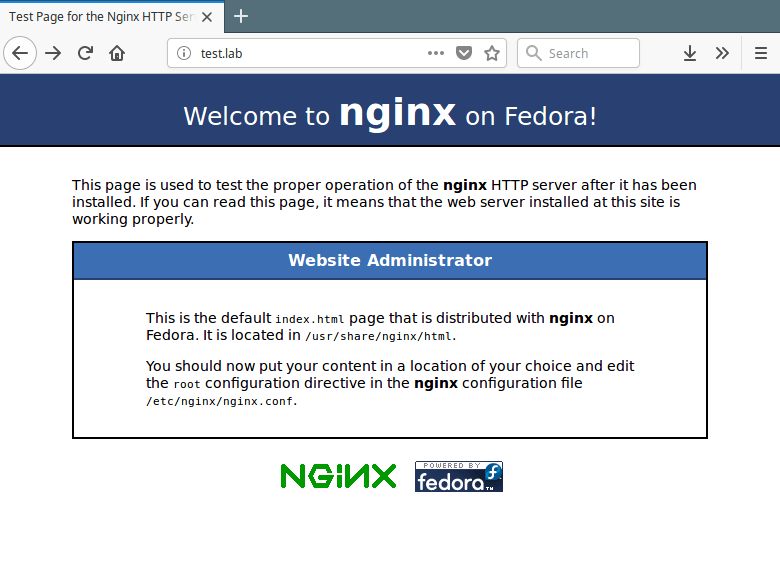
4. Now you can confirm that your Nginx server is up and running, using the following URL; if you see the default Nginx web page, all is well.
http://SERVER_DOMAIN_NAME_OR_IP
Step 2: Create a Yum Local Repository
5. In this step, you need to install the required packages for creating, configuring, and managing your local repository.
# yum install createrepo yum-utils
6. Next, create the necessary directories (yum repositories) that will store packages and any related information.
# mkdir -p /var/www/html/repos/{base,centosplus,extras,updates}
7. Then use the reposync tool to synchronize CentOS YUM repositories to the local directories as shown.
# reposync -g -l -d -m --repoid=base --newest-only --download-metadata --download_path=/var/www/html/repos/
# reposync -g -l -d -m --repoid=centosplus --newest-only --download-metadata --download_path=/var/www/html/repos/
# reposync -g -l -d -m --repoid=extras --newest-only --download-metadata --download_path=/var/www/html/repos/
# reposync -g -l -d -m --repoid=updates --newest-only --download-metadata --download_path=/var/www/html/repos/
Sample Output
Loaded plugins: fastestmirror, langpacks
Loading mirror speeds from cached hostfile
 * base: mirrors.fibergrid.in
 * epel: mirror.xeonbd.com
 * extras: mirrors.fibergrid.in
 * updates: mirrors.fibergrid.in
base/7/x86_64/group                                                    | 891 kB  00:00:02
No Presto metadata available for base
(1/9911): 389-ds-base-snmp-1.3.7.5-18.el7.x86_64.rpm                   | 163 kB  00:00:02
(2/9911): 389-ds-base-devel-1.3.7.5-18.el7.x86_64.rpm                  | 267 kB  00:00:02
(3/9911): ElectricFence-2.2.2-39.el7.i686.rpm                          |  35 kB  00:00:00
(4/9911): ElectricFence-2.2.2-39.el7.x86_64.rpm                        |  35 kB  00:00:00
(5/9911): 389-ds-base-libs-1.3.7.5-18.el7.x86_64.rpm                   | 695 kB  00:00:04
(6/9911): GConf2-devel-3.2.6-8.el7.i686.rpm                            | 110 kB  00:00:00
(7/9911): GConf2-devel-3.2.6-8.el7.x86_64.rpm                          | 110 kB  00:00:00
(8/9911): GConf2-3.2.6-8.el7.i686.rpm                                  | 1.0 MB  00:00:06
In the above commands, the option:
-g– enables removing of packages that fail GPG signature checking after downloading.-l– enables yum plugin support.-d– enables deleting of local packages no longer present in the repository.-m– enables downloading of comps.xml files.--repoid– specifies the repository ID.--newest-only– tell reposync to only pull the latest version of each package in the repos.--download-metadata– enables downloading all the non-default metadata.--download_path– specifies the path to download packages.
8. Next, check the contents of your local directories to ensure that all the packages have been synchronized locally.
# ls -l /var/www/html/repos/base/
# ls -l /var/www/html/repos/base/Packages/
# ls -l /var/www/html/repos/centosplus/
# ls -l /var/www/html/repos/centosplus/Packages/
# ls -l /var/www/html/repos/extras/
# ls -l /var/www/html/repos/extras/Packages/
# ls -l /var/www/html/repos/updates/
# ls -l /var/www/html/repos/updates/Packages/
9. Now create a new repodata for the local repositories by running the following commands, where the flag -g is used to update the package group information using the specified .xml file.
# createrepo -g comps.xml /var/www/html/repos/base/
# createrepo -g comps.xml /var/www/html/repos/centosplus/
# createrepo -g comps.xml /var/www/html/repos/extras/
# createrepo -g comps.xml /var/www/html/repos/updates/
10. To enable viewing of repositories and packages in them, via a web browser, create an Nginx server block that points to the root of your repositories as shown.
# vim /etc/nginx/conf.d/repos.conf
Add the following configuration ot file repos.conf.
server {
        listen   80;
        server_name  repos.test.lab;	#change  test.lab to your real domain
        root   /var/www/html/repos;
        location / {
                index  index.php index.html index.htm;
                autoindex on;	#enable listing of directory index
        }
}
Save the file and close it.
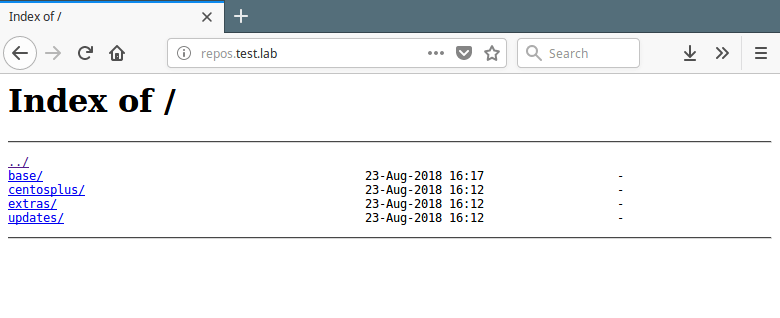
11. Then restart your Nginx server and view the repositories from a web browser using the following URL.
http://repos.test.lab
Step 3: Create a Cron Job to Synchronize and Create Repositories
12. Next, add a cron job that will automatically synchronize your local repos with the official CentOS repos to grab the updates and security patches.
# vim /etc/cron.daily/update-localrepos
Add these commands in the script.
#!/bin/bash
##specify all local repositories in a single variable
LOCAL_REPOS=”base centosplus extras updates”
##a loop to update repos one at a time
for REPO in ${LOCAL_REPOS}; do
reposync -g -l -d -m --repoid=$REPO --newest-only --download-metadata --download_path=/var/www/html/repos/
createrepo -g comps.xml /var/www/html/repos/$REPO/
done
Save the script and close it and set the appropriate permissions on it.
# chmod 755 /etc/cron.daily/update-localrepos
Step 4: Setup Local Yum Repository on Client Machines
13. Now on your CentOS client machines, add your local repos to the YUM configuration.
# vim /etc/yum.repos.d/local-repos.repo
Copy and paste the configuration below in the file local-repos.repo (make changes where necessary).
[local-base]
name=CentOS Base
baseurl=http://repos.test.lab/base/
gpgcheck=0
enabled=1

[local-centosplus]
name=CentOS CentOSPlus
baseurl=http://repos.test.lab/centosplus/
gpgcheck=0
enabled=1

[local-extras]
name=CentOS Extras
baseurl=http://repos.test.lab/extras/
gpgcheck=0
enabled=1

[local-updates]
name=CentOS Updates
baseurl=http://repos.test.lab/updates/
gpgcheck=0
enabled=1
Save the file and start using your local YUM mirrors.
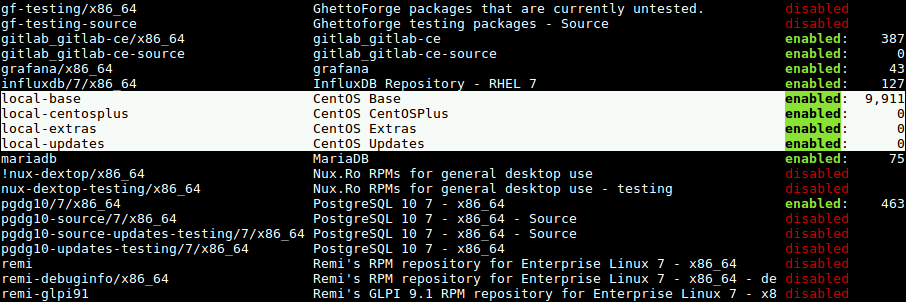
14. Next, run the following command to view your local repos in the list of available YUM repos, on the client machines.
#  yum repolist
OR
# yum repolist all
That’s all! In this article, we have explained how to set up a local YUM repository on CentOS 7. We hope that you found this guide useful. If you have any questions, or any other thoughts to share, use the comment form below.