CodeIgniter is a powerful development framework written in PHP and is widely used by developers who build fully featured web applications.
CodeIgniter has few requirements to run:
- Web server. For the purpose of this tutorial we are going to use Apache.
- PHP 5.6 or newer
- Database server such as MySQL 5.1 (or newer). PostgreSQL, MS SQL,SQLite etc. For the purpose of this tutorial, we are going to use MariaDB.
- Composer
Note: This tutorial assumes you already have a LAMP stack installed. If you don’t have it configured yet, please check our guide: How to Install LAMP Stack on CentOS 7.
Disable SELINUX
Before we proceed, there are few more changes that need to be done. Disable SELinux by editing:
# vi /etc/sysconfig/selinux
And set SELinux to disabled:
SELINUX=disabled
Create MySQL Database for CodeIgniter
Next we will create database and database user for our CodeIgniter installation. To do this, start the MySQL server and enter the following:
MariaDB> create database code_db;
MariaDB> grant all privileges on codedb.* to code_db@'localhost' identified by 'password';
MariaDB> flush privileges;
MariaDB> exit
This will create database named code_db and user code_db identified by password “password”.
Install Composer Package Manager
If you wish to install CodeIgniter dependencies, you will need composer. It is easy to install with the following commands:
# curl -sS https://getcomposer.org/installer | php
# mv composer.phar /usr/local/bin/composer
# chmod +x /usr/local/bin/composer
Install CodeIgniter Framework
Now we are ready to proceed with the CodeIgniter installation. First go to the web root directory of your server.
# cd /var/www/html/
Then we are going to use git to clone CodeIgniter from its git repository
# git clone https://github.com/bcit-ci/CodeIgniter.git .
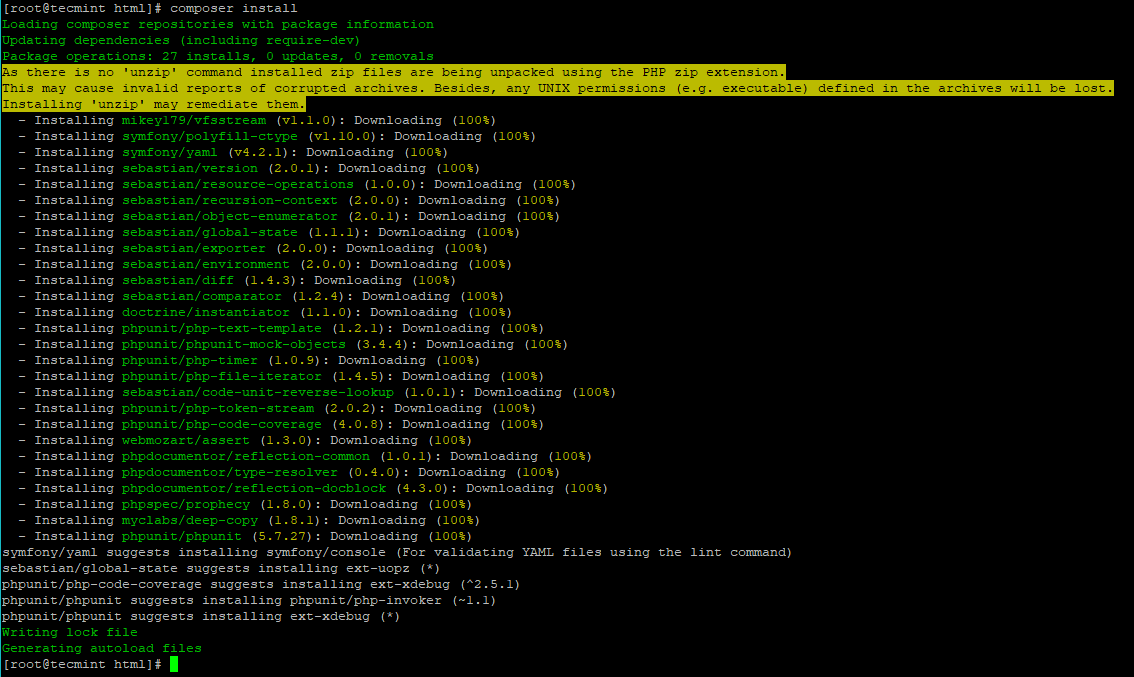
Next we will install the required dependencies running composer:
# composer install
Now we will update the ownership of the files to user apache:
# chown -R apache:apache /var/www/html/
Configure CodeIgniter Base URL
Now, we will configure the Base URL, by editing the following file:
# vi /var/www/html/application/config/config.php
Change the following line:
$config['base_url'] = '';
And within the quotes add the URL which you will use to access the application. For me this would be http://192.168.20.148.
$config['base_url'] = 'http://192.168.20.148';
Configure CodeIgniter Database Connection
To configure the database settings for your CodeIgniter, edit the following file with your favorite text editor:
# vi /var/www/html/application/config/database.php
Find the following section:
$db['default'] = array(
        'dsn'   => '',
        'hostname' => 'localhost',
        'username' => '',
        'password' => '',
        'database' => '',
        'dbdriver' => 'mysqli',
Change to:
$db['default'] = array(
        'dsn'   => '',
        'hostname' => 'localhost',
        'username' => 'code_db',
        'password' => 'password',
        'database' => 'code_db',
        'dbdriver' => 'mysqli',
Save the file. Now you are ready to load a web browser to verify that CodeIgniter is working. Just enter the Base URL you have used earlier into your browser’s address bar:
http://192.168.20.148
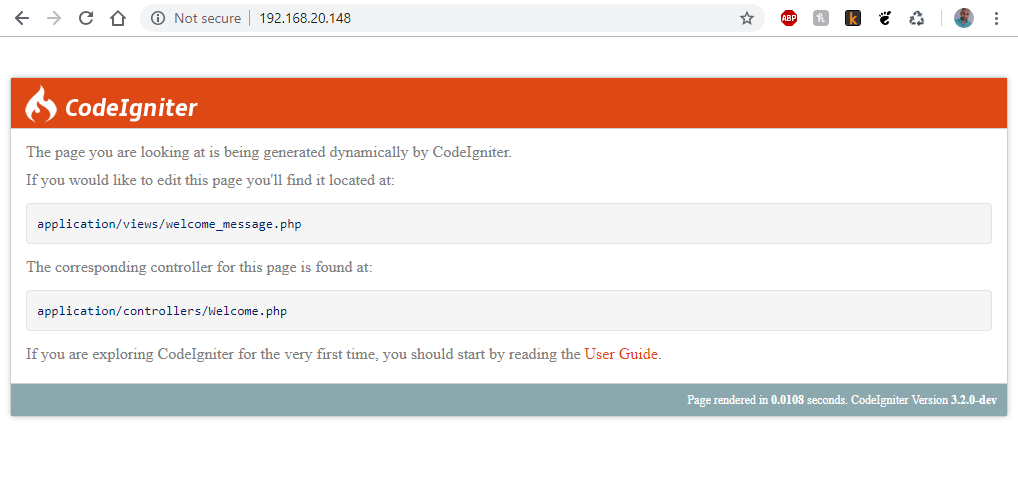
Even though you have completed the installation of CodeIgniter, there is much more that can be done from this point. If you are new to the framework, you can check CodeIgniter’s documentation to get more familiar with it and make most of it.


In the end you should include a section to apply SELinux-settings and to re-enable SELinux. Or point to an article that describes how to do this. Selinux can be painful to configure – but it saves you from a lot of troubles later on.
What they say “Step1: disable selinux”
What they mean “I either don’t know what I’m talking about, or I’m too lazy to learn about contexts and which bools to set”