When setting up a website, one of the key considerations that you should have in mind is your site’s security. An SSL certificate is a digital certificate that encrypts data that is sent from a user’s browser to a web server. This way, data sent is confidential and safe from hackers who use packet sniffers like Wireshark to intercept and eavesdrop on your communication.
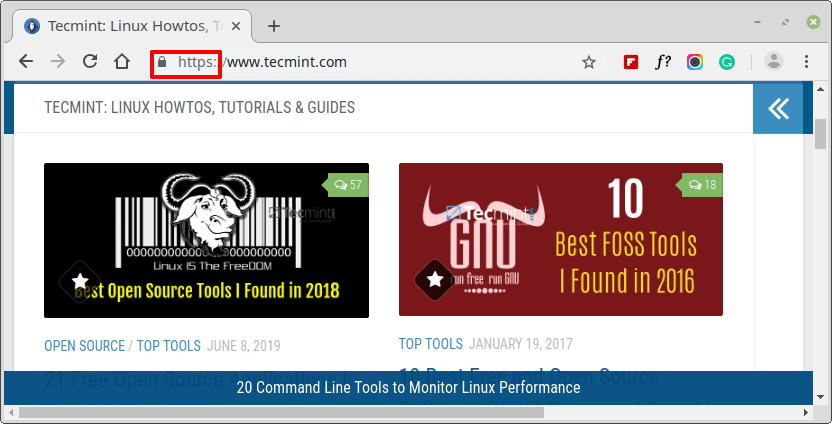
An encrypted site have a padlock symbol in the URL bar followed by the acronym https as shown in the following screenshot.
An unencrypted site usually has a “Not Secure” notification at the URL bar.
Prerequisites
Before we begin, ensure the following requirements have been satisfied:
- A running instance of Debian 10 Minimal Server.
- A running instance of Nginx Web Server with Domain Setup on Debian 10.
- A registered Fully Qualified Domain Name (FQDN) with the
Arecord pointing to the IP address of the Debian 10 on your Domain Provider.
For this tutorial, we have tecmint.com pointed to the IP address 192.168.0.104.
In this article, we examine how you can install Let’s Encrypt SSL on Debian 10 to obtain a Free SSL Certificate for Nginx hosted site.
What is Let’s Encrypt SSL
Let’s Encrypt SSL is a free certificate from EFF (Electronic Frontier Foundation) that is valid for 3 months and auto renews upon expiry. It’s an easy and cheap way to encrypt your site if your pockets are tight.
Without much further ado, let’s dive in and install Let’s Encrypt on Nginx web server:
Step 1: Install Certbot in Debian 10
To start off we need to install Certbot – is a software that fetches the Let’s encrypt digital certificate and later deploys it on a web server. To accomplish this, we need to install the python3-certbot-nginx package. But before we do so, let’s first update the system packages.
$ sudo apt update

The next step is to install the dependencies required by python3-certbot-nginx package.
$ sudo apt install python3-acme python3-certbot python3-mock python3-openssl python3-pkg-resources python3-pyparsing python3-zope.interface
Now let’s install the python3-certbot-nginx package.
$ sudo apt install python3-certbot-nginx

Step 2. Verifying Nginx Server Block Configuration
For certbot to automatically deploy Let’s encrypt SSL certificate on Nginx web server, a server block needs to be configured. We covered configuration of Nginx server blocks on the last section of the previous article.
If you followed keenly, you should have a server block at /etc/nginx/sites-available/some_domain. In our case, the Nginx server block will be
/etc/nginx/sites-available/tecmint.com
In addition , ensure the server_name directive corresponds to your domain name.
server_name tecmint.com www.tecmint.com;
To confirm all Nginx configurations are in order, run:
$ sudo nginx -t

The output above indicates that all is well.
Step 3: Configure the Firewall to Open HTTPS Port
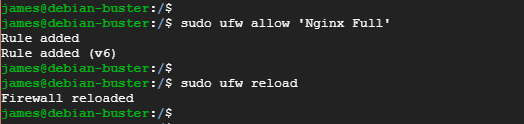
In case you have ufw configured and enabled, as is always recommended, we need to allow the HTTPS protocol across the firewall so that the web server is accessible to everyone.
$ sudo ufw allow 'Nginx Full'
Next, reload the firewall to effect the changes.
$ sudo ufw reload
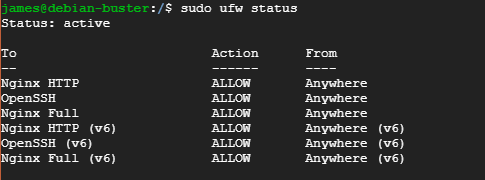
To verify that we have allowed the protocol through the firewall.
$ sudo ufw status
Step 4: Deploying Let’s Encrypt SSL Certificate for Domain
With all the settings and configurations in check, it’s time to fetch and deploy Let’s Encrypt SSL certificate on domain site.
$ sudo certbot --nginx -d domain-name -d www.domain-name.com
In our case, we shall have
$ sudo certbot --nginx -d tecmint.com -d www.tecmint.com
In the first step, you will be prompted to Enter your email address. Type your address and hit Enter.

Next, you will be asked to agree the terms of service. Type A to proceed.

Certbot will proceed to ask for your consent in using your email to send you notifications about latest developments in EFF. Here, you can choose to opt in or opt out, to opt in , type Y (Yes) and hit Enter. To decline participation hit N (No).

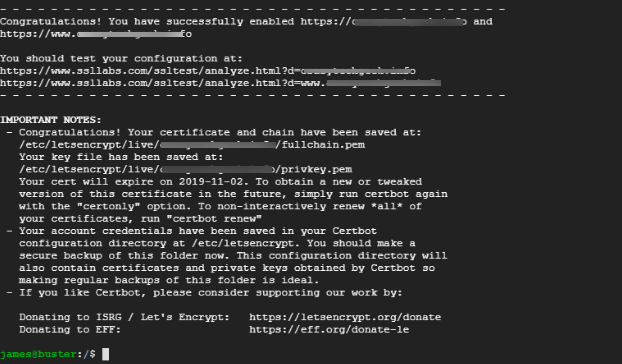
Certbot will then contact Let’s encrypt, download the SSL certificate and deploy it to the Nginx server block that you already created.
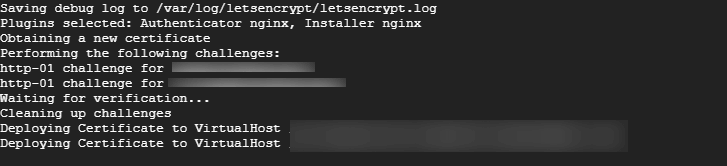
In the next section, Type 2 to redirect the usual HTTP traffic to HTTPS.

The certificate will be deployed to your Nginx Server and you will receive a congratulatory notification to confirm that your web server is now encrypted using Let’s Encrypt SSL.
Step 5: Verify HTTPS on Nginx Website
To verify the changes via a web browser, refresh your browser tab and be sure to notice the padlock symbol.
Click on the padlock icon and select ‘Certificate’ option to view SSL certificate details.
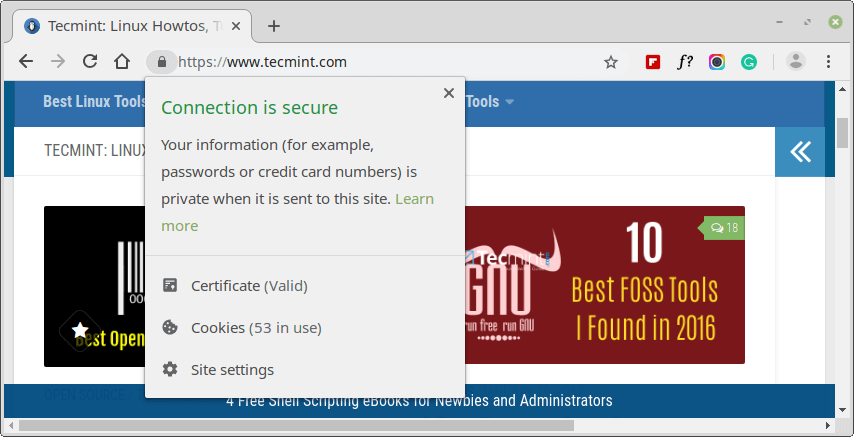
All the certificate details will be displayed.

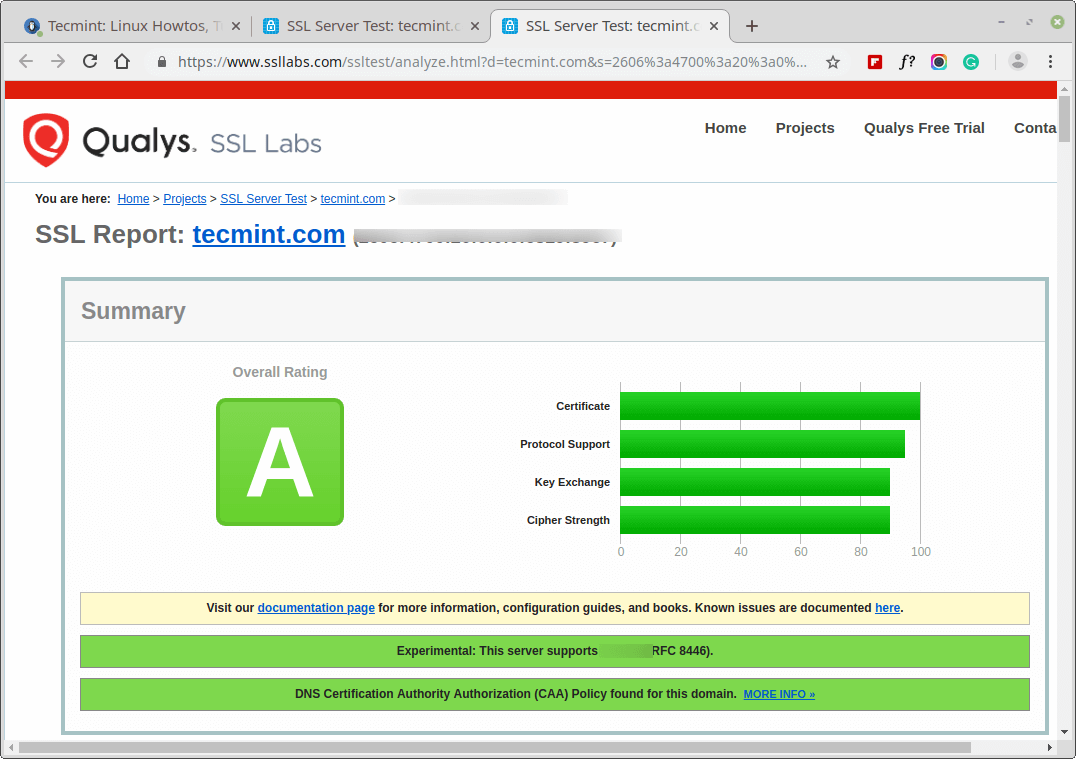
You can further verify the status of your web server by testing your site’s URL at https://www.ssllabs.com/ssltest/. If the web server is encrypted using an SSL certificate, you will get an A score as shown.
Conclusion
We have come to the end of this tutorial. In guide, you learnt how to install a free SSL certificate for Nginx on Debian 10.


Beyond installing an SSL certificate, what additional security measures should be taken to protect an Nginx server?
@Desain,
To harden your Nginx server, you’ll also want to:
1. Keep Nginx and system packages updated
2. Use a firewall (UFW/iptables) to only allow needed ports (80, 443, SSH).
3. Set up Fail2Ban or similar to block brute-force or malicious requests.
4. Configure strong SSL/TLS settings disable old protocols (SSLv3, TLS 1.0/1.1) and weak ciphers.
5. Add security headers like Strict-Transport-Security, X-Frame-Options, X-Content-Type-Options, and Content-Security-Policy.
6. Enable rate limiting to slow down bots and prevent abuse.
7. Run Nginx as a non-root user and use least privilege for services.
8. Monitor logs for unusual activity and consider setting up alerts.
This way, you’re covering both encryption and server hardening, which together give you much stronger protection.
Thanks a lot for the article.
How to upgrade automatically certificate every three months on the schedule? How to write correctly a script?
@Alexey
Certbot automatically renews the SSL certificate 30 days prior to its expiration. To verify the renewal process, run the command below.
Thank you!
Great article. Just a simple typo here “The certificate will be deployed to your Nginx Server and you will receive a congratulatory notification to confirm that your web server is not encrypted using Let’s Encrypt SSL.” should be ‘web server is NOW encrypted’.
@Shavkat,
Thanks, corrected the typo in the article..