Hadoop is an open-source framework that is widely used to deal with Bigdata. Most of the Bigdata/Data Analytics projects are being built up on top of the Hadoop Eco-System. It consists of two-layer, one is for Storing Data and another one is for Processing Data.
Storage will be taken care of by its own filesystem called HDFS (Hadoop Distributed Filesystem) and Processing will be taken care of by YARN (Yet Another Resource Negotiator). Mapreduce is the default processing engine of the Hadoop Eco-System.
This article describes the process to install the Pseudonode installation of Hadoop, where all the daemons (JVMs) will be running Single Node Cluster on CentOS 7.
This is mainly for beginners to learn Hadoop. In real-time, Hadoop will be installed as a multinode cluster where the data will be distributed among the servers as blocks and the job will be executed in a parallel manner.
Prerequisites
- A minimal installation of CentOS 7 server.
- Java v1.8 release.
- Hadoop 2.x stable release.
On this page
Installing Java on CentOS 7
1. Hadoop is an Eco-System which is made up of Java. We need Java installed in our system mandatorily to install Hadoop.
# yum install java-1.8.0-openjdk
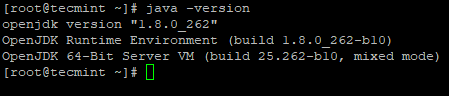
2. Next, verify the installed version of Java on the system.
# java -version
Configure Passwordless Login on CentOS 7
We need to have ssh configured in our machine, Hadoop will manage nodes with the use of SSH. Master node uses SSH connection to connect its slave nodes and perform operation like start and stop.
We need to set up password-less ssh so that the master can communicate with slaves using ssh without a password. Otherwise for each connection establishment, need to enter the password.
In this single node, Master services (Namenode, Secondary Namenode & Resource Manager) and Slave services (Datanode & Nodemanager) will be running as separate JVMs. Even though it is singe node, we need to have password-less ssh to make Master to communicate Slave without authentication.
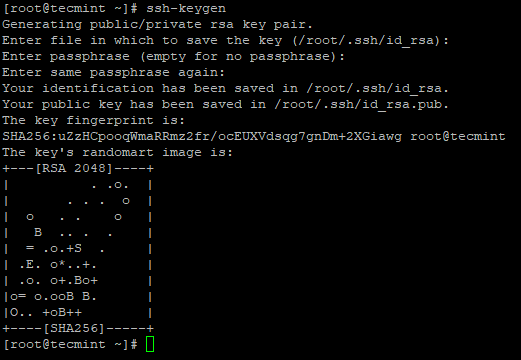
3. Set up a password-less SSH login using the following commands on the server.
# ssh-keygen
# ssh-copy-id -i localhost
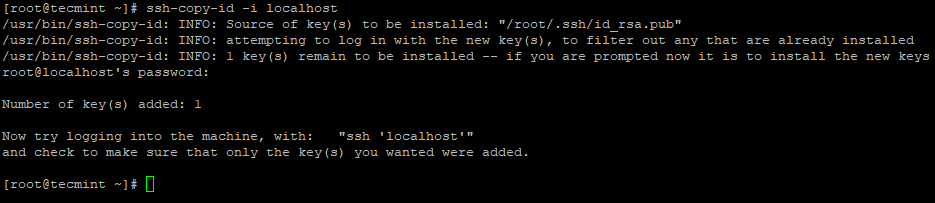
4. After you configured passwordless SSH login, try to login again, you will be connected without a password.
# ssh localhost

Installing Hadoop in CentOS 7
5. Go to the Apache Hadoop website and download the stable release of Hadoop using the following wget command.
# wget https://archive.apache.org/dist/hadoop/core/hadoop-2.10.1/hadoop-2.10.1.tar.gz
# tar xvpzf hadoop-2.10.1.tar.gz
6. Next, add the Hadoop environment variables in ~/.bashrc file as shown.
HADOOP_PREFIX=/root/hadoop-2.10.1
PATH=$PATH:$HADOOP_PREFIX/bin
export PATH JAVA_HOME HADOOP_PREFIX
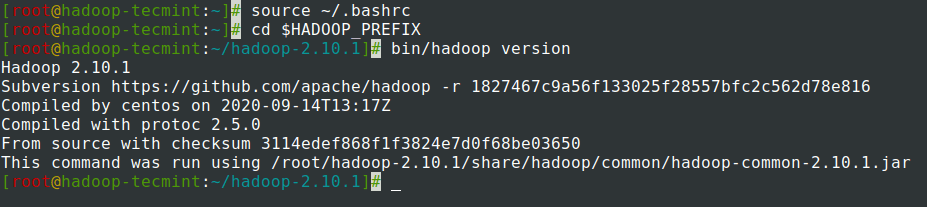
7. After adding environment variables to ~/.bashrc the file, source the file and verify the Hadoop by running the following commands.
# source ~/.bashrc
# cd $HADOOP_PREFIX
# bin/hadoop version
Configuring Hadoop in CentOS 7
We need to configure below Hadoop configuration files in order to fit into your machine. In Hadoop, each service has its own port number and its own directory to store the data.
- Hadoop Configuration Files – core-site.xml, hdfs-site.xml, mapred-site.xml & yarn-site.xml
8. First, we need to update JAVA_HOME and Hadoop path in the hadoop-env.sh file as shown.
# cd $HADOOP_PREFIX/etc/hadoop
# vi hadoop-env.sh
Enter the following line at beginning of the file.
export JAVA_HOME=/usr/lib/jvm/java-1.8.0/jre
export HADOOP_PREFIX=/root/hadoop-2.10.1
9. Next, modify the core-site.xml file.
# cd $HADOOP_PREFIX/etc/hadoop
# vi core-site.xml
Paste following between <configuration> tags as shown.
<configuration>
            <property>
                   <name>fs.defaultFS</name>
                   <value>hdfs://localhost:9000</value>
           </property>
</configuration>
10. Create the below directories under tecmint user home directory, which will be used for NN and DN storage.
# mkdir -p /home/tecmint/hdata/
# mkdir -p /home/tecmint/hdata/data
# mkdir -p /home/tecmint/hdata/name
10. Next, modify the hdfs-site.xml file.
# cd $HADOOP_PREFIX/etc/hadoop
# vi hdfs-site.xml
Paste following between <configuration> tags as shown.
<configuration>
<property>
        <name>dfs.replication</name>
        <value>1</value>
 </property>
  <property>
        <name>dfs.namenode.name.dir</name>
        <value>/home/tecmint/hdata/name</value>
  </property>
  <property>
          <name>dfs .datanode.data.dir</name>
          <value>home/tecmint/hdata/data</value>
  </property>
</configuration>
11. Again, modify the mapred-site.xml file.
# cd $HADOOP_PREFIX/etc/hadoop
# cp mapred-site.xml.template mapred-site.xml
# vi mapred-site.xml
Paste following between <configuration> tags as shown.
<configuration>
                <property>
                        <name>mapreduce.framework.name</name>
                        <value>yarn</value>
                </property>
</configuration>
12. Lastly, modify the yarn-site.xml file.
# cd $HADOOP_PREFIX/etc/hadoop
# vi yarn-site.xml
Paste following between <configuration> tags as shown.
<configuration>
                <property>
                       <name>yarn.nodemanager.aux-services</name>
                       <value>mapreduce_shuffle</value>
                </property>
</configuration>
Formatting the HDFS File System via the NameNode
13. Before starting the Cluster, we need to format the Hadoop NN in our local system where it has been installed. Usually, it will be done in the initial stage before starting the cluster the first time.
Formatting the NN will cause loss of data in NN metastore, so we have to be more cautious, we should not format NN while the cluster is running unless it is required intentionally.
# cd $HADOOP_PREFIX
# bin/hadoop namenode -format
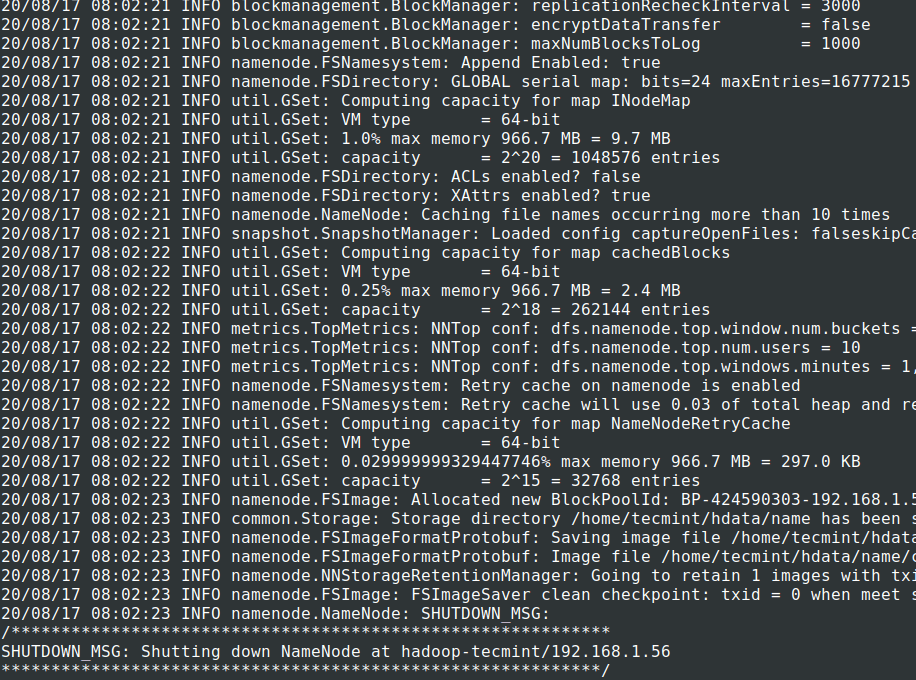
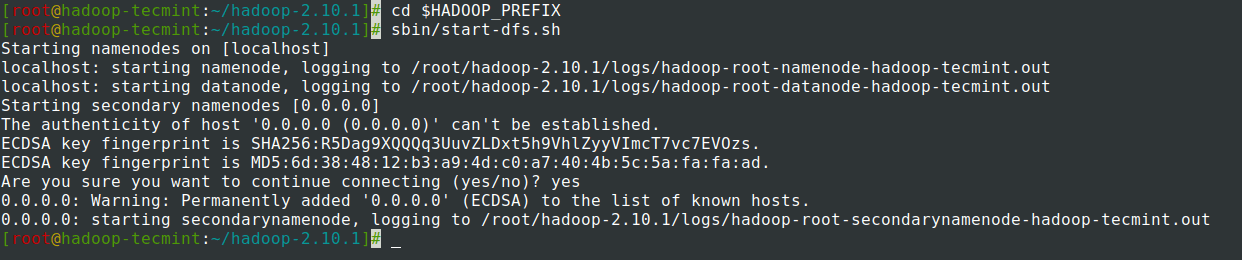
14. Start NameNode daemon and DataNode daemon: (port 50070).
# cd $HADOOP_PREFIX
# sbin/start-dfs.sh
15. Start ResourceManager daemon and NodeManager daemon: (port 8088).
# sbin/start-yarn.sh

16. To stop all the services.
# sbin/stop-dfs.sh
# sbin/stop-dfs.sh
Summary
Summary
In this article, we have gone through the step by step process to set up Hadoop Pseudonode (Single Node) Cluster. If you have basic knowledge of Linux and follow these steps, the cluster will be UP in 40 minutes.
This can be very useful for the beginner to start learning and practice Hadoop or this vanilla version of Hadoop can be used for Development purposes. If we want to have a real-time cluster, either we need at least 3 physical servers in hand or have to provision Cloud for having multiple servers.


Excellent article, but I got a problem:
cd $HADOOP_PREFIX
bash: cd: /root/hadoop-2.10.1: No such file or directory
I wonder about the meaning of “$HADOOP_PREFIX” and whether should I installation as root or not.
Excellent article, one question I gave 777 permission to a folder and tried uploading using the web interface “:50070/explorer.html#/home” but it keeps saying “Couldn’t upload the file“.
How to evaluate
Folder Info:
Permission Owner Group Size Last Modified Replication Block Size Name
-rwxrwxrwx root supergroup 133 B Dec 18 15:10
Hi,
Thanks for the comment.
The error is because the user is not having permission to upload files using WebUI(HTTP).
You have to set the user in core-site.xml.
You can use hdfs dfs command to import/export files into hdfs.
Thanks
MohanSivam
Excellent article on Hadoop installation on CentOS.