A LAMP stack is composed of packages such as Apache, MySQL/MariaDB and PHP installed on a Linux system environment for hosting websites and apps.
Read Also: Install Apache, MariaDB, PHP and PhpMyAdmin in Ubuntu 18.04
PhpMyAdmin is a free, open source, well known, fully-featured, and intuitive web-based frontend for administering MySQL and MariaDB database. It supports various database operations, and has many features that allow you to easily manage your databases from a web interface; such as importing and exporting data in various formats, generating complex and useful queries using Query-by-example (QBE), administering multiple servers, and much more.
Requirements:
- Minimal Ubuntu 18.04 server Installation.
- Access to server via SSH (if you don’t have direct access).
- Root user privileges or use sudo command to run all commands.
In this article, we will explain how to install LAMP stack with PhpMyAdmin in Ubuntu 18.04.
Step 1: Install Apache Web Server on Ubuntu 18.04
1. First start by updating your software packages and then install Apache web server using following commands.
$ sudo apt update
$ sudo apt install apache2
2. After the installation process is complete, the apache service should start automatically and will be enabled to start at system boot time, you can check if it’s up and running using following command.
$ sudo systemctl status apache2
3. If you have a system firewall enabled and running, you need to open the ports 80 and 443 to allow client connection requests to apache web server via HTTP and HTTPS respectively, then reload the firewall settings as shown.
$ sudo ufw allow 80/tcp
$ sudo ufw allow 443/tcp
$ sudo ufw reload
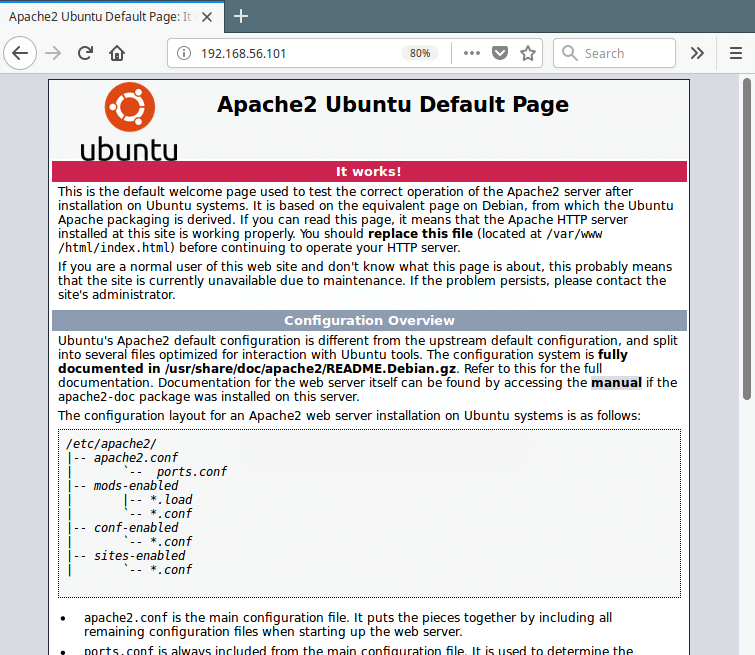
4. Now verify your Apache installation by testing default test page at the below URL from a web browser.
http://domain_name/
OR
http://SERVER_IP/
If you see the apache default web page, it means your installation is working fine.
Step 2: Install MariaDB on Ubuntu 18.04
5. Now install MariaDB, is a free, open source database management system forked from MySQL and it is a community developed project being led by the original developers of MySQL.
$ sudo apt install mariadb-server mariadb-client
6. The MariaDB services should start automatically after installation, check its status to ensure that it is up and running.
$ sudo systemctl status mysql
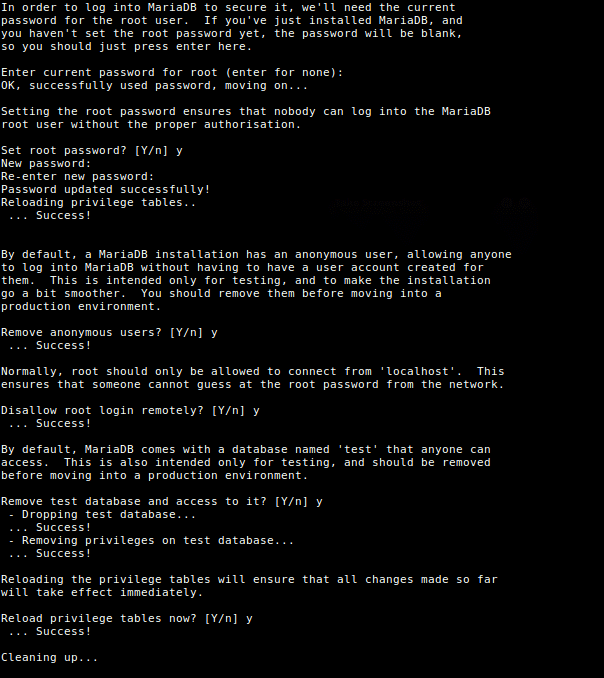
7. The MariaDB installation is not secure by default, you need to execute a security script that comes with the package. You will be asked to set a root password to ensure that nobody can log into the MariaDB.
$ sudo mysql_secure_installation
Once you execute the script, it will ask you to enter current password for root (enter for none):
Then enter yes/y to the following security questions:
- Set root password? [Y/n]:
y - Remove anonymous users? (Press y|Y for Yes, any other key for No) :
y - Disallow root login remotely? (Press y|Y for Yes, any other key for No) :
y - Remove test database and access to it? (Press y|Y for Yes, any other key for No) :
y - Reload privilege tables now? (Press y|Y for Yes, any other key for No) :
y
Step 3: Install PHP on Ubuntu 18.04
8. PHP is one of the most widely used server side scripting language used to generate dynamic content on websites and apps. You can install PHP (default version is PHP 7.2) and other modules for web deployments using following command.
$ sudo apt install php php-common php-mysql php-gd php-cli
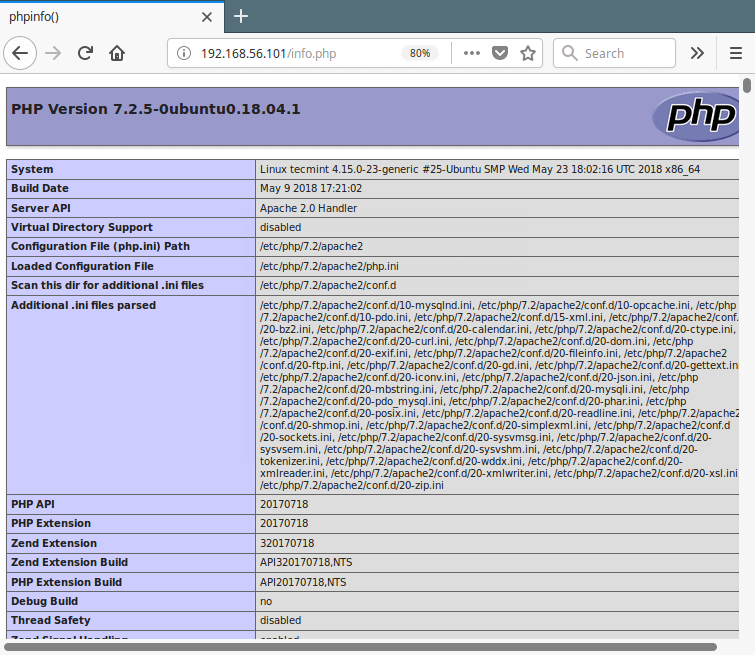
9. Once PHP installed, you can test your PHP setup by creating a simple info.php page in your web server document root, using this single command.
$ echo "<?php phpinfo(); ?>" | sudo tee /var/www/html/info.php
10. Then open a web browser, and enter this URL to view the php information page.
http://domain_name/info.php
OR
http://SERVER_IP/info.php
Step 4: Install PhpMyAdmin on Ubuntu 18.04
11. Finally, you can install phpMyAdmin for administrating MySQL/MariaDB databases from the comfort of a web browser, by running following command.
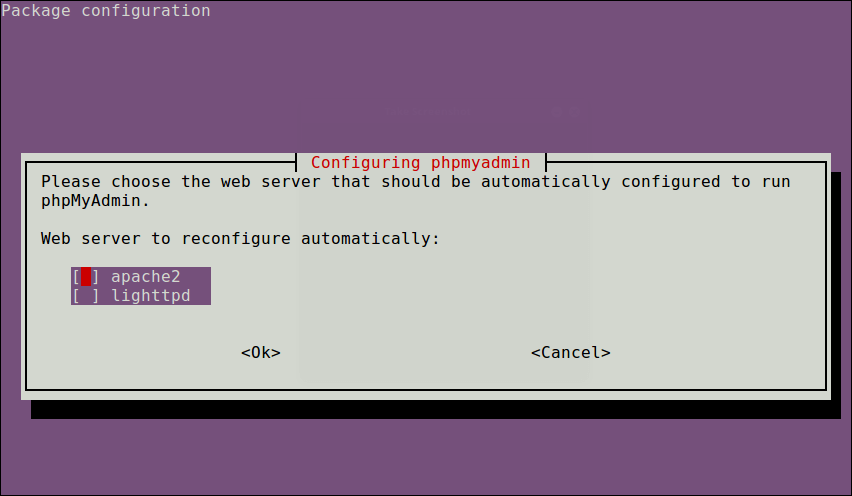
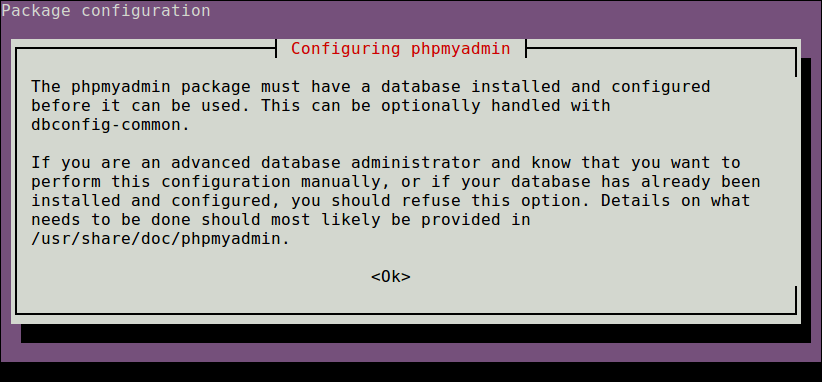
$ sudo apt install phpmyadmin
Through the package installation process, you will be asked to choose the web server that should be automatically configured to run phpMyAdmin, select apache by pressing the space bar and press Enter.
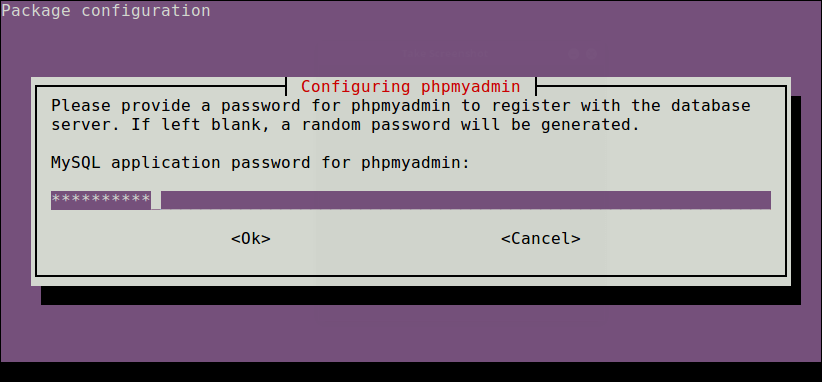
12. Next, enter the password for the MySQL/MariaDB administrative user so the installer can create database for phpmyadmin.
13. Once everything installed, you can now restart the apache2 service to effect the recent changes.
$ sudo systemctl restart apache2
Note: If the PhpMyAdmin package has not been enable to work with apache web server automatically, run the following commands to copy the phpmyadmin apache configuration file located under /etc/phpmyadmin/ to apache webserver available configurations directory /etc/apache2/conf-available/ and then activate it using the a2enconf utility, and restart apache service effect the recent changes, as follows.
$ sudo cp /etc/phpmyadmin/apache.conf /etc/apache2/conf-available/phpmyadmin.conf
$ sudo a2enconf phpmyadmin
$ sudo systemctl restart apache2
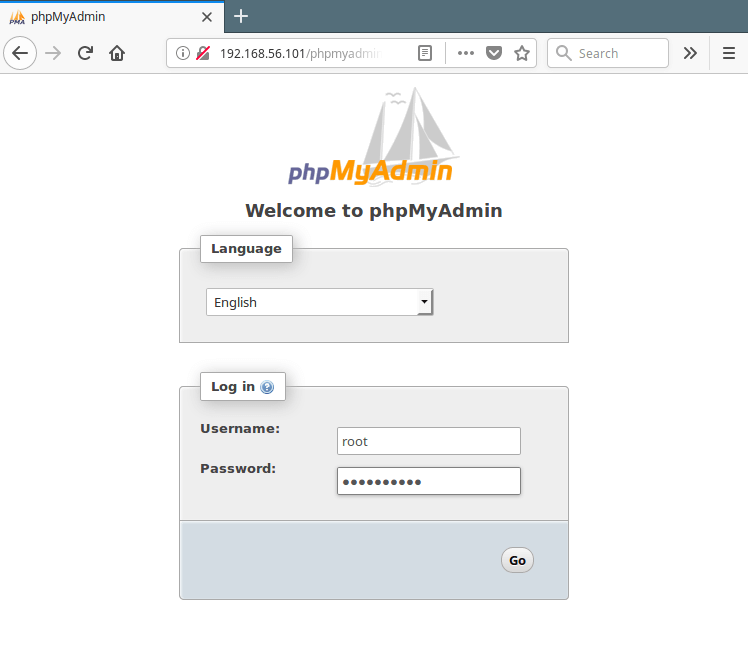
14. Lastly, from a web browser, and type the following URL to access you phpMyAdmin web frontend.
http://domain_name/phpmyadmin
OR
http://SERVER_IP/phpmyadmin
Use the root credentials to authenticate in the phpMyAdmin, as shown in the following screen shot.
Important: Starting from MySQL 5.7, root login requires sudo command, therefore the root login will fail via phpmyadmin, you may need to create another admin user account. Access the mariadb shell using the root account from a terminal, and run the following commands to create a new user:
$ sudo mysql -u root -p
MariaDB [(none)]> CREATE USER 'admin'@'localhost' IDENTIFIED BY '=@!#254tecmint';
MariaDB [(none)]> GRANT ALL PRIVILEGES ON *.* TO 'admin'@'localhost' WITH GRANT OPTION;
MariaDB [(none)]> FLUSH PRIVILEGES;
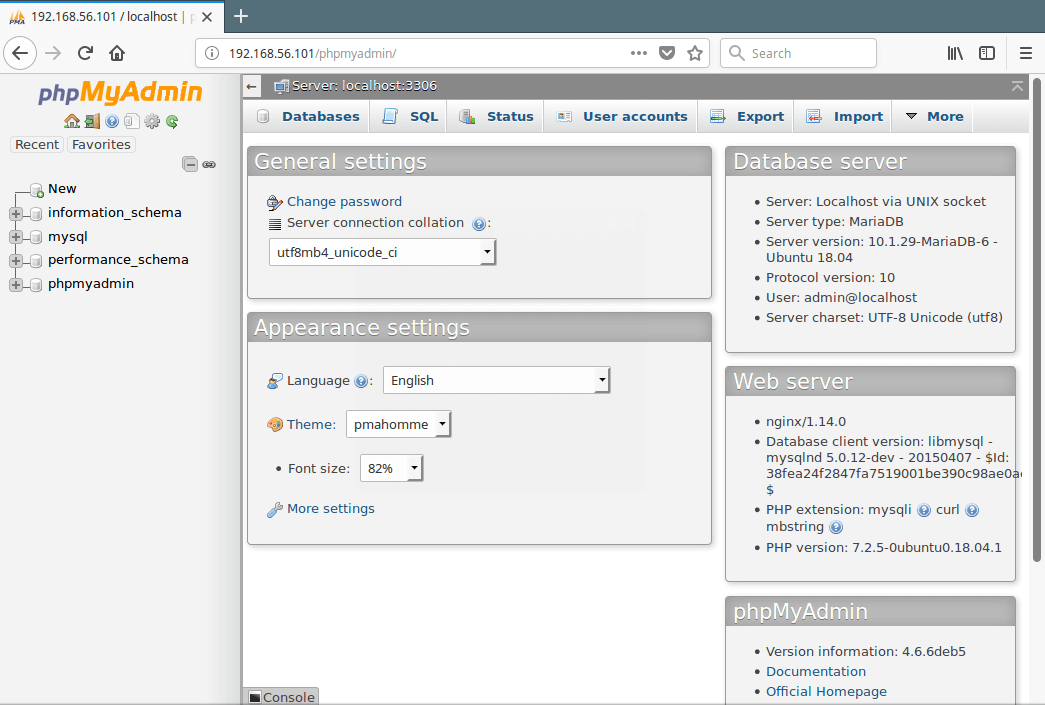
Now log into PhpMyAdmin using the new admin credentials to administer your databases.
To secure your PhpMyAdmin web interface, check this article: 4 Useful Tips to Secure PhpMyAdmin Web Interface.
That’s it! In this article, we have explained how to setup LAMP stack with the latest PhpMyAdmin in Ubuntu 18.04. Use the comment form below to send us your queries, or thoughts about this guide.


Worked 1st time, without issue..:)
many thanks
Great Thank you, Sir, because I was struggling with these issues for about a week and I found an excellent solution for that…
Once again thank you very much…
Thank you, sir, for an excellent article.
@Wajid
Welcome, many thanks for the useful feedback.
The very simple explanation for a new user like me, had everything running really fast, minor setback because I was running a docker container using port 80, after stopping container apache started up, still trying to figure out how to run both… anyway thank you for this tutorial…
This worked flawlessly, first time, for running LAMP locally. Thank you.
Very helpful and simple !! Thank you very much !!
Hello,
New to LAMP and phpmyadmin, everything was going pretty smoothly until I tried to login to phpmyadmin. This is what is on the screen I input user and password.
If anyone could help I would greatly appreciate it
@Micheal
You encountered this error because MySQL is not allowing remote users to log in as root for security reasons. Add a new database user and login with that user’s credentials.
Then login as the just created user.
This manual process of setting up LAMP and then configuring PHPMyAdmin seems really long and tiring. I have never really done that manually since I am using Cloudways platform for hosting PHP website, which has it installed and configured automatically on the server.
had to do apt-get install libapache2-mod-php5 or I only saw code in phpmyadmin
@jeffschips
Just run the command from your terminal like:
$sudo apt-get install libapache2-mod-php5
Tried many installation so far, this is the best….
Thank you for this
@Chibuike
We are glad that you found this article useful. Many thanks for the feedback.
can;t connect using phpmyadmin
mysqli_real_connect(): (HY000/1698): Access denied for user ‘root’@’localhost’
@Cesar
Which user are you connecting as? Check if the credentials are correct.
Hello, a hint to your article:
“A LAMP stack is composed of packages such as Apache, MySQL/MariaDB and PHP installed on a Linux system environment for hosting websites and apps”, which did help me a lot – with one command missing in Step 3:
Best Regards
Martin
@Martin
Thanks for the useful additions.
Excellent! Thanks so much, it was very useful! :D
@Maria
Welcome, remember to share it on social media.