SugarCRM is a Customer Relationship Management which can be easily installed and configured on top of LAMP stack. Written in PHP, SugarCRM comes with three editions: Community Edition (free), Professional Edition and Enterprise Edition.
This tutorial will guide you on you how to install SugarCRM Community Edition on a RedHat and Debian based systems such as CentOS, Fedora, Scientific Linux, Ubuntu, etc.
Step 1: Installing LAMP Stack in Linux
1. As I said, SugarCRM requires LAMP stack environment, and to install LAMP stack on your respective Linux distributions, use following commands.
-------------------- On RHEL/CentOS 7 --------------------
# yum install httpd mariadb-server mariadb php php-mysql php-pdo php-gd php-mbstring php-imap
-------------------- On RHEL/CentOS 6 and Fedora --------------------
# yum install httpd mysql mysql-server php php-mysql php-pdo php-gd php-mbstring php-imap
-------------------- On Fedora 23+ Version --------------------
# dnf instll httpd mariadb-server mariadb php php-mysql php-pdo php-gd php-mbstring php-imap
-------------------- On Debian 8/7 and Ubuntu 15.10/15.04 --------------------
# apt-get install apache2 mariadb-server mariadb-client php5 php5-mysql libapache2-mod-php5 php5-imap
-------------------- On Debian 6 and Ubuntu 14.10/14.04 --------------------
# apt-get instll apache2 mysql-client mysql-server php5 php5-mysql libapache2-mod-php5
2. After LAMP stack installed, next start MySQL service and use mysql_secure_installation script to secure database (add new root password, disable remote root login, delete test database and delete anonymous users).
# systemctl start mariadb          [On SystemD]
# service mysqld start             [On SysVinit]
# mysql_secure_installation
3. Before proceeding with SugarCRM installation first we need to create MySQL database. Login to MySQL database and run the below commands to create the database and the user for SugarCRM installation.
# mysql -u root -p
create database sugarcms;
grant all privileges on sugarcms.* to 'tecmint'@'localhost' identified by 'password';
flush privileges;
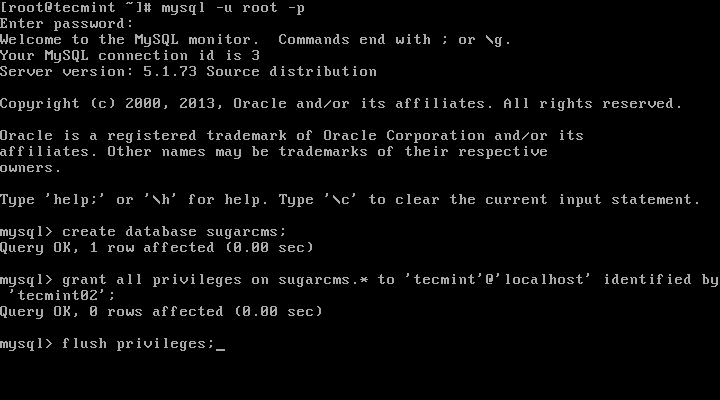
Note: For your safety replace the database name, the user and the password with your own.
Important: This 4th step, is only applicable for RedHat and CentOS based systems, Debian and Ubuntu users move to 5th step.
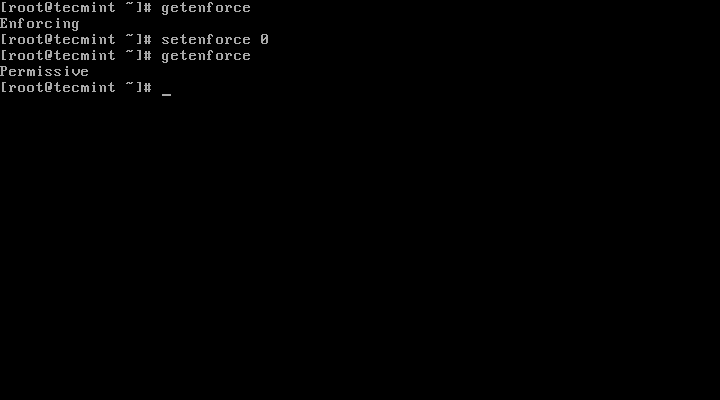
4. Issue getenforce command to check if Selinux in enabled on our machine. In case the policy is set to Enforced disable it by issuing the below commands:
# getenforce
# setenforce 0
# getenforce
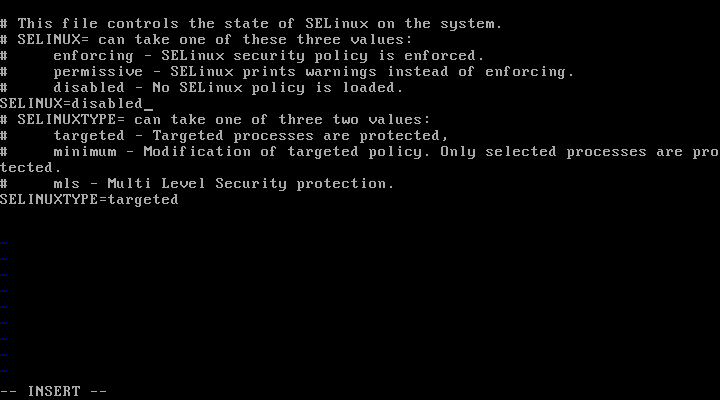
Important: To completely disable Selinux, open /etc/selinux/config file with a text editor and set the line SELINUX to disabled.
To over-ride Selinux policy run the below command:
# chcon -R -t httpd_sys_content_rw_t /var/www/html/
5. Next, assure that wget (file downloader for linux) and unzip system utilities are installed on your machine.
# yum install wget unzip           [On RedHat systems]
# apt-get install wget unzip       [On Debian systems]
6. On the last step open /etc/php.ini or /etc/php5/cli/php.ini configuration file and make the following changes:
- Rise the upload_max_filesize to minimum 7MB
- Set the date.timezone variable to your server physical timezone.
upload_max_filesize = 7M
date.timezone = Europe/Bucharest
In order to apply changes restart Apache daemon by issuing the following command:
------------ On SystemD Machines ------------
# service httpd restart
# service apache2 restart

OR

------------ On SysVinit Machines ------------
# systemctl restart httpd.service
# systemctl restart apache2.service
Step 2: Installing SugarCRM Customer Relationship Management Tool
7. Now let’s install SugarCTM. Go to SugarCRM download page and grab the latest version on your system by issuing the following command:
# wget http://liquidtelecom.dl.sourceforge.net/project/sugarcrm/1%20-%20SugarCRM%206.5.X/SugarCommunityEdition-6.5.X/SugarCE-6.5.22.zip
8. After the download finishes, use unzip command to extract the archive and copy the configuration files to your webserver document root. List the files from /var/www/html or /var/www directory by running the below commands:
# unzip SugarCE-6.5.22.zip
# cp -rf SugarCE-Full-6.5.22/* /var/www/html/
# ls /var/www/html/
Sample Output
acceptDecline.php       image.php                 removeme.php
cache                   include                   robots.txt
campaign_tracker.php    index.php                 run_job.php
campaign_trackerv2.php  install                   service
config_override.php     install.php               soap
config.php              json_server.php           soap.php
cron.php                jssource                  sugarcrm.log
crossdomain.xml         leadCapture.php           SugarSecurity.php
custom                  LICENSE                   sugar_version.json
data                    LICENSE.txt               sugar_version.php
dictionary.php          log4php                   themes
download.php            log_file_restricted.html  TreeData.php
emailmandelivery.php    maintenance.php           upload
examples                metadata                  vcal_server.php
export.php              metagen.php               vCard.php
files.md5               ModuleInstall             WebToLeadCapture.php
HandleAjaxCall.php      modules                   XTemplate
ical_server.php         pdf.php                   Zend
9. Next, change directory to /var/www/html and modify the permissions recursively for the below directories and files in order to grant apache with write permissions:
# cd /var/www/html/
# chmod -R 775 custom/ cache/ modules/ upload/
# chgrp -R apache custom/ cache/ modules/ upload/
# chmod 775 config.php config_override.php
# chgrp apache config.php config_override.php
Also, create an htaccess file on webroot directory and grant Apache with write permissions to this file.
# touch .htaccess
# chmod 775 .htaccess
# chgrp apache .htaccess
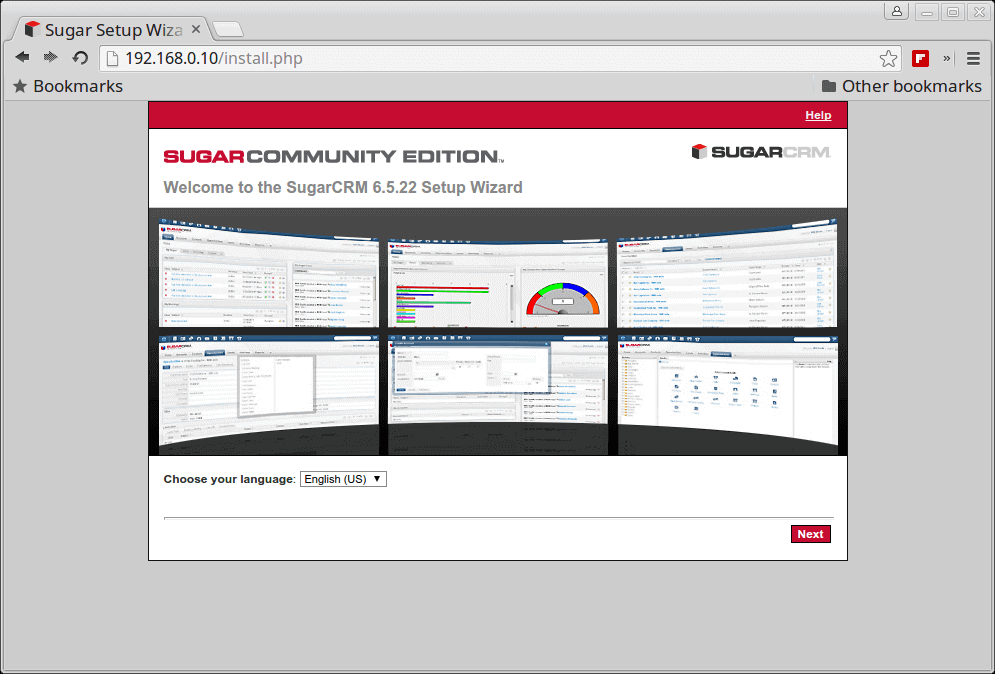
10. On the next step open a browser from a remote location in your LAN and navigate to the IP Address of the machine running LAMP (or domain), choose the installation language and hit Next button.
http://<ip_or_domain>/install.php
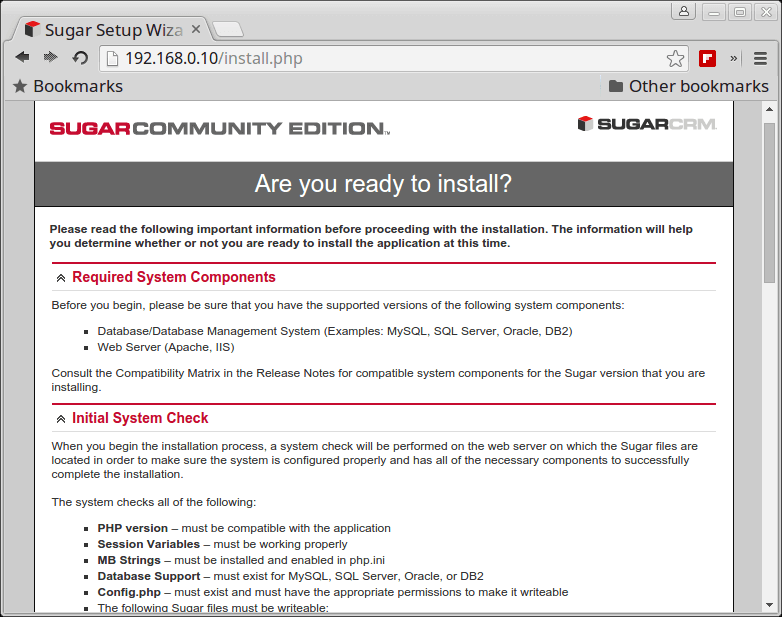
11. After a series of system checks hit Next to continue.
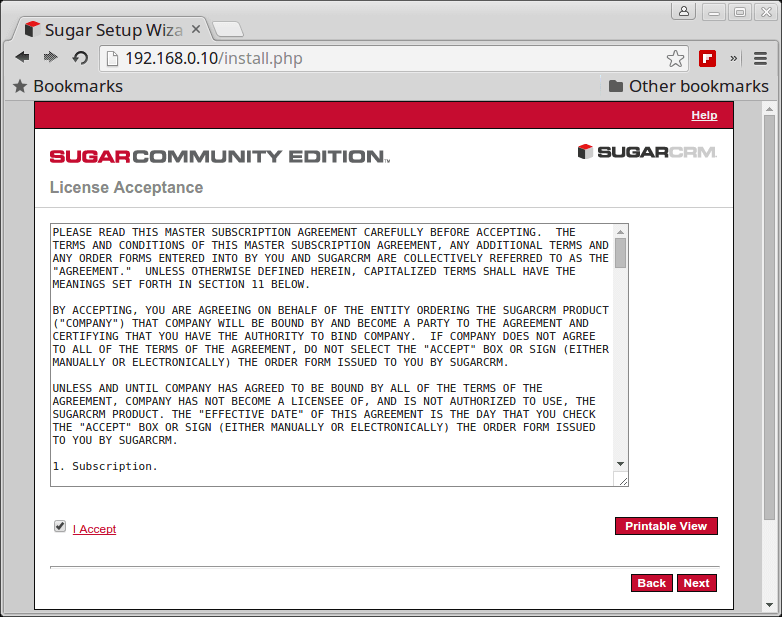
12. On the next screen accept the license and hit Next button again.
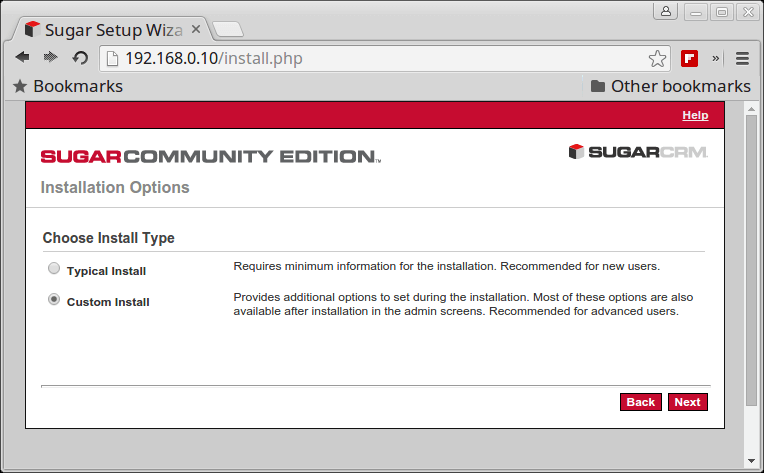
13. After a series of environment checks the installer will redirect to SugarCRM Installation Options. Here choose Custom Install and click Next button to proceed further.
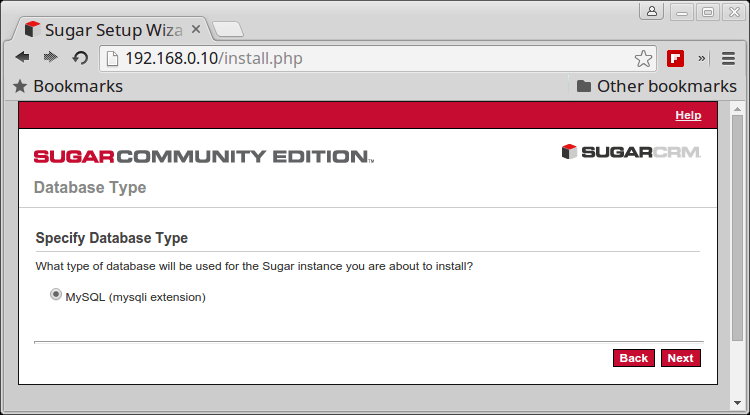
14. Choose MySQL as internal database for SugarCRM and hit Next button again.
15. Once the database configuration screen appears proceed to MySQL database setup. Here fill the fields with the values created earlier for SugarCRM MySQL database and hit Next when finished:
Database Name: sugarcms
Host name: localhost
Database Administrator Username: tecmint
Database Admin Password: password
Sugar Database Username: Same as Admin User
Populate Database with Demo Data: no

If the database is already created a notification will prompt you to verify DB Credentials. Hit Accept button to proceed further.
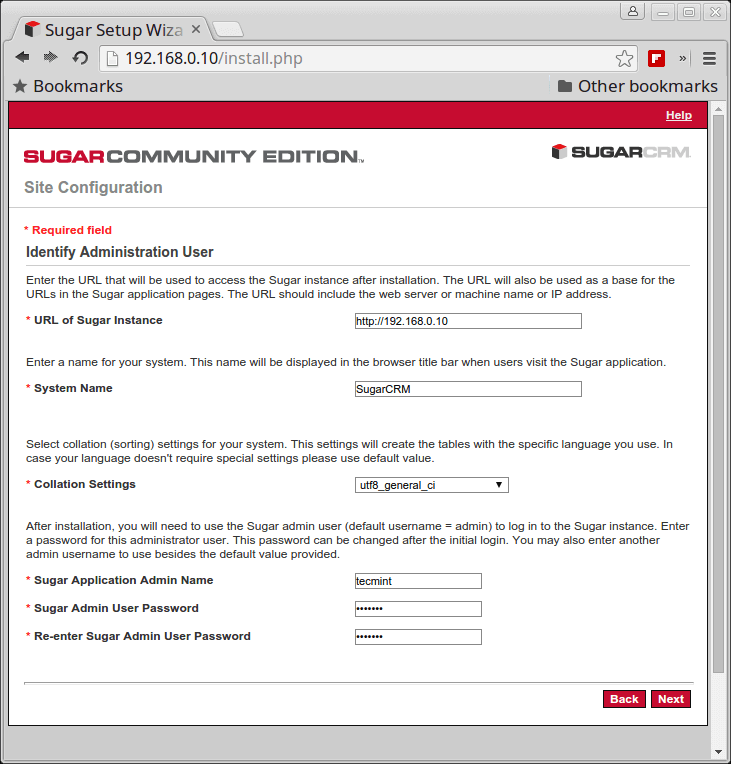
16. On the next screen the installer you ask you the URL of Sugar instance and a name for the system. Leave the URL value as default and choose a descriptive name for SugarCRM system. Also, enter a Admin username and password for SugarCRM.
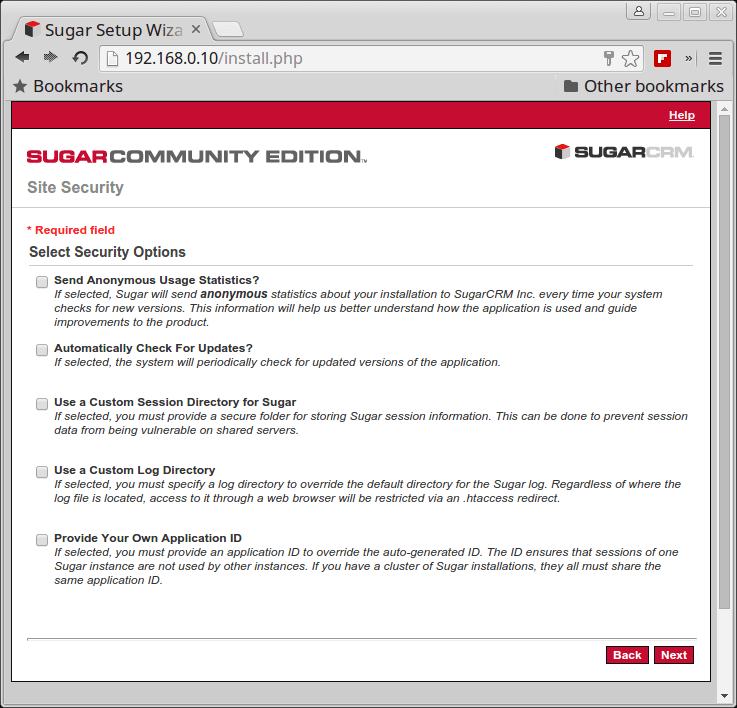
17. On the next screen, Site Security, uncheck all options and press Next to continue.
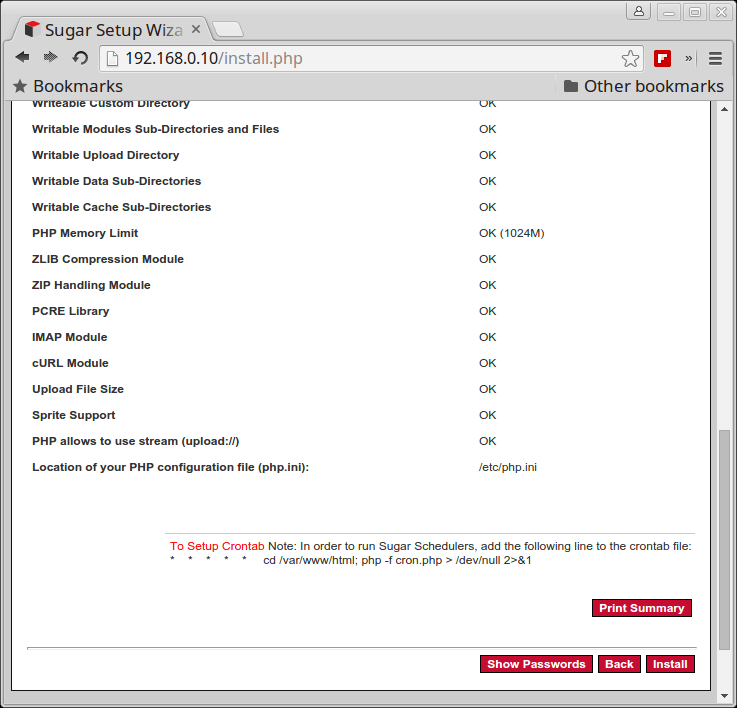
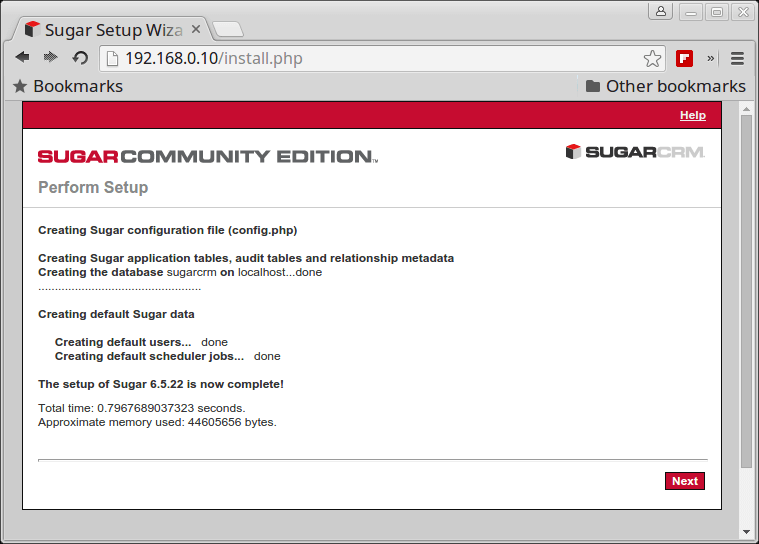
17. Finally, review SugarCRM configurations and confirm settings by pressing the Install button.
18. After the installation finishes, hit Next button to continue. You can also upload a Language Pack for SugarCRM if that’s the case.
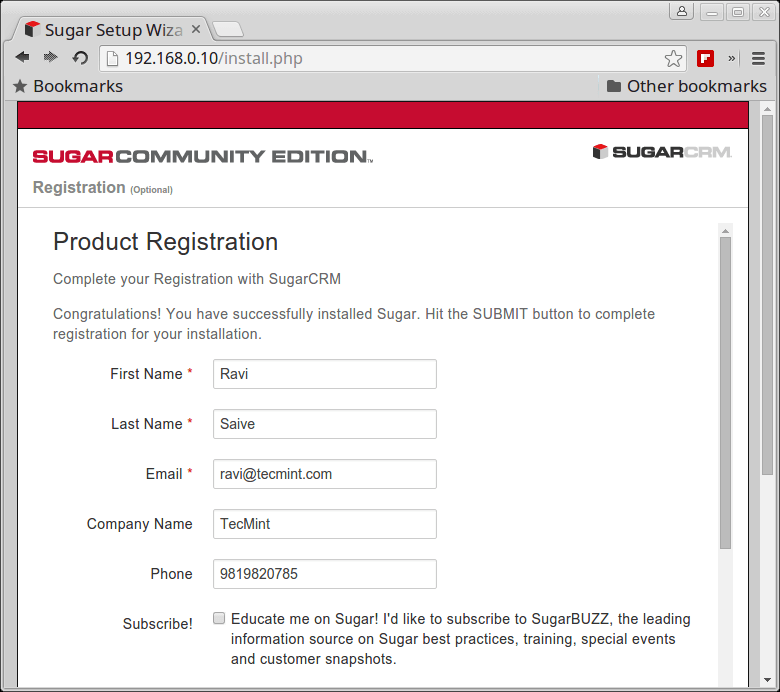
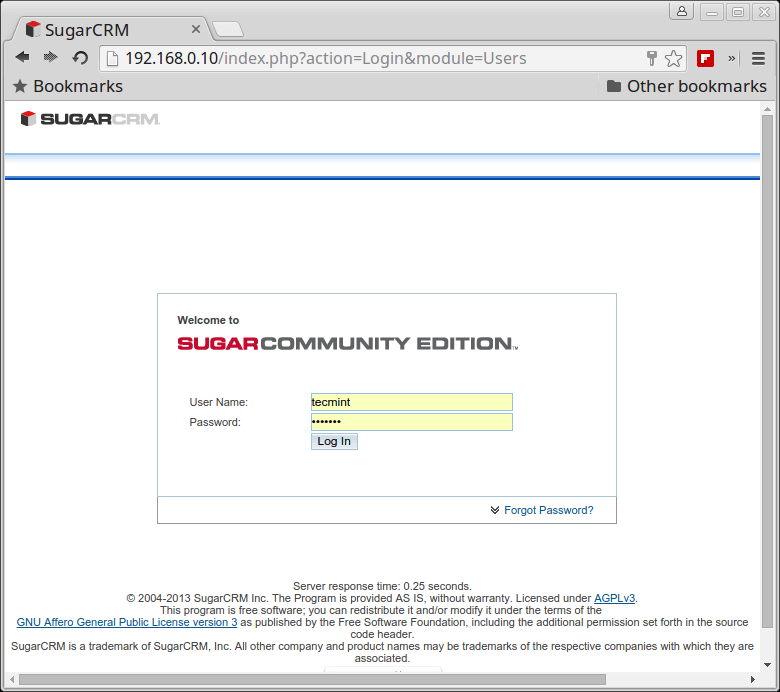
19. On the next screen you can choose to register the software. If that’s the case, fill the required fields accordingly and hit Submit. When finished hit Next button again and the Login main window should appear.
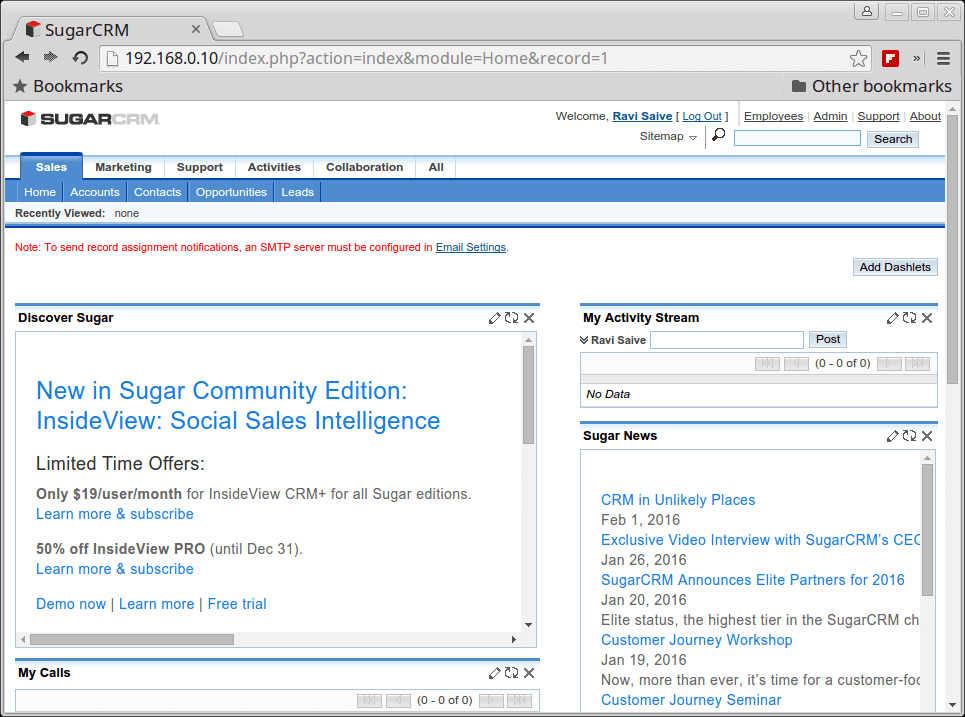
20. Login with the credentials created earlier and proceed by personalizing SugarCMS with a logo, locale settings, mail settings and your personal information.
Step 3: Secure SugarCRM
21. After the configuration process, enter command line issue the following commands in order to revert changes made to SugarCRM installation files. Also remove the installation directory by issuing the following commands.
# cd /var/www/html/
# chmod 755 .htaccess config.php config_override.php
# rm -rf install/ install.php
Finally add the following cronjob for SugarCMS on your machine by running crontab -e command:
* * * * * cd /var/www/html/; php -f cron.php > /dev/null 2>&1
Congratulations! SugarCRM is now installed on your system.


is there any way to install Sugar on MSSQL .
@Prashant,
Yes SugarCRM supports MSSQL.
Hi.
Is there any additional configuration in the server to receive mails from other smtp server? like gmail?
Admin -> Email settings. You find there all you need to configure email.
Dear Matei, I’m newbie in Linux and I already follow your step until point 4, but can’t view the main page (install pages) of http://localhost/sugarcrm.
The browser error message is ‘Forbidden You don’t have permission to access /sugarcrm/ on this server.’
Please help me to advice about this problem and thanks for the help.
Looks like you’ve installed SugarCRM on a different location than /var/www/html path. Your location according to URL you’ve provided should be /var/www/html/sugarcrm directory. For troubleshooting purposes make sure you disable Selinux and add the correct permissions starting with point 9 by navigating to your SugarCRM webroot absolute path:
cd /var/www/html/sugarcrm/
Also, run a tailf against apache error file to get a live feedback on what errors can cause the issue.
Other approach would be to just copy the SugarCRM installation files from /var/www/htm/sugarcrm/ directory to one level back into the hierarchy (/var/www/htm/) and apply permissions according to this guide.
cd /var/www/hml/
cp -Rp sugarcrm/* ./
Try suiteCRM, it’s a very nice fork of sugar.