Online educators are spoilt for choice if they decide to share their knowledge through an e-learning platform on Linux. Today there is a great number of learning management systems (LMS) that can be easily adapted to the needs of both teachers and students to make the online educational process as smooth and productive as possible.
Moodle is probably the most famous and multi-purpose LMS that allows its users to create a virtual educational environment with courses, forums, wikis, chats, and blogs on a Linux server.
One of the biggest advantages of this learning management platform is that you can extend its basic functionality with third-party plugins and even integrate it with other software tools, such as BigBlueButton.
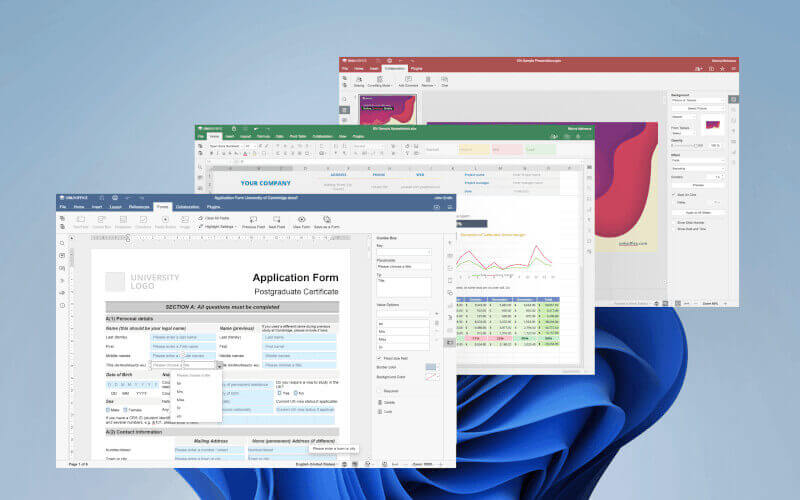
In this article, you will learn how to enhance the learning experience in Moodle by creating fillable forms with the help of ONLYOFFICE Docs, an online office suite for Linux, which handles all popular office files, such as text documents, spreadsheets, presentations, fillable forms, and PDFs.
Moodle and ONLYOFFICE Docs Integration: Main Benefits
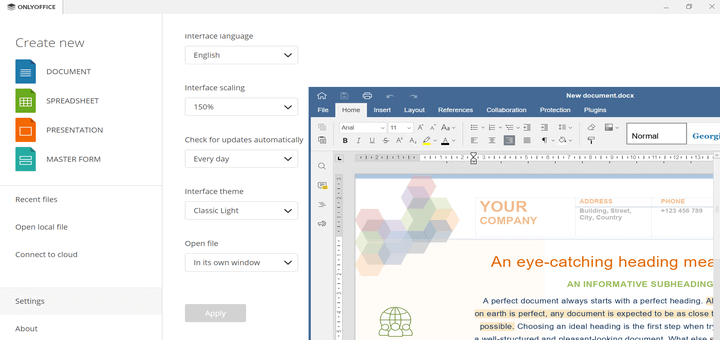
ONLYOFFICE Docs is an open-source office package that makes it possible to build a collaborative environment on a Linux server in combination with cloud storage services, document management systems, and e-learning platforms.
Some of the most famous integration examples are Nextcloud, Seafile, ownCloud, WordPress, Redmine, Alfresco, Confluence, Chamilo, etc.
When integrated with Moodle, ONLYOFFICE Docs enables document editing within the platform allowing teachers and students to carry out the following actions:
- Edit Word documents, Excel spreadsheets, PowerPoint presentations, and fillable forms in their web browser.
- View and edit PDF files.
- Open and convert documents in different formats to Office Open XML (DOCX, XLSX, and PPTX).
- Collaborate in real-time using the Fast and Strict co-editing modes.
- Use the Track Changes feature to review documents.
- Leave comments for other users.
- Exchange text messages in the built-in chat.
- Compare documents.
The ONLYOFFICE and Moodle integration works via an official plugin that is available for free on GitHub and the Moodle plugins directory.
Fillable Forms in Moodle
Starting from version 2.2, the ONLYOFFICE integration application enables Moodle users to create and edit fillable forms. This feature is really important for online teachers because it allows them to create learning materials of different types and make the learning process more interactive and engaging.
ONLYOFFICE fillable forms are documents with interactive fields where it’s possible to enter something, whether it be simple text or even an image. Such documents can be used to create worksheets, workbooks, quizzes, questionnaires, tests, and so on. They allow educators to interact with their students online.
ONLYOFFICE fillable forms are documents with interactive fields where it’s possible to enter something, whether it be simple text or even an image. Such documents can be used to create worksheets, workbooks, quizzes, questionnaires, tests, and so on. They allow educators to interact with their students online.
ONLYOFFICE forms are based on the PDF format, which makes them compatible with other popular software tools. Let’s take a look at how to create one in Moodle using ONLYOFFICE Docs.
Create Fillable Form in Moodle with ONLYOFFICE Docs
It goes without saying that if you want to create a fillable form in Moodle, you need to integrate your Moodle instance with ONLYOFFICE Docs (ONLYOFFICE Document Server). Read this guide to go through the installation and configuration process with the least effort.
First of all, you need to log into Moodle and access the My Courses section on the Site home page. Browse the list of all available courses and choose the one you want to edit.
Please make sure that the Edit mode is on. You can activate it in the upper right corner. If this mode is not enabled, you won’t be able to create a fillable form by adding the corresponding activity.
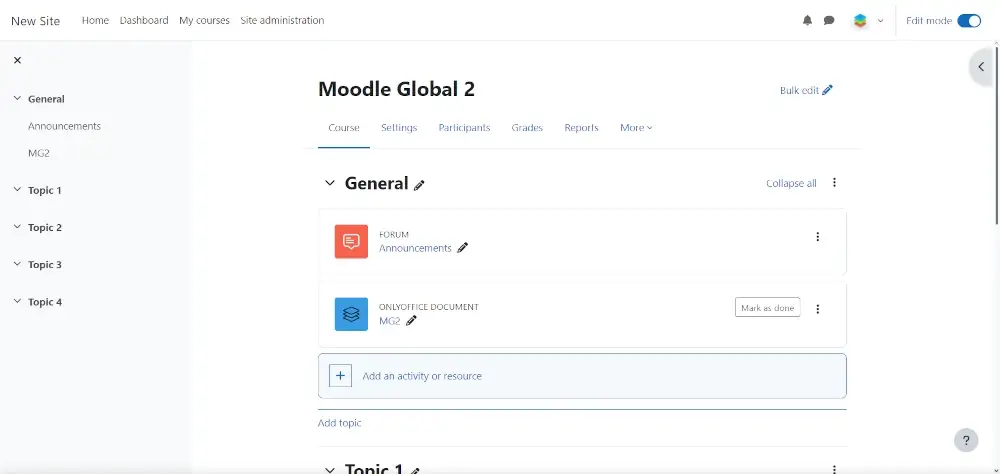
After the Edit mode is enabled, click the Add an activity or resource option and find Assignment. Click the icon to proceed.

After that, you will be redirected to a new page where you will be allowed to upload a file to create a new one. You need to specify the name of the file and choose its type – a document, a spreadsheet, a presentation, or a form template.
Additionally, you can add a description but this is not obligatory. Don’t forget to check the ONLYOFFICE Document option.
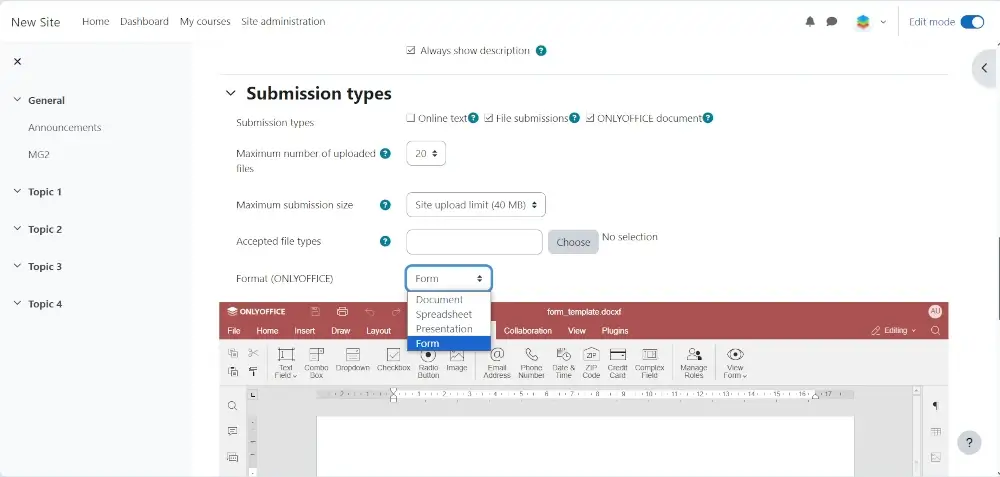
In the Submissions type menu, you need to choose the Form option, which allows you to create a fillable form. You will see a form template that you are allowed to edit the way you like.
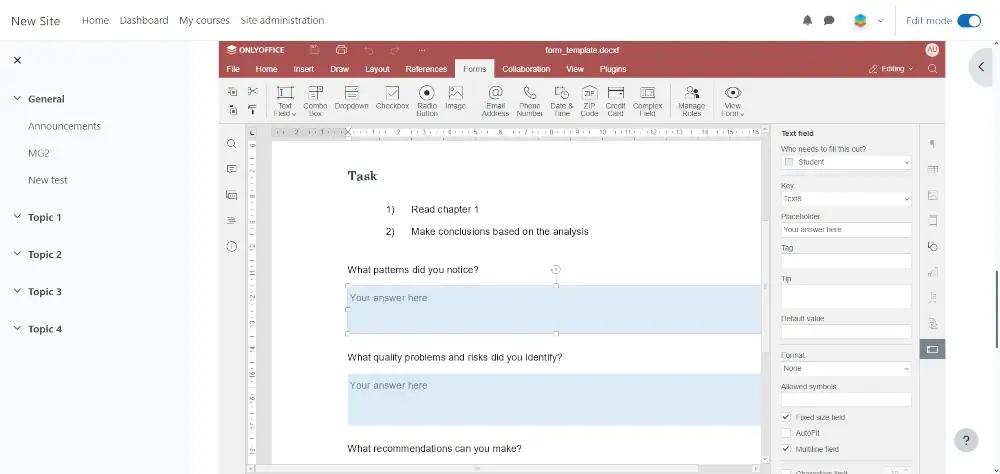
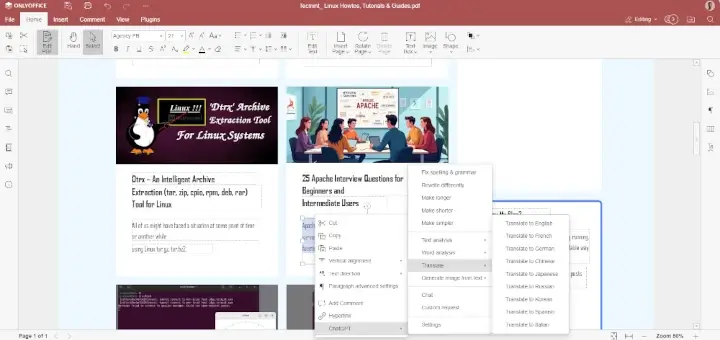
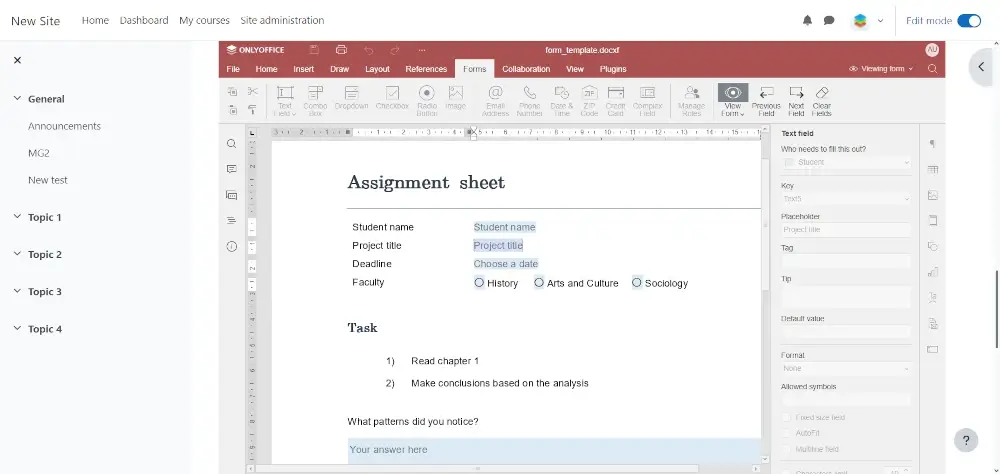
When working with form templates in ONLYOFFICE Docs, you will find all the necessary tools on the Forms tab on the top toolbar. Currently, ONLYOFFICE allows you to add the following fields:
- Text fields;
- Combo boxes;
- Drop-down lists;
- Checkboxes;
- Images;
- Radio buttons.
- Complex fields.
- Email address.
- Phone number.
- Date & Time.
- Credit card.
- Zip code.
Each field type is useful in certain scenarios. If you want your students to type something, a mere text field will be enough. If you want them to choose an item from various options, you can add radio buttons. When interacting with an image field, your student will be able to add photos or pictures. Add the desired number of fields.
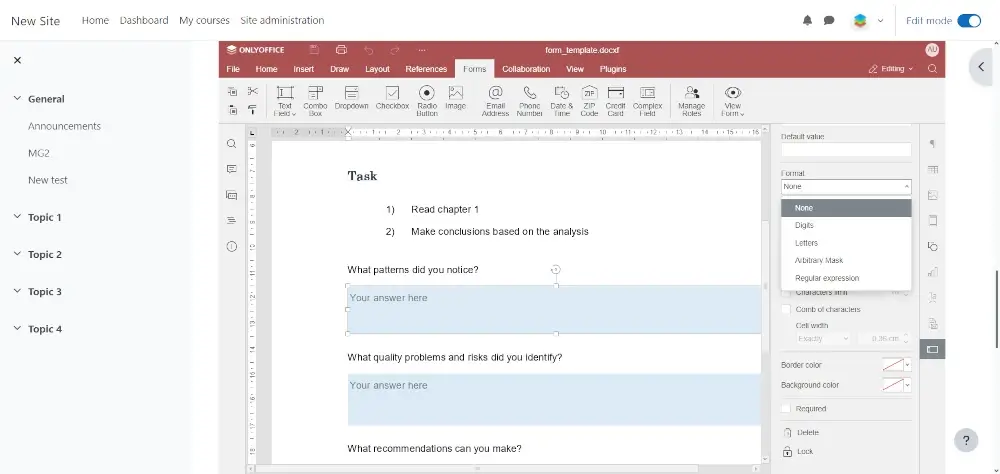
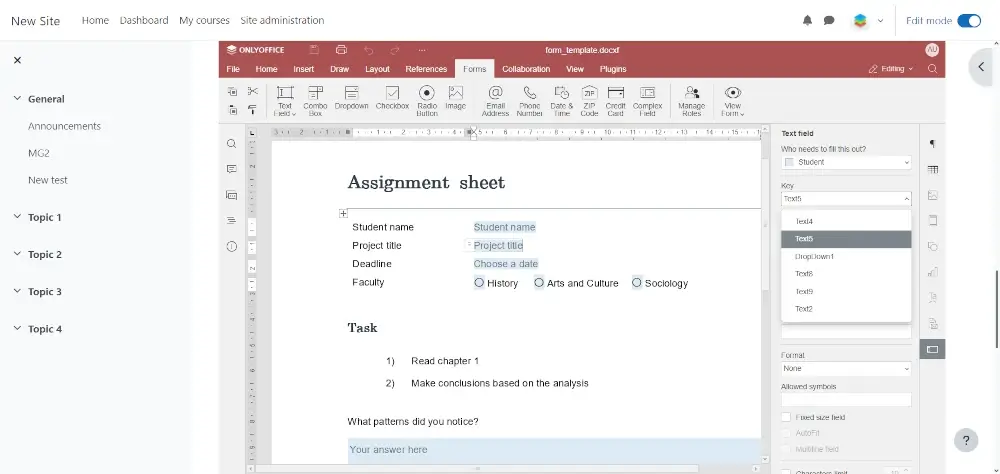
Don’t forget to adjust the properties of each field you added. When you click on a field, you will see its settings on the right-side panel. Depending of the field type, there will be different options available.
For example, if you click a drop-down field, you can see the following:
- Key: a parameter that is used to group several drop-down lists so that they can be filled out simultaneously;
- Placeholder: text that you can see in the field;
- Tip: text that is displayed when a user hovers their mouse pointer over the field;
- Value Options: items that can be chosen from the drop-down list;
- Fixed-size field;
- Border and background colors.
To make a field obligatory, you can check the Required option.
When you are done with adding the fields and adjusting their settings, you can click the View Form option on the Forms tab. This feature allows you to view the final version of your form.
If you are satisfied with what you see, and your template doesn’t need editing anymore, you can save your form and make it available within your course by clicking the Save and return to a course or Save and Display option.
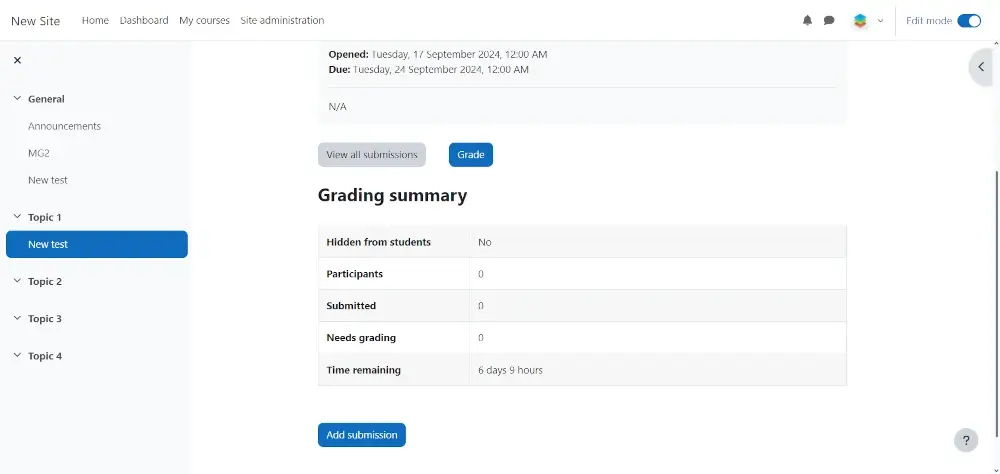
This is it. Now you have a fillable form attached to one of your courses and share it with your students. A student can open the form, fill out the required fields and save it as a PDF.
Conclusion
The ONLYOFFICE Docs integration within Moodle allows educators to create engaging courses by adding fillable forms as individual or group assignments.
PDF forms can be used to create questionnaires, tests, and other learning materials providing a solid ground for better productivity in the Moodle platform.
Another advantage of this integration is that the teacher can check all the assignments submitted by their students in a centralized way, which reduces time and effort.