LEMP or Linux, Engine-x, MySQL and PHP stack is a software bundle composed of open source software installed on the Linux operating system for running PHP based web applications powered by the Nginx HTTP server and MySQL/MariaDB database management system.
Read Also: Install LAMP – Apache, PHP, MariaDB and PhpMyAdmin in OpenSUSE
This tutorial will guide you on how to install a LEMP stack with Nginx, MariaDB, PHP, PHP-FPM and PhpMyAdmin on OpenSuse server/desktop editions.
Installing Nginx HTTP Server
Nginx is a fast and reliable HTTP and proxy server which can handle higher load of HTTP requests. It uses an asynchronous event-driven approach to handling requests, and its modular event-driven architecture can provide more predictable performance under high loads.
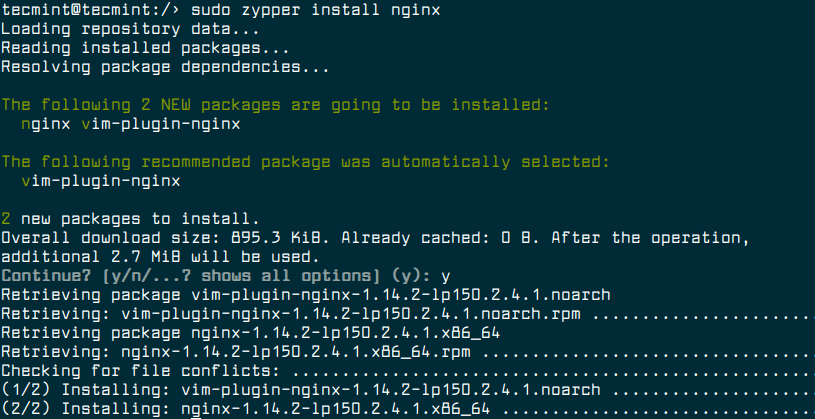
To install Nginx on OpenSuse, run the following command.
$ sudo zypper install nginx
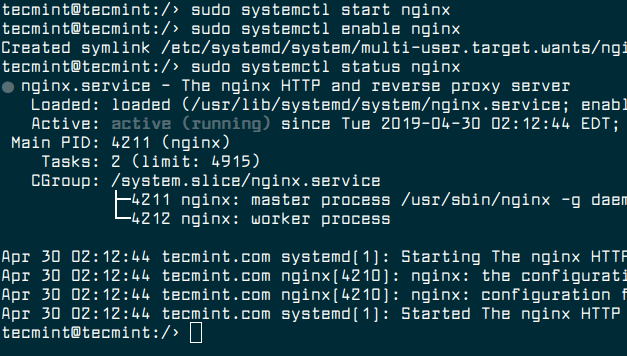
Once the Nginx installed, you can start the service for now, then enable it to auto-start at boot time and verify the status of Nginx by running the following commands.
$ sudo systemctl start nginx
$ sudo systemctl enable nginx
$ sudo systemctl status nginx
Read Also: 10 Most Used Nginx Commands Every Linux User Must Know
At this point, the Nginx web server should be up and running, you can also verify the status using the netstat command as shown.
$ sudo netstat -tlpn | grep nginx

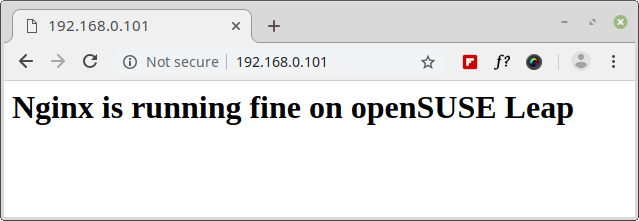
Now, we need to test if the Nginx installation is working fine. Unlike on other Linux distributions, under openSUSE, Nginx doesn’t have a standard index.html document in the web root folder. We need to create a new index.html file under the root web directory "/srv/www/htdocs" as show.
$ echo "<h1>Nginx is running fine on openSUSE Leap</h1>" | sudo tee /srv/www/htdocs/index.html

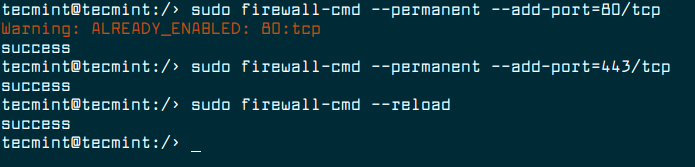
If you have firewalld installed, you need to open port 80 and 443 to allow web traffic on firewall.
$ sudo firewall-cmd --permanent --add-port=80/tcp
$ sudo firewall-cmd --permanent --add-port=443/tcp
$ sudo firewall-cmd --reload
Next, open a web browser and navigate to the address http://localhost and verify the Nginx page.
Installing MariaDB Database Server
MariaDB is a free and open source fork of the MySQL relational database management system. It’s developed by the original developers of MySQL and intended to stay open source. MariaDB is fast, scalable and robust, with a rich ecosystem of storage engines, plugins and many other tools make it very versatile for a wide variety of use cases.
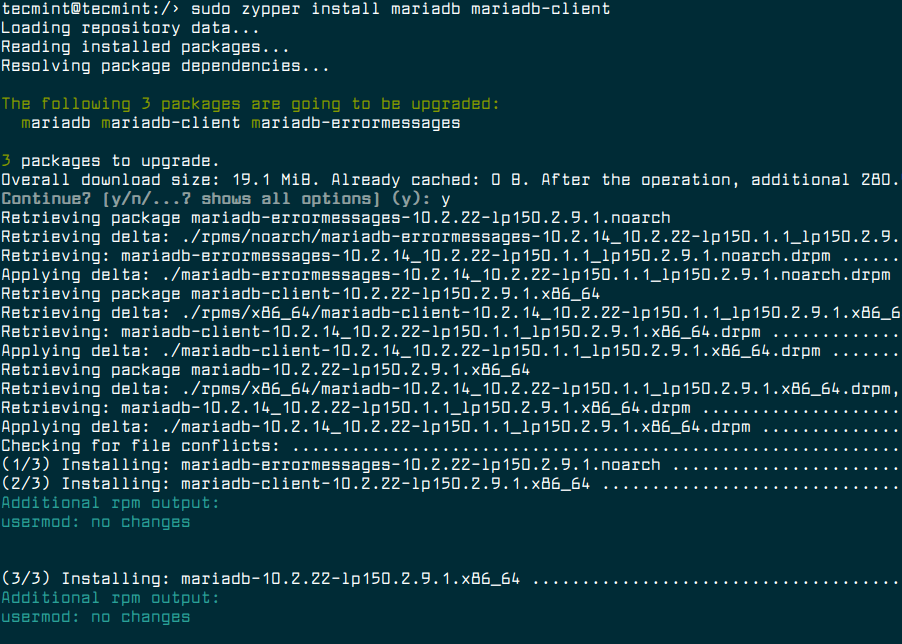
To install MariaDB on OpenSuse, run the following command.
$ sudo zypper install mariadb mariadb-client
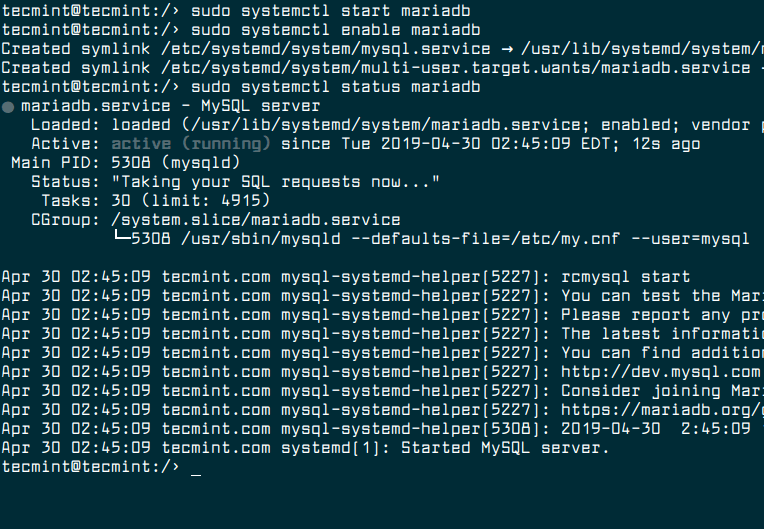
Next, start the MariaDB service for now, then enable it to auto-start at boot time and check its status.
$ sudo systemctl start mariadb
$ sudo systemctl enable mariadb
$ sudo systemctl status mariadb
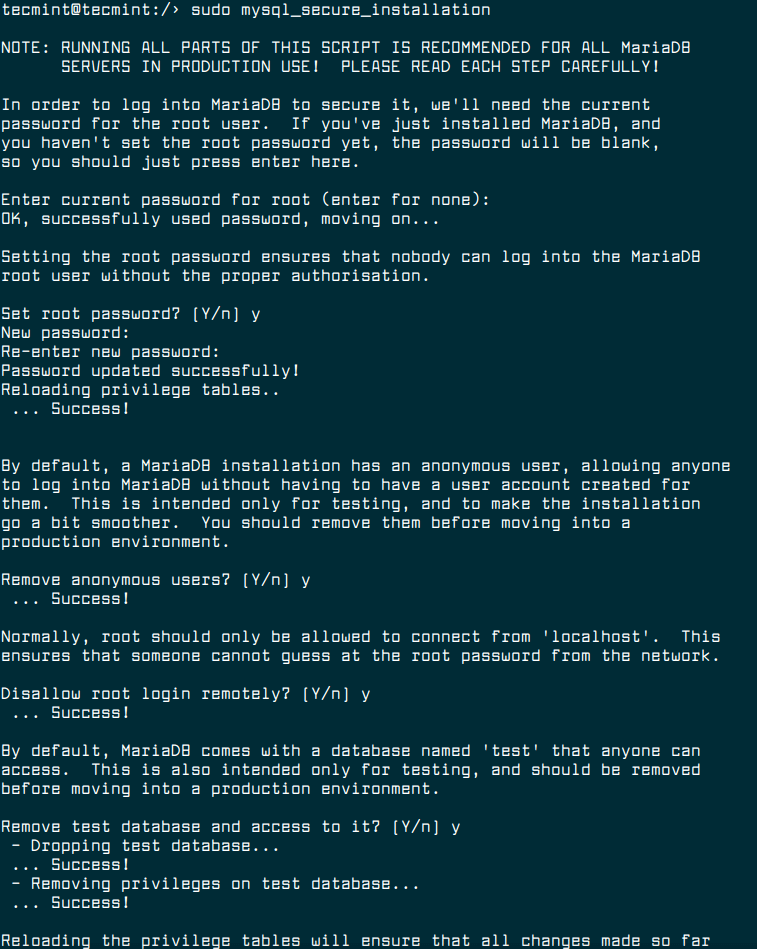
The next critical step under this section is to secure the MariaDB server installation. Therefore run the security script which ships with the MariaDB package, as shown.
Note: Running MariaDB security script and all its parts is highly recommended for all MariaDB servers in production.
$ sudo mysql_secure_installation
After running the script, read the description at each step carefully. You should set a root user password, remove anonymous users, disable remote root access, remove the test database and access to it and finally reload privileges table.
Installing and Configuring PHP and PHP-FPM
PHP-FPM (short for PHP FastCGI Process Manager) is an alternative FastCGI daemon for PHP with some additional features and designed to handle high loads. It maintains pools (workers that can respond to PHP requests) to accomplish this. Importantly, it is faster than traditional CGI-based methods, such as SUPHP, for multi-user PHP environments.
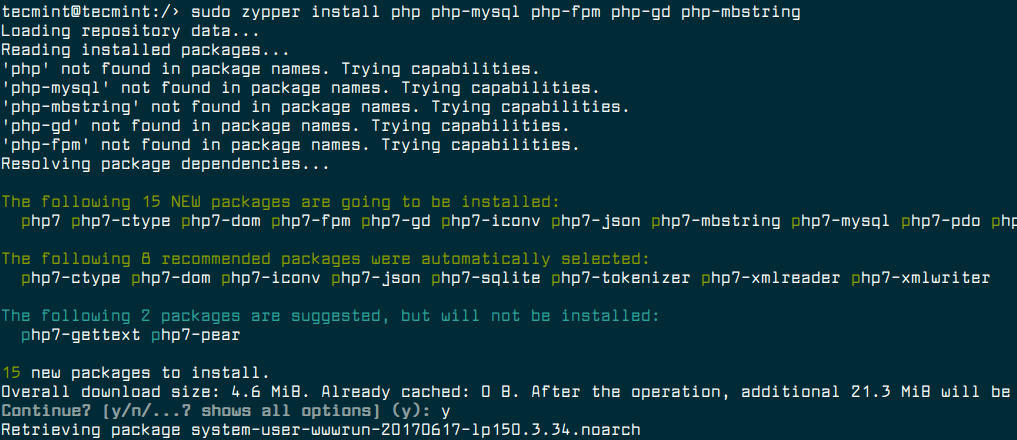
To install PHP and PHP-FPM along with needed modules run the following command.
$ sudo zypper install php php-mysql php-fpm php-gd php-mbstring
Before we proceed to start the PHP-FPM service, we need to create the required configuration files from the default files provided during the installation, and configure the service ready for operations.
$ sudo cp /etc/php7/fpm/php-fpm.conf.default  /etc/php7/fpm/php-fpm.conf
$ sudo cp /etc/php7/fpm/php-fpm.d/www.conf.default /etc/php7/fpm/php-fpm.d/www.conf
Then open the main php-fpm.conf configuration file for editing.
$ sudo vim /etc/php7/fpm/php-fpm.conf
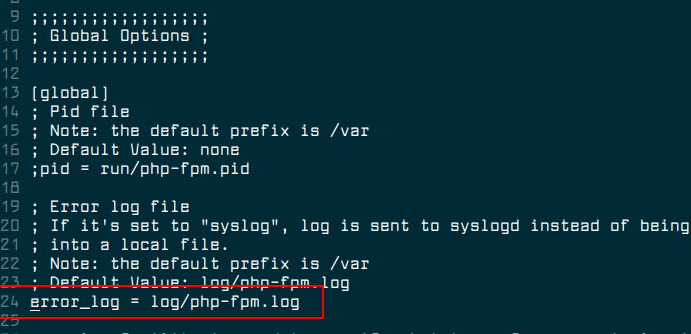
Uncomment the following line at the line number 24 as shown.
error_log = log/php-fpm.log
Save and close the file.
Next, we need to define the correct settings for the configured pools in the www.conf configuration file.
$ sudo vim /etc/php7/fpm/php-fpm.d/www.conf
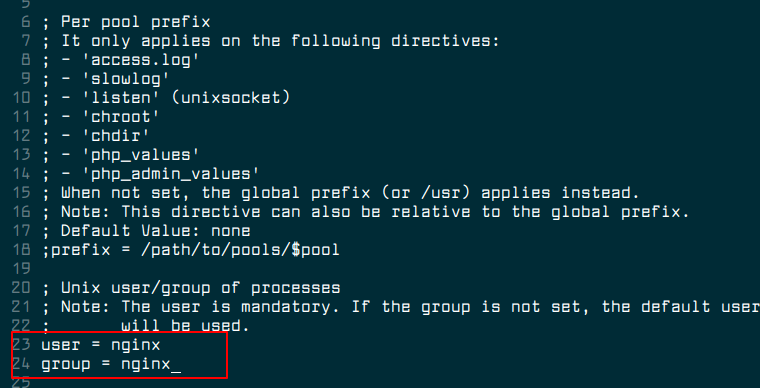
First, configure the Unix owner and group owner of processes to the Nginx user and group. Do this by changing the values of the user and group parameters from nobody to nginx.
user = nginx
group = nginx
Now save the changes to the file and exit it.
Additionally, there is one more important configuration to perform, which secures PHP-FPM in the /etc/php/cli/php.ini file.
$ sudo vim /etc/php7/cli/php.ini
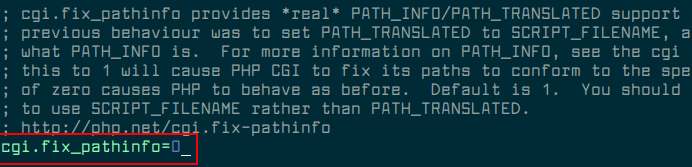
Search for the line ;cgi.fix_pathinfo=1 and change it to.
cgi.fix_pathinfo=0
Save the changes in the file and exit.
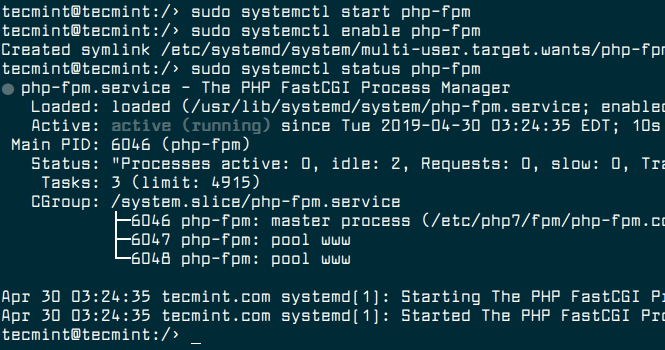
Next, start the PHP-FPM service for now, then enable it to auto-start at boot time and check its status.
$ sudo systemctl start php-fpm
$ sudo systemctl enable php-fpm
$ sudo systemctl status php-fpm
Configuring Nginx to Work with PHP-FPM
At this point, we need to configure Nginx to work with PHP-FPM in the default Nginx configuration file.
$ sudo vim /etc/nginx/nginx.conf
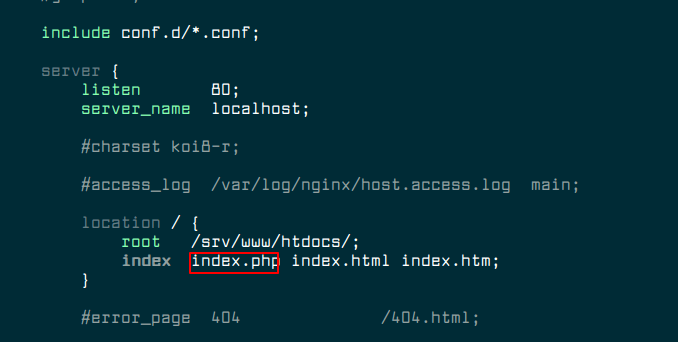
Then look for the following section, and add the index.php in the list of expected index files.
location / {
           root   /srv/www/htdocs/;
           index  index.php index.html index.htm ;
       }
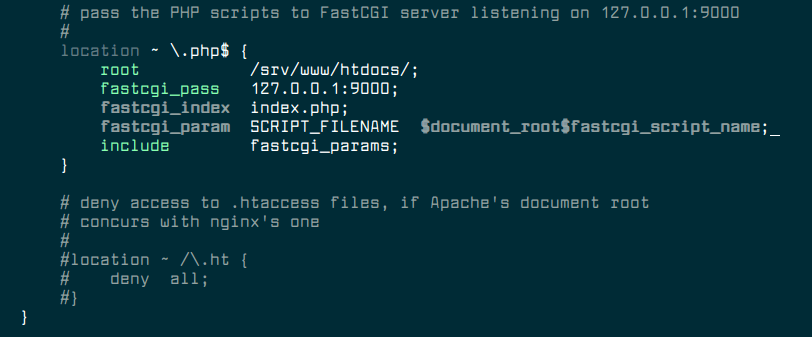
Also find the following section (which should be commented out) and uncomment it. This section is used to pass the PHP scripts to FastCGI server listening on 127.0.0.1:9000.
location ~ \.php$ {
       root           /srv/www/htdocs/;
       fastcgi_pass   127.0.0.1:9000;
       fastcgi_index  index.php;
       fastcgi_param  SCRIPT_FILENAME  $document_root$fastcgi_script_name;
       include        fastcgi_params;
       }
Save the changes in the file and exit.
Testing Nginx and PHP-FPM
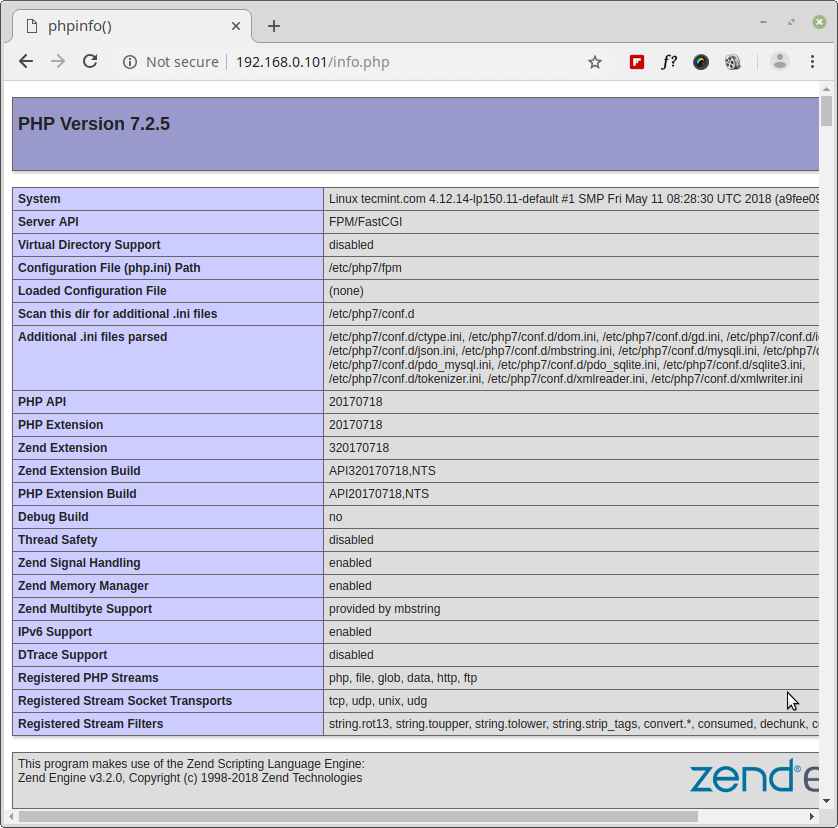
The next step is to test if Nginx is working well in conjunction with PHP-FPM by creating a new PHP test file under the DocumentRoot directory as shown.
$ echo "<?php phpinfo(); ?>" | sudo tee /srv/www/htdocs/info.php
Now we need to check if the Nginx configuration is correct as follows, before we proceed to restart the service.
$ sudo nginx -t

If the Nginx configuration syntax is ok, go ahead and restart the Nginx and PHP-FPM services for the recent changes to take efffect.
$ sudo systemctl restart nginx php-fpm
Now open a web browser and navigate to the address http://localhost/info.php to verify the PHP configuration as shown in the following screenshot.
Installing and Configuring PhpMyAdmin
phpMyAdmin is a free, simple easy-to-use and popular tool written in PHP, built for administering MySQL server over the Web. It spports a wide range of operations on MySQL and MariaDB.
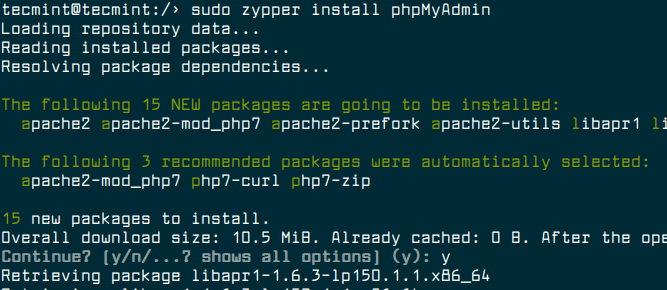
To install phpMyAdmin on OpenSuse, run the following command.
$ sudo zypper install phpMyAdmin
Once the installation is complete, create a new vhost configuration file for accessing phpMyAdmin as shown.
$ sudo vim /etc/nginx/vhosts.d/phpmyadmin.conf
Add these following configuration to file.
server {
   listen 80;

   server_name localhost/phpMyAdmin;

  root /srv/www/htdocs/phpMyAdmin;

   location / {
       try_files $uri /index.php?$args;
   }

   location ~ \.php$ {
       try_files $uri =404;
       fastcgi_pass 127.0.0.1:9000;
       fastcgi_index index.php;
       include fastcgi_params;
   }
}
Save the changes and close the file. Then restart the Nginx service with the following command.
$ sudo systemctl restart nginx
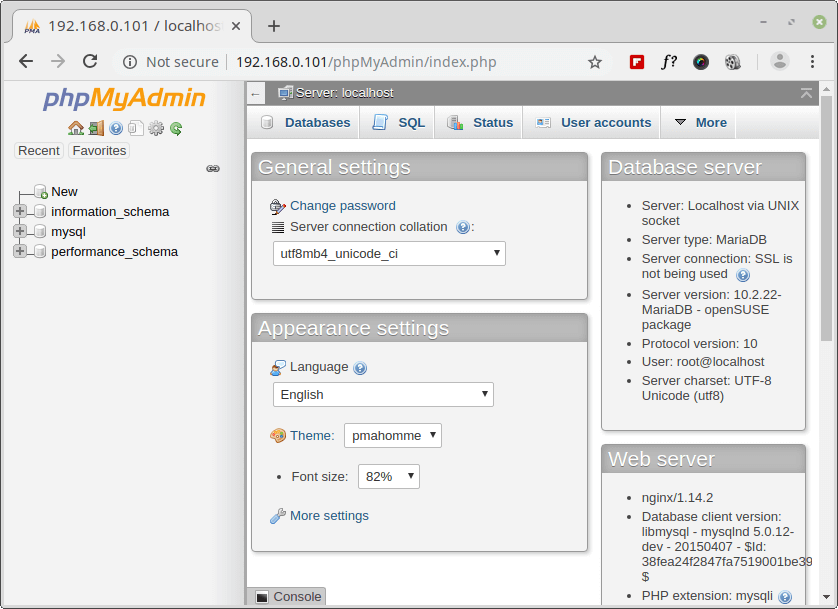
Now go to your web browser and type the address http://localhost/phpMyAdmin. A phpMyAdmin login page should display as shown in the following screenshot. Enter your database root user login credentials and click Go.
That’s all! In this tutorial, we’ve explained you how install a LEMP stack with Nginx, MariaDB, PHP, PHP-FPM and PhpMyAdmin on OpenSuse server/desktop editions. If you’re facing any issues during setup, do ask your questions via a comment form below.

looks like ‘Loaded Configuration File (none)‘, where the configuration is php.ini. how to set it?
Okay, I found it.
It is not running any PHP script, much less the index.php.
Looks great. But for an eCommerce store like me who is also tech-savvy, tends to save his hand from getting dirty in coding stuff like that. I could either hire in devops team or outsource my server management.
@Arthur
We actually offer server management and related services. Thanks for the feedback.
Wow! what’s the font in the screen picture, It’s very cool!