

PostgreSQL is a powerful, highly scalable, open source, and cross-platform object-relational database system that runs on Unix-like operating systems including Linux and Windows OS. It is an enterprise-level database system that is highly reliable and offers data integrity and correctness to users.
In this article, we will explain how to install the latest version of PostgreSQL 16 on RHEL and RHEL-based distributions such as Rocky Linux, AlmaLinux, Oracle Linux, and Fedora using the official PostgreSQL Yum repository.
[ez-toc]
1. Update Software Package
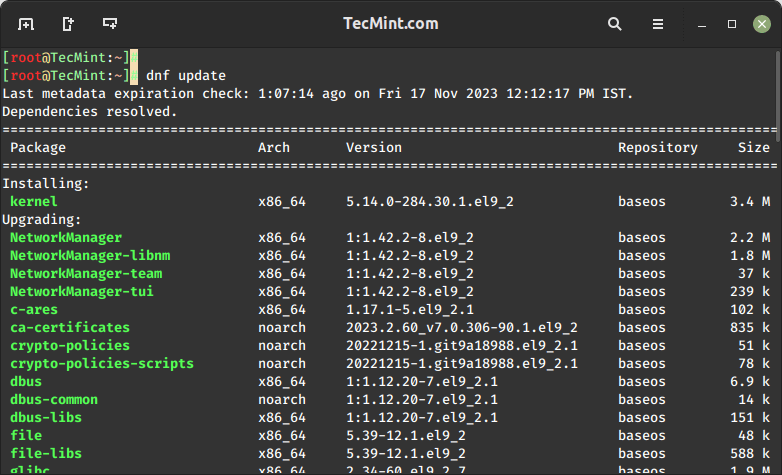
Before initiating the PostgreSQL installation process, make sure to update your Linux system software packages by running the following dnf command.
sudo dnf update
2. Enabling PostgreSQL Repository
While PostgreSQL is available in the default system repositories, it’s advisable to enable the official PostgreSQL repository for access to the latest version.
On RHEL, Rocky, AlmaLinux, and Oracle Linux 9:
sudo dnf install -y https://download.postgresql.org/pub/repos/yum/reporpms/EL-9-x86_64/pgdg-redhat-repo-latest.noarch.rpm
On RHEL, Rocky, AlmaLinux, and Oracle Linux 8:
sudo dnf install -y https://download.postgresql.org/pub/repos/yum/reporpms/EL-8-x86_64/pgdg-redhat-repo-latest.noarch.rpm
On Fedora 39:
sudo dnf install -y https://download.postgresql.org/pub/repos/yum/reporpms/F-39-x86_64/pgdg-fedora-repo-latest.noarch.rpm
On Fedora 38:
sudo dnf install -y https://download.postgresql.org/pub/repos/yum/reporpms/F-38-x86_64/pgdg-fedora-repo-latest.noarch.rpm
3. Installing PostgreSQL 16 Server
After adding the PostgreSQL repository in your respective Linux distribution, use the following command to install the PostgreSQL server and client packages.
sudo dnf install -y postgresql16-server postgresql16
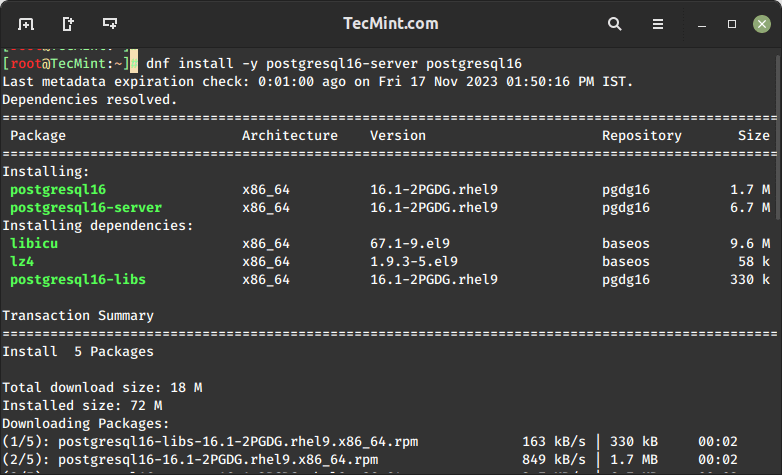
Important: PostgreSQL data directory /var/lib/pgsql/16/data/ contains all of the data files for the database.
4. Initializing PostgreSQL Database
Because of certain policies applicable to Red Hat-based distributions, the PostgreSQL installation will not automatically start or have the database initialized as part of the automatic startup process.
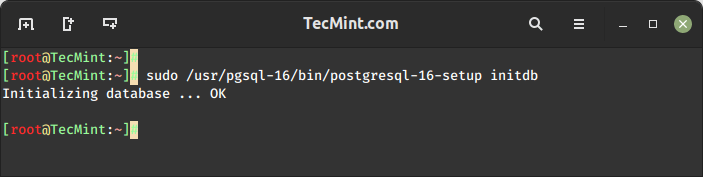
To complete your database installation, you need to initialize your database before using it for the first time.
sudo /usr/pgsql-16/bin/postgresql-16-setup initdb
5. Configuring PostgreSQL for Remote Access
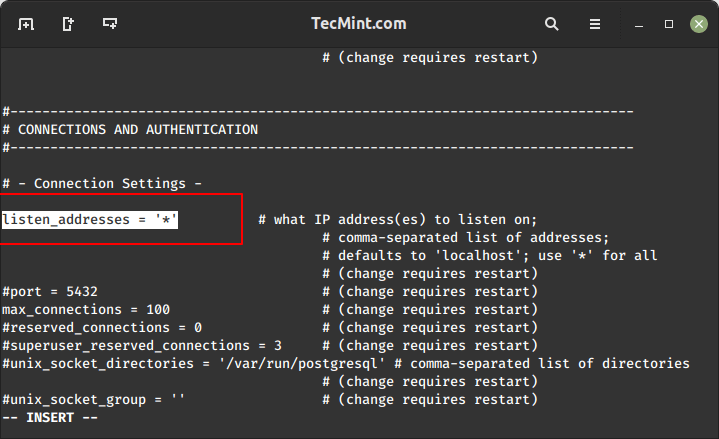
To enable remote connections, you need to modify the configuration file postgresql.conf using a text editor.
sudo vi /var/lib/pgsql/16/data/postgresql.conf
Update the listen_addresses parameter to allow connections from all hosts on your local network.
listen_addresses = '*'
After making the changes to the configuration file, you need to restart the PostgreSQL service to apply the new settings and enable automatic start.
sudo systemctl restart postgresql-16
sudo systemctl enable postgresql-16
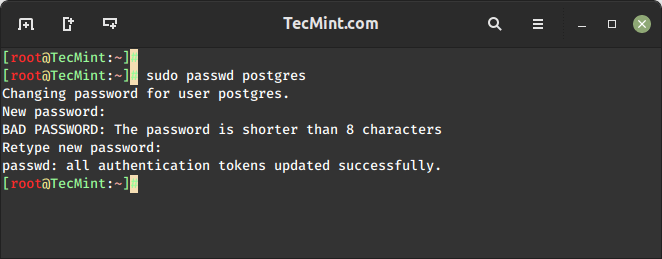
6. Setting PostgreSQL User Password
Set the password for the default PostgreSQL user (postgres).
sudo passwd postgres
7. Accessing PostgreSQL Database
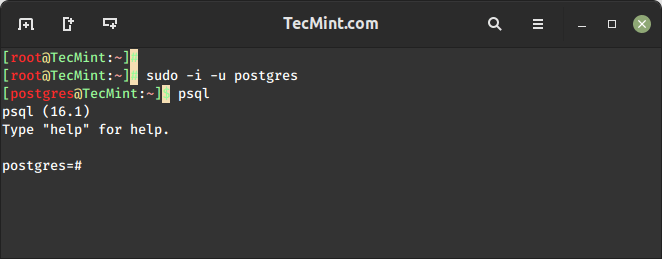
After setting the user password, you can access the PostgreSQL database server using the psql command.
sudo -i -u postgres
psql
Finally, read through these related articles about the PostgreSQL database management system:
Conclusion
Congratulations! You’ve successfully installed PostgreSQL 16 on RedHat-based distributions (the latest version available at the time). Remember to consult the official PostgreSQL documentation for any version-specific details or changes.

Thank for sharing the nice tutorial. I followed it to install PostgreSQL.
@Olivia
Check out the following guides to install PostgreSQL 12, on:
CentOS 8: https://www.tecmint.com/install-postgressql-and-pgadmin-in-centos-8/
RHEL 8: https://www.tecmint.com/install-postgresql-in-rhel-8/
Thanks for the useful feedback.
CentOS 6.9:
Instead of this:
You need to run this:
Also, install postgresql10-contrib as well
@Anonemouse
Many thanks for this useful tip.