Universal Media Server (UMS) is a cross-platform and free DLNA-compliant, HTTP(s) PnP Media server, which provides a number of capabilities such as sharing multimedia files such as images, videos, and audio between modern devices such as game consoles, smart TVs, Blu-ray players, Roku devices, and smartphones.
UMS was originally based on a PS3 Media Server in order to ensure greater stability and file compatibility.
UMS streams a wide range of media formats with little or absolutely no configuration. It is powered by a number of multimedia tools such as VLC media player, FFmpeg, AviSynth, MEncoder, tsMuxeR, MediaInfo, and many more.
In this guide, we examine how to install Universal Media Server on Debian-based distributions. We will demonstrate its installation using Ubuntu 22.04.
Step 1: Install Additional Packages and Dependencies
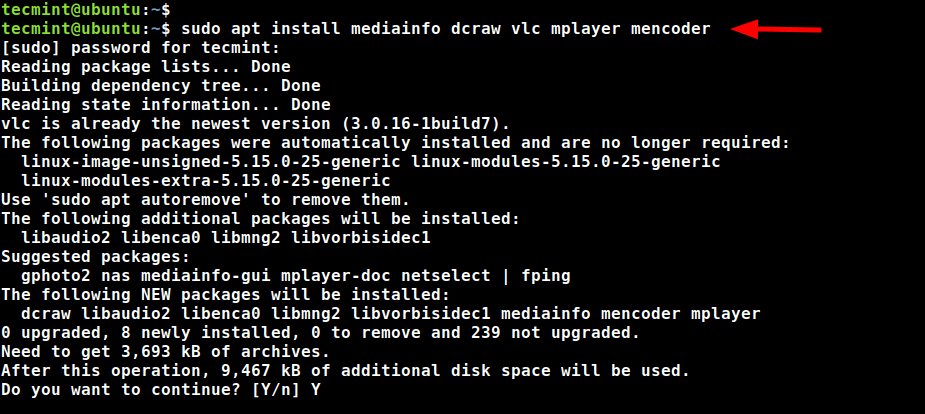
A few additional packages and dependencies are required by the Universal Media Server, which includes a VLC media player, MPlayer, mediainfo, and mencoder for encoding videos.
To install these packages, run the following apt command.
$ sudo apt install mediainfo dcraw vlc mplayer mencoder
Step 2: Install Universal Media Server in Ubuntu
Universal Media Server is available for download from its GitHub repository for various devices including:
- x86 (For 32-bit older PCs).
- x86_64 (For 64-bit PCs).
- arm64 / armhf (For devices with ARM processors e.g. Raspberry Pi).
Since we are running Ubuntu 22.04, we will download the 64-bit tarball file. The latest version of Universal Media Server is 13.5.0 at the time of writing this guide.
So, download the Universal Media Server compressed file as follows and replace the version number accordingly to match the latest release using the following wget command.
$ wget https://github.com/UniversalMediaServer/UniversalMediaServer/releases/download/13.5.0/UMS-13.5.0-x86_64.tgz
Once the tarball has been downloaded, navigate to the location where you downloaded the tarball file extract the tarball file to the /opt directory, and rename the uncompressed folder ‘ums‘.
$ sudo tar -zxvf UMS-13.5.0-x86_64.tgz -C /opt/ --transform s/ums-13.5.0/ums/
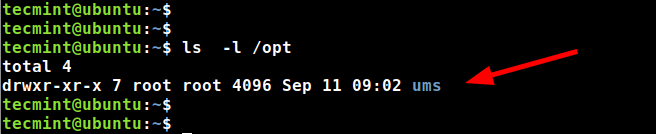
Verify the existence of the folder ‘ums‘ in the /opt directory.
$ ls /opt
Step 3: Launch Universal Media Server in Ubuntu
The last step is to launch the media server. To do so, run the following script.
$ /opt/ums/UMS.sh
This loads all the necessary components needed to run the media server. Finally, the media server service will be started at port 9001, and instructions on how to access the media server will be displayed at the end of the script’s output.

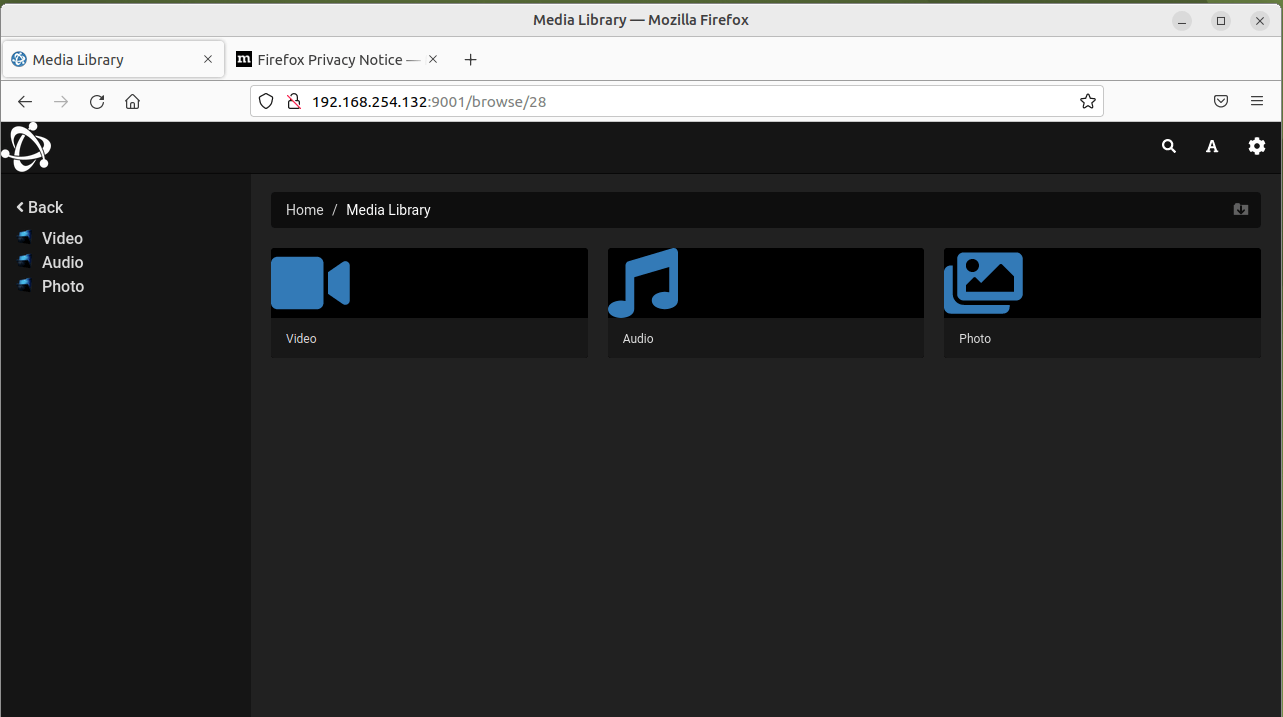
As such, to access Universal Media Server, browser the URL provided. The URL will be different in your case.
http://server-ip:9001
You will get the following interface.
Step 4: Configure Universal Media Server Systemd Service
When the script is terminated on the command line, the UMS service halts. A better way to run the media server is to configure it as a systemd service so that you can easily start, stop and manage it without any interruptions.
To do this, create a systemd file.
$ sudo nano /etc/systemd/system/ums.service
Next, paste the following lines. Be sure to replace every instance of ‘tecmint’ with your own username for User and Group attributes.
[Unit]
Description=Run UMS as tecmint
DefaultDependencies=no
After=network.target

[Service]
Type=simple
User=tecmint
Group=tecmint
ExecStart=/opt/ums/UMS.sh
TimeoutStartSec=0
RemainAfterExit=yes
Environment="UMS_MAX_MEMORY=500M"

[Install]
WantedBy=default.target
Save the changes and exit the configuration file. The reload systemd and enable and start UMS service using the following commands.
$ sudo systemctl daemon-reload
$ sudo systemctl enable ums.service
$ sudo systemctl start ums.service
Once started, check the Universal Media Service status via command:
$ sudo systemctl status ums.service
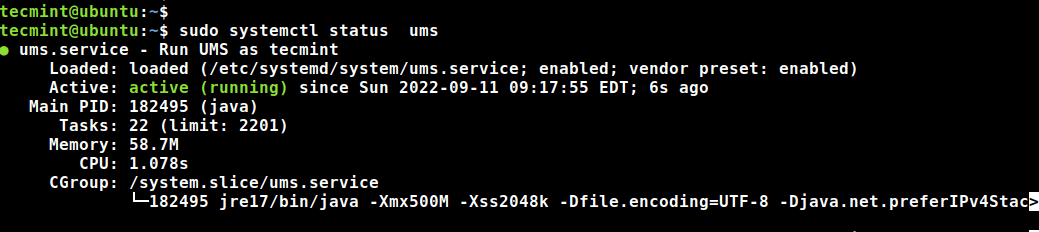
From the output, we can see that UMS is running as expected.
This concludes our guide on how to install Universal Media Server on Debian-based distributions. From here, you can upload and stream your multimedia files across multiple devices. Your feedback on this guide is welcome.
Thanks, it worked for me on Odroid-HC4 Ubuntu Mate.
How to update to the latest version without losing all configuration and files, please?
@Darrell,
Before performing any updates, it’s essential to back up your existing configuration and media files. If anything goes wrong during the update process, you can restore your settings and media.
Hi Ravi,
Thank you so much for your answer, can I ask if there is a simple command that will run the update or do I have to go through the install steps again using the latest version?
@Darrell,
I have updated the instructions, I suggest you go through the install steps again with the latest version to ensure everything is set up correctly.
Hi Ravi,
Thank you so much for your help, I will have a go when I get some free time.
Is it possible to use UMS to stream the monitor to a client? this will avoid the need to connect a laptop by HDMI to the TV.
Followed it as it was written this is my results
$ sudo systemctl status ums.service × ums.service - Run UMS as tecmint Loaded: loaded (/etc/systemd/system/ums.service; enabled; vendor preset: enabled) Active: failed (Result: exit-code) since Sun 2022-09-25 14:06:58 CEST; 4s ago Process: 10222 ExecStart=/opt/ums/UMS.sh (code=exited, status=217/USER) Main PID: 10222 (code=exited, status=217/USER) CPU: 2ms sep 25 14:06:58 systemd[1]: Started Run UMS as tecmint. sep 25 14:06:58 systemd[10222]: ums.service: Failed to determine user credentials: No such file or directory sep 25 14:06:58 systemd[10222]: ums.service: Failed at step USER spawning /opt/ums/UMS.sh: No such file or directory sep 25 14:06:58 systemd[1]: ums.service: Main process exited, code=exited, status=217/USER sep 25 14:06:58 systemd[1]: ums.service: Failed with result 'exit-code@Johan,
Try to remove User and Group from ums.service file or reloading SystemD might fix it.
Hi Ravi,
Removing it was not the solution
adding group ums
adding username (mijn username)
Thats all
Johan
@John,
Thanks for sharing the tip…