In RHEL and CentOS 8 the networking service is managed by the NetworkManager daemon and it is used to dynamically configure and control network devices and keep connections up and active when they are available.
NetworkManager comes with numerous benefits such as support for easy network setup and management using both command-line interface and graphical user interface tools, provides an API through D-Bus which allows for querying and controlling network configuration, support for configuration flexibility and much more.
Besides, the NetworkManager can also be configured using files, and Cockpit web console and it supports the use of custom scripts to start or stop other services based on the connection status.
Read Also: How to Configure and Manage Network Connections Using ‘nmcli’ Tool
Before we go further, the following are some other important points to note about networking in CentOS/RHEL 8:
- The traditional ifcfg type configuration (eg. ifcfg-eth0, ifcfg-enp0s3) files are still supported.
- Network scripts are deprecated and are no longer provided by default.
- A minimal installation provides a new version of the ifup and ifdown scripts that call NetworkManager via the nmcli tool.
- To run the ifup and ifdown scripts, NetworkManager must be running.
Installing NetworkManager on CentOS/RHEL 8
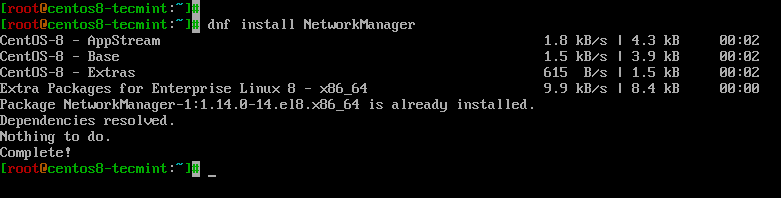
The NetworkManager should come preinstalled on a CentOS/RHEL 8 basic installation, otherwise, you can install it using the DNF package manager as shown.
# dnf install NetworkManager
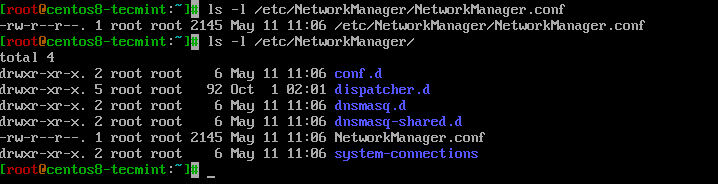
The global configuration file for NetworkManager is located at /etc/NetworkManager/NetworkManager.conf and additional configuration files can be found in /etc/NetworkManager/.
Managing NetworkManager Using Systemctl on CentOS/RHEL 8
In CentOS/RHEL 8, and other modern Linux systems that have adopted the systemd (system and service manager), services are managed using the systemctl tool.
The following are useful systemctl commands for managing the NetworkManager service.
Checking the status of NetworkManager
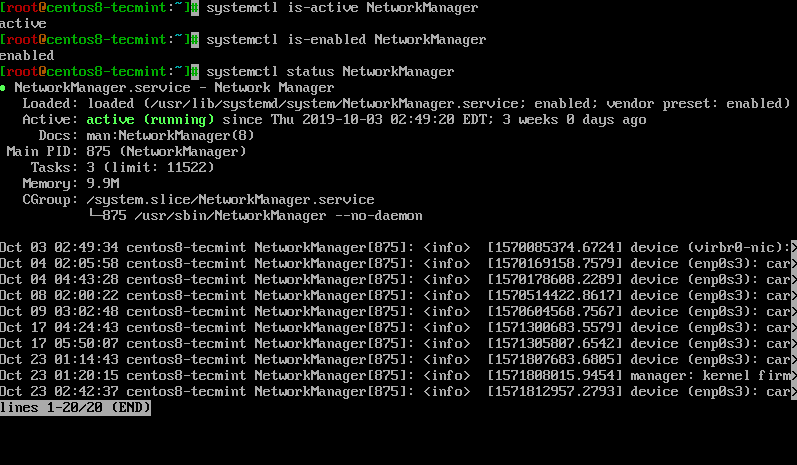
A minimal installation of CentOS/RHEL 8 should have NetworkManager started and enabled to automatically start at boot time, by default. You can use the following commands to check if NetworkManager is active, enabled, and print runtime status information of the NetworkManager.
# systemctl is-active NetworkManager
# systemctl is-enabled NetworkManager
# systemctl status NetworkManager
Starting NetworkManager
If the NetworkManager is not running, you can start it by simply running.
# systemctl start NetworkManager
Stoping NetworkManager
To stop or deactivate the NetworkManager for one reason or the other, issue the following command.
# systemctl stop NetworkManager
Restarting NetworkManager
If you have made any changes to interface configurations files or NetworkManager daemon’s configuration (typically located under the /etc/NetworkManager/ directory), you can restart (stop and then start) the NetworkManager to apply the changes as shown.
# systemctl restart NetworkManager
Reloading NetworkManager
To reload the NetworkManager daemon’s configuration (but not the unit configuration file of systemd) without restarting the service, run the following command.
# systemctl reload NetworkManager
Using NetworkManager Tools and Working with ifcfg Files
The NetworkManager supports some tools for users to interact with it, which are:
- nmcli – a command-line tool used to configure networking.
- nmtui – a simple curses-based text user interface, which is also used to configure and manage newtwork interface connections.
- Other tools include the nm-connection-editor, control-center, and network connection icon (all under GUI).
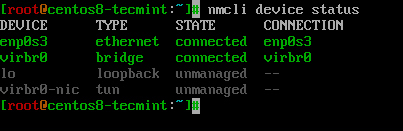
To list the devices detected by NetworkManager, run the nmcli command.
# nmcli device
OR
# nmcli device status
To view all active connections, run the following command (note that without the -a, it lists the available connection profiles).
# nmcli connection show -a

Set Static IP Address on CentOS/RHEL 8
Network interface-specific configuration files are located in the /etc/sysconfig/network-scripts/ directory. You can edit any of these files, for example, to set a static IP address for your CentOS/RHEL 8 server.
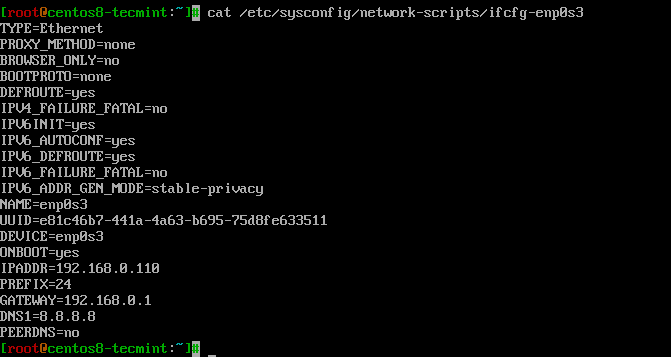
# vi /etc/sysconfig/network-scripts/ifcfg-enp0s3
Here is a sample configuration for setting a static IP address.
TYPE=Ethernet
PROXY_METHOD=none
BROWSER_ONLY=no
BOOTPROTO=none
DEFROUTE=yes
IPV4_FAILURE_FATAL=no
IPV6INIT=yes
IPV6_AUTOCONF=yes
IPV6_DEFROUTE=yes
IPV6_FAILURE_FATAL=no
IPV6_ADDR_GEN_MODE=stable-privacy
NAME=enp0s3
UUID=e81c46b7-441a-4a63-b695-75d8fe633511
DEVICE=enp0s3
ONBOOT=yes
IPADDR=192.168.0.110
PREFIX=24
GATEWAY=192.168.0.1
DNS1=8.8.8.8
PEERDNS=no
After saving the changes, you need to reload all connection profiles or restart the NetworkManager for the new changes to apply.
# nmcli connection reload
OR
# systemctl restart NetworkManager
Starting or Stopping Network Services/Scripts Based on Network Connectivity
NetworkManager has a useful option that allows users to execute services (such as NFS, SMB, etc.) or simple scripts based on network connectivity.
For example, if you want to automatically mount a remote directory locally with sshfs, mount SMB shares, or mount NFS shares after switching between networks. You may want such network services to be executed not until NetworkManager is up and running (all connections are active).
This feature is provided by the NetworkManager-dispatcher service (which must be started and enabled to start automatically at system boot). Once the service is running, you can add your scripts to the /etc/NetworkManager/dispatcher.d directory.
All scripts must be executable and writable, and owned by root, for example:
# chown root:root /etc/NetworkManager/dispatcher.d/10-nfs-mount.sh
# chmod 755 /etc/NetworkManager/dispatcher.d/10-nfs-mount.sh
Important: The dispatcher scripts are will be executed in alphabetical order at connection time, and in reverse alphabetical order at disconnect times.
Using Legacy Network Scripts
As we mentioned earlier, network scripts are deprecated in CentOS/RHEL 8 and do not come installed by default. If you still want to use the network scripts, you need to install the network-scripts package.
# yum install network-scripts
Once installed, this package provides a new version of the ifup and ifdown scripts which call NetworkManager via the nmcli tool we have looked at above. Note that NetworkManager should be running for you to run these scripts.
For more information, see the systemctl and NetworkManager man pages.
# man systemctl
# man NetworkManager
That’s all we prepared in this article. You can seek clarification on any of the points or ask questions or make any additions to this guide via the feedback form below.


Thumbs up……Thanks :-)
Especially the focus on command-line is appreciated.
Awesome article dude. but my problem not solved. I can’t start the BIND DNS Server on centos 7. What can I do now?