Nginx [engine x] is a free and open-source, cross-platform, powerful web server and reverse proxy software written in C. It is also a standard IMAP/POP3 and TCP/UDP proxy server, and can be used as a load balancer.
Nginx is a well known HTTP server (comparable to Apache HTTP server) powering numerous sites on the web; it is popular for its high-performance and stability.
There are various important factors to consider when you want to improve user experience on your site, including site speed and page speed (also known as page load time). If your site is powered by Nginx, then you can use ngx_pagespeed for this purpose.
Suggested Read: Install Mod_Pagespeed to Improve Apache Server Performance
Ngx_pagespeed is a free and open source Nginx module used for enhancing the speed of sites as well as scaling down page load time. It significantly reduces the time it takes for users to see and interact with your site content.
Ngx_pagespeed Features:
- Support for HTTPS and URL control.
- Image optimization: stripping meta-data, dynamic resizing, recompression.
- CSS & JavaScript minification, concatenation, inlining, and outlining.
- Small resource inlining.
- Deferring image and JavaScript loading.
- HTML rewriting.
- Cache lifetime extension.
- Allows configuring for multiple servers and many others.
In this tutorial, we will show how to install Nginx with ngx_pagespeed and test the whole installation on RHEL/CentOS 7.
Attention: Debian and Ubuntu users can follow this guide to Install Ngx_Pagespeed to Improve Nginx Performance.
Step 1: Install Nginx from Source
1. To install Nginx with ngx_pagespeed requires you to compile it from source. First install all the packages required for compiling Nginx from source like this.
# yum install wget gcc cmake unzip gcc-c++ pcre-devel zlib-devel
OR
# yum group install "Development Tools"

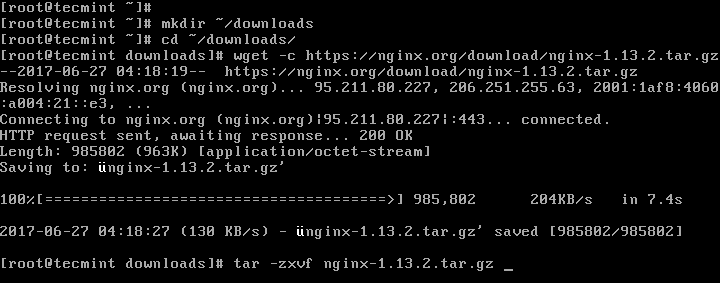
2. Next, obtain source files of the latest version of Nginx (1.13.2 at the time of this writing) using the wget command and extract the downloaded tar ball as below.
# mkdir ~/downloads
# cd ~/downloads
# wget -c https://nginx.org/download/nginx-1.13.2.tar.gz
# tar -xzvf nginx-1.13.2.tar.gz
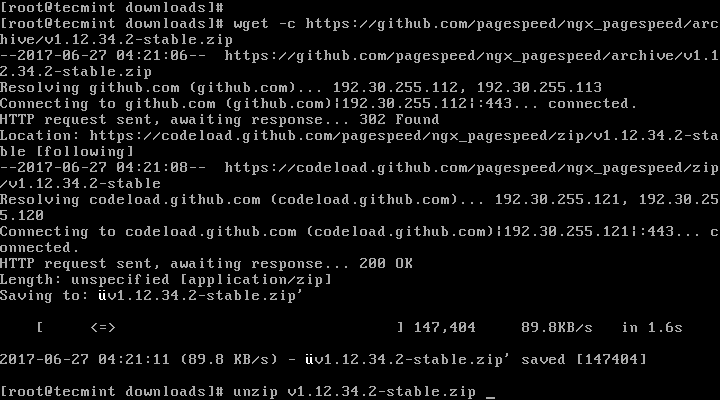
3. Next, download the ngx_pagespeed source files and unzip compressed files.
# wget -c https://github.com/pagespeed/ngx_pagespeed/archive/v1.12.34.2-stable.zip
# unzip v1.12.34.2-stable.zip
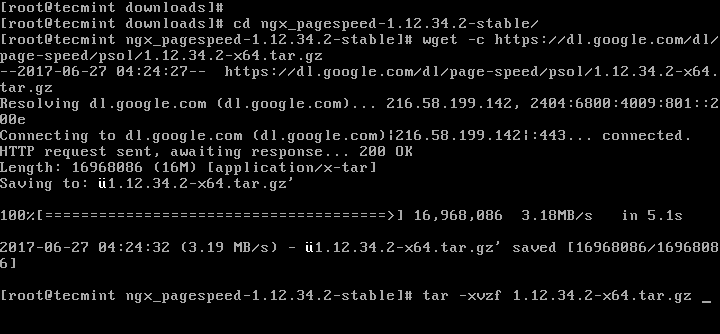
4. Now move into the unzipped ngx_pagespeed directory and get the PageSpeed optimization libraries to compile Nginx as follows.
# cd ngx_pagespeed-1.12.34.2-stable/
# wget -c https://dl.google.com/dl/page-speed/psol/1.12.34.2-x64.tar.gz
# tar -xvzf 1.12.34.2-x64.tar.gz
Step 2: Configure and Compile Nginx with Ngx_Pagespeed
5. Now go into the nginx-1.13.2 directory, and configure the Nginx source by running the commands below.
# cd ~/downloads/nginx-1.13.2
# ./configure --add-module=$HOME/downloads/ngx_pagespeed-1.12.34.2-stable/ --user=nobody --group=nobody --error-log-path=/var/log/nginx/error.log --http-log-path=/var/log/nginx/access.log --pid-path=/var/run/nginx.pid ${PS_NGX_EXTRA_FLAGS}

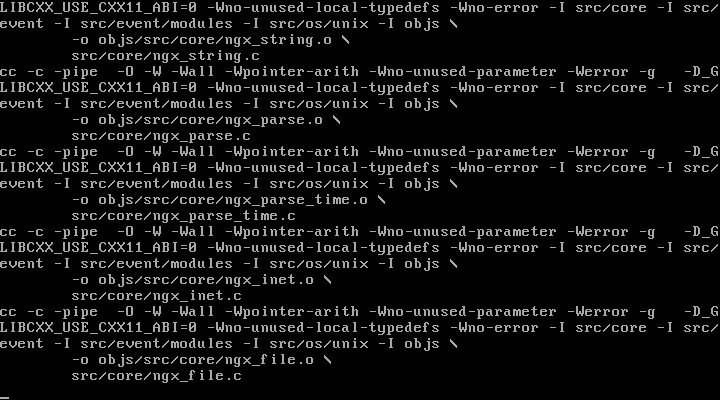
6. Next, compile and install Nginx as follows.
# make
# make install
7. When the installation process is complete, create all the necessary symlinks for Nginx.
# ln -s /usr/local/nginx/conf/ /etc/nginx/
# ln -s /usr/local/nginx/sbin/nginx /usr/sbin/nginx

Step 3: Creating Nginx Unit File for SystemD
8. Next, since systemd is the init system in CentOS 7, you need to manually create the Nginx unit file for it.
Fisrt, create the file /lib/systemd/system/nginx.service, then grab the NGINX systemd service file paste the unit file configuration into the below file.
# vi /lib/systemd/system/nginx.service
Take note of the location of the PIDFile and the NGINX binary which you set while configuring and compiling Nginx, you will set them in the appropriate variables in the unit file as shown below:
[Unit]
Description=The NGINX HTTP and reverse proxy server
After=syslog.target network.target remote-fs.target nss-lookup.target

[Service]
Type=forking
PIDFile=/var/run/nginx.pid
ExecStartPre=/usr/sbin/nginx -t
ExecStart=/usr/sbin/nginx
ExecReload=/bin/kill -s HUP $MAINPID
ExecStop=/bin/kill -s QUIT $MAINPID
PrivateTmp=true

[Install]
WantedBy=multi-user.target
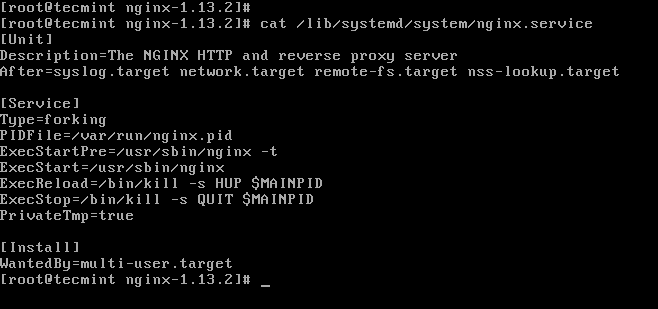
Save the file and close it.
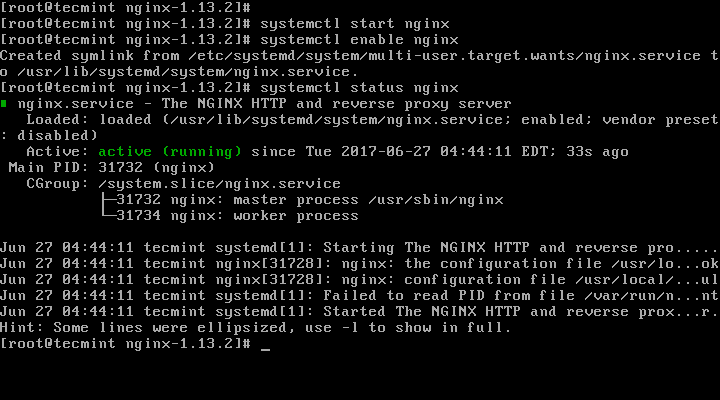
9. At this point, start nginx service for the mean time and enable it to start at system boot by running the commands below.
# systemctl start nginx
# systemctl enable nginx
# systemctl status nginx
Step 4: Configure Nginx With Pagespeed Module
10. With Nginx installed, next, you need to enable Ngx_pagespeed module. Start by creating a directory where the module will cache the files for your website and set the appropriate permissions on this directory with the commands below.
# mkdir -p /var/ngx_pagespeed_cache
# chown -R nobody:nobody /var/ngx_pagespeed_cache

11. Now it is time to enable Ngx_pagespeed module, open the Nginx configuration file and add the lines below.
Important: If you have configured any nginx virtual hosts on the server, add the above pagespeed directives to each server block to enable Ngx_pagespeed on each site.
# vi /etc/nginx/nginx.conf
Add following Ngx_pagespeed configuration lines within the server block.
# Pagespeed main settings

pagespeed on;
pagespeed FileCachePath /var/ngx_pagespeed_cache;


# Ensure requests for pagespeed optimized resources go to the pagespeed
# handler and no extraneous headers get set.

location ~ "\.pagespeed\.([a-z]\.)?[a-z]{2}\.[^.]{10}\.[^.]+" { add_header "" ""; }
location ~ "^/ngx_pagespeed_static/" { }
location ~ "^/ngx_pagespeed_beacon" { }
The following is a working example of the Nginx configuration file with Ngx_pagespeed enabled in the default virtual host.
#user  nobody;
worker_processes  1;
#error_log  logs/error.log;
#error_log  logs/error.log  notice;
#error_log  logs/error.log  info;
#pid        logs/nginx.pid;
events {
    worker_connections  1024;
}
http {
    include       mime.types;
    default_type  application/octet-stream;
    #log_format  main  '$remote_addr - $remote_user [$time_local] "$request" '
    #                  '$status $body_bytes_sent "$http_referer" '
    #                  '"$http_user_agent" "$http_x_forwarded_for"';

    #access_log  logs/access.log  main;
    sendfile        on;
    #tcp_nopush     on;
    #keepalive_timeout  0;
    keepalive_timeout  65;
    #gzip  on;
    server {
        listen       80;
        server_name  localhost;
        #charset koi8-r;
        #access_log  logs/host.access.log  main;

        # Pagespeed main settings
        pagespeed on;
        pagespeed FileCachePath /var/ngx_pagespeed_cache;

        # Ensure requests for pagespeed optimized resources go to the pagespeed
        # handler and no extraneous headers get set.

        location ~ "\.pagespeed\.([a-z]\.)?[a-z]{2}\.[^.]{10}\.[^.]+" { add_header "" ""; }
        location ~ "^/ngx_pagespeed_static/" { }
        location ~ "^/ngx_pagespeed_beacon" { }

        location / {
            root   html;
            index  index.html index.htm;
        }
        #error_page  404              /404.html;
        # redirect server error pages to the static page /50x.html
        #
        error_page   500 502 503 504  /50x.html;
        location = /50x.html {
            root   html;
        }
        # proxy the PHP scripts to Apache listening on 127.0.0.1:80
        #
        #location ~ \.php$ {
        #    proxy_pass   http://127.0.0.1;
        #}
        # pass the PHP scripts to FastCGI server listening on 127.0.0.1:9000
        #
        #location ~ \.php$ {
        #    root           html;
        #    fastcgi_pass   127.0.0.1:9000;
        #    fastcgi_index  index.php;
        #    fastcgi_param  SCRIPT_FILENAME  /scripts$fastcgi_script_name;
        #    include        fastcgi_params;
        #}

        # deny access to .htaccess files, if Apache's document root
        # concurs with nginx's one
        #
        #location ~ /\.ht {
        #    deny  all;
        #}
    }

    # another virtual host using mix of IP-, name-, and port-based configuration
    #
    #server {
    #    listen       8000;
    #    listen       somename:8080;
    #    server_name  somename  alias  another.alias;

    #    location / {
    #        root   html;
    #        index  index.html index.htm;
    #    }
    #}

    # HTTPS server
    #
    #server {
    #    listen       443 ssl;
    #    server_name  localhost;

    #    ssl_certificate      cert.pem;
    #    ssl_certificate_key  cert.key;

    #    ssl_session_cache    shared:SSL:1m;
    #    ssl_session_timeout  5m;

    #    ssl_ciphers  HIGH:!aNULL:!MD5;
    #    ssl_prefer_server_ciphers  on;

    #    location / {
    #        root   html;
    #        index  index.html index.htm;
    #    }
    #}

}
12. Afterwards, ensure that the Nginx config file is error free by running the command below, you will see the output below if all is well.
# nginx -t

13. Finally, restart Nginx server for the changes to take effect.
# systemctl restart nginx
Step 5: Testing Nginx with Ngx_pagespeed
14. To know whether Ngx_pagespeed is now working in conjunction with Nginx, it must appear in the X-Page-Speed header.
# curl -I -p http://localhost
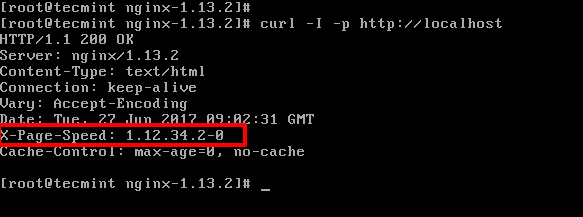
In case you have failed to see the above header, then go back to step 11 and carefully follow the instructions to enable Ngx-pagespeed with the subsequent steps.
Ngx-pagespeed Github repository: https://github.com/pagespeed/ngx_pagespeed
That is all! In this tutorial, we showed how to install and configure Nginx with Ngx_pagespeed module to optimize and improve site performance and reduces page load time.
To secure the Nginx web server, read this article – The Ultimate Guide to Secure, Harden and Improve Performance of Nginx Web Server.
As always, don’t hesitate to let us know any queries or thoughts concerning this tutorial.


I followed the whole guide, but at the check, it signals me:
If I install nginx using yum command then how to integrate with ngx_pagespeed module.
@Khushal
You will have to use this method to install Nginx with Ng_Pagespeed, that is install them both from source as explained above.
@Khushal
This is the appropriate method for installing Nginx with Ngx_Pagespeed, but we will try to find out if it can be integrated as you have stated.