Virtual Hosting is a concept where multiple websites or domains are hosted on a single server, which is done to reduce resource overhead and running costs of a business or organization.
Apache web server simplifies hosting multiple sites by allowing system administrators to easily configure virtual hosts for each website. Virtual hosting can either be IP-based or name-based.
In this tutorial, we explore how to set up virtual hosting in RHEL-based distributions such as Fedora, CentOS Stream, Rocky Linux, and Alma Linux using both IP-based and name-based virtual hosts in Linux.

The concepts of Shared Web Hosting and Reseller Web Hosting are based primarily on this feature of Apache.
Table of Contents
Types of Apache Virtual Hosting in Linux
There are two types of Virtual Hosting is available with Apache.
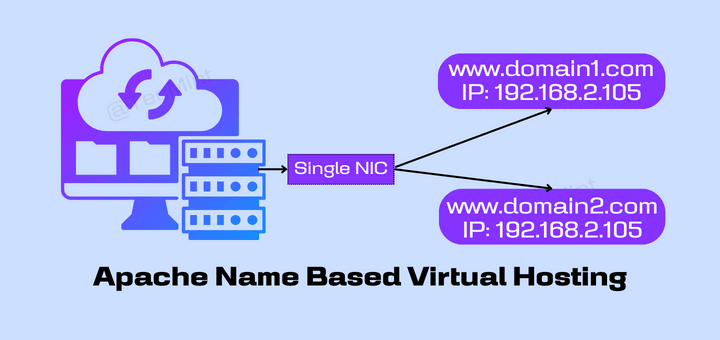
Name Based Virtual Hosting
In this type of hosting, several domains or websites can be hosted on a single server using just a single IP address. Simply put, all domains will share a single IP address. This is the easiest virtual hosting type to configure since all you need to do is map the domain names to the IP address and then configure Apache virtual hosts for each of the domain names.
IP Based Virtual Hosting
IP-based virtual hosting is where each domain is assigned a unique IP address. These IP addresses can be attached to the server using multiple NIC cards or a single NIC card.

Testing Environment
- OS – Fedora 34
- Application – Apache Web Server
- IP Address – 192.168.2.105
- IP Address – 192.168.2.106
- Domain – www.mydomain1.com
- Domain – www.mydomain2.com
How to Setup IP Based and Name-Based Apache Virtual Hosts
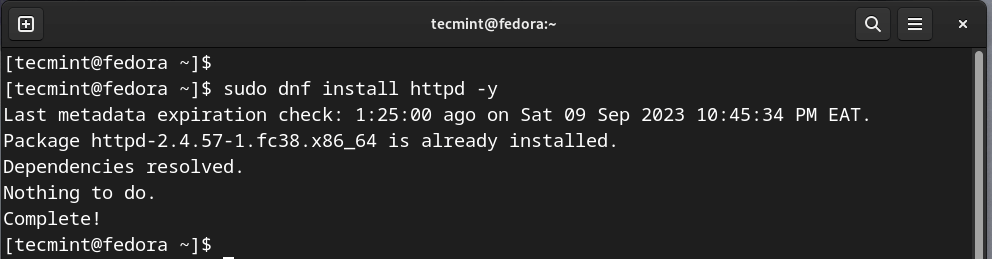
Before you get started, ensure that the Apache web server is installed on your system using the dnf command as shown.
$ sudo dnf install httpd -y
Setup Name-Based Virtual Hosting
The first step in setting up name-based virtual hosting is to set up domain name resolution in the /etc/hosts file. Therefore, run the following commands as root user to add the domain name entries pointing to the host’s IP address.
$ echo '192.168.2.105 www.mydomain1.com' >> /etc/hosts
$ echo '192.168.2.105 www.mydomain2.com' >> /etc/hosts
The next step is to create a directory that will contain the website files. Therefore, we will create two directories for the virtual hosts in the Document Root which is the /var/www/html folder in the Apache configuration.
$ sudo mkdir /var/www/html/mydomain1.com/
$ sudo mkdir /var/www/html/mydomain2.com/
The next step is to modify the virtual host file which will instruct Apache the IP to listen on for incoming Apache web server requests for all the domain names. Therefore, open the Apache configuration file using your preferred text editor.
$ sudo vim /etc/httpd/conf/httpd.conf
Add the following code blocks for the two virtual hosts.
<VirtualHost 192.168.2.105:80>
   ServerName mydomain1.com
   ServerAlias www.mydomain1.com
   DocumentRoot /var/www/html/mydomain1.com/
ErrorLog logs/www.mydomain1.com-error_log
CustomLog logs/www.mydomain1.com-access_log common
</VirtualHost>


<VirtualHost 192.168.2.105:80>
    ServerName mydomain2.com
    ServerAlias www.mydomain2.com
    DocumentRoot /var/www/html/mydomain2.com
ErrorLog logs/www.mydomain2.com-error_log
CustomLog logs/www.mydomain2.com-access_log common
</VirtualHost>
Save the changes and exit. Next, check if the syntax is okay and that there are no errors.
$ httpd -t
Next, we will create HTML test pages for each of the domains and add some content as a way of confirming if everything is working properly from the browser.
For mydomain1.com
Create an index.html file under the mydomain1.com directory.
$ sudo vim /var/www/html/mydomain1.com/index.html
Paste the following lines.
<html>
  <head>
    <title>My sample site</title>
  </head>
  <body>
    <h1>Success! Welcome to mydomain1.com.</h1>
  </body>
</html>
Save the changes and exit the file.
For mydomain2.com
Create an index.html file under mydomain2.com directory.
$ sudo vim /var/www/html/mydomain2.com/index.html
Paste the following lines.
<html>
  <head>
    <title>My sample site</title>
  </head>
  <body>
    <h1>Success! Welcome to mydomain2.com.</h1>
  </body>
</html>
Save the changes and exit the file.
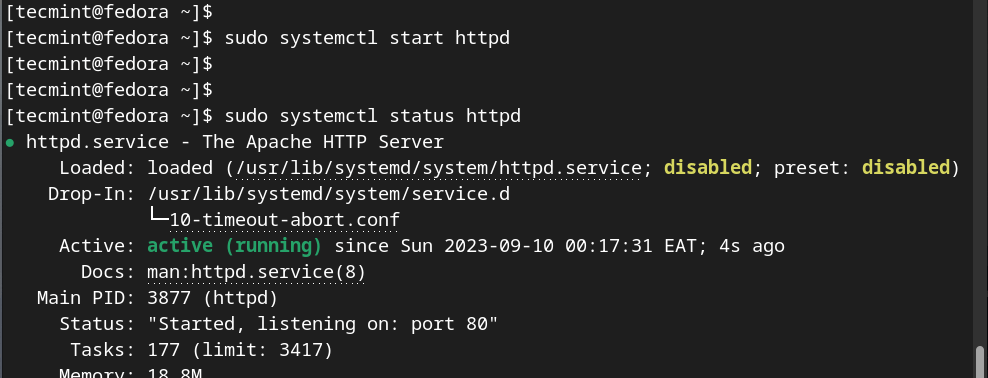
Now start the Apache web server and confirm that it is running.
$ sudo systemctl start httpd
$ sudo systemctl status httpd
If you have a firewall enabled, allow the HTTP and HTTPS ( when necessary) traffic.
$ sudo firewall-cmd --add-service=http --zone=public --permanent
$ sudo firewall-cmd --add-service=https --zone=public --permanent
$ sudo firewall-cmd --reload
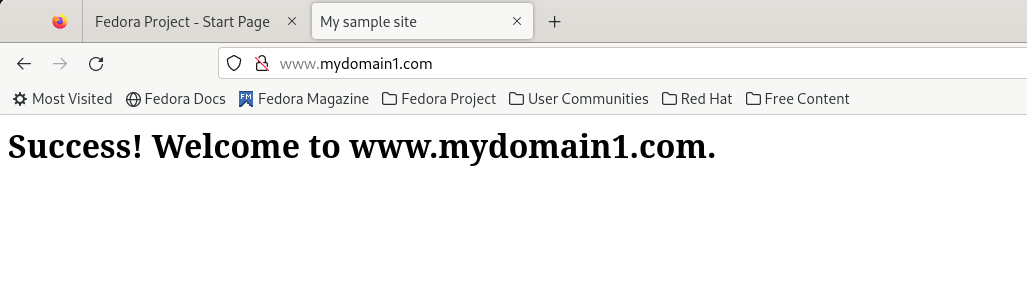
Now test the domains from a browser.
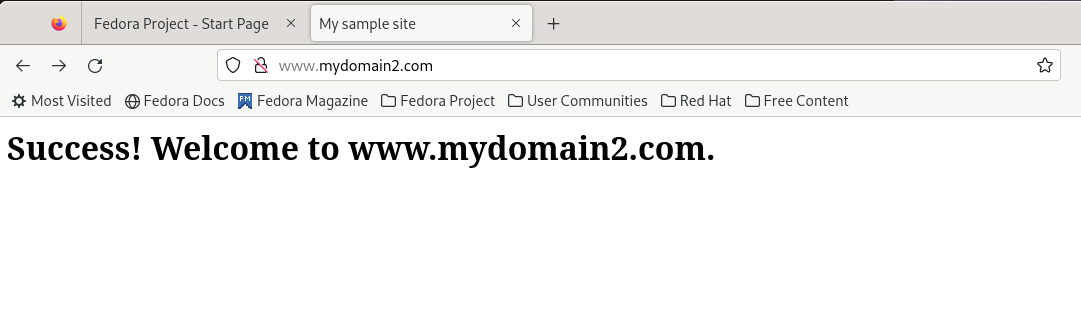
Setup IP Based Virtual Hosting Linux
IP-based virtual hosting, as the name suggests, involves multiple IP addresses assigned to your Linux server. In most cases, two or more NIC cards are attached to your system to provide multiple IP addresses.
The goal of IP-based virtual hosting is to assign each domain to a unique IP address that will not be used by any other domain.
This is ideal for situations when you have websites encrypted with an SSL certificate (mod_ssl) or running on different ports. In our setup, we have two NIC adapters.
To view the IP configuration on your system, run the ifconfig or ip a command.
$ ifconfig
OR
$ ip addr
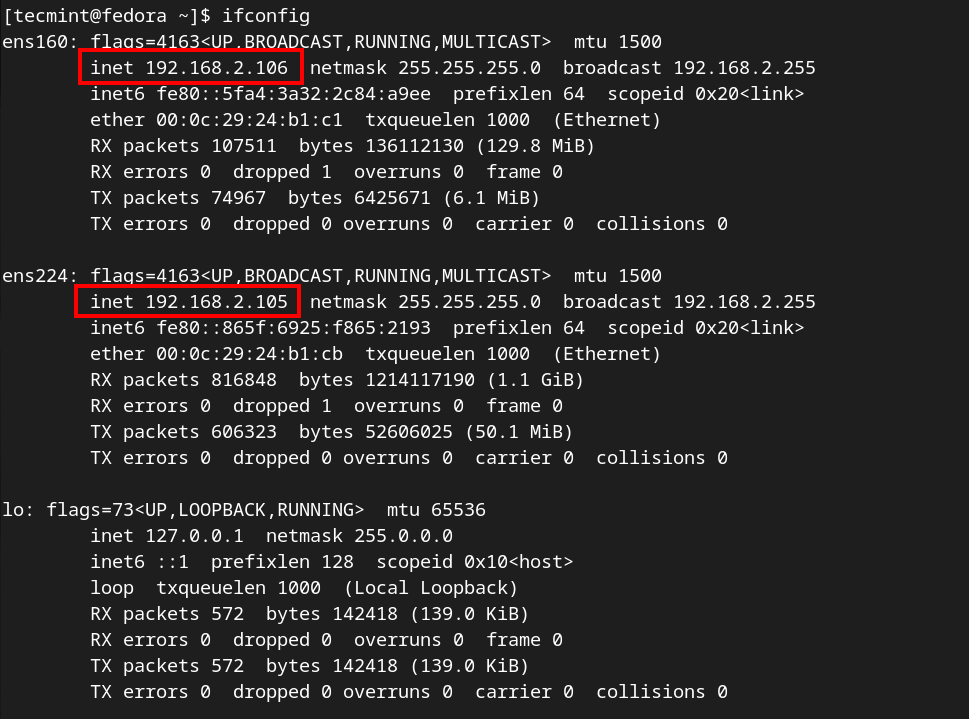
Our server has two IP addresses, each assigned to one NIC. The IP 192.168.2.106 is assigned to ens160 and 192.168.2.105 is assigned to ens224.
Once again, let’s configure the httpd.conf file.
$ sudo vim /etc/httpd/conf/httpd.conf
Create virtual hosts for both domains as shown. Be sure that each IP address is assigned to its respective virtual host configuration.
<VirtualHost 192.168.2.105:80>
   ServerName mydomain1.com
   ServerAlias www.mydomain1.com
   DocumentRoot /var/www/html/mydomain1.com/
ErrorLog logs/www.mydomain1.com-error_log
CustomLog logs/www.mydomain1.com-access_log common
</VirtualHost>


<VirtualHost 192.168.2.106:80>
    ServerName mydomain2.com
    ServerAlias www.mydomain2.com
    DocumentRoot /var/www/html/mydomain2.com
ErrorLog logs/www.mydomain2.com-error_log
CustomLog logs/www.mydomain2.com-access_log common
</VirtualHost>
Save and exit the configuration file. Next, modify the /etc/hosts file as shown.
$ echo '192.168.2.105 www.mydomain1.com' >> /etc/hosts
$ echo '192.168.2.106 www.mydomain2.com'>> /etc/hosts
Confirm the entries:
$ cat /etc/hosts

192.168.2.105 www.mydomain1.com
192.168.2.106 www.mydomain2.com
Next, restart the Apache webserver for the changes to come into effect.
$ sudo systemctl restart httpd
Finally, test your IP-based Virtual hosting setup by accessing the URLs as shown.
http://192.168.2.105
http://192.168.2.106
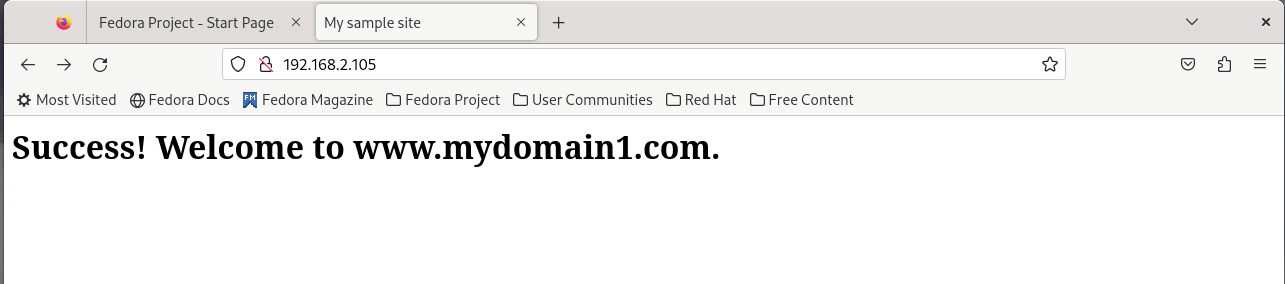
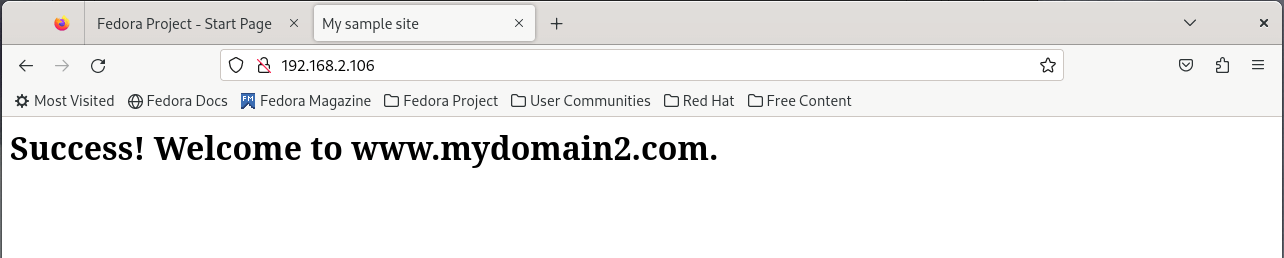
This test confirms that the IP-based virtual hosting is working just as expected!
Conclusion
And that’s it for this lecture. We hope that you can seamlessly configure both types of virtual hosting without much of a problem. Your feedback on this guide is much appreciated.