August 14, 2021, marks a new major release for the popular Debian Linux distribution. Codenamed Bullseye and chock-full of enhancements as well as software updates after 2 years, 1 month, and 9 days of development, this release will be supported for the next 5 years.
This guide will walk through a fresh installation of Debian 11 Bullseye’s new operating system.
[ You might also like: How to Install Debian 11 (Bullseye) Server Using Net Install ]
With this new release comes quite a bit of new functionality. One of the most welcomed changes is an updated kernel. Buster (Debian 10) was still running 4.19 but now with Bullseye (Debian 11), the jump to 5.10 has brought some wonderful hardware support!
Debian 11 Features
- Updated Kernel (5.10).
- Gnome, KDE, LXDE, LXQt, Mate, and XFCE desktop environments are available directly from the installer.
- Support for a wide range of architectures including PowerPC, MIPS, I386, AMD64, AArch64, and others.
- Samba 4.13, PHP 7.4, Apache 2.4.
- New version of GIMP, LibreOffice.
- Tons of other updates can be found here.
Debian System Requirements
- Minimum RAM: 512MB.
- Recommended RAM: 2GB.
- Hard Drive Space: 10 GB.
- Minimum 1GHz Pentium processor.
Debian 11 Bullseye Installation Guide
This portion of the article will focus on a fresh install of Debian 11. The installation of Debian 11 follows very closely to the installation of other variants of Debian. The big changes will be noted and displayed as they occur.
1. First go to Debian’s download page. This page will allow the user to select from the installation CD or DVD.
The DVD tends to contain a Live version of Debian as well as the necessary installation utility. Be sure to pick the proper architecture for the PC on which Debian will be installed!.
2. Use the dd command to copy the newly download ISO to a USB stick or use burning software to burn the ISO to a CD/DVD (software such as Rufus or UNetbootin can accomplish this task).
The easiest method however is the Linux dd utility and a USB stick. The command syntax is very simple but takes extra caution to make sure that the proper arguments are provided. To accomplish this, change the directory to the Downloads folder, where you have downloaded Debian 11 iso file.
$ cd Downloads/
Then plug in a USB drive that doesn’t contain any important data. This process is destructive! All data on the USB drive will be removed. Determine the hardware name for the newly inserted USB drive using the lsblk command.
# lsblk

In this example, /dev/sdc1 will be used to create the bootable Debian installation media. Now it is time to build the dd command to copy the ISO to the USB drive (You can’t simply copy the ISO file to the USB drive, it will not boot)!.
$ sudo dd if=debian-11.1.0-amd64-DVD-1.iso of=/dev/sdc1 status=progress
OR
$ sudo dd if=debian-11.1.0-amd64-DVD-1.iso of=/dev/sdc1 bs=1M
dd command will not provide any feedback that anything is happening. If the USB drive has an LED indicator, look at the light and see if the light is flashing. dd will finish and return the user to the command prompt after it completes.
Be sure to safely eject/remove the drive from the machine. Linux has a tendency to cache data and write it later! Now that the flash drive is ready, it is time to put the USB drive into the computer and boot to the Debian installer.
3. The installer will boot to a Debian 11 splash screen that provides several options for advanced installation options.
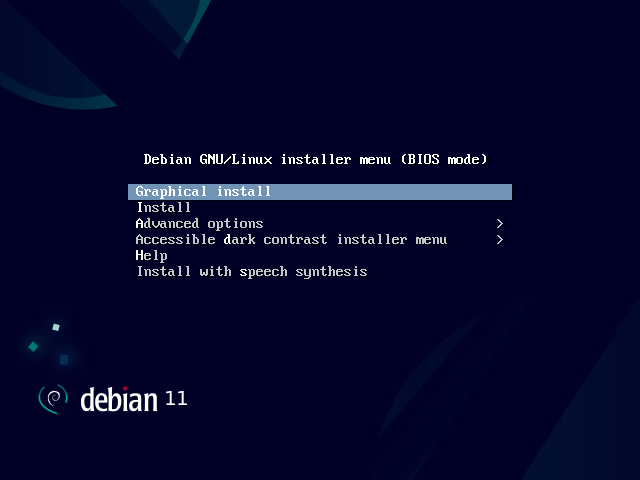
4. Use the keyboard to select the boot option desired; For now, the Graphical Install will be used since most users are comfortable with a mouse.
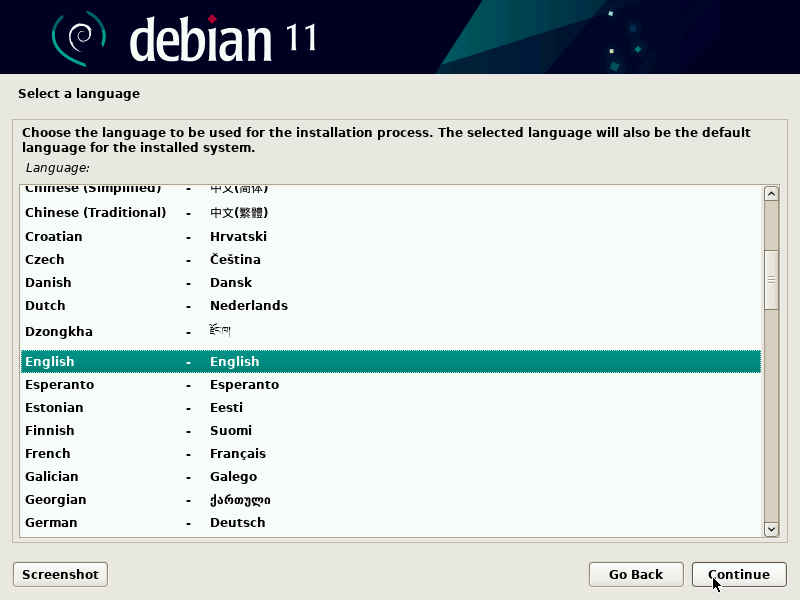
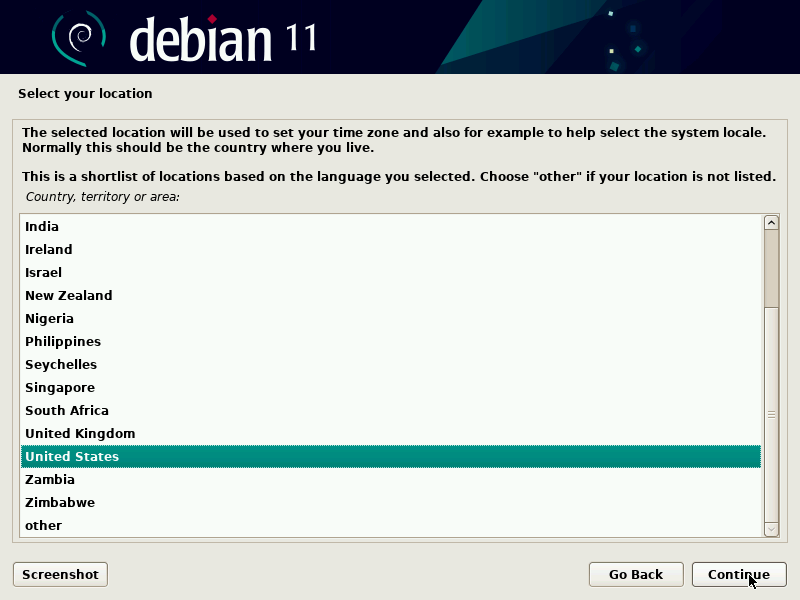
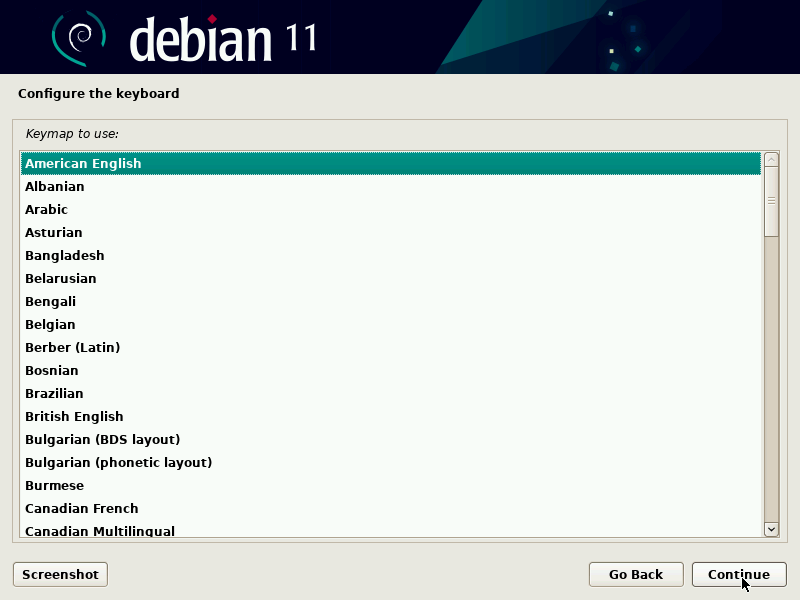
This will boot Debian into the installer. The first few options will require the user to select the language, localization, and keyboard to use.
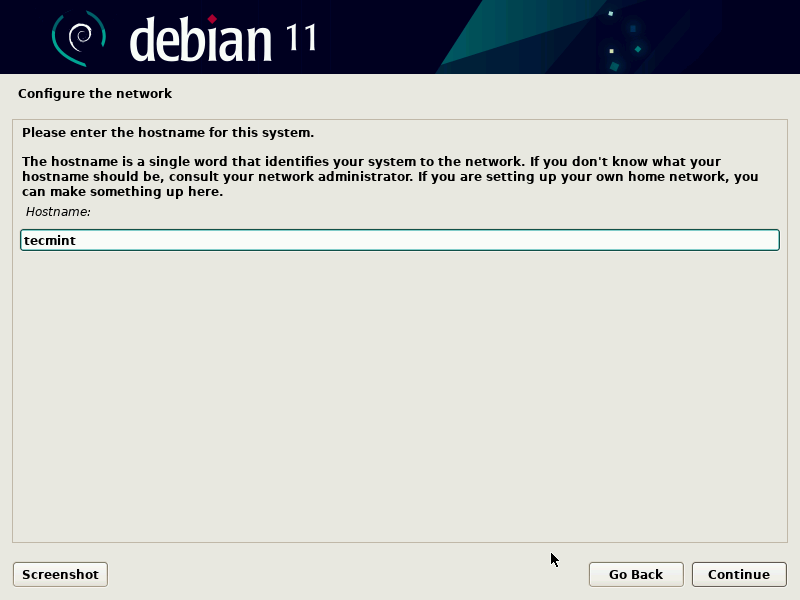
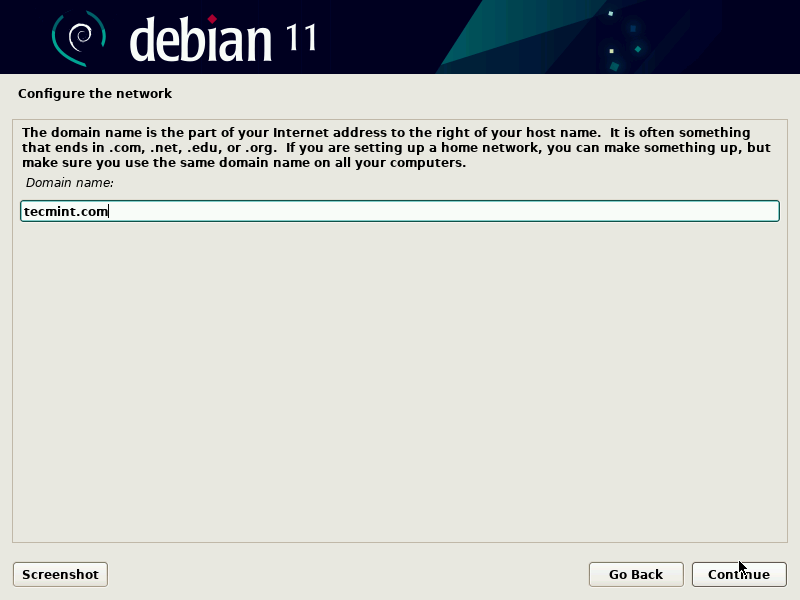
The next step is to set your computer’s hostname, domain name and allow the installer to set up a network connection for access to the software repositories.
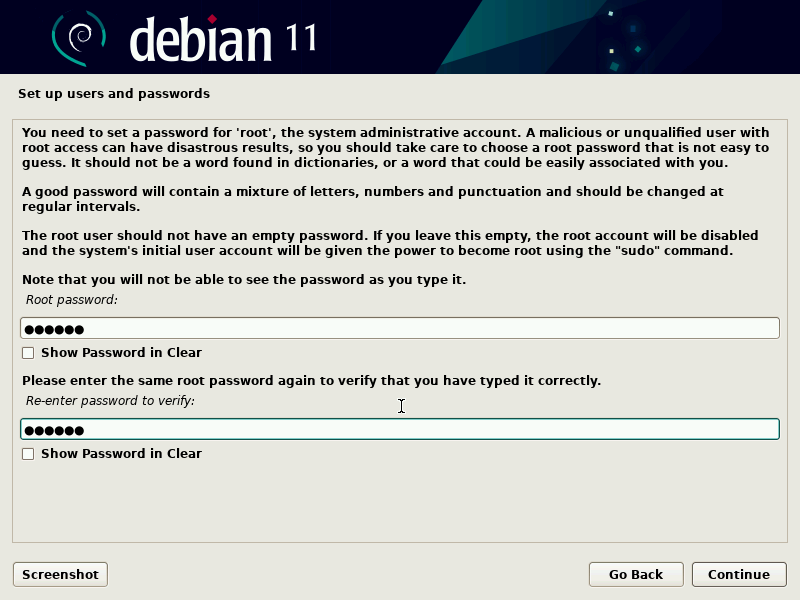
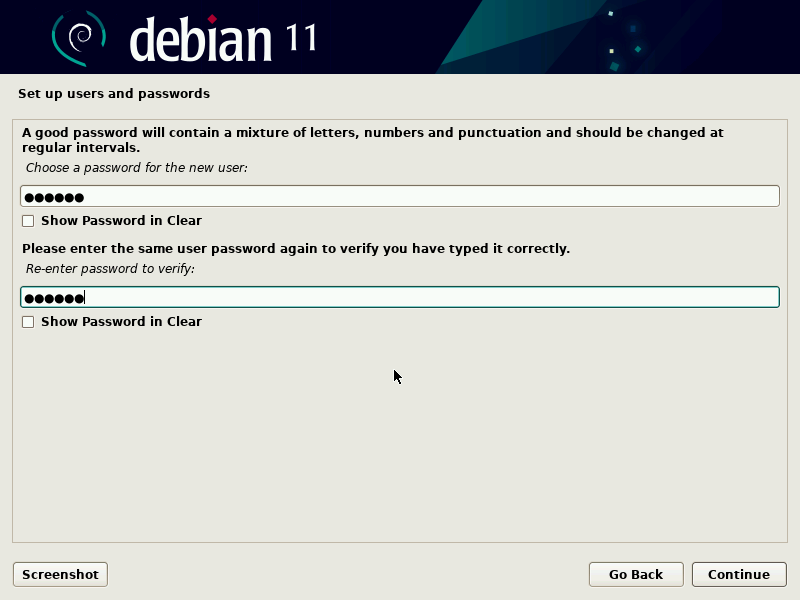
5. After hostname configuration, the system will ask the user to create a ‘root‘ user password. Be sure to not forget this password as it is not a fun process to try to recover!
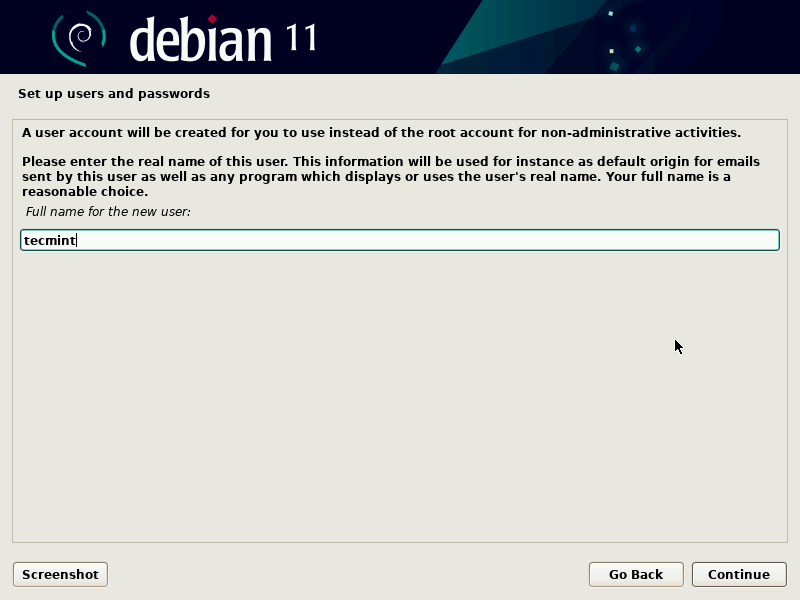
6. After the root user configuration, a normal non-root user will need to be configured. This should be something different than ‘root‘ for security purposes.
7. After the root and non-root users are set up, the installer will attempt to download some packages from the repositories and as such, a network connection is very helpful (however, it isn’t necessary and the installer will install the base system regardless).
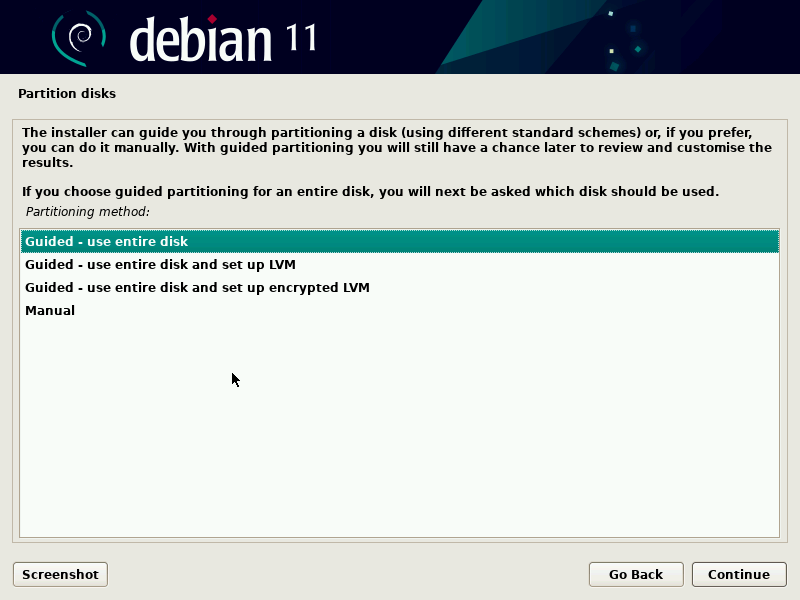
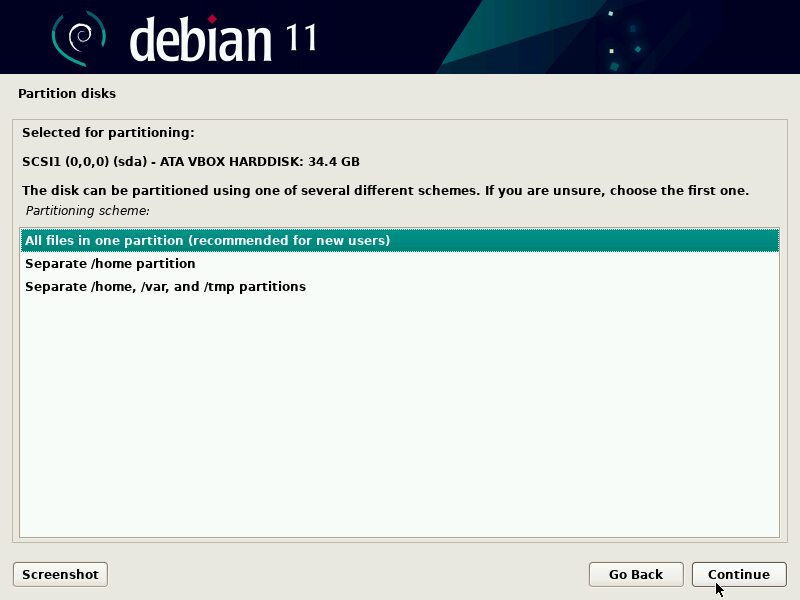
Now the installer will prompt the user to set up the partition scheme to be used on this system. For most normal installations, the “Guided – Use entire disk” option will suffice but do realize that this will overwrite all data on the disk!.
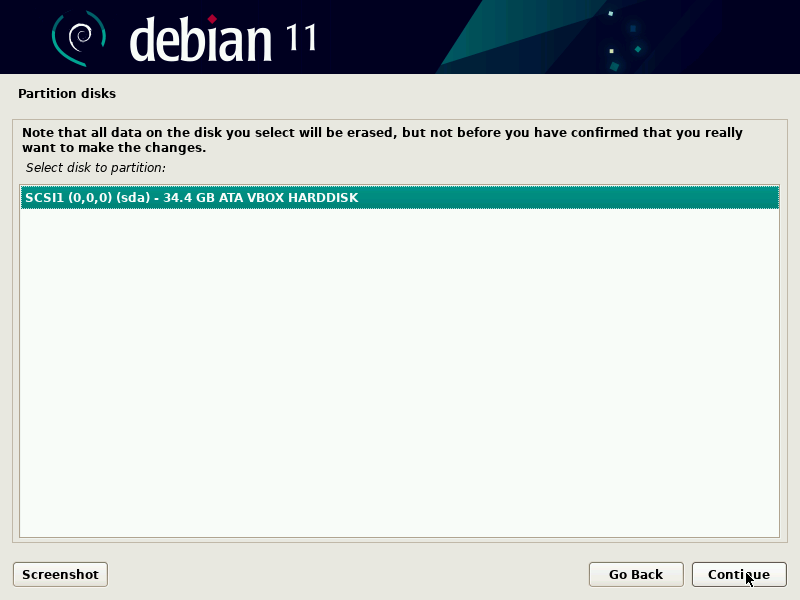
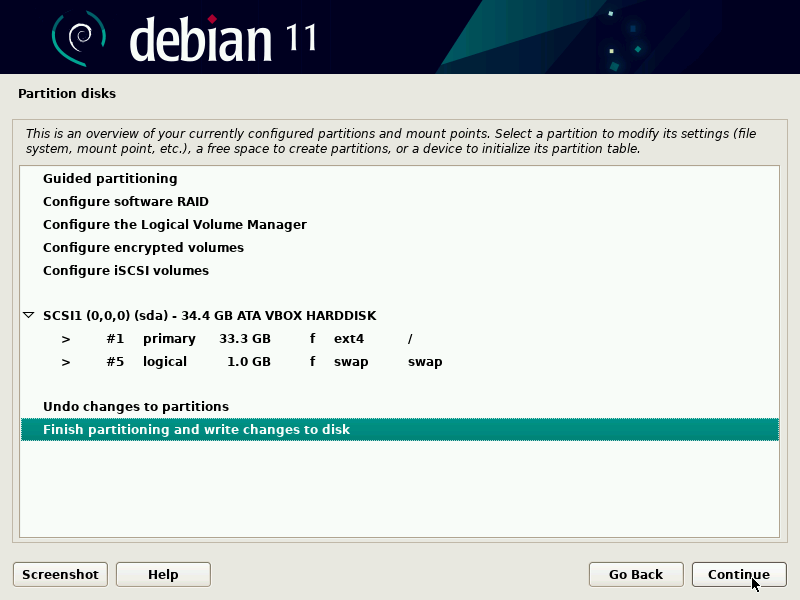
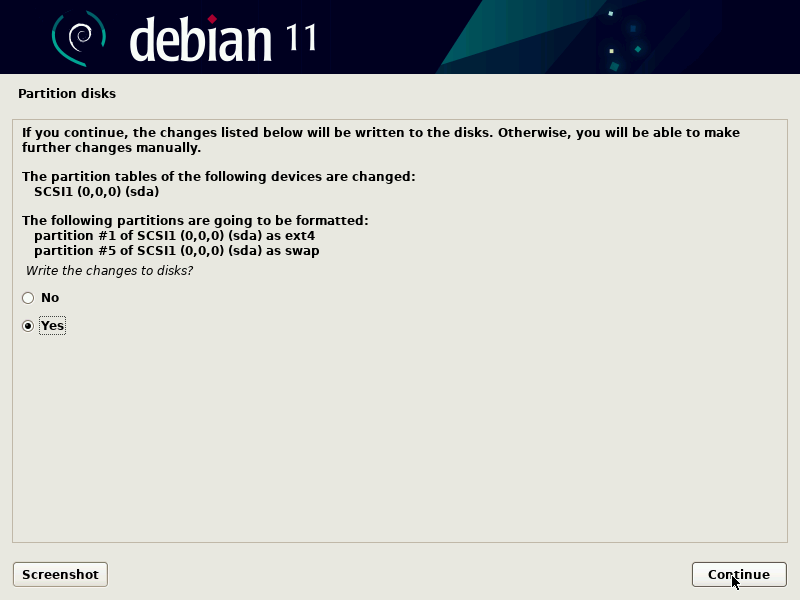
8. The next page will ask the user to confirm the partition changes, write the changes to the disk, and begin the installation process of the base files of Debian.
If the changes look fine and the appropriate root partition and swap space exist, click “Finish partitioning and write changes to the disk”. The next part will take some time so grab a quick beverage and come back in about 5 minutes.
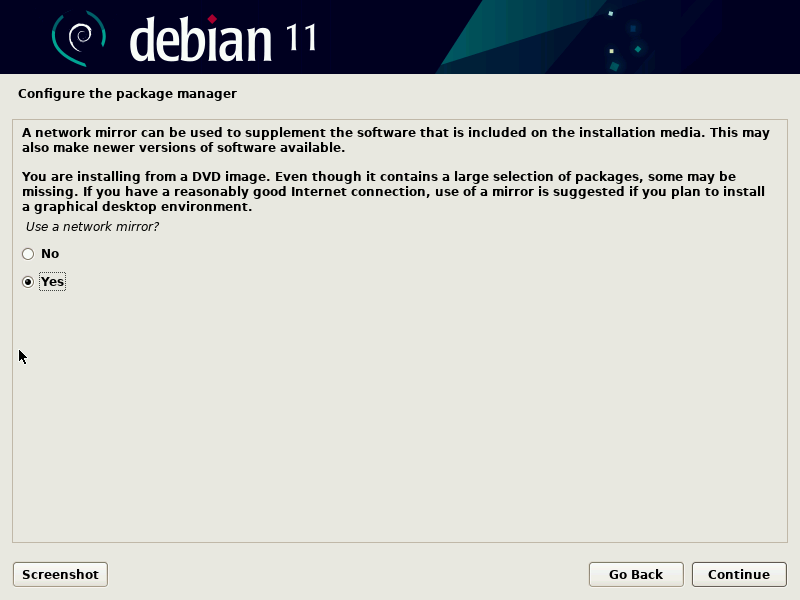
9. The next step is to inform the installer to use a network repository to gather the rest of the necessary packages during installation rather than from the CD/DVD. Be sure to pick one that is close to the current location of the machine otherwise the downloads can take substantially longer.
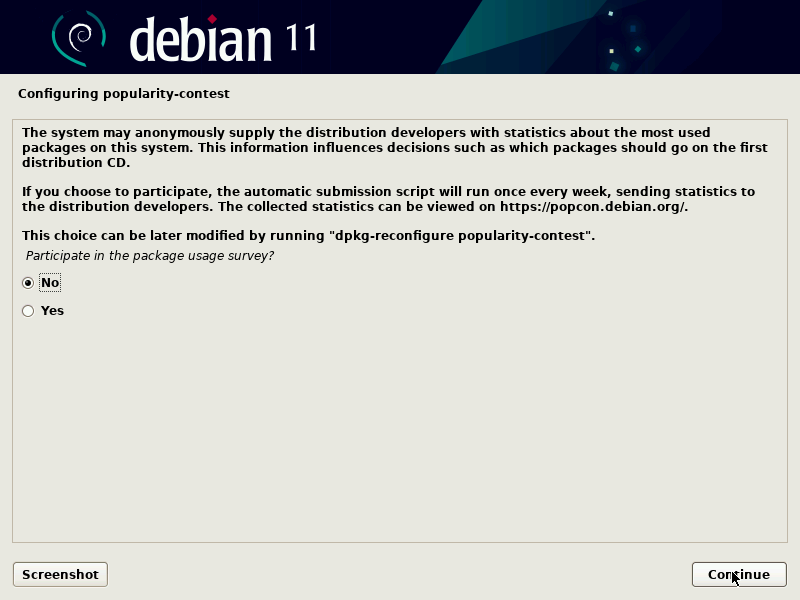
10. The next window will ask if the user wishes to participate in Debian’s anonymous statistics gathering. This is a personal preference and is used to help guide Debian’s package decisions. This can be reconfigured later if the user decides later that opt-out or it is desired.
11. At this point the installer will prompt the user for any extra packages to install. This is one of the neat changes with Bullseye. While a trivial change, the system now gives the option to install quite the range of different desktop environments directly from the installer.
A personal favorite is Cinnamon and it has been installed on a few Debian systems now but do bear in mind that it does require some extra hardware resources when compared to the lightweight variants such as XFCE.
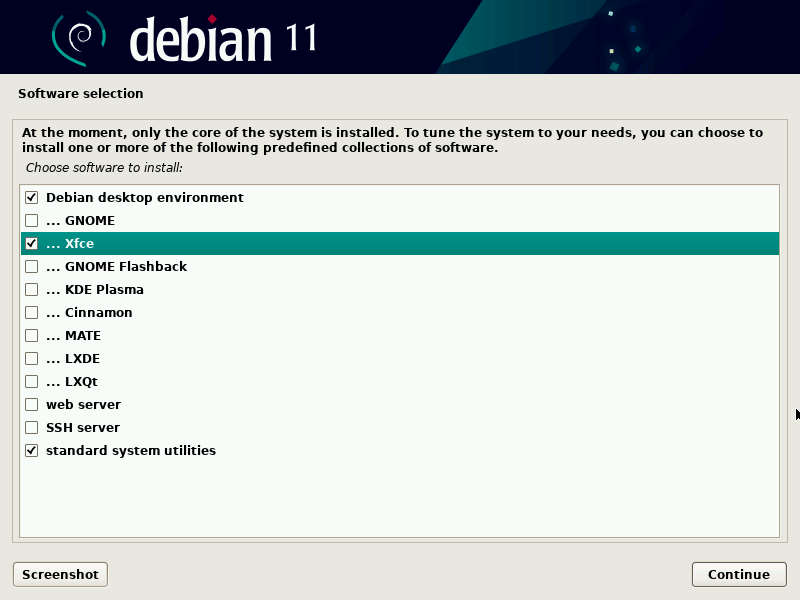
Depending on what is selected here, the installation could take several more minutes or be relatively quick. The more options selected here, the more packages that will need to be downloaded and installed.
Regardless of when this finishes, the installer will ask where to install grub (bootloader). Typically this is on ‘/dev/sda‘ but systems due vary based on user preferences.

12. Once grub finishes the installer will ask to reboot into the new operating system. Click okay and remove the USB media when the machine restarts. If all went well, the next screen seen will be:
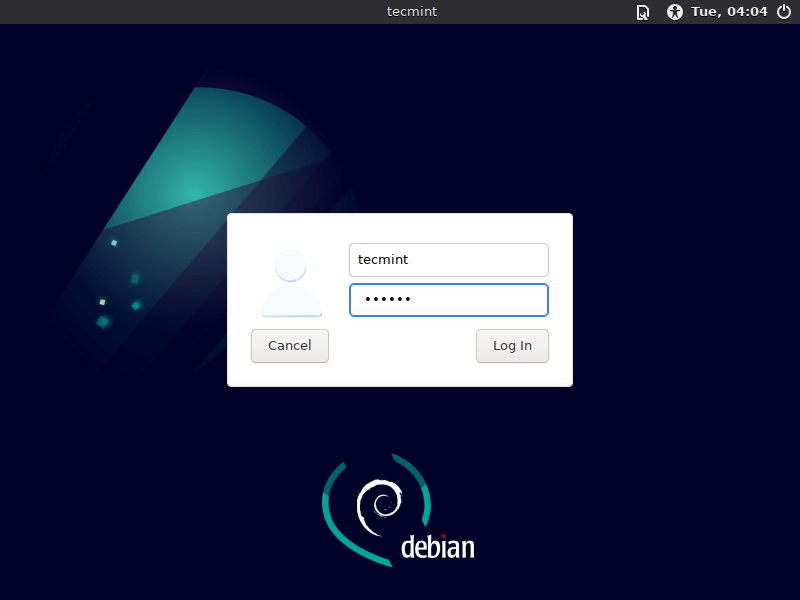
Welcome to Debian 11 ‘Bullseye‘! Time to log in, update any new packages, install more packages, and customize the new Operating System.
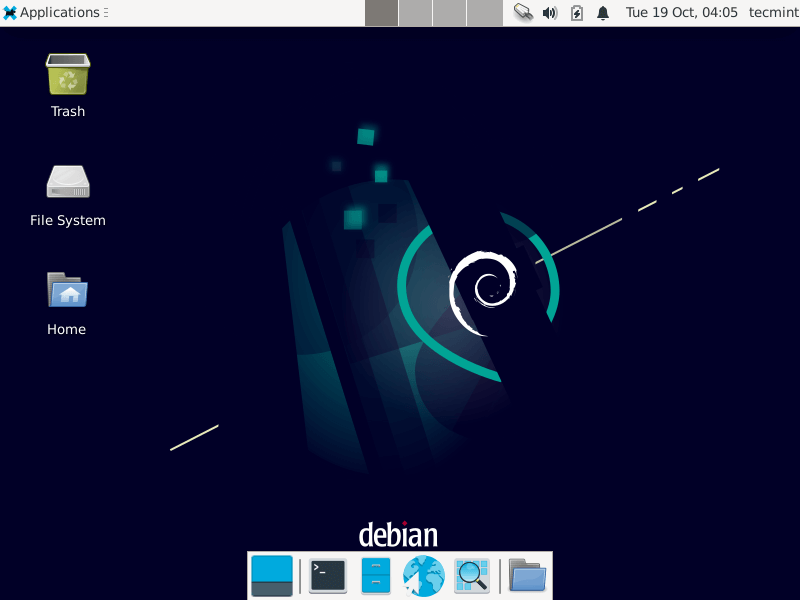
It is recommended that users do check for new updates even after a fresh install as there may be some security fixes in the repositories that aren’t yet in the ISO file downloaded. To do this update, issue the following commands as root or with the ‘sudo’ utility:
# apt-get update
# apt-get upgrade
Enjoy the new fresh install of Debian 11!
Thank you for sticking through this lengthy installation guide and happy adventures in the new Debian 11 release!.


It still downloading from 8: AM and now the Time is 3:50.
The speed is 100mbs/Sec. I’m doing it from India, After basic installation,
I did update all and the. did Systemctl install the gnome task?
My only concern is all in India servers are giving in Bytes of speed.
you are talking about network Mirror, It’s really Pathetic.
16GB, i7 4770, and Dell Optiplex CPU.
If I want to install and run Debian only from a USB device (eg. thumb drive), what are the extra steps needed? Thank you.
@Alain
Check our this article – How to Install Linux OS on USB Drive and Run it On Any PC
Install the GRUB boot loader on a hard disk failed
what will happen if i choose not to use network mirror? if i have no internet connection? why would i get stucked on ” failed to start braille device support ” ?
Kundan,
Without a network mirror, you will have to provide all the extra packages for Debian manually. I would strongly recommend you use a network mirror. As for why the braille device would fail to start, I am not sure without seeing log information. If you’re not using a network mirror, there is a possibility that a necessary package is missing from your installation as well.