Zabbix is a free, open-source, popular, and feature-rich IT infrastructure monitoring software developed using PHP language. It is used to monitor networks, servers, applications, services as well as cloud resources. It also supports the monitoring of storage devices, databases, virtual machines, telephony, IT security resources, and much more.
[ You might also like: How to Install Zabbix on RHEL 8 ]
For developers, Zabbix ships with an API that provides access to almost all functions available in Zabbix. It supports easy two-way integration with any software. You can also use the API to integrate Zabbix functions into third-party software.
Requirements
- How to Install Debian 11 (Bullseye) Minimal Server
- How to Install a Debian 10 (Buster) Minimal Server
This tutorial shows how to install and configure the latest release of Zabbix open-source monitoring tool on Debian 11 and Debian 10 with MySQL database to keep data, PHP, and Apache Web Server as the main web interface.
Step 1: Installing Apache Web Server and PHP Packages
1. To install Zabbix, first, you need to install Apache and PHP along with some required PHP modules as follows.
# apt install apache2 php php-mysql php-mysqlnd php-ldap php-bcmath php-mbstring php-gd php-pdo php-xml libapache2-mod-php
2. In the installation process, the installer triggers the systemd to automatically start Apache service, and it also enables it to automatically start at system boot. You can check if it is up and running using the systemctl command.
# systemctl status apache2
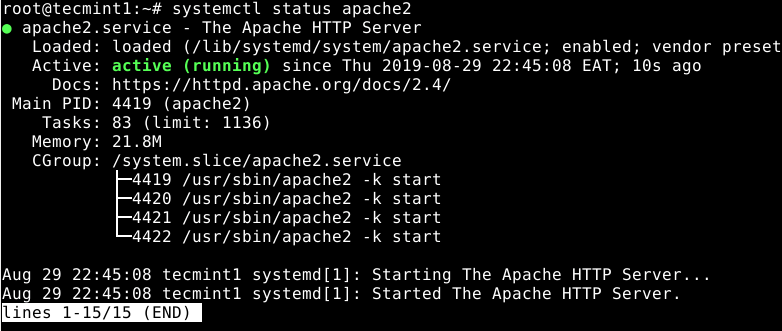
The following are some useful systemctl commands for managing the Apache services under systemd.
# systemctl start apache2
# systemctl stop apache2
# systemctl restart apache2
Step 2: Install MariaDB Server and Client
3. To store data, Zabbix requires a database management system. It supports MySQL by default but for this guide, we will install MariaDB as a drop-in replacement for MySQL.
# apt install mariadb-server mariadb-client
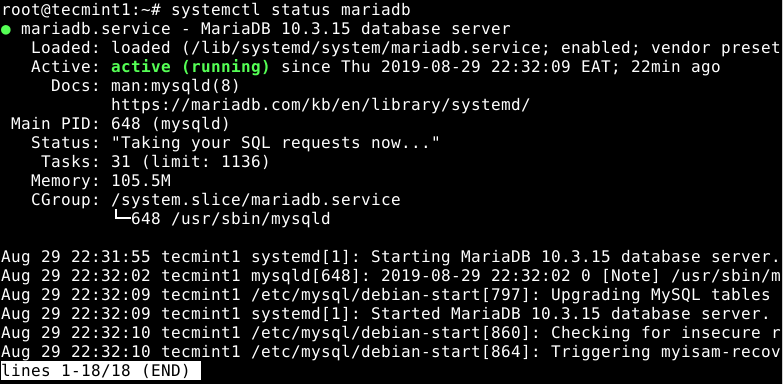
4. When the installation is complete, the MariaDB service is auto-started and enabled to automatically start at system startup. To check if it is up and running, use the following command.
# systemctl status mariadb
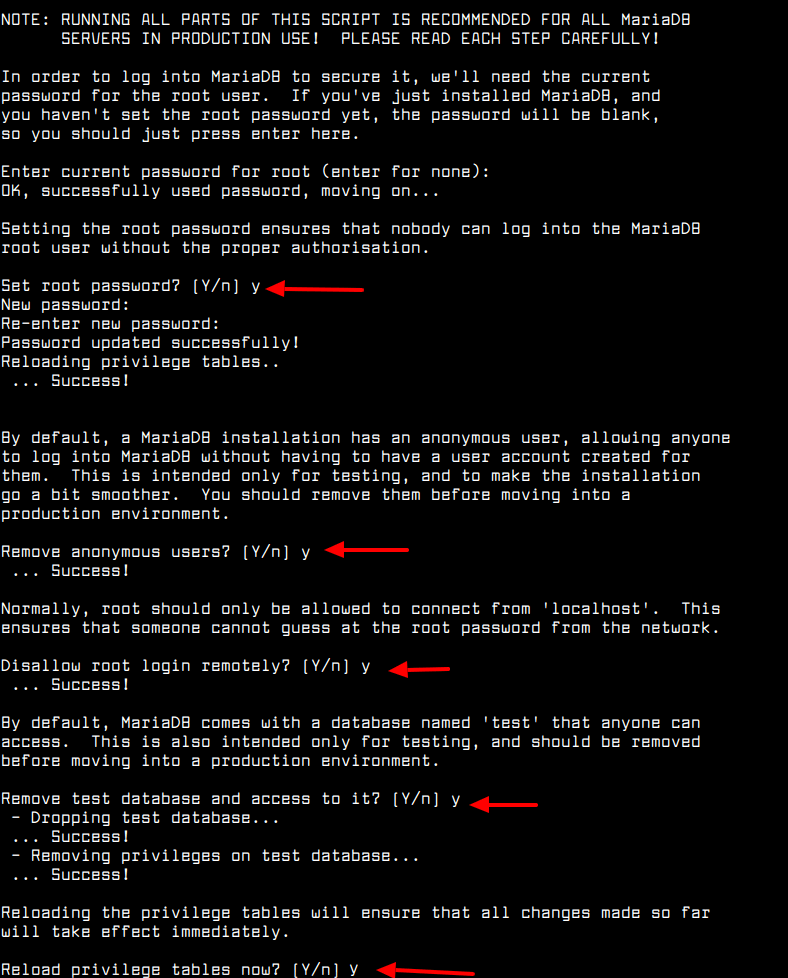
5. Next, you need to secure your MariaDB server database installation. The installed package ships with a script that you need to run and follow the security recommendations.
# mysql_secure_installation
It will ask you to determine actions to remove anonymous users, disable root login remotely, remove test database and access to it, and apply all changes.
6. Once the database server is secured, you need to create a database for Zabbix. First, log in to the database to gain access to the MariaDB shell as follows.
# mysql -u root -p
7. Then issues the following SQL commands to create the required database (do not forget to set a secure password).
MariaDB [(none)]> create database zabbix character set utf8 collate utf8_bin;
MariaDB [(none)]> grant all privileges on zabbix.* to zabbix@localhost identified by 'admin@monit1';
MariaDB [(none)]> quit;
Step 3: Installing and Configuring Zabbix Server
8. To install Zabbix, you need to enable the Zabbix Official Repository which contains the Zabbix packages, as follows.
# wget --no-check-certificate https://repo.zabbix.com/zabbix/5.4/debian/pool/main/z/zabbix-release/zabbix-release_5.4-1+debian11_all.deb
# dpkg -i zabbix-release_5.4-1+debian11_all.deb
# apt update
9. Now install the Zabbix server, web frontend, agent packages using the following command.
# apt install zabbix-server-mysql zabbix-frontend-php zabbix-apache-conf zabbix-sql-scripts zabbix-agent
10. If the package installation is successful, next, import the initial schema and data into the Zabbix database which you created in the previous step.
# zcat /usr/share/doc/zabbix-sql-scripts/mysql/create.sql.gz | mysql -uzabbix -p zabbix
11. Next, configure the Zabbix server daemon to use the database you created for it by editing the file /etc/zabbix/zabbix_server.conf.
# vim /etc/zabbix/zabbix_server.conf
Look for the following configuration options and update their values to reflect your database settings. Note that you need to uncomment any option(s) that are commented out and set their correct values.
DBHost=localhost
DBName=zabbix
DBUser=zabbix
DBPassword=admin@monit1
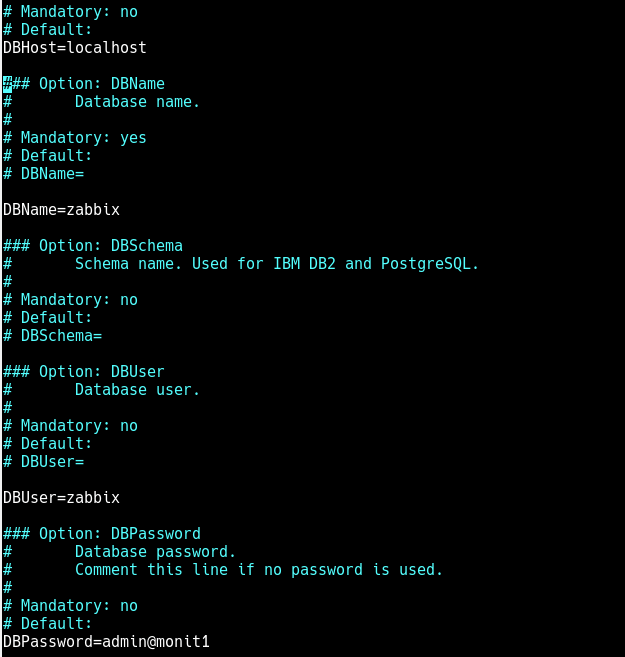
Then save the new changes in the file and exit it.
12. You should also set up PHP to work correctly with the Zabbix frontend by defining your timezone in the /etc/zabbix/apache.conf file.
# vim /etc/zabbix/apache.conf
Find the configuration section for your PHP version, for example, PHP 7.x. Then uncomment the following line (by removing the “#” character at the start) to enable timezone for your server as shown in the screenshot.
php_value date.timezone Africa/Kampala
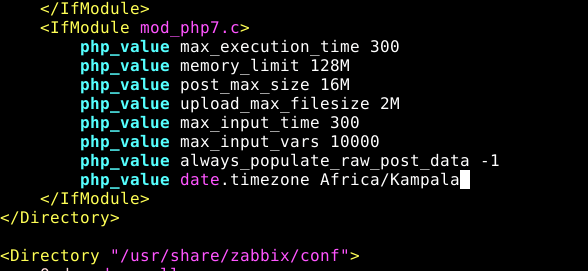
Save the changes and close the file.
13. Now restart the Apache server to apply recent changes.
# systemctl restart apache2
14. With all the perfect environment setup, you can now start the Zabbix server and agent processes, enabling them to auto-start at system boot as shown.
# systemctl start zabbix-server zabbix-agent
# systemctl enable zabbix-server zabbix-agent

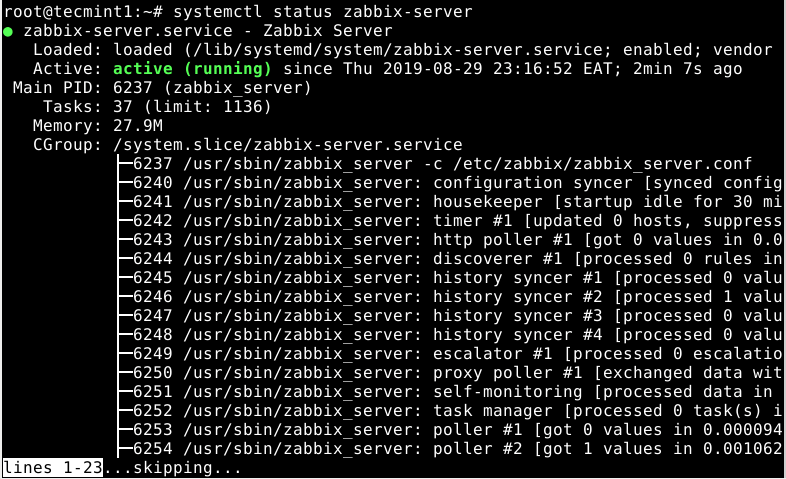
15. Then make sure to check the status of the Zabbix server using the following command.
# systemctl status zabbix-server
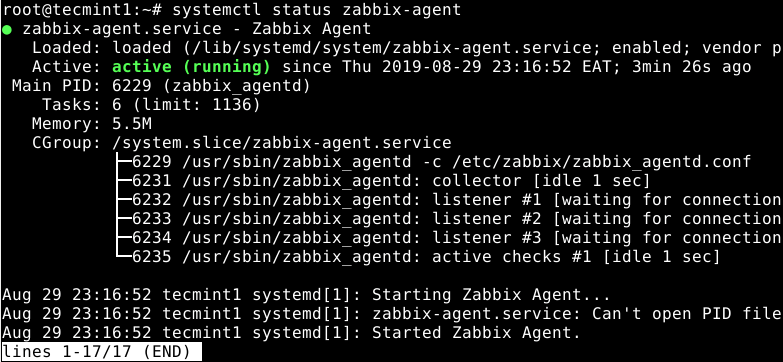
16. Also, ensure that the Zabbix agent process is up and running by checking its status as shown. Remember the agent you have started is running on and monitoring the local host. If you want to monitor remote servers, install and configure agents on them (refer to related articles at the end of the guide).
# systemctl status zabbix-agent
17. Before you can access the Zabbix web frontend as shown in the next section if you have the UFW firewall service running, you need to open port 80(HTTP) and 443(HTTPS) to allow traffic to the Apache server.
# ufw allow 80/tcp
# ufw allow 443/tcp
# ufw reload
Step 4: Installing and Configuring Zabbix Web Frontend Interface
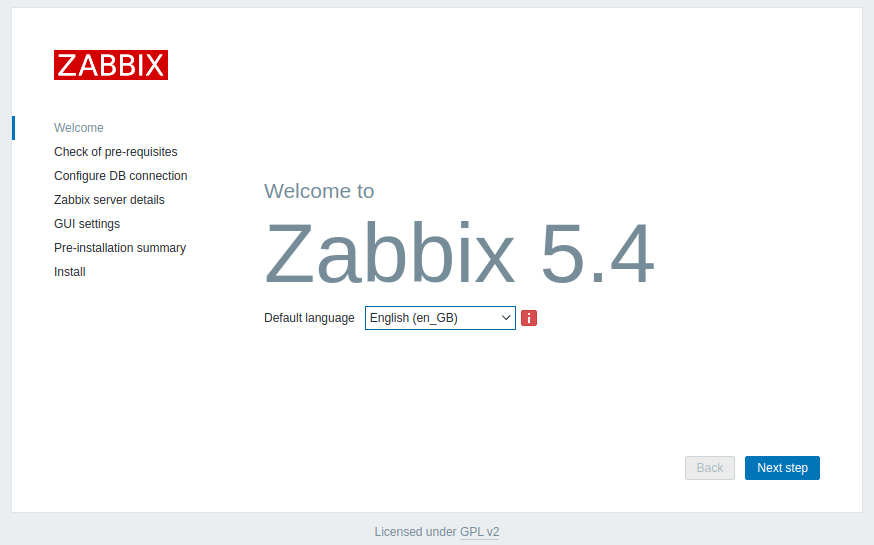
18. Before you can start using the Zabbix web frontend for monitoring, you need to configure and set it up via a web installer. To access the installer, open a web browser and point it to the following URL.
http://SERVER_FQDM/zabbix
OR
http://SERVER_IP/zabbix
19. Once you click go, or press Enter, you will land on the Welcome page as shown in the following screenshot. Click Next step to start the setup process.
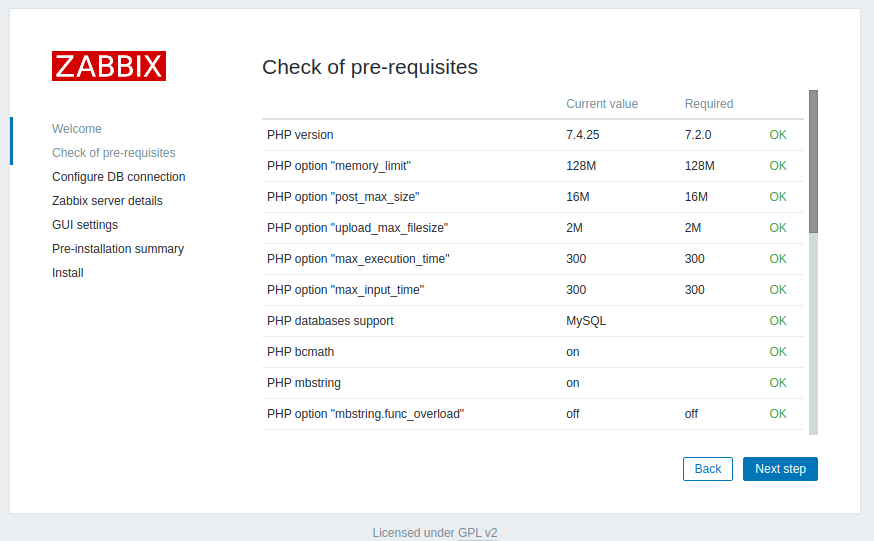
20. The installer will then check the pre-requisites as shown in the screenshot, if all required PHP modules and configuration options are OK (scroll down to view more requirements), click Next step to proceed.
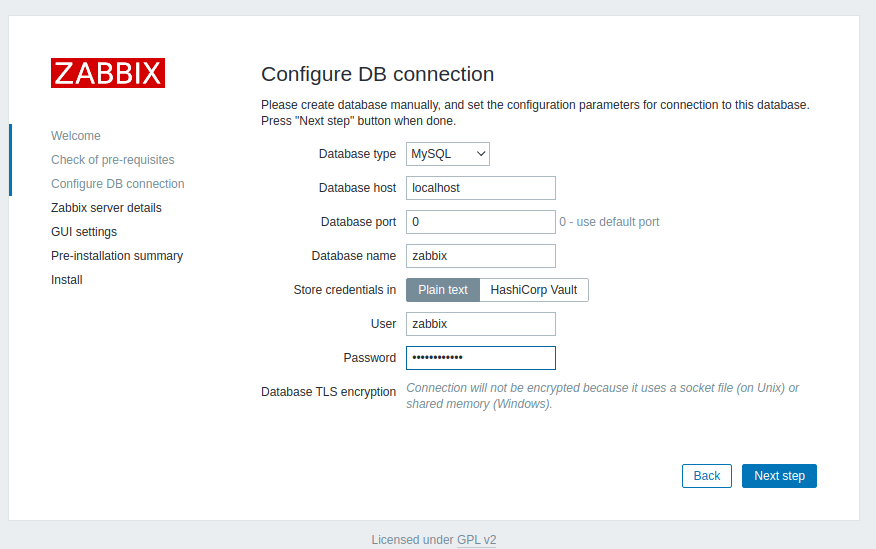
21. Next, enter the database connection settings for the Zabbix frontend to link to the database. Choose the database type (which should be MySQL), provide the database host, database port, database name, and database user, and the user’s password as shown in the screenshot.
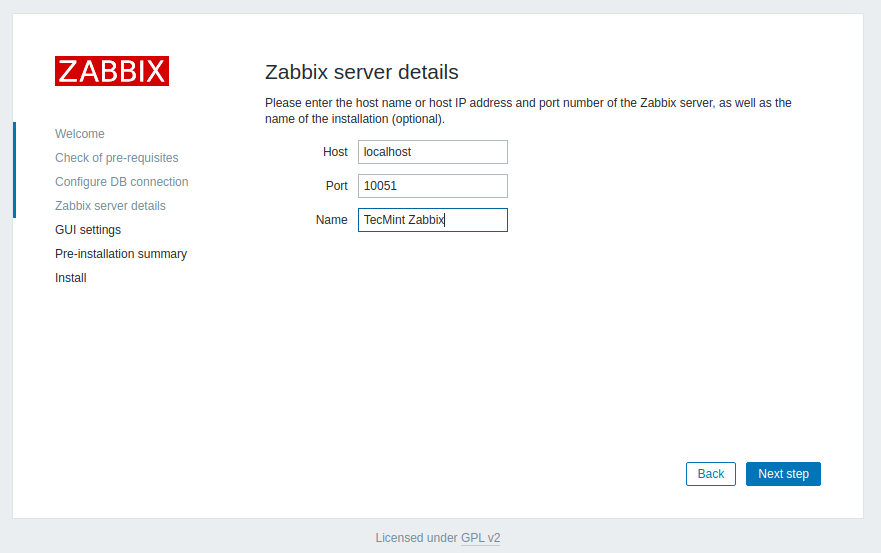
22. Next, enter the Zabbix server details (hostname or host IP address and port number of the hosting server). Optionally, set a name for the installation.
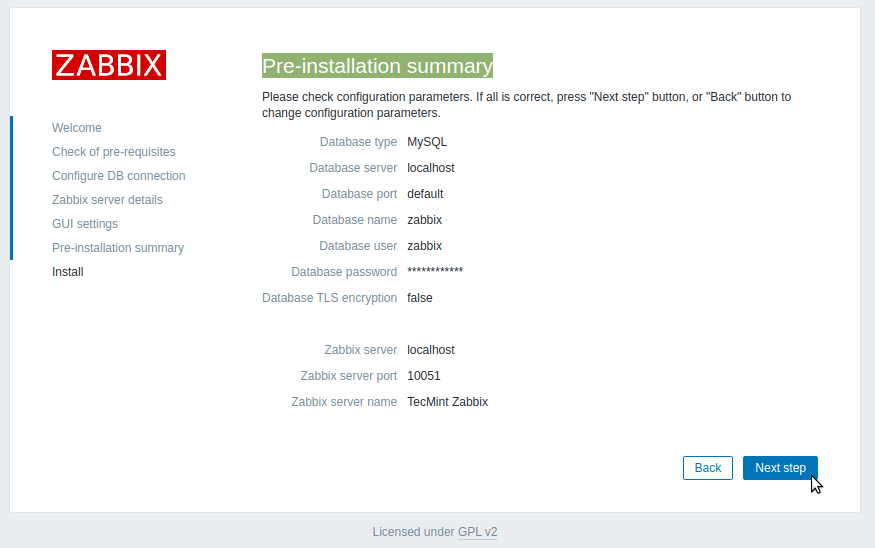
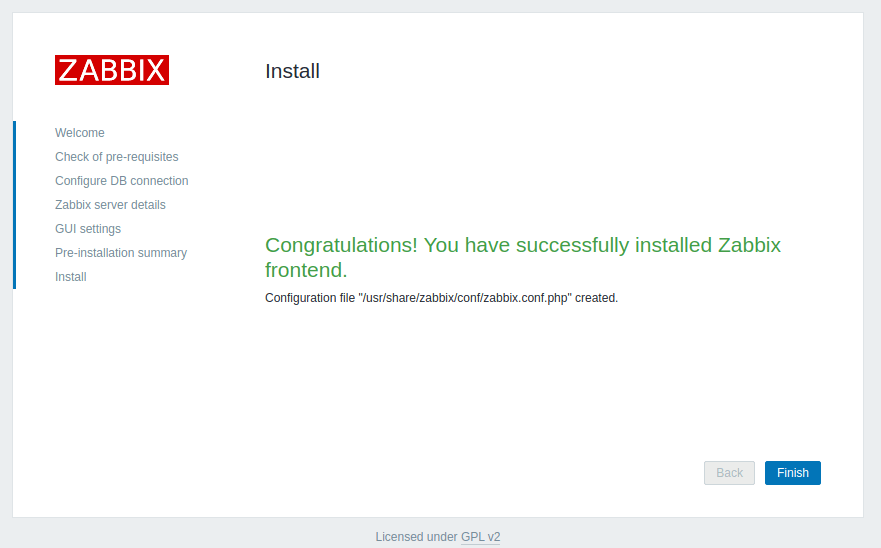
23. Now the installer should show you the pre-installation summary page. If all is fine, click Next step to complete the setup.
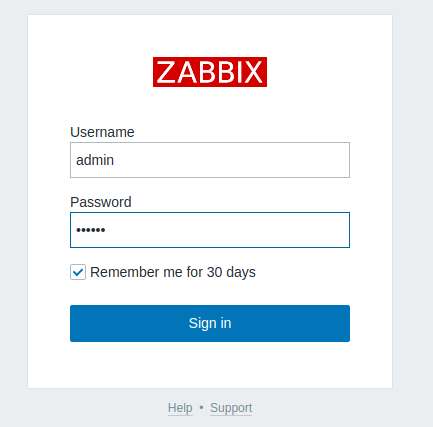
24. Now click Finish, and you should be re-directed to the login page as shown in the next screenshot.
25. To login, enter the username Admin and password zabbix.
26. Once you have logged on, you will see the Monitoring section Dashboard. The Global view will display a sample of System information, problems by severity, problems, local time, and more, as shown in the screenshot.

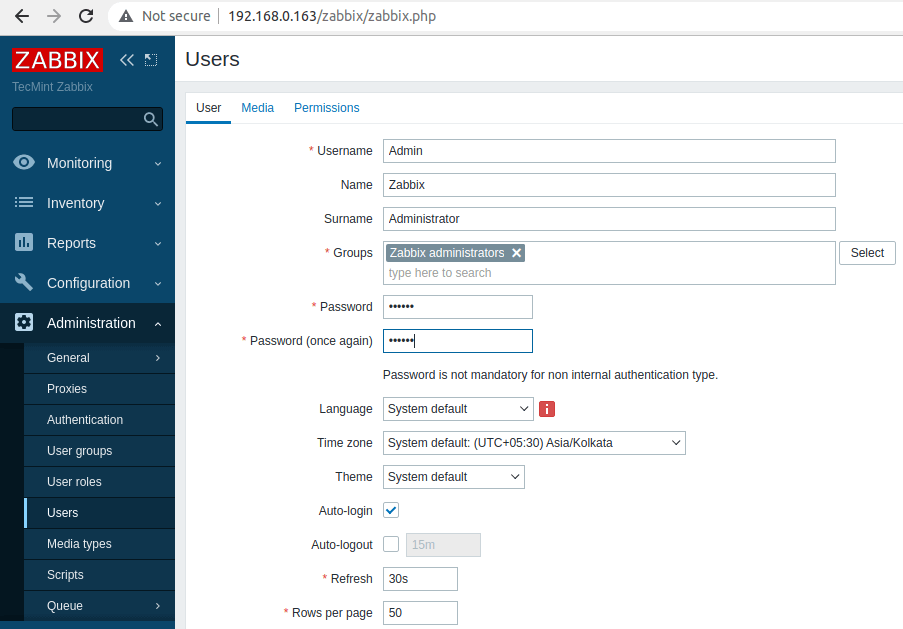
27. As an important step, you need to change the default administrator account password. To do that, go to Administration ==> Users.
From the list of users, under Alias, click on Admin to open the user’s details. In the user details page, look for the Password field and click Change password. Then set a secure password and confirm it. And click Update to save the password.
You might also like to read the following related Zabbix articles.
- How to Configure ‘Zabbix Monitoring’ to Send Email Alerts to Gmail Account
- How to Install and Configure Zabbix Agents on Remote Linux Systems
- How to Install Zabbix Agent and Add Windows Host to Zabbix Monitoring
That’s all! In this article, we’ve learned how to the latest version of Zabbix monitoring software on your Debian 11/10 server. You can find more information in the Zabbix documentation.


Hello,
Can’t install zabbix-apache-conf and zabbix-sql-scripts.
What am I doing wrong?
Thank you
Panos
Can you explain step 7: “(do not forget to set a secure password).”?
Am I supposed to set a secure password for the database or for a “zabbix@localhost” user? I’m not at all familiar with this CLI so I’m not sure what’s happening here.
What’s the syntax for setting this password?
Thanks
@Samuel,
Replace the
admin@monit1with your own secure password this is what I mean in step 7.Hi, thank you a lot for sharing this…
I have one problem I’m trying to start Zabbix-server it’s not starting i did all the steps and when it comes to starting the Zabbix server it’s not working any suggestions?
Please thank you in advance…
@Student,
Could you share what error you getting while starting the Zabbix server?
Hi, I don’t get any error it just doesn’t start, the problem is only in starting the server ( apache2 and zabbix-agent they are active ).
Thanks a lot. On step 15 you should replace “start” by “status” in the command line.
@Clement,
Thanks for updating us, I have corrected the command as suggested…
There is a bug in the MariaDB on Debian 10 which means the database import does not work;
ERROR 1118 (42000) at line 1278: Row size too large (> 8126). Changing some columns to TEXT or BLOB may help. In the current row format, the BLOB prefix of 0 bytes is stored inline.
After some research i found this worked in my.cnf
Remove innodb_strict_mode = 0 after import.
If import already failed you will need to drop and recreate DB
@M
Many thanks for sharing this.
Thank you so much!
ERROR 1045 (28000): Access denied for user ‘zabbix’@’localhost’ (using password: YES)
@marc
Try to use the password you created for the zabbix database user in step 7, instead of zabbix.
Same error here…
ERROR 1045 (28000): Access denied for user ‘zabbix’@’localhost’ (using password: YES)
I’m using the same password in step 7, but not work…
Now it’s work, but the error below appears:
ERROR 1118 (42000) at line 1284: Row size too large (> 8126). Changing some columns to TEXT or BLOB may help. In the current row format, the BLOB prefix of 0 bytes is stored inline.