Are you considering making a switch from VirtualBox to KVM hypervisor? One of your greatest concerns would be starting all over again by creating new virtual machines in KVM – an arduous task to say the least.
The good news is that instead of creating new KVM guest machines, you can easily migrate the VirtualBox VMs which are in VDI format to qcow2 which is the disk image format for KVM.
In this guide, we are going to outline a step-by-step procedure of how you migrate VirtualBox VMs into KVM VMs in Linux.
Step 1: List Existing VirtualBox Images
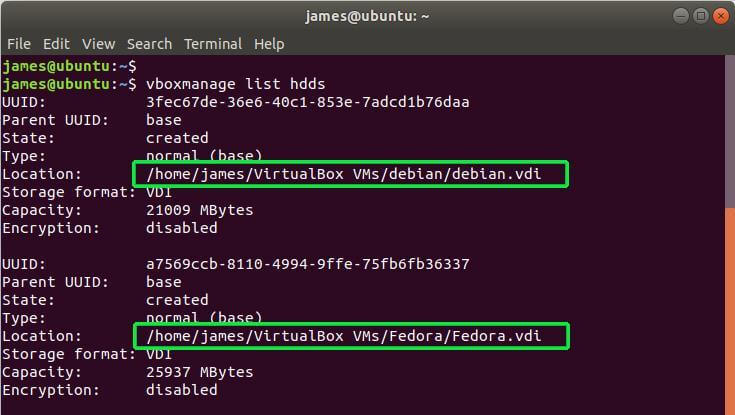
First and foremost, ensure that all the virtual machines are powered off. Virtualbox guest machines exist in VDI disk format. Next, proceed and list the existing VirtualBox virtual machines as shown.
$ VBoxManage list hdds
OR
$ vboxmanage list hdds
From the output, you can see that I have 2 Virtual Disk Images – Debian and Fedora VDI images.
Step 2: Convert VDI Image to RAW Disk Format
The next step is to convert the VDI images into a RAW disk format. To achieve this, I’m going to run the commands below.
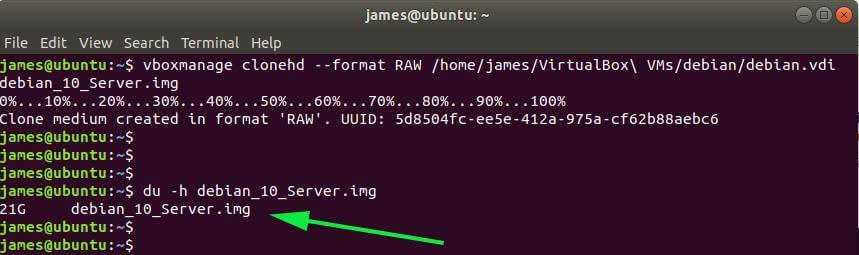
$ VBoxManage clonehd --format RAW /home/james/VirtualBox\ VMs/debian/debian.vdi debian_10_Server.img
OR
$ vboxmanage clonehd --format RAW /home/james/VirtualBox\ VMs/debian/debian.vdi debian_10_Server.img

When you investigate, you will notice that the RAW image format takes up an enormous amount of disk space. You can use the du command as shown to verify the size of the RAW image.
$ du -h debian_10_Server.img
In my case, the Debian RAW image takes up 21G of hard disk space, which is quite some enormous space. We are later going to convert the RAW disk image to KVM disk format.
Step 3: Convert RAW Image Disk Format to KVM Format
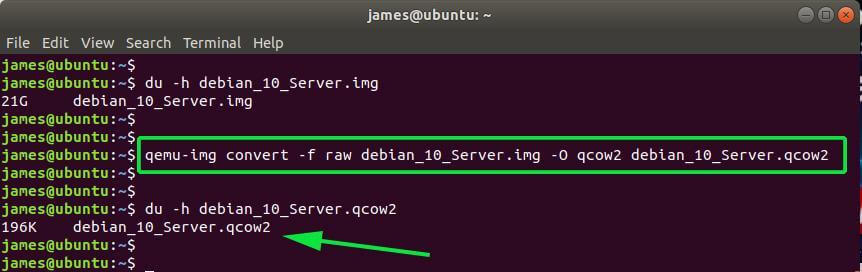
Lastly, to migrate to KVM disk image format, convert the RAW image to qcow2 format which is the KVM disk image format.
$ qemu-img convert -f raw debian_10_Server.img -O qcow2 debian_10_Server.qcow2
The qcow2 disk image is just a minute fraction of the RAW disk image. Again, verify this using the du command as shown below.
$ du -h debian_10_Server.qcow2
From here, you can import the qcow2 KVM image format either on command-line or using the KVM graphical window and create a new KVM virtual machine.
This wraps up our article for today. Your thoughts and feedback are much welcome.
Source: ostechnix.com


qemu-img can convert VirtualBox VDI format directly to KVM’s qcow2 format.
No need for an in-between RAW format conversion.
Thank you
Can we convert Parallels VMs as well to KVM and use it with KVM?